| nav-title | title | description | position |
|---|---|---|---|
NativeScript CLI |
CLI |
NativeScript Documentation: Command-line Interface |
16 |
Using a command line interface (CLI) is a very productive and simple way to use a developer framework. With the NativeScript CLI, it is possible to IDE to edit the application code and use the CLI to build and deploy the application to an emulator or on a real device.
One of the goals with NativeScript is having tools that are very similar to existing ones to lower the learning curve. If you are familiar with the Cordova Command-line interface (Cordova CLI), you're ready to build your cross-platform application with the NativeScript CLI.
#Prerequisites
It is important to note that NativeScript is all about building applications for devices. Thus, to test and run our product, we need the respective Software Development Kits (SDKs) and build tools installed in accordance to their license terms. For example, on a MAC computer one can install Node.js, Xcode, Java, Android SDK and Apache Ant and then test their NativeScript project on both an iOS simulator and device(s) and Android emulator and device(s). On the other hand, there is no Xcode for Windows PC, hence only Android applications can be tested there, provided we have Java, the Android SDK and Apache Ant. The full requirements can be found in the System Requirements section of the official NativeScript package readme file.
#Installing the NativeScript CLI
The NativeScript CLI is distributed as a Node.js NPM package. Thus, its installation is as simple as installing any other NPM package. It is recommended that you install it globally so that you can access it from any folder.
The command npm install -g nativescript will add the nativescript (or its synonym, tns, used further for shortness) program available to your console.
#Creating a project using the default template
Navigate to a preferred 'projects' folder of yours and type tns create HelloWorld
A new folder will get created, named HelloWorld. It contains some sample code, available at github.
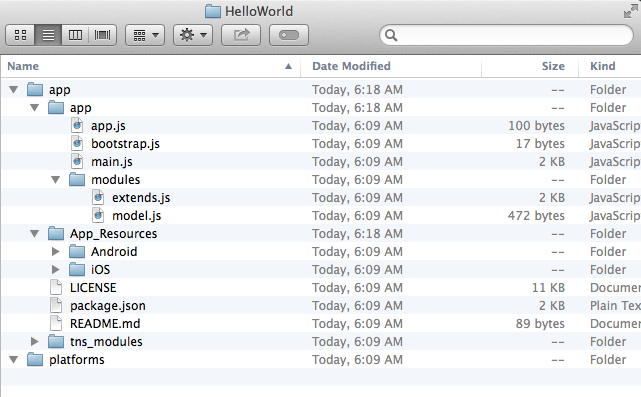 If you check the folder in Finder or Windows Explorer, you will notice it contains two folders:
 app and platforms.
The latter is empty at this stage of the app creation. Once we start "enabling" our project with specific platforms (iOS and Android supported for the time being), the platforms folder will contain platform-specific versions of our project. Please note that this folder is automatically re-generated based on the cross-platform code changes, so please do not alter its content, because it will be replaced next time the app is build. Use this folder for debugging purposes only.
The app folder contains the actual cross-platform code, the resources of our application and some pre-packed JavaScript modules, representing the NativeScript framework. The most important content in it are the:
-
appsubfolder, which is our application code. Generally, any edits of the application logic go here. Please, check the documentation for the available APIs (cross-platform, android and iOS). -
App_Resourcessubfolder, which contains some platform-specific resources. The structure and the usage of resources is still to be finalized, hence for the time being do not delete, move or rename any files from that folder. Modification of the images to fit your brand is perfectly fine. -
tns_modulessubfolder, containing cross-platform modules, pre-packed by Telerik. In the future, the CLI will allow modules to be added/updated via a special command in a plugin manner.
#"Enabling" the project to a specific platform
To run the already created project on an emulator or a physical device, first navigate to the project-folder you just created (i.e. cd HelloWorld).
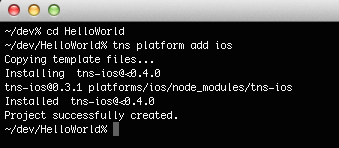
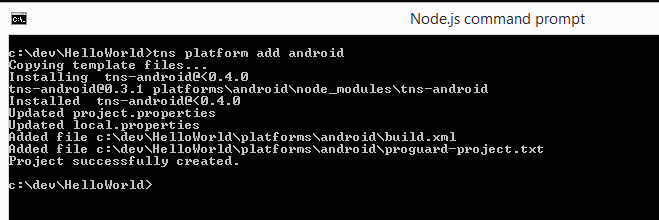
On a mac/windows/linux computer, type the command tns platform add android. Alternatively, on a mac computer type the command tns platform add ios.
These will download the android or ios runtimes for NativeScript and will unfold them using the contained platform-specific project to the platforms folder. A runtime package contains a platform-specific (Eclipse for Android or XCode for iOS) template project and a set of binaries, allowing the NativeScript javascript code to be executed on the target device.
#Populating the cross-platform code to platform-specific folders
The next step is running the command tns prepare android (alternatively, tns prepare ios).
In essence, this command copies the files in the app/app, app/App_Resources and app/tns_modules folders to the platforms/[SpecifiedPlatform] folder, following some logic.
The prepare command is not run automatically during an emulate command call on purpose. The reason is that while debugging we might change the javascript in the platform-specific project (under the platforms folder) and we want to debug that code directly by running the emulate or run commands. If the prepare command was called, it would overwrite our changes.
#Running the application
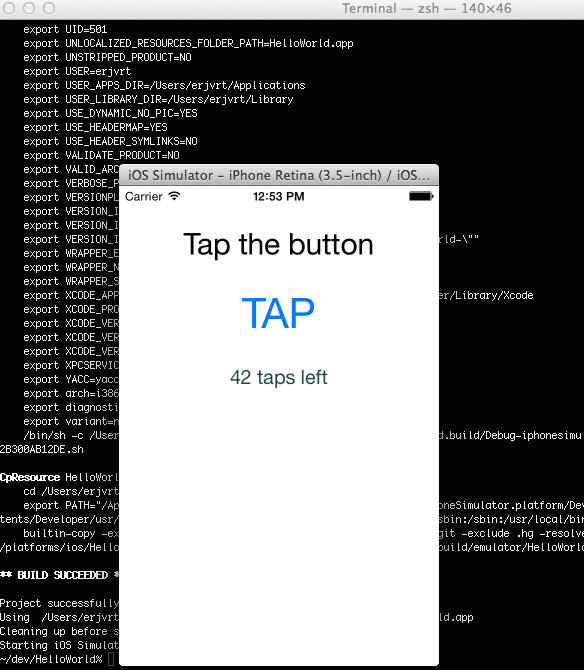
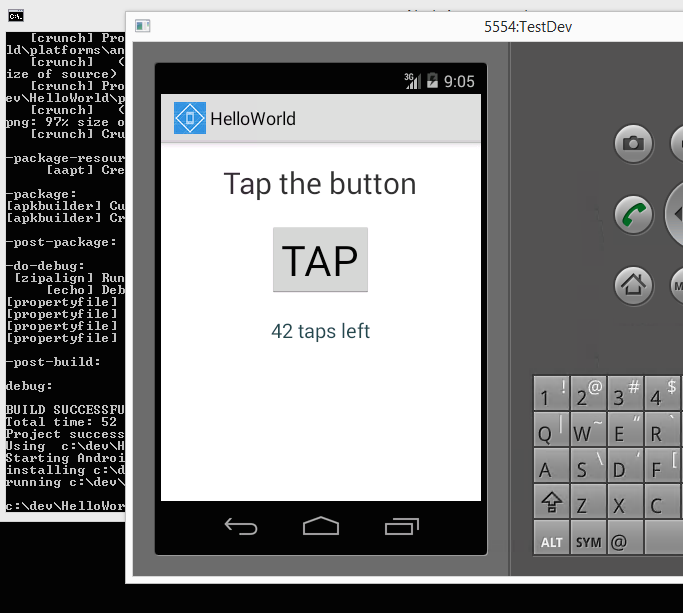
tns emulate ios- call this command on a Mac computer to get your project deployed and started on the iOS simulatortns emulate android- call this command on a Mac/Windows/Linux computer to get your project deployed and started on the Android emulatortns run ios- call this command on a Mac computer to get your project deployed and started on a device attached to your computertns run android- call this command on a Mac/Windows/Linux computer to get your project deployed and started on an Android device, attached to your computer.


