In this tutorial, we will use VS Code but if you prefer, you can use any other editor or even command line tools.
-
Bring up the Command Palette (command shift P)
-
Type
git clone -
When asked to provide repository URL, paste
https://github.com/DHRI-Curriculum/glossary/into the box. -
VS Code will ask you where to save your local clone of the repository. Choose wherever you would like to have it.
-
When asked "Would you like to open the cloned repository?", press "Open in New Window" (to ensure no conflict with any other windows you may have open).
-
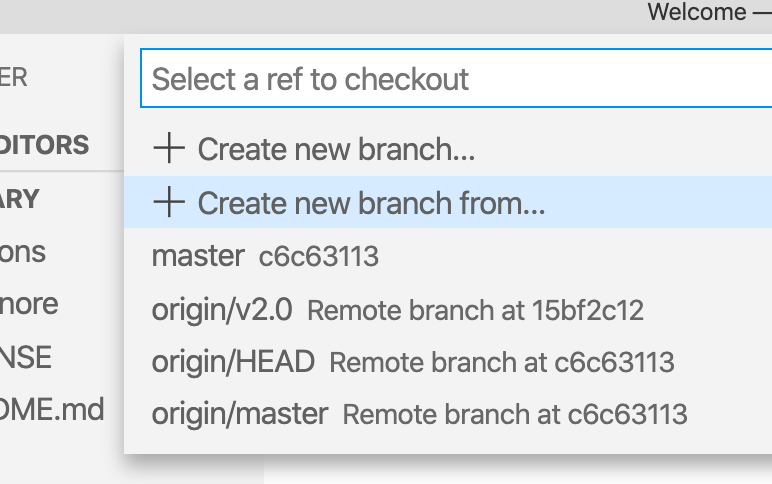
Click the branch name that you are currently on (likely "master") in the lower-left corner

-
Provide a branch name for your new branch (something like
<your-username>-suggested-terms) followed by enter

-
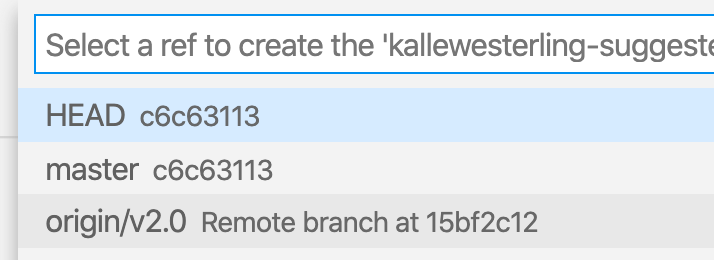
When asked to "Select a ref to create" your branch, select
origin/v2.0

-
You should now be on your own branch of this repository. You can verify that you're on the correct branch by checking your lower-left corner that should have your branch name instead of the formerly active branch.

-
Each term should be in a separate
<term>.mdfile. Keep the filename lowercase. -
Add the term as the first header in the file (
# <term>) -
In the first paragraph after the first header, add the explanation of the term.
-
(Optional) Add a section
## Readingswhere you add a bulletpoint for each reading you think is valuable to grasp the term that you want to add to the glossary. -
(Optional) Add a section
## Tutorialswhere you add a bulletpoint for each tutorial you think is valuable to grasp the term that you want to add to the glossary.
(If you want a model file to look at, here is one available.)
Once you are done with all of the terms you would like to add, your VS Code should look something like this:
-
Press the version control button in your menubar on the left (alternatively, you can choose
SCMfrom theViewmenu).

-
Hover over your term file(s) and press the
+button to add the files to your commits. Once you press the+button, the file should move from theChangessection to theStaged Changessection. Once all your files with your terms are in theStaged Changessection, you are ready to move on.


-
In the
Messagebox, type an instructive message, something along the lines ofAdding terms: <Term 1>, <Term 2>, <Term 3>and then press the checkmark above the message box (✓). Alternatively, you can press command enter. -
Next, you want to synchronize your commit(s) with GitHub, by pressing the icon next to your branch name. If it's your first time, it will be a little cloud with an arrow into it. Otherwise, it will be two arrows forming a circle:


-
Navigate to GitHub's Compare changes page.
-
Ensure that the
basebranch (the one you want to merge your changes into) is selected asv2.0:

-
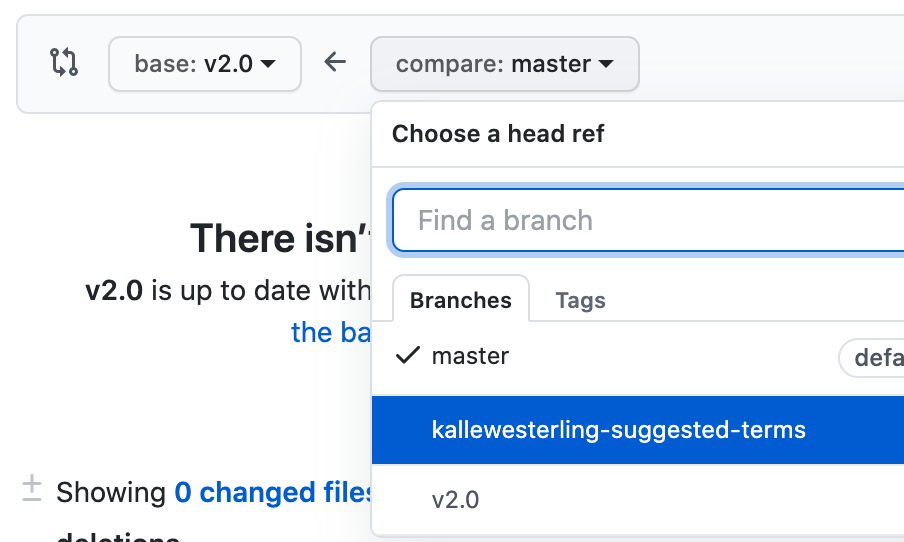
On the
compareside, you want to choose your own branch in the popup menu:

-
You should see a large, green button that says "Create pull request" and a green checkmark that says that you're able to merge:

-
Press the "Create pull request" button, and fill out the form that pops up with some important information. Note: If you filled out the commit above with information about all the terms you added, that should already be the title of your request and this should be an easy step. Once you're done, press the green "Create pull request" button at the bottom of the form.

You're done. Once someone gets around to it, your changes might be merged into the repository.

