A working MQTT based Home Assistant Integration using the Seeed Studio MR60FDA1
Some comments and data on most recent test results can be found here!
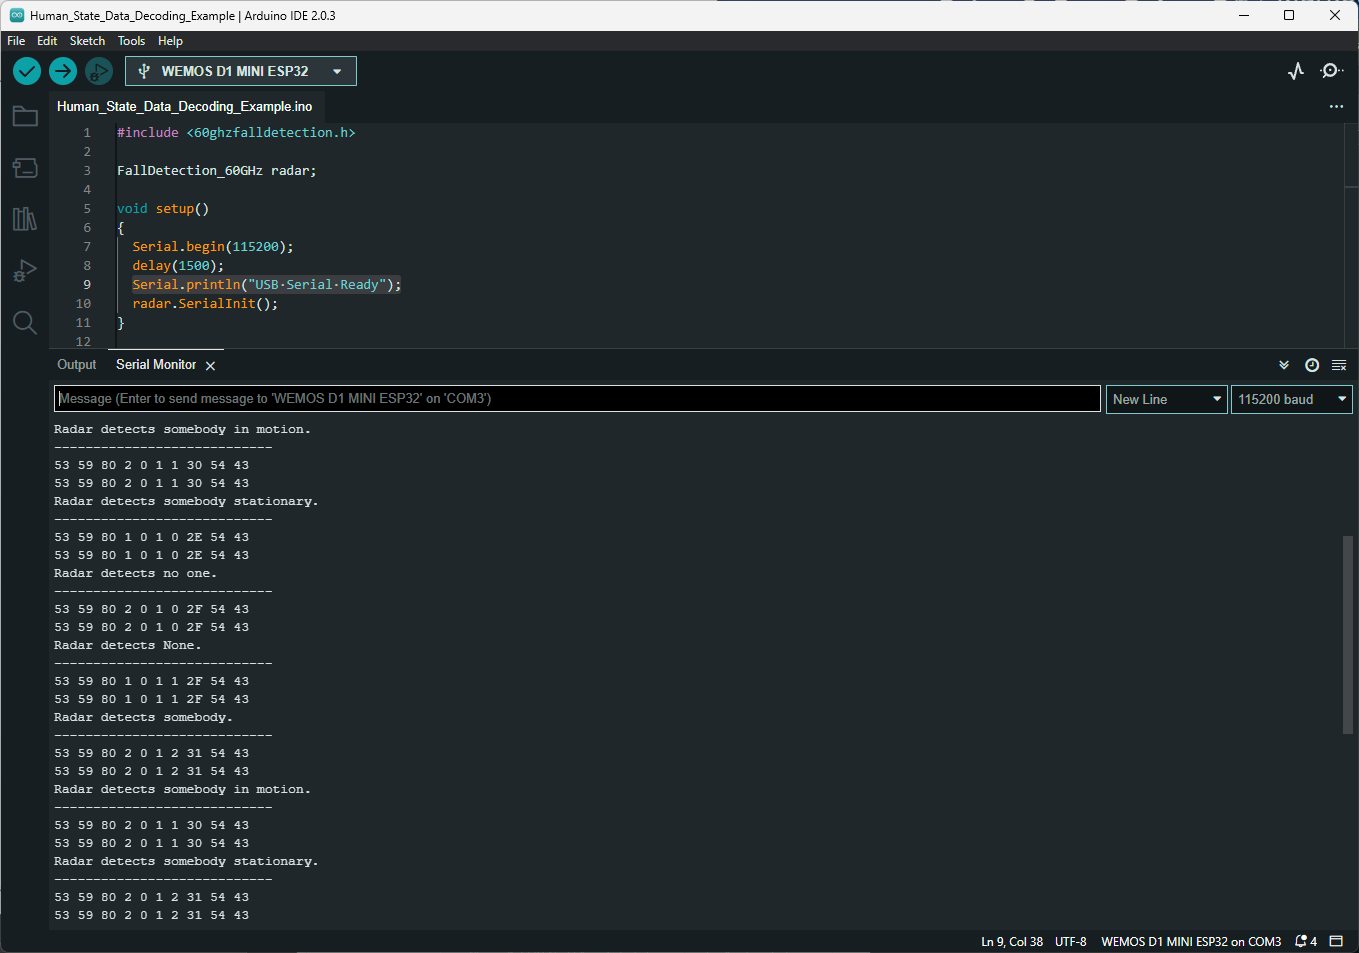
I started out just being able to see the sensor messages in Arduino IDE, and I only had an ESP32 to use as the MCU so it took a bit of tinkering to even get started:
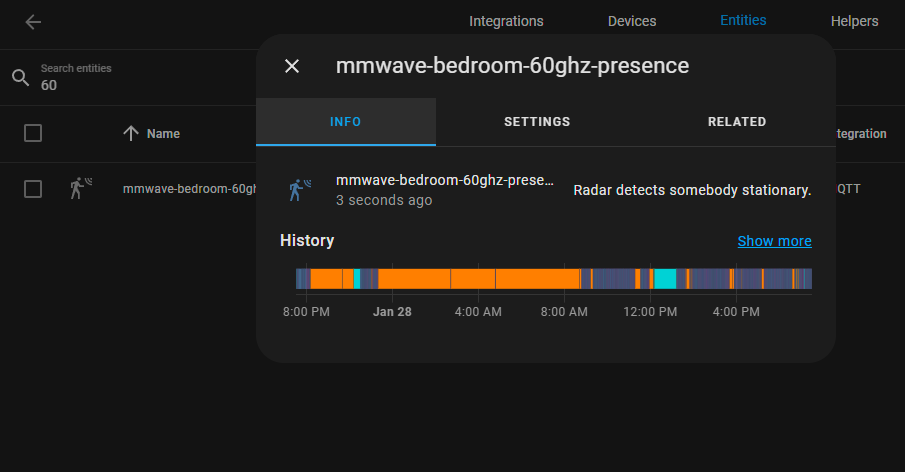
Next I decided to use MQTT to get a basic sensor entity working in Home Assistant using manual configuration.yaml sensor settings with a state topic I could update using messages from the sensor example code:
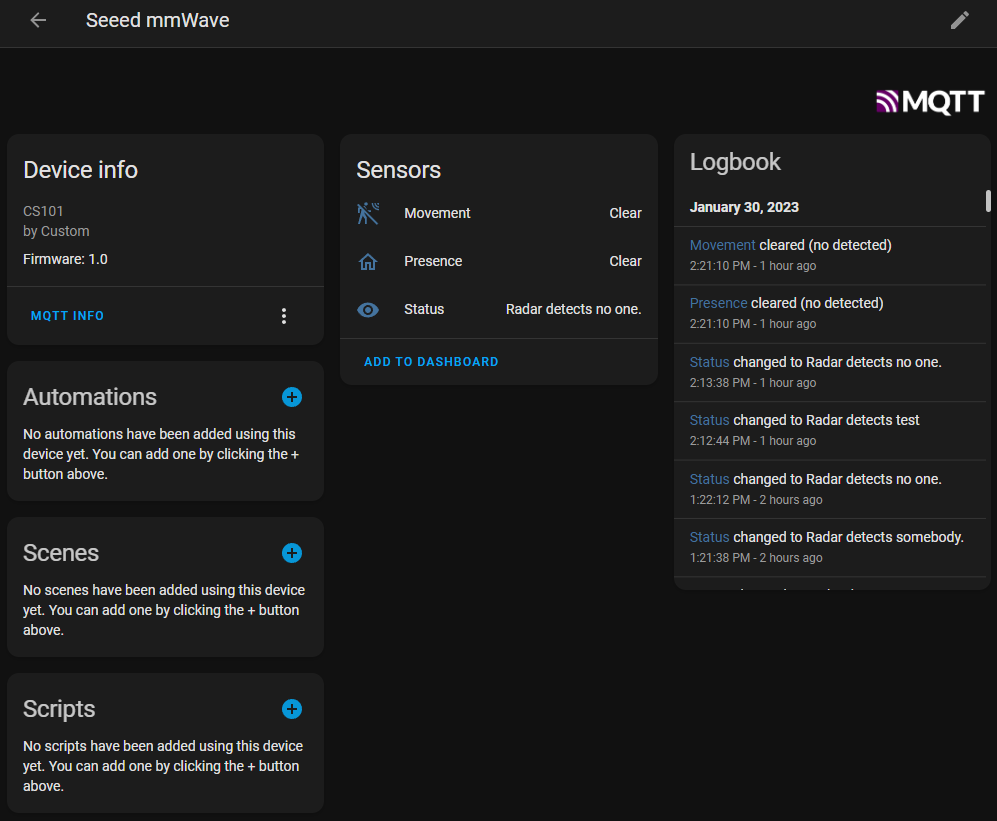
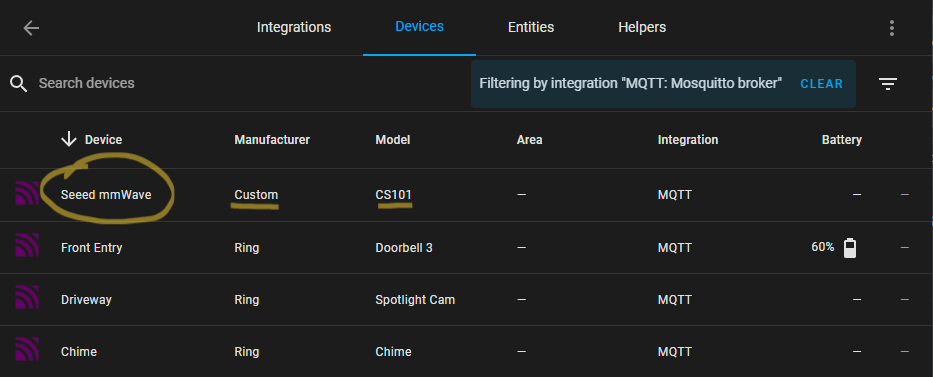
Then, and with some helpful tips from Matt over in the HA community forums: https://community.home-assistant.io/t/mmwave-human-presence-for-under-20/414389/111 I set out to turn this into an actual Home Assistant device with multiple sensors to help separate the distinct sections of the Seeed mmWave human presence and disposition functions-into sensor or binary sensor states:
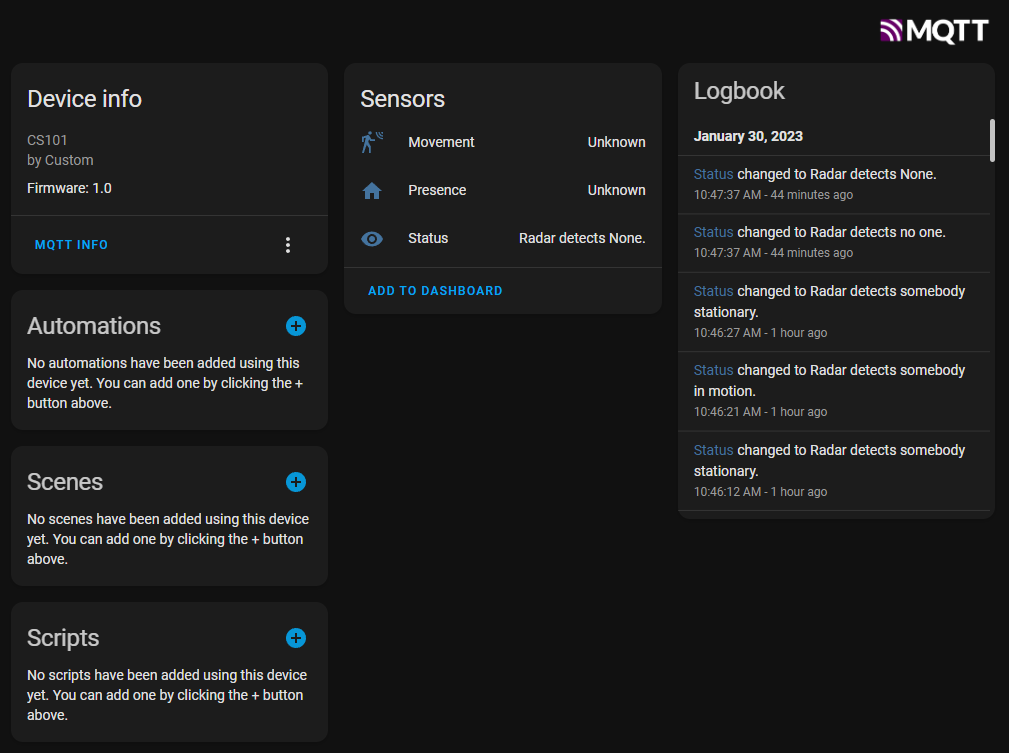
There was a bit of a learning curve for me as this was the first time working with dynamic json documents and the nested objects gave me some grief and kept getting shorted when sent to MQTT as discovery messages but eventually I managed to make it work enough to get a proper device created with sensors and start testing the state messages:
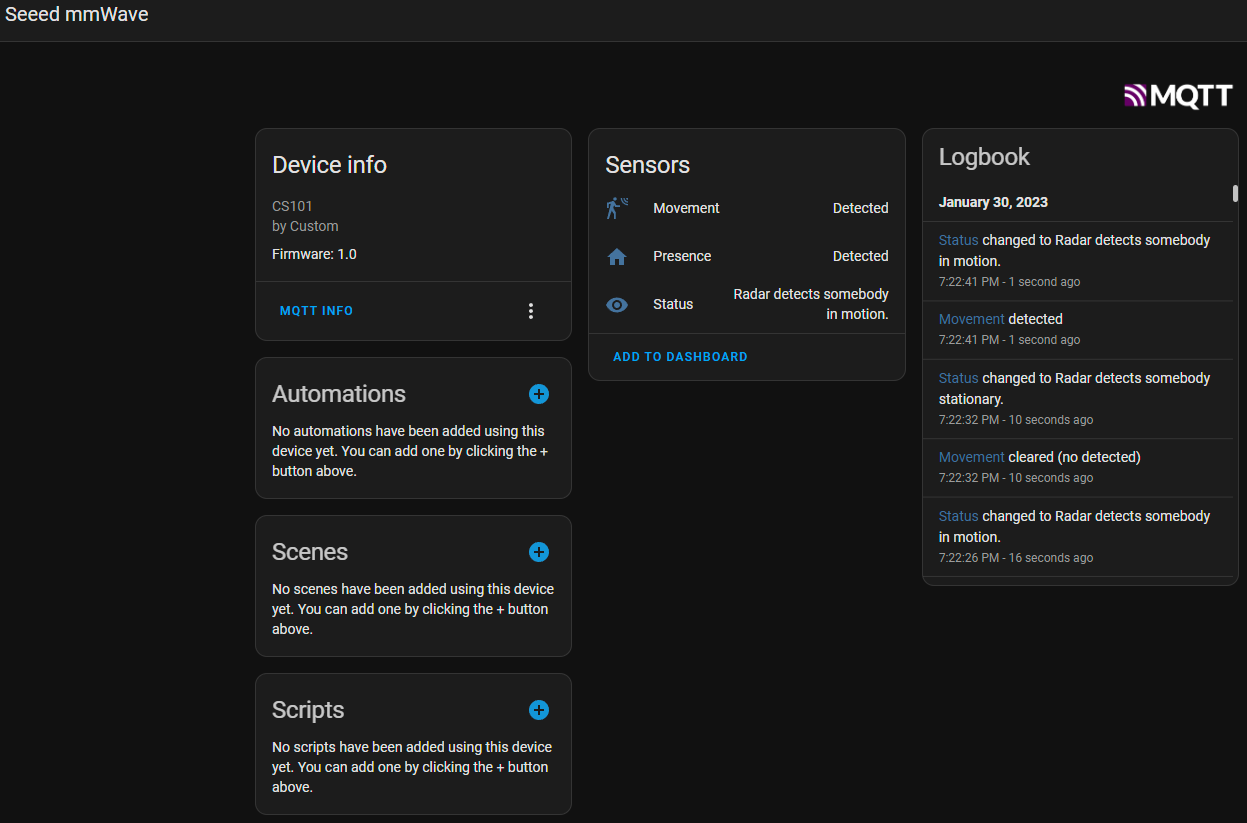
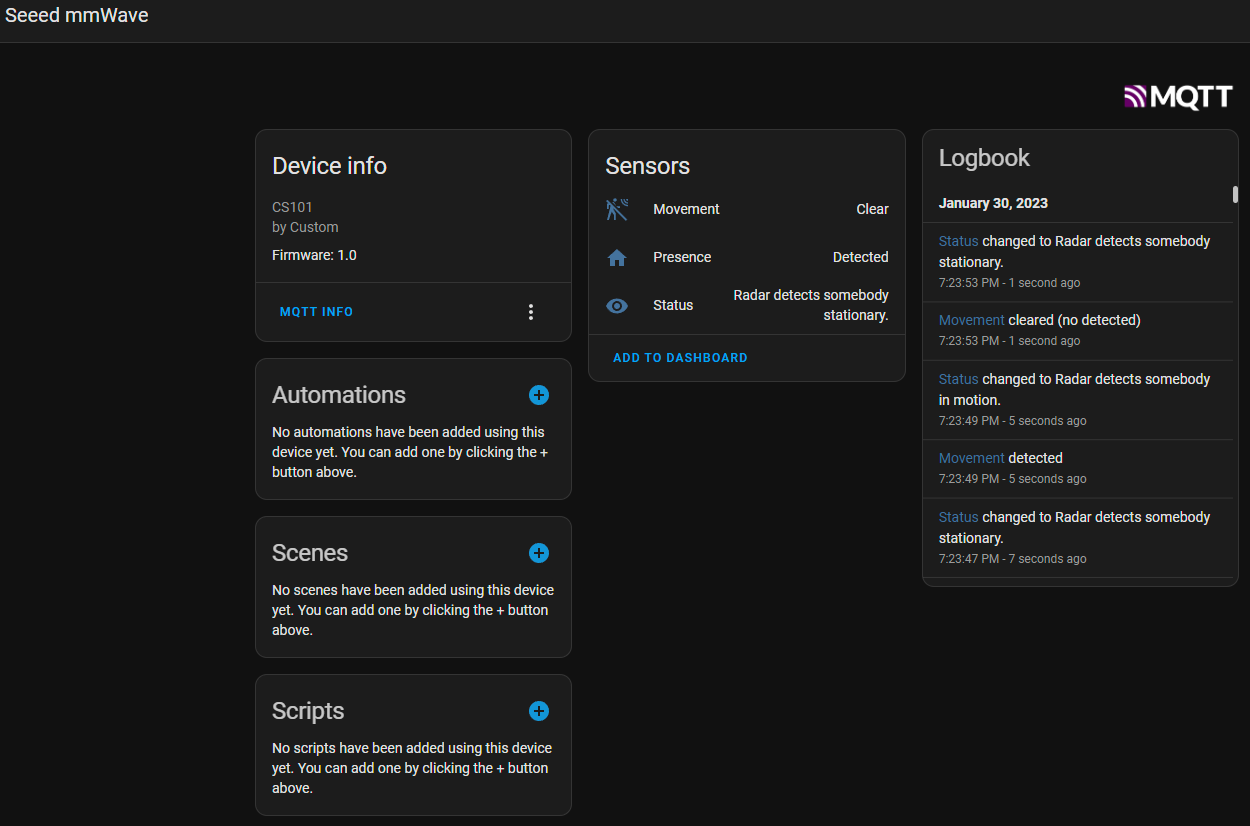
Now that the sensors are in and working, I started to monitor the state changes and compare this to the original messages from the Seeed Studio Wiki example Arduino sketch:
An excerpt from the full log (commented) which can be found here!
Presence detected
4:15:00 PM - 7 minutes ago

Status changed to Radar detects somebody.
4:15:00 PM - 7 minutes ago

Movement detected
4:15:00 PM - 7 minutes ago

Status changed to Radar detects somebody in motion.
4:15:00 PM - 7

Movement cleared (no detected)
4:15:05 PM - 7 minutes ago

Status changed to Radar detects somebody stationary.
4:15:05 PM - 7 minutes ago

Presence cleared (no detected)
4:16:01 PM - 5 minutes ago

Status changed to Radar detects no one.
4:16:01 PM - 6 minutes ago
Presence with Motion:
Stationary Presence:
There are several other things I want to look at and perhaps even need to figure out how to manage such as sending distance and other (supported) settings to the Seeed MR60FDA1 module, but for now at least, it can be used for testing, even practical automation testing and I'm very curious to see how well it detects humans as opposed to small animals or moving objects which is an issue with other mmWave sensors I've used.
The code is far from clean at the moment, I also flattened it completely-making it all in one .ino compared to the source example code on the Seeed Wiki... just for simplicity sake... while I'm experimenting.
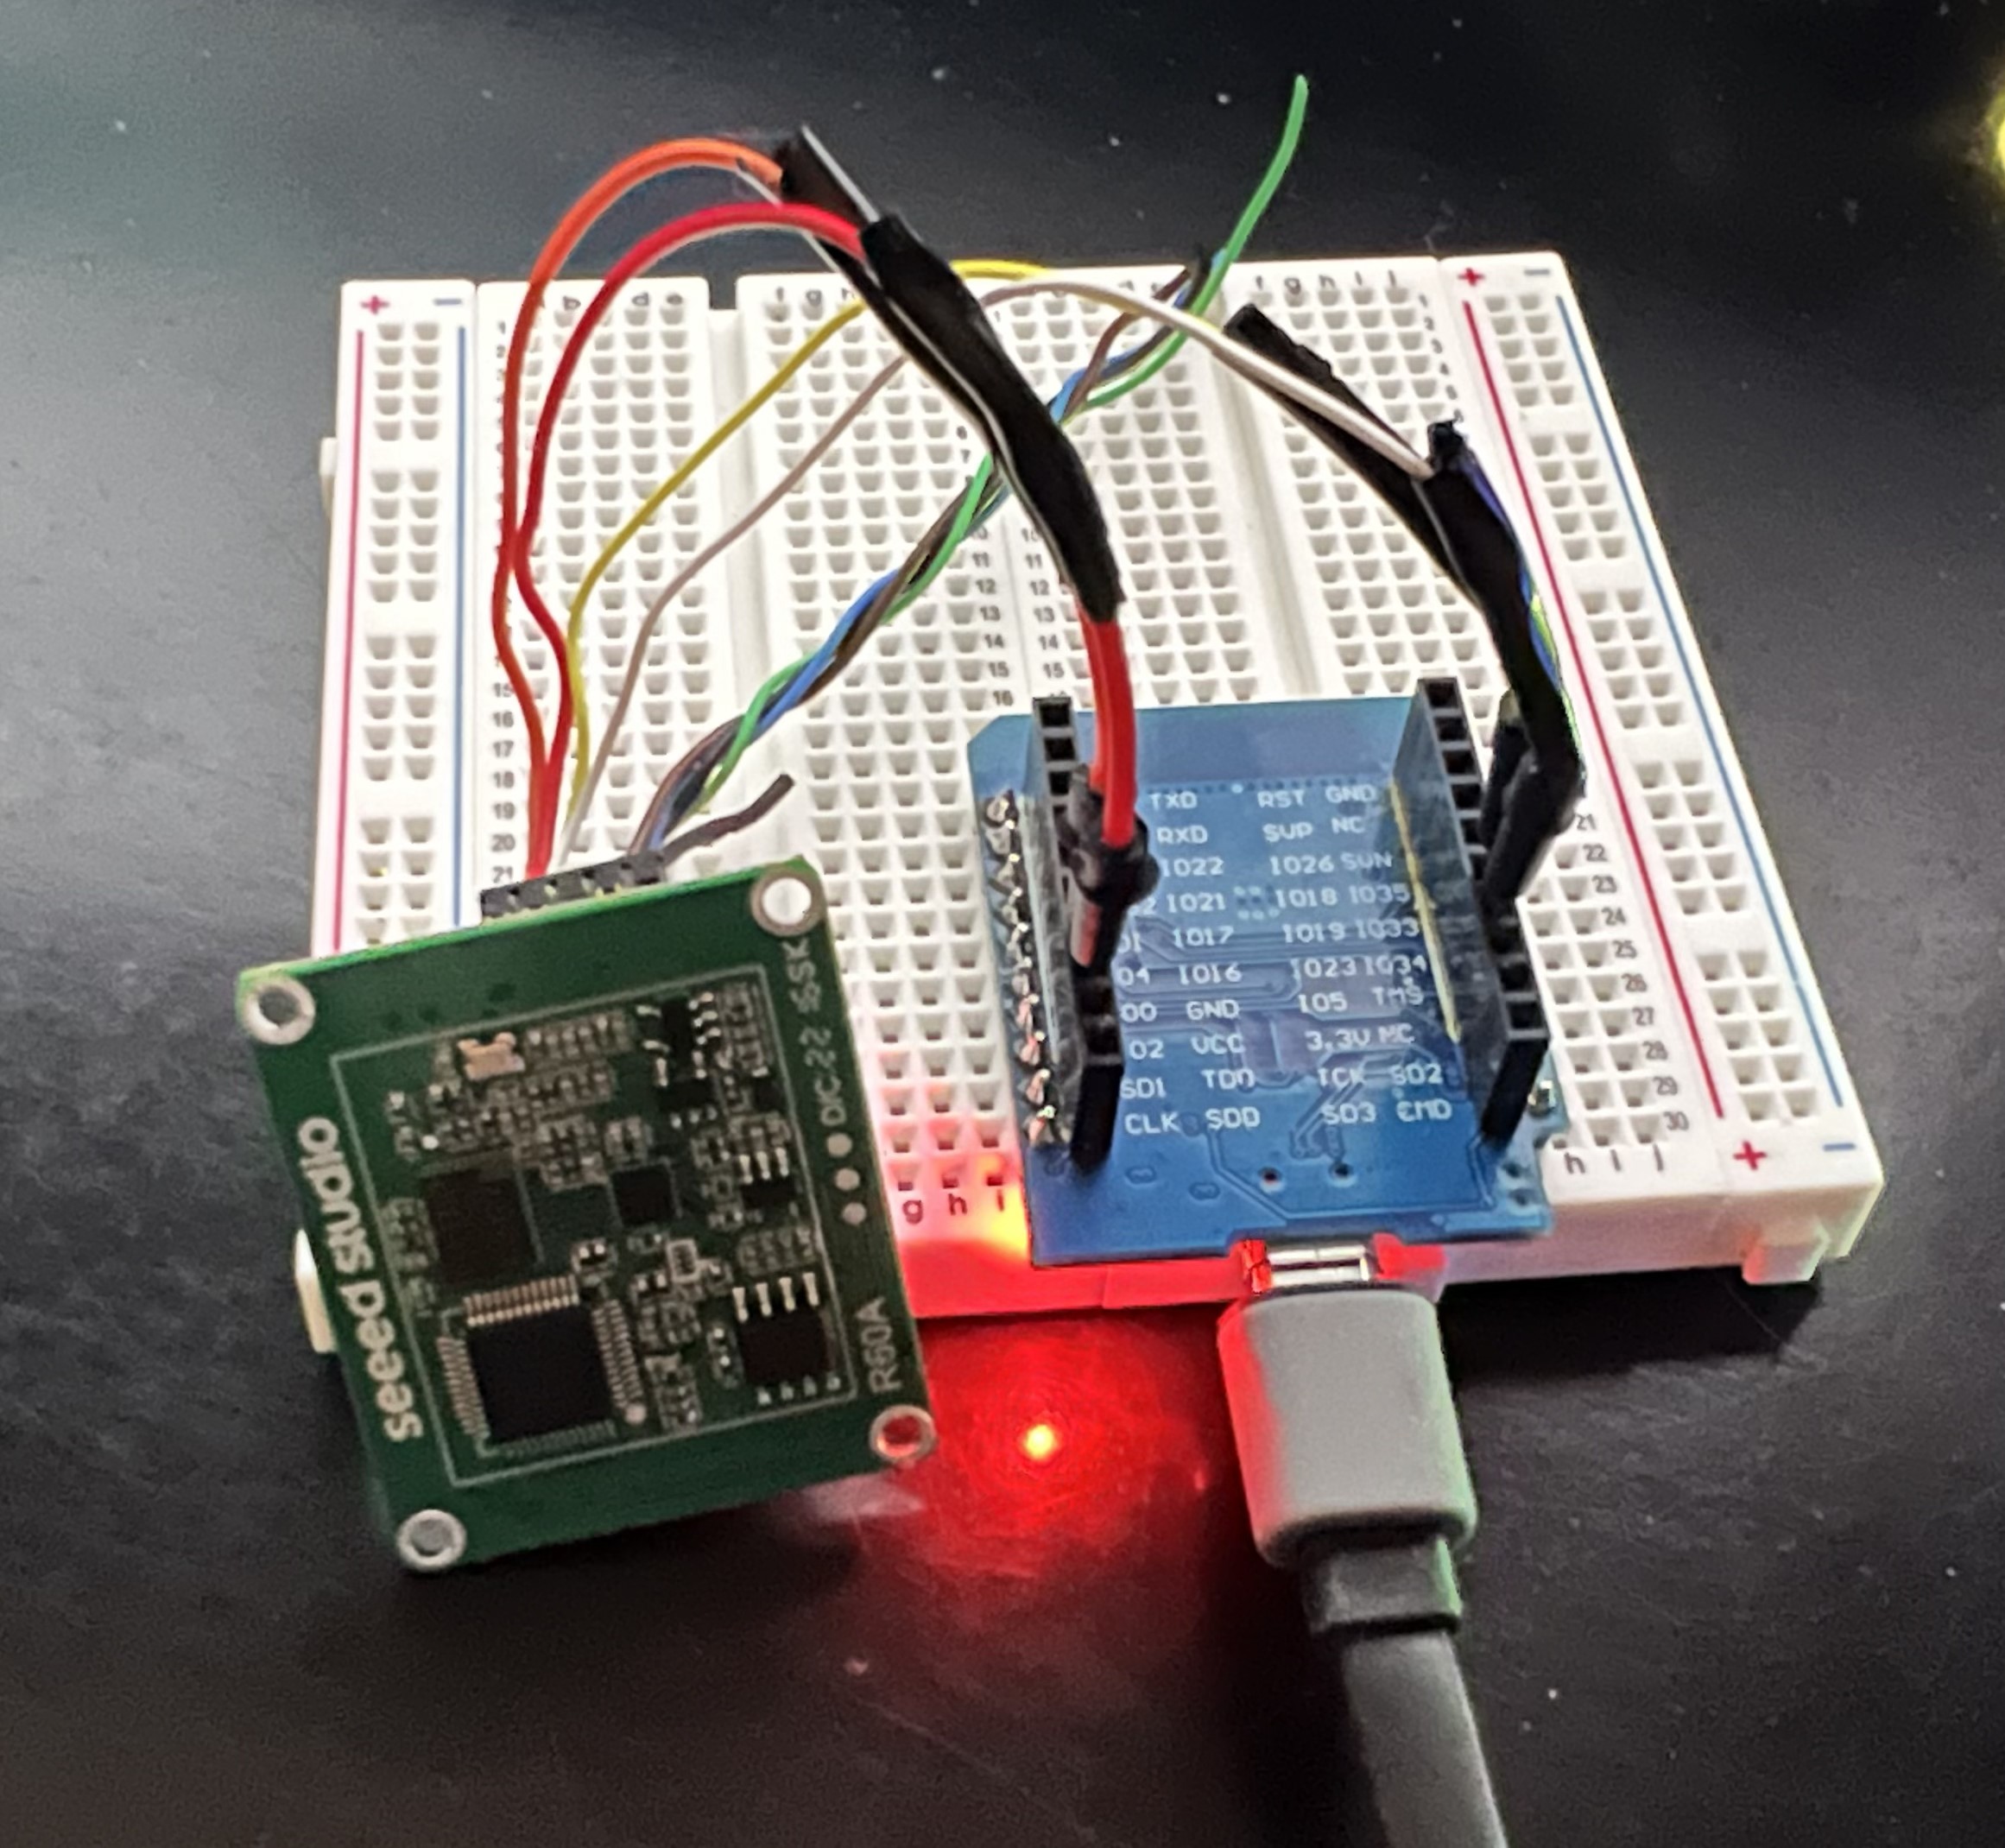
The only thing worse looking than my code, is the actual project board:
I used a random PC cable that happened to have the right size header connection for the back of the MR60FDA1 module and then basically just spliced on some breadboard jumper wire ends so I had the push-in jumper ends basically. Then on my particular MCU which is a Wemos D1 Mini ESP32, I chose to use pins 23,5 for RX,TX of Serail2. Not much else to do here, the MR60FDA1 only needs VCC, GND, RX, and TX. There is no pull-down pin since it's not a simple binary-sensor and there is no separate UART bus either since it already has both RX/TX you just send bytes back if you need to for changing settings, I have not worked that out yet.
Using the Arduino IDE, you can load up the seed-mmwave-60ghz-presence.ino sketch from the repo here, ensuring you have the base prerequisites met such as:
  #include <ArduinoJson.h>
  #include <ArduinoMqttClient.h>
  #include <WiFi.h>
And flash to your chosen MCU, of course you may need to adjust the pins you're using, but after you flash it, you should start seeing messages in the serial monitor of the Arduino IDE. Be sure to set it to 115200 BAUD.
Provided you have setup the WiFi, MQTT, and all related credentials and keys, as noted in the code... you should be ready for the next step... or it may already be ready already ;)
Integration is actually pretty easy now with MQTT Discovery. Once your device is flashed, if you got all the settings right the first time-and don't we all!? ;) You may already see the device in Home Assistant due to the magic of MQTT Discovery and perhaps even state messages and presence and movement statuses.
Be sure to first confirm you see Serial Monitor status messages for motion and MQTT connection and of course WiFi success... all are logged to Serial Monitor for debugging purposes for now. The easiest way to catch the initial bootup is to clear the serial monitor and de-power/re-power the device while on that tab. You'll see it boot and connect to wifi and mqtt:
...
WiFi connected
IP address:
xxx.xxx.xxx.xxx
Attempting to connect to the MQTT broker: xxx.xxx.xxx.xxx
You're connected to the MQTT broker!

*you'll see a lot of json like the below too:*

{
  "device_class": "Occupancy",
  "name": "Presence",
  "object_id": "seed-mmwave_presence",
  "unique_id": "your_guid",
  "state_topic": "homeassistant/binary_sensor/seed-mmwave_presence/state",
  "payload_on": "on",
  "payload_off": "off",
  "device": {
    "identifiers": "Custom",
    "name": "Seeed mmWave",
    "model": "CS101",
    "manufacturer": "Custom",
    "sw_version": "1.0"
  }
}

mmWave Serial Txd is on pin: 5
mmWave Serial Rxd is on pin: 23
mmWave Serial Ready
If all looks well in the Serial Monitor but you still don't see the device in HA, try enabling MQTT debug logging, de/re-power the device again, wait maybe 10 seconds then disable debug logging and look through the downloaded file, this should happen as soon as you hit disable debug in MQTT devices & integrations.
You'll see or should see something about MQTT Discovery in the debug output, look for discovery parse errors.
Note: if you're not using an ESP32 of some type, you'll need to change this ifdef statement:
  #ifdef ESP32
	  #define RXD2 23
	  #define TXD2 5
  #endif
The code should of course be fully reviewed before use, all passwords and IPs/Hostnames are cleared out and ssid and wifi passwords should probably be in a secrets file, but I was being lazy and this is just a sandbox project... I still need to work out how to send settings to the Seeed 60Ghz sensor to reduce its range as right now it shoots right through the wall and picks up motion in the hallway.
When you compile/upload the code to your Arduino of choice or an ESP32 like I did, there is a lot of extra debug message action that I've setup so you can see how it's working. Tune your Arduino IDE Serial Monitor to 115200 baud to see this, if you're quick about it after it is done uploading and the Arduino/ESP is rebooting, you'll see the initial WiFi join and then the start up and connection status of the MQTT sender(client)
I found that it tended to disconnect from MQTT after any long period of inactivity with respect to the mmWave sensor, at first I tried using MQTT polling to keep this connection alive but this didn't work well for a couple of reasons, 1) I could not come up with a simple way to poll "now and then" other than writing in a silly counter to the void loop and 2) even with that, it seemed unnecessary and dirty to be polling every X loops. So I took from an example I found to separate out the connection and any subsequent reconnection to a void function that's called upon void setup and on each void loop but all it does is check to see if "mqttClient.connected" and if it is, it "returns;" and so adds no unnecessary network activity or polling. See example below:
void MQTT_connect() {

  if (mqttClient.connected()) {
    return;
  }
  Serial.print("Attempting to connect to the MQTT broker: ");
  Serial.println(broker);
  if (!mqttClient.connect(broker, port)) {
    Serial.print("MQTT connection failed! Error code = ");
    Serial.println(mqttClient.connectError());
    while (1);
  }
  Serial.println("You're connected to the MQTT broker!");
  Serial.println();
}
At first I thought to use the sensor with an extra ESP32 I had laying around but as much as I tried to tinker with it, I could not make it work using ESPHome. However, there is an example code set for Arduino IDE... a sample sketch... referenced on the Seeed Studio Wiki:
https://wiki.seeedstudio.com/Radar_MR60FDA1/
https://github.com/limengdu/Seeed-Studio-MR60FDA1-Sersor
Their code is a bit hard for me to follow, but it hinted at things and I managed to figure out how to use an ESP32 in Arduino IDE and then worked out that Serial 2 is what I want, not SoftwareSerial as many other threads suggested... the ESP32 has 3 actual hardware serial ports but only Serial 2 is "readily" usable from what I understood. As soon as I modified the code to use Serial 2 and set the pins to my preference the sensor started outputting data to the Arduino IDE serial monitor.
- Work out a better way to set or reset initial states at power on, right now if there is already presence, it will stay clear until there isn't, and then is again
- Once the code can support sending the bytes to the sensor for setting changes such as distance, look into using MQTT command topics to make this possible from the Home Assistant device
- Investigate why no other bytes that would be handled by the Situation_judgment void function are being sent by the radar module. It's possible I simply have the MR60FDA1 oriented incorrectly in my testing space for it to recognize this human telemetry.
- Fall detection? yeah, I haven't seen any of these bytes either but I'm really not sure how to test this, do I have to bribe someone to actually fall in view, and in range of the sensor? ¯\(ツ)/¯
- Build a case? maybe I'm getting ahead of myself here :) but it would make it easier to hide it in the bedroom for real testing and to see if the cat sets it off as much as the DFRobot 24Ghz mmWave
- Code cleansing and deduplication; I got really lazy as I started to see real progress and the project came to life
I sat on a small number of these Seeed 60gHz Fall Detection modules for quite some time after initially ordering them with excitement and then realizing I had no idea how to make them work in ESPHome. Once I had the thought to use MQTT, I was able to use the Arduino IDE examples from Seeed as a jumping off point, and then things progressed right along so I expect to continue making refinements to this project, I'll likely release them and archive the current working-test version as I go.
