If you want to try Linux on your FPGA board, follow these steps
- Install APIO
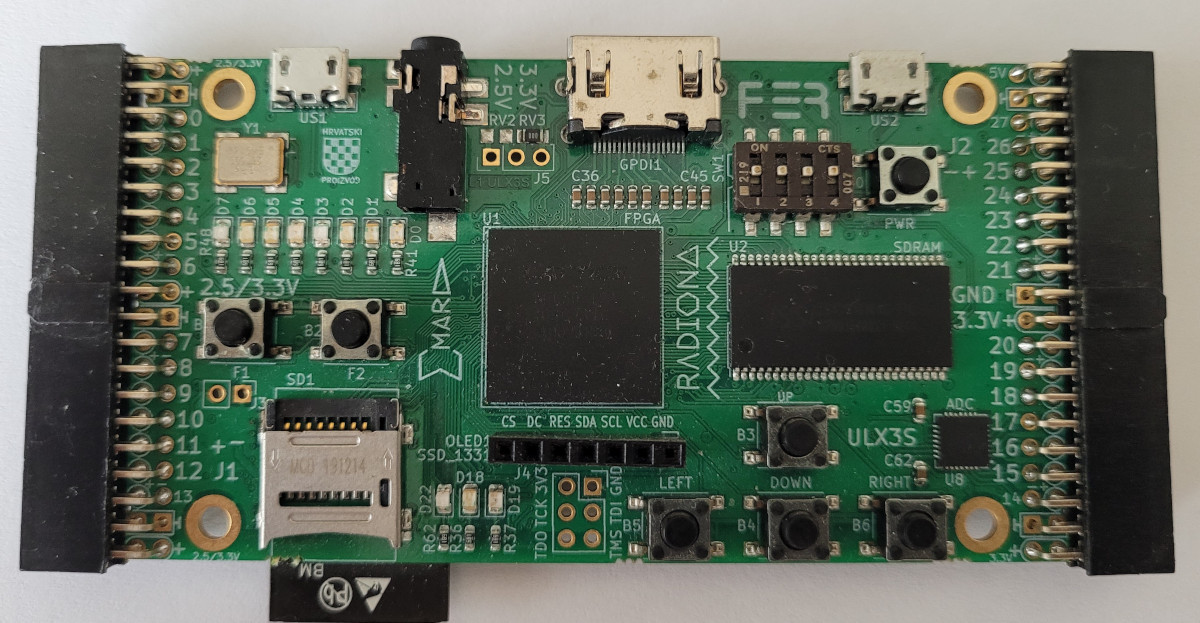
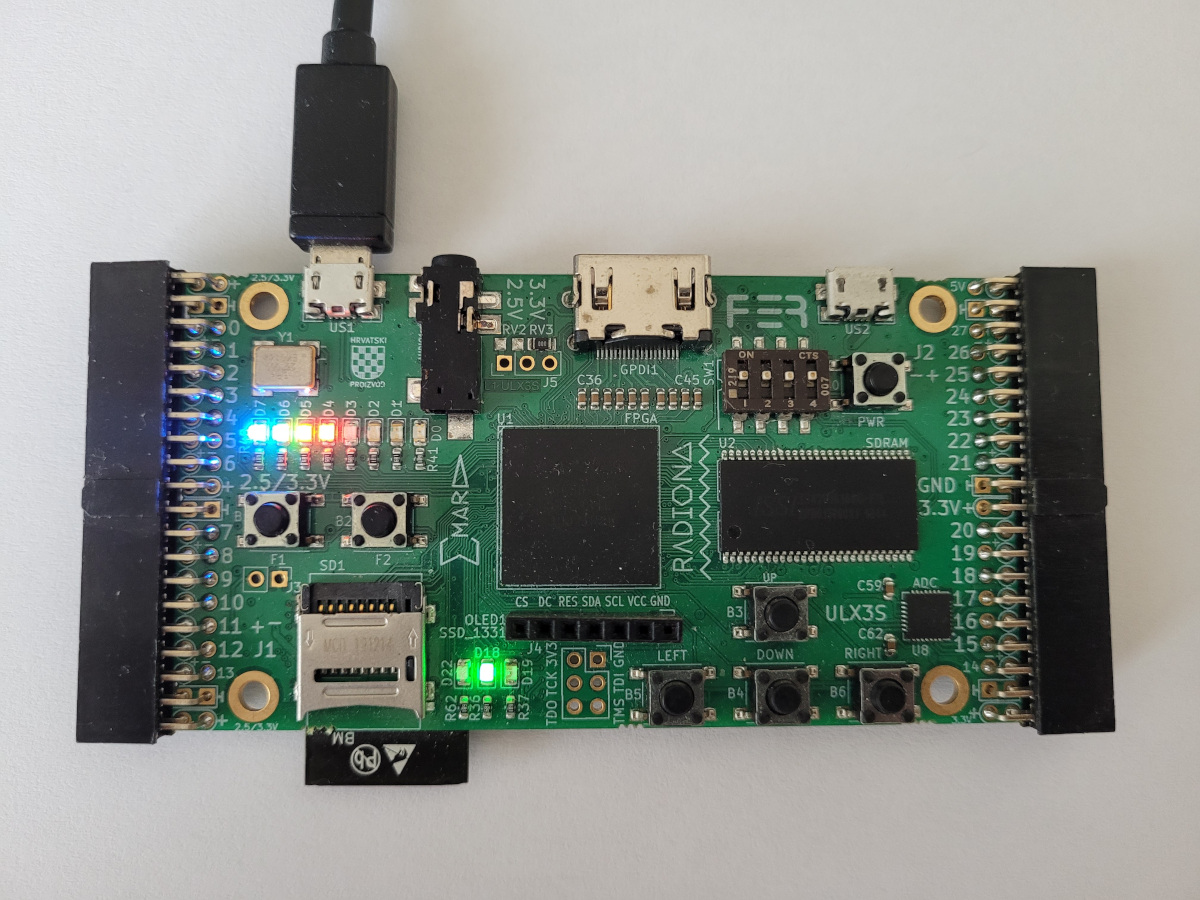
- Board: Radiona ULX3S-12F
Linux is composed of 3 parts that are written into the flash memory at different addresses
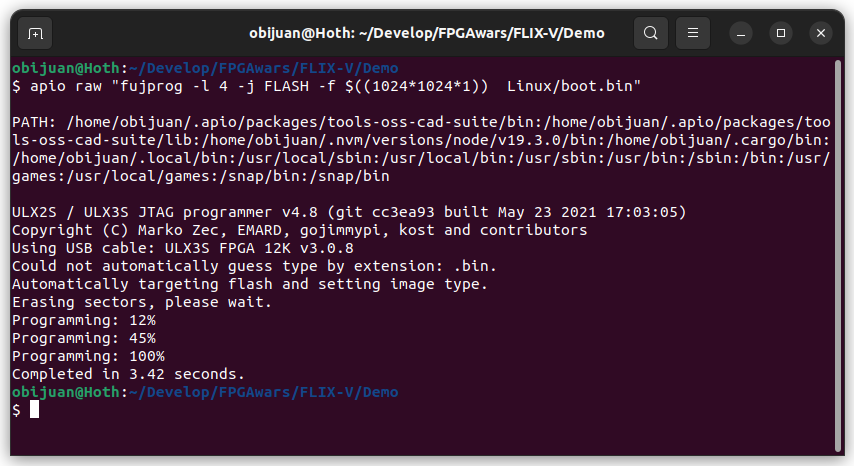
- 0x100000 (1024*1024, 1MB). Boot. File:
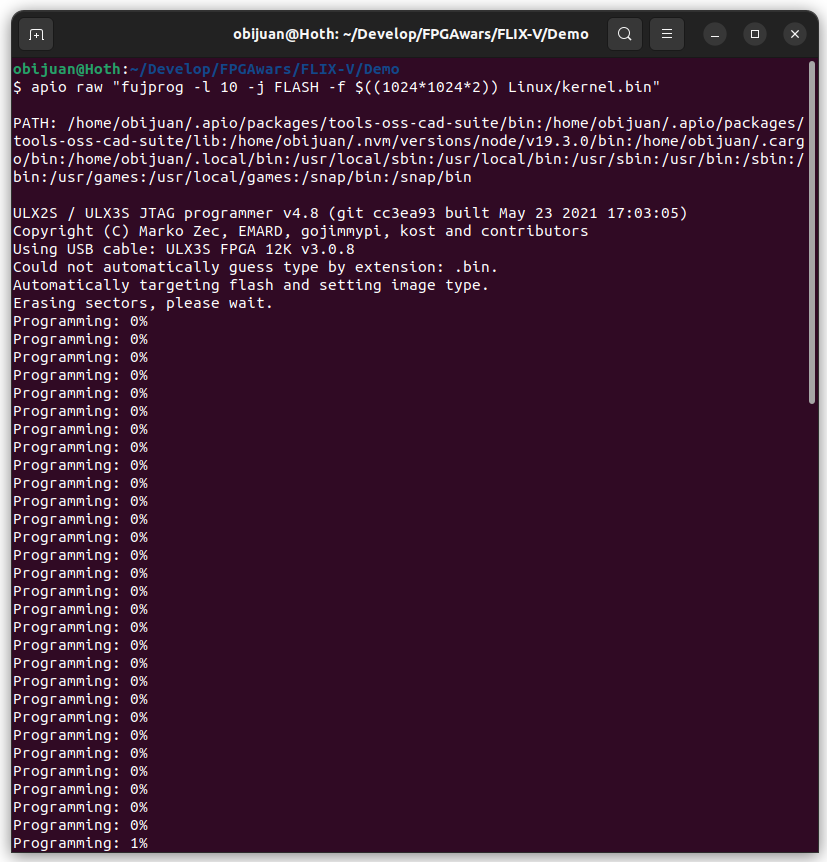
boot.bin - 0x200000 (1024*1024*2, 2MB), Kernel. File:
kernel.bin - 0x700000 (1024*1024*7), 7MB), DTB. File:
kianv32mb.dtb
This program is in charge of preparing and initilizing the system for running the linux kernel
- Command:
apio raw "fujprog -l 4 -j FLASH -f $((1024*1024*1)) Linux/boot.bin"
- Command:
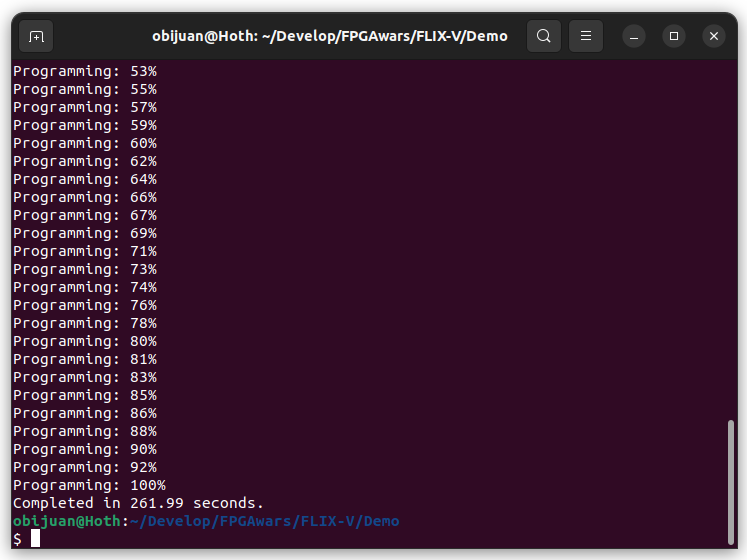
apio raw "fujprog -l 10 -j FLASH -f $((1024*1024*2)) kernel.bin"
This process takes around 4 minutes
The DTB (Device Tree Blob) is a binary that contains information about the hardware configuration: devices, system resources, peripherals....
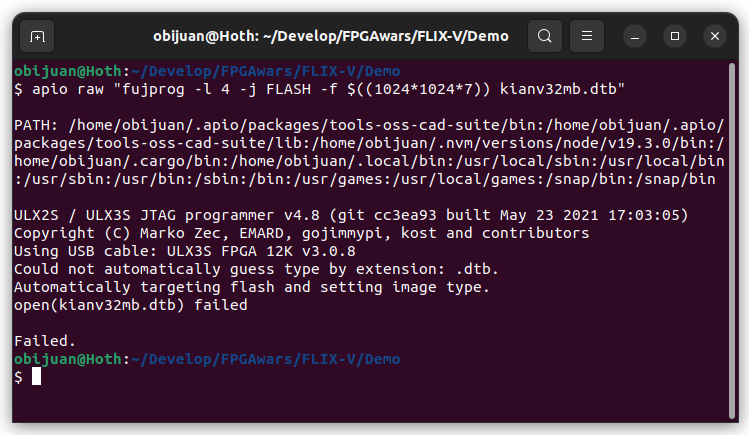
apio raw "fujprog -l 4 -j FLASH -f $((1024*1024*7)) kianv32mb.dtb"
Finally, let's add the KianV Risc-v soc
- Command:
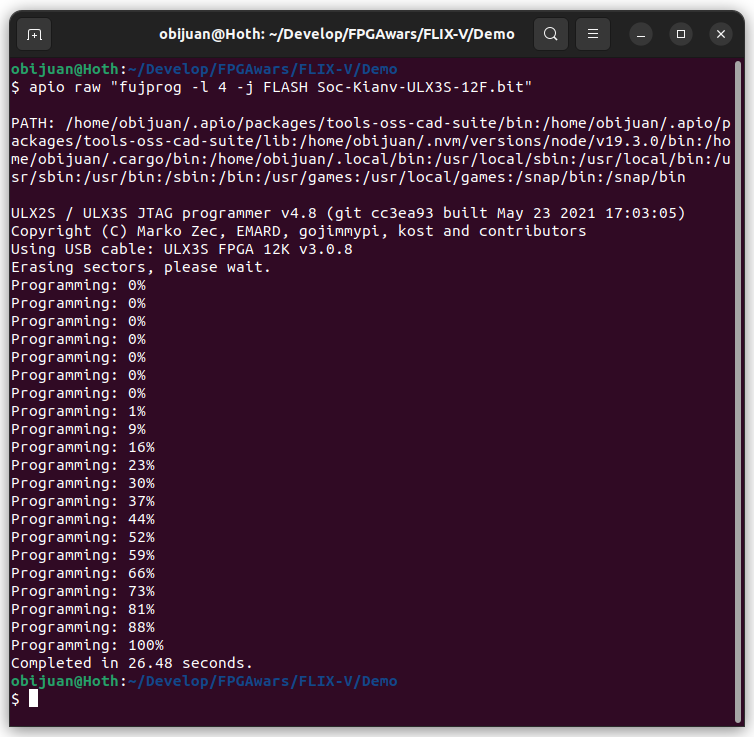
apio raw "fujprog -l 4 -j FLASH Soc-Kianv-ULX3S-12F.bit"
After flashing the Kianv soc, Linux will boot.
Open a serial terminal configured for the custom speed of 3000000 bauds
A very simple and useful terminal for linux is tio
- Command:
tio -m INLCRNL /dev/ttyUSB0 -b 3000000
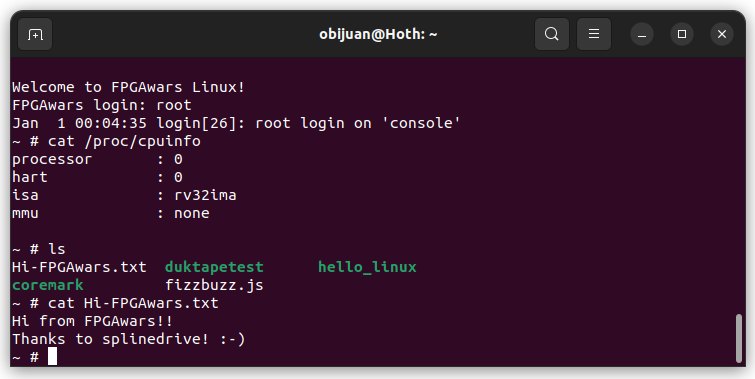
Now log in as root:
... and you are now ready to feel the power of Linux running on the FPGA...
- Youtube videos:
