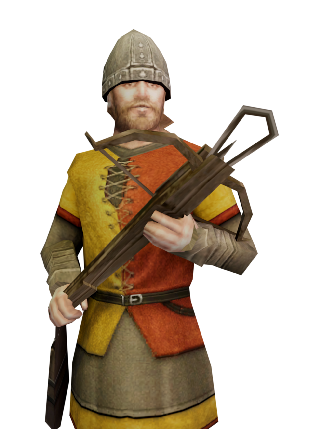
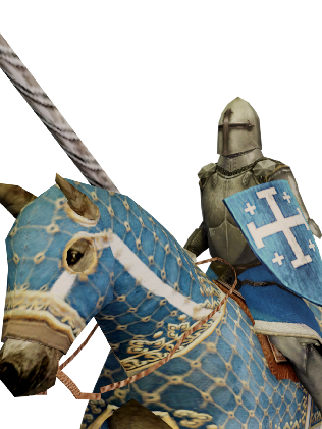
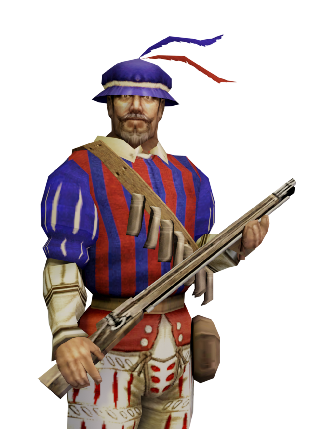
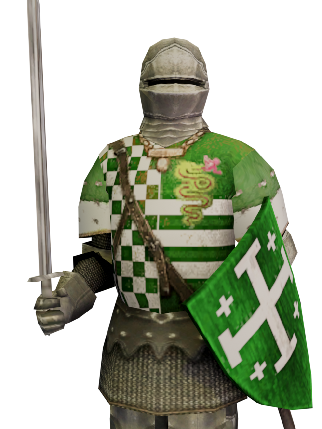
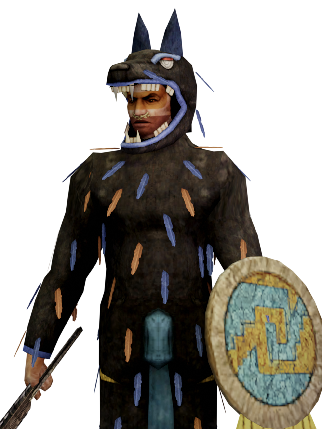
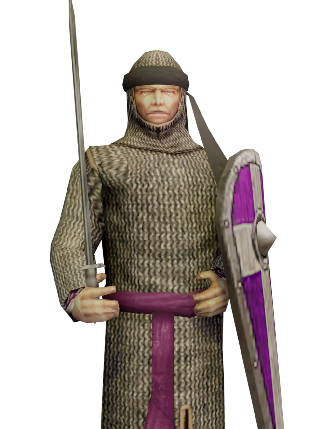
This document reviews the blender file and accompanying Portrait Creator.py script provided to the modding community. The intention of this process is to allow for the batch generation of unit cards for Total War: MEDIEVAL II.
NOTE: This is not a tutorial, simply just instructions and tips to render out a batch of images used for portraits.
You can find the project root folder here:
-
M2_Portrait_Creator_scene.blend
- This is a base blender scene that can be used to create and render unit cards.
- This scene was created using Blender version 2.93.0. The scene has been used in Blender versions 2.93.0, 3.0.0, 3.3.0.
-
Portrait_creator.py
- This is a python script Blender uses to produce portraits and save them to a specified directory.
-
Inputfile.txt
- Input text file utilised by the python script to generate unit cards with specified models, textures, poses and factions. Contains a single unit entry as an example.
NOTE: Source assets have not been provided. However a folder structure has been provided for easy interaction with the portrait_creator.py script. The portrait_creator.py script expects a ‘.dae’ format for models and ‘.png’ format for texture files.
When preparing models for use with the portrait creator ensure the assigned material for main character elements (body, arms, legs etc) is named ‘characterlod0__main’. Ensure the assigned material for attachment elements (swords, shields, sheaths etc) is named ‘characterlod0__attach’.
When exporting a .dae model file, ensure the file name includes ‘_lod0’ at the end of the model name. E.g. ‘en_peasant_crossbowmen_lod0.dae’
The sheet can be found here
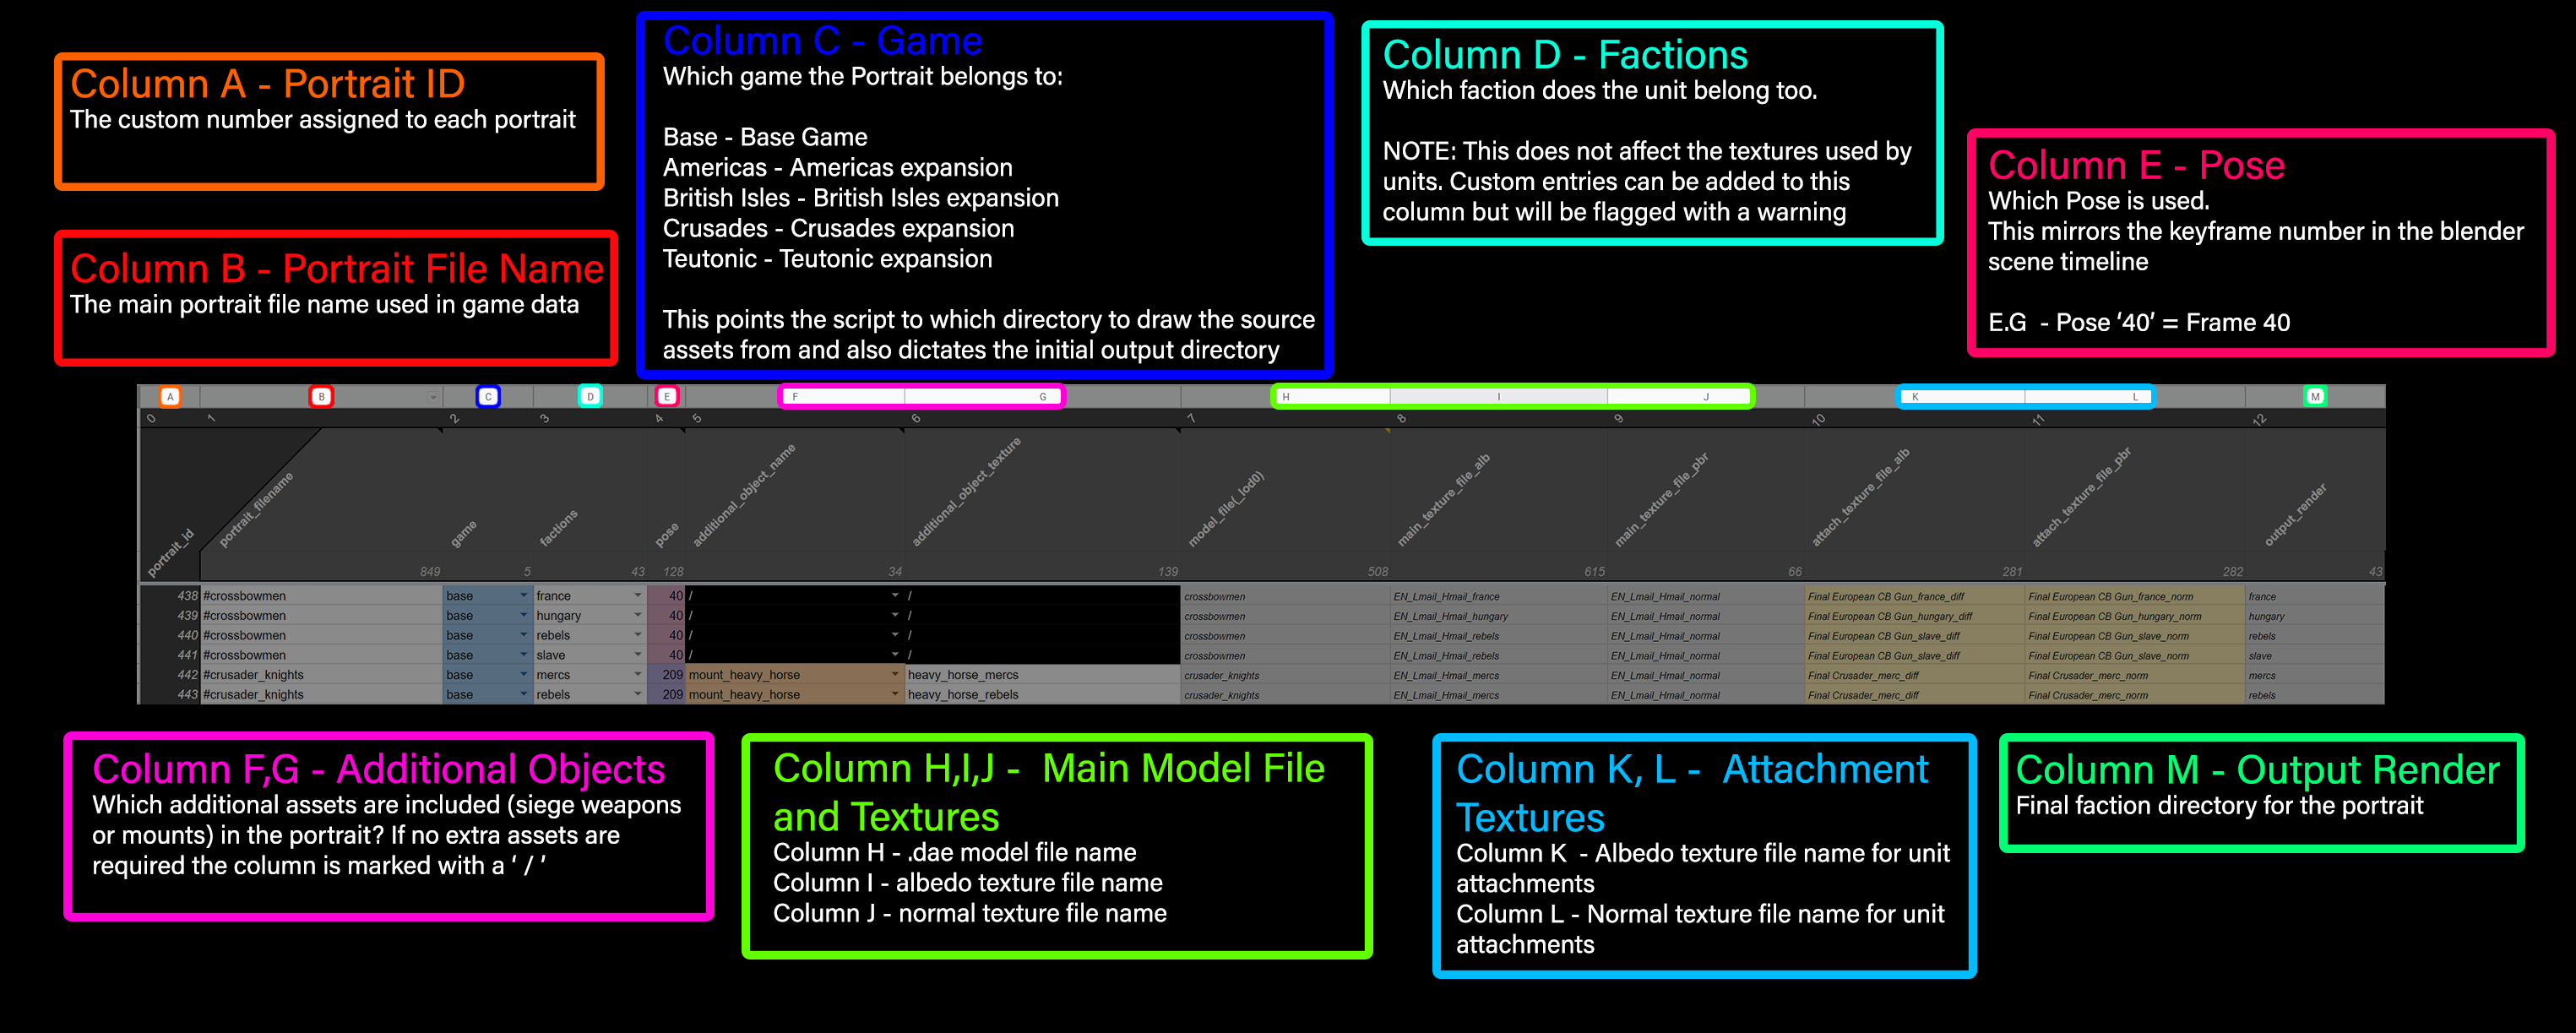
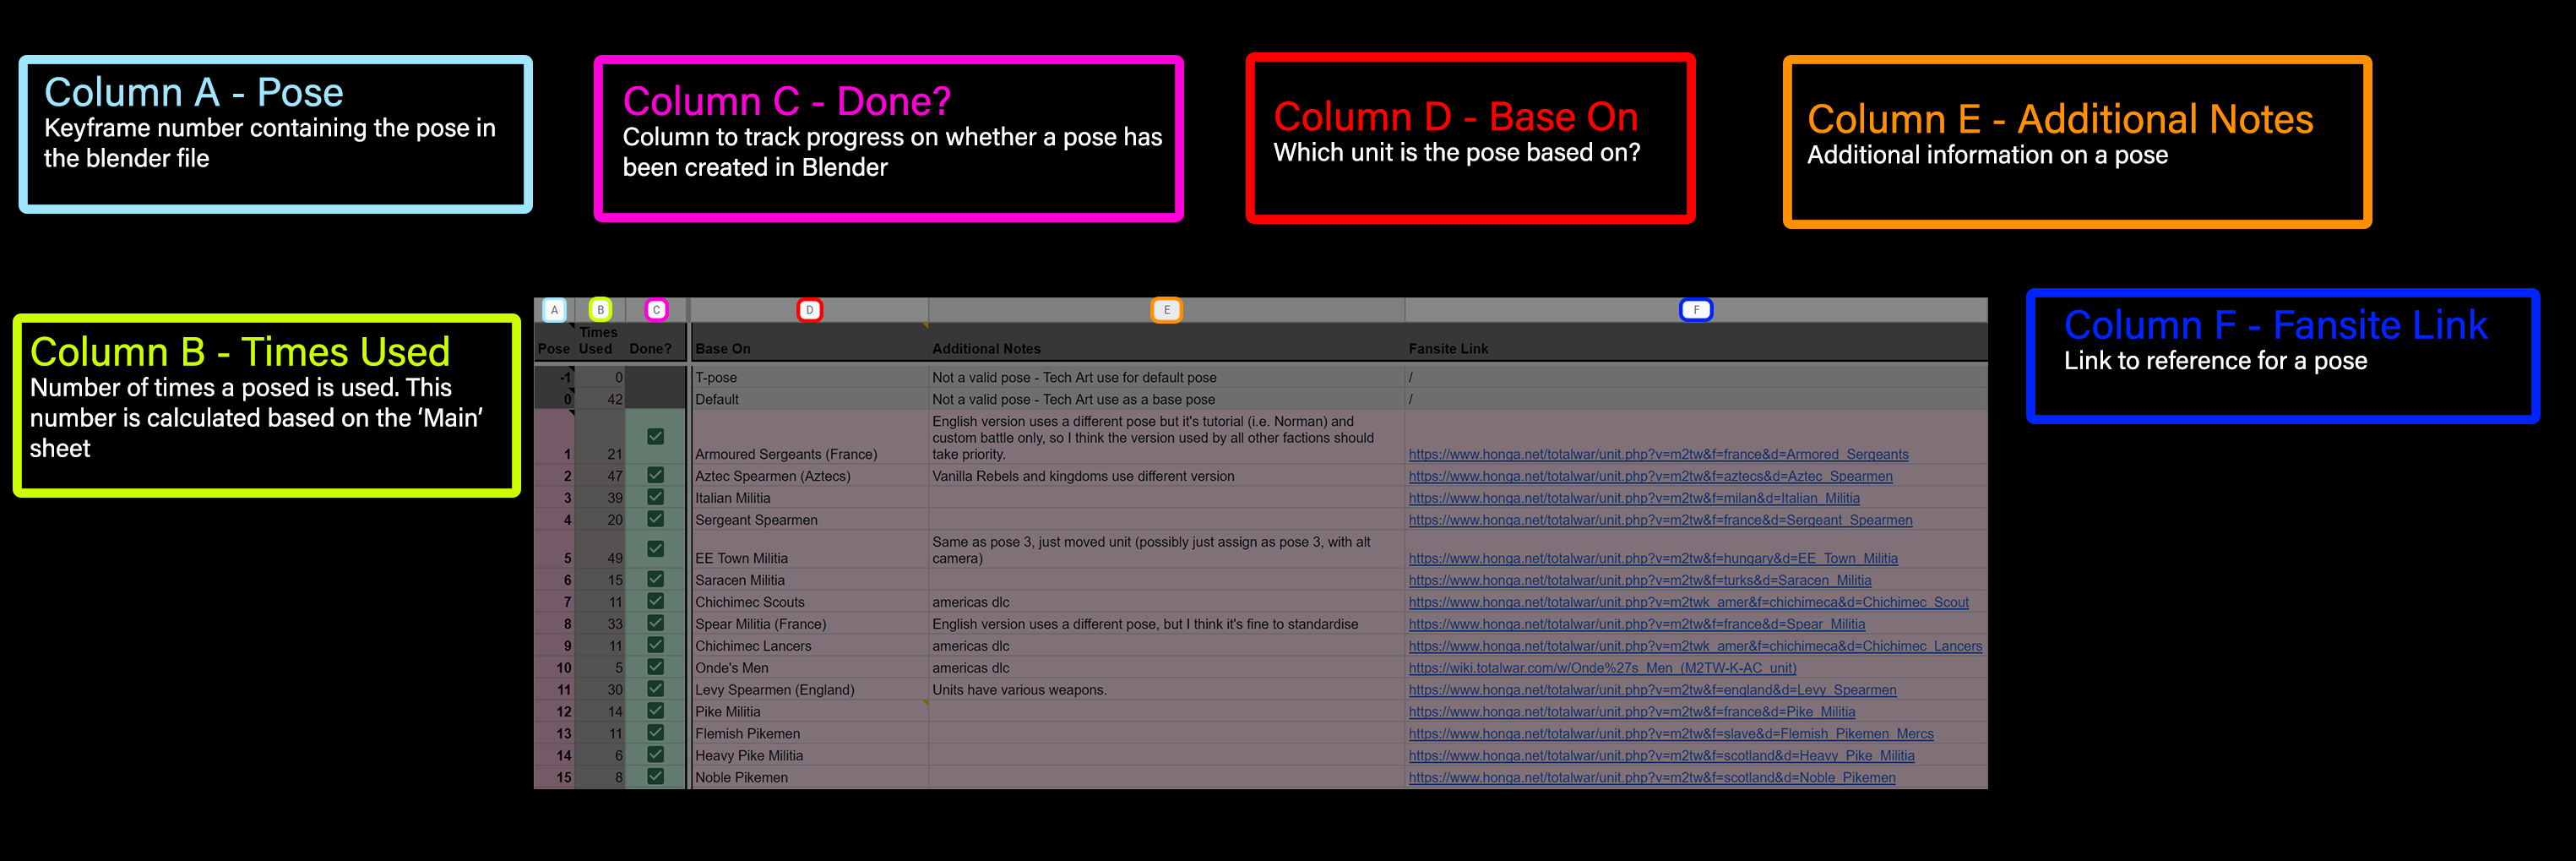
This is the sheet that contains assignments for each portrait(models,textures, factions, poses etc). This information is copied to the inputfile.txt. See details below on how each column of the google sheet works.
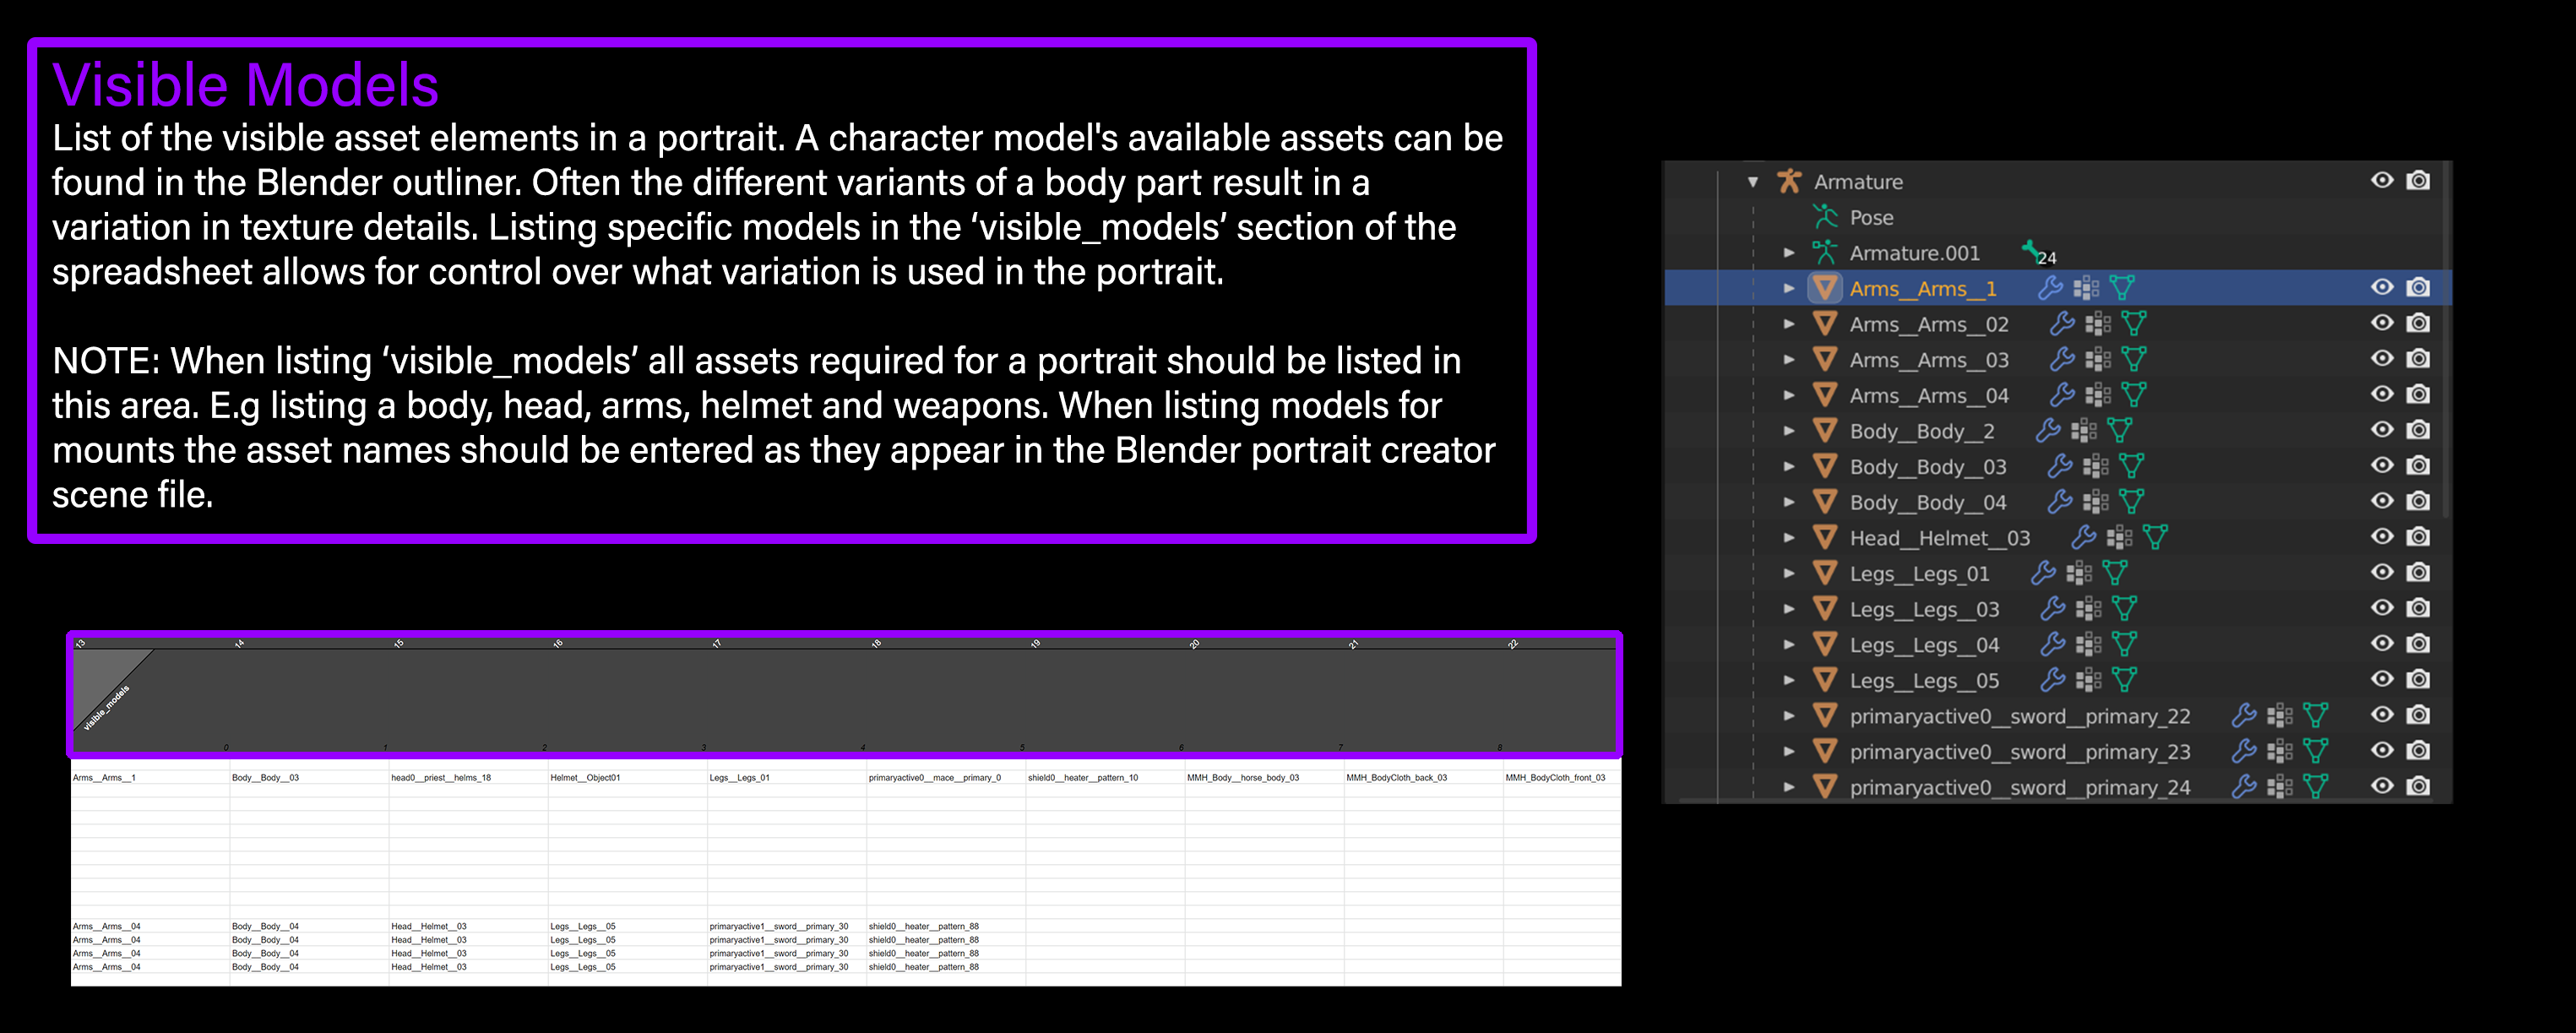
When looking to control the variation of a particular unit for a portrait, use the 'visible_models' section of the sheet. (scroll right on the 'main sheet')
When unit assignments are complete, copy the relevant rows into the inputfile.txt document.
Open the 'M2_Portrait_Creator_scene.blend'.
The posing/rendering tab is where unit poses are defined via the pink reference character. Scrubbing through the timeline represents all the existing poses.
Here is a list of pose groups based on keyframe number:
-1 = T-Pose
0 = Standing base
1/199 = unit (alone)
200/299 = horse mounted unit
300/349 = elephant mounted unit
350/399 = camel mounted unit
400/449 = chariots & other animals (dogs, pig)
450/499 = /
500/599 = warmachines
600/699 = naval/boats
700/799 = agents
The groups are defined by a change in position of the camera. For example the camera will be closer for a single human unit portrait than for an elephant mounted unit portrait.
Additional functionality you may want to make use of includes weapon references that can be enabled in the outliner and reference images that can be added to the camera.
Outliner with Weapon References | Shield Reference in Viewport
:-------------------------:|:-------------------------:|:--------------------|
|
|
Enter pose mode and manipulate the joints to create a new pose. Auto key is on by default. Note manipulating the joints on a frame which already has a pose will overwrite the existing pose! Recommended action - Select an empty frame within one of the ranges listed above (dependent on type of unit) or select a frame outside the range (799+).
The camera's position can also be changed via keyframe animation. Beware manipulating the camera position in any of the ranges listed above as these are positioned specifically for the relevant unit types.
If a new pose is added, you may want to consider updating the Pose Library sheet.
Navigate to the Run Tool (scripting) tab.
Select ‘Open’ at the top of the screen and open the ‘portrait_creator.py’.
By default the tool will read ‘inputfile.txt’ for the input file, draw 'unit data' from the 'source assets' folder and its relevant subdirectories. The ‘output_directory’ folder is set as the path for the image render output. These paths can be changed if desired. See image below for details. The script includes comments explaining the process if you require more information.
Before running the script it is recommended you navigate to 'Window' and 'Toggle System Console'. This allows visibility of the scripts progress as well as highlighting any errors.
Run the script by selecting the 'Run Script' button at the top of the screen.
When running the script if you encounter an error, before restarting the script navigate to the posing/rendering tab. Notice a character model is present below the camera. Under the ‘Characters’ collection - delete the models and armature. Now restart the script.
Convert the output .png files to .tga. (Recommend using Magick plugin)
Simply update the file in game (if replacing an existing asset) or add the file to the relevant directory (if producing for a mod).
Portrait game directories
- Game Directories
- BASE -
...\data\ui\units - Americas -
...\mods\americas\data\ui\units - Britannia -
...\mods\british_isles\data\ui\units - Crusades -
...\mods\crusades\data\ui\units - Teutonic -
...\mods\teutonic\data\ui\units
- BASE -

