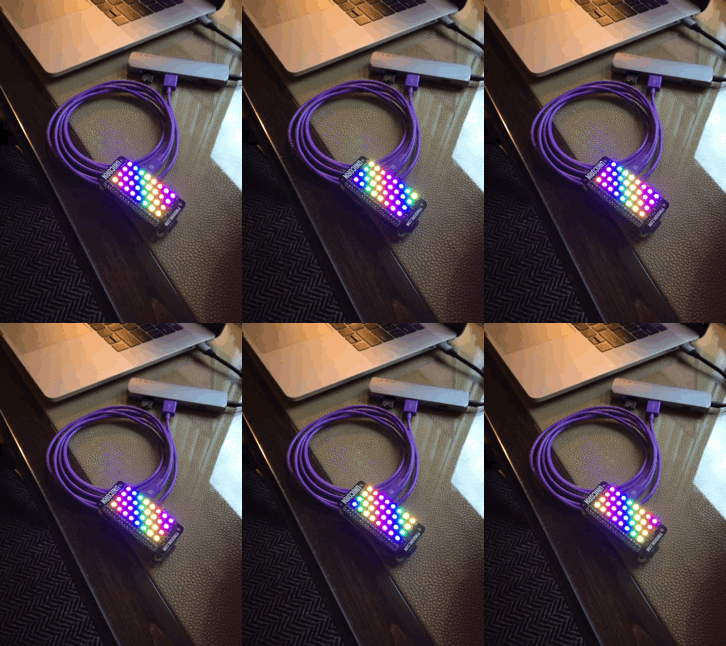
Drive WS2812B "NeoPixel" RGB LED strips from a Raspberry Pi using Elixir!
This project was designed to make it easy to drive a string of AdaFruit NeoPixels from a Raspberry Pi using Nerves. The code would probably also work outside of Nerves with minor modifications to the Makefile, if you so desire.
NOTE: This library used to be called
nerves_neopixel. The reason for the new name and major version bump is that I wanted to overhaul the API and also make it less-specific to Nerves and NeoPixels. For example, it could be used in the future to control DotStar LED chains from Raspbian Linux.
Add it to your list of dependencies in mix.exs:
  def deps do
    [{:blinkchain, "~> 1.0"}]
  end
If you've cloned the blinkchain repository, be sure to check out the
rpi_ws281x submodule:
$ git submodule init
$ git submodule updateOnly a subset of GPIO pins on the Raspberry Pis can control the NeoPixels. See GPIO Usage for details. Additionally, since the Raspberry Pi has 3.3V I/O outputs and the NeoPixels require 5V I/O input, you'll need a level shifter to convert between voltages.
You can read more about using NeoPixels with Nerves in my blog post about the project.
Supervision trees and an Elixir Port are used to maintain fault-tolerance
when interfacing with the low-level driver, which is written in C. For example,
let's imagine that you want to drive a Pimoroni Unicorn pHAT, which has a
grid of 8 by 4 NeoPixels, and an Adafruit NeoPixel Stick, which has a row of
8 NeoPixels. If we put the Stick next to the pHAT, we can imagine a virtual
drawing canvas that is 8 pixels wide and 5 pixels tall, like so:
# Y  X: 0  1  2  3  4  5  6  7
# 0  [  0  1  2  3  4  5  6  7 ] <- Adafruit NeoPixel Stick on Channel 1 (pin 13)
#    |-------------------------|
# 1  |  0  1  2  3  4  5  6  7 |
# 2  |  8  9 10 11 12 13 14 15 | <- Pimoroni Unicorn pHat on Channel 0 (pin 18)
# 3  | 16 17 18 19 20 21 22 23 |
# 4  | 24 25 26 27 28 29 30 31 |
#    |-------------------------|
First, you need to configure which GPIO pin(s) to use and how the pixels are arranged in each chain on the virtual drawing canvas:
# config/config.exs
use Mix.Config

config :blinkchain,
  canvas: {8, 5}

config :blinkchain, :channel0,
  pin: 18,
  type: :grb,
  brightness: 32,
  gamma: gamma,
  arrangement: [
    %{
      type: :matrix,
      origin: {0, 1},
      count: {8, 4},
      direction: {:right, :down},
      progressive: true
    }
  ]

config :blinkchain, :channel1,
  pin: 13,
  type: :grb,
  brightness: 32,
  gamma: gamma,
  arrangement: [
    %{
      type: :strip,
      origin: {0, 0},
      count: 8,
      direction: :right
    }
  ]
Then, in your application code, you can use the various Blinkchain API
drawing commands to set the color of each pixel on the virtual canvas before
calling Blinkchain.render/0 to present the virtual canvas onto the physical
NeoPixel LEDs. For example, to generate a scrolling rainbow pattern, assuming
that c1 through c5 are updated for each frame, you can do:
# lib/rainbow/worker.ex

# Shift all pixels to the right
Blinkchain.copy(%Point{x: 0, y: 0}, %Point{x: 1, y: 0}, 7, 5)

# Populate the five leftmost pixels with new colors
Blinkchain.set_pixel(%Point{x: 0, y: 0}, c1)
Blinkchain.set_pixel(%Point{x: 0, y: 1}, c2)
Blinkchain.set_pixel(%Point{x: 0, y: 2}, c3)
Blinkchain.set_pixel(%Point{x: 0, y: 3}, c4)
Blinkchain.set_pixel(%Point{x: 0, y: 4}, c5)

Blinkchain.render()
To see more about how this code works or try it out for yourself, check out
the included rainbow example.
