Download the latest release version that matches your computer.
- Windows 64-bit
- Windows 32-bit
- Mac OSX
- Linux 64-bit
- Launch the installer executable
- Windows may ask if you trust the software, as LightBurn is not currently digitally signed
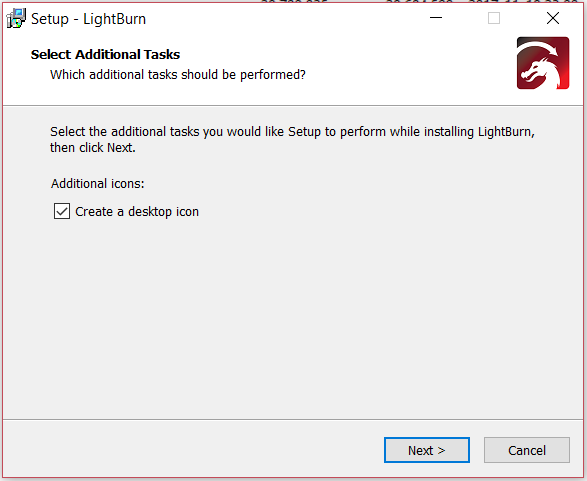
- Select if you would like to create a desktop icon
- Click Install
- Click Finish
That's it! Locate the LightBurn icon to launch the program
- Download the Mac/OSX version
- Double-click the .zip file to extract the DMG (disk-image) file
- Double-click the LightBurn.dmg file to mount it
- Drag the LightBurn application into your applications folder
- Launch LightBurn from the launcher as normal
- You can now eject the DMG file (drag it to the trash bin)
- Open a terminal and run the following command:
sudo adduser $USER dialout && sudo adduser $USER tty
- IMPORTANT! Log out and log back in (this refreshes the permissions we just added)
- Download the Linux 64-bit version, either the
.runfile or the.7zfile and follow the appropriate steps below:
- Open your terminal and
cdto the directory you downloaded the file to. - Run
bash ./LightBurn-Linux64-v*.run - It will now automatically install and create a program listing in your desktop environment.
- Extract the folder wherever you want Lightburn to exist
- Right click
AppRun> Properties > Permissions > 'Allow executing file as program' - Double click
AppRuninside your Lightburn folder
