When developing ML models, you probably develop your pipelines on your local machine initially as this allows for quicker iteration and debugging. However, at a certain point when you are finished with its design, you might want to transition to a more production-ready setting and deploy the pipeline to a more robust environment.
You can also watch a video of this example here.
If you're really in a hurry and just want to see this example pipeline run without wanting to fiddle around with all the individual installation and configuration steps, just run the following:
zenml example run kubeflow_pipelines_orchestrationIn order to run this example, we have to install a few tools that allow ZenML to spin up a local Kubeflow Pipelines setup:
- K3D to spin up a local Kubernetes cluster
- The Kubernetes command-line tool Kubectl to deploy Kubeflow Pipelines
- Docker to build docker images that run your pipeline in Kubernetes pods (Note: the local Kubeflow Pipelines deployment requires more than 2 GB of RAM, so if you're using Docker Desktop make sure to update the resource limits in the preferences)
Next, we will install ZenML, get the code for this example and initialize a ZenML repository:
# Install python dependencies
pip install zenml
pip install notebook  # if you want to run the example on the notebook

# Install ZenML integrations
zenml integration install kubeflow tensorflow tensorboard

# Pull the kubeflow example
zenml example pull kubeflow_pipelines_orchestration
cd zenml_examples/kubeflow_pipelines_orchestration

# Initialize a ZenML repository
zenml initAs an alternate to running the below commands, you can also simply use the notebook version and see the story unfold there:
jupyter notebookOtherwise, please continue reading if you want to run it straight in Python scripts.
We can now run the pipeline by simply executing the python script:
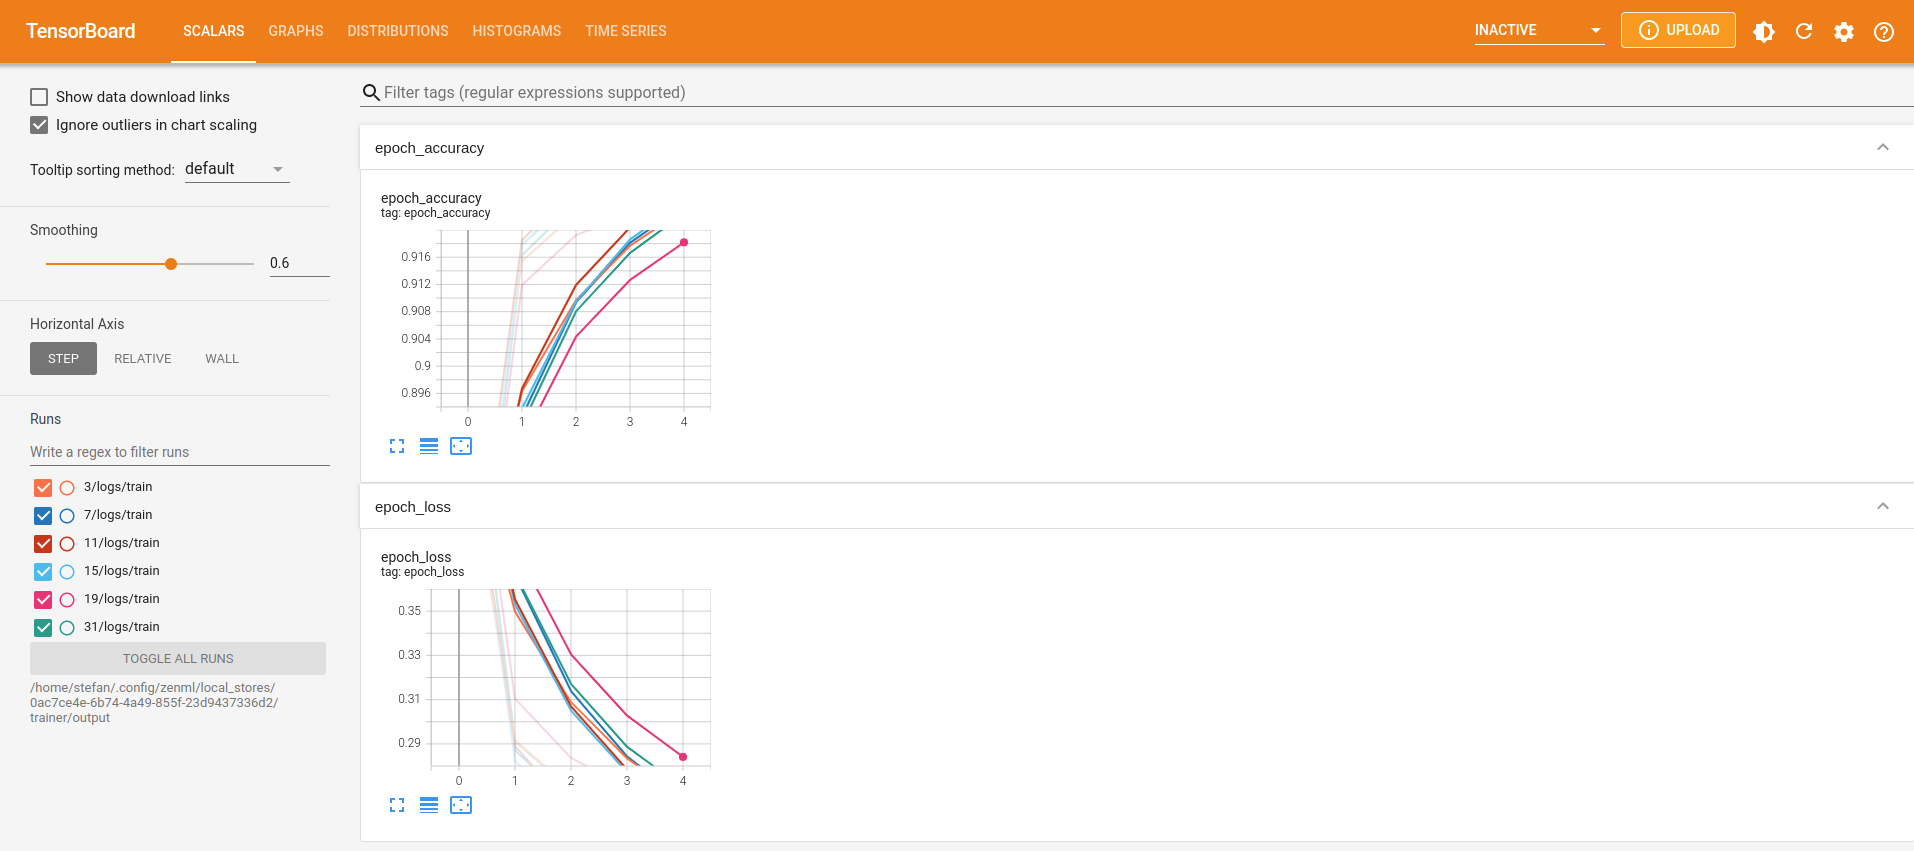
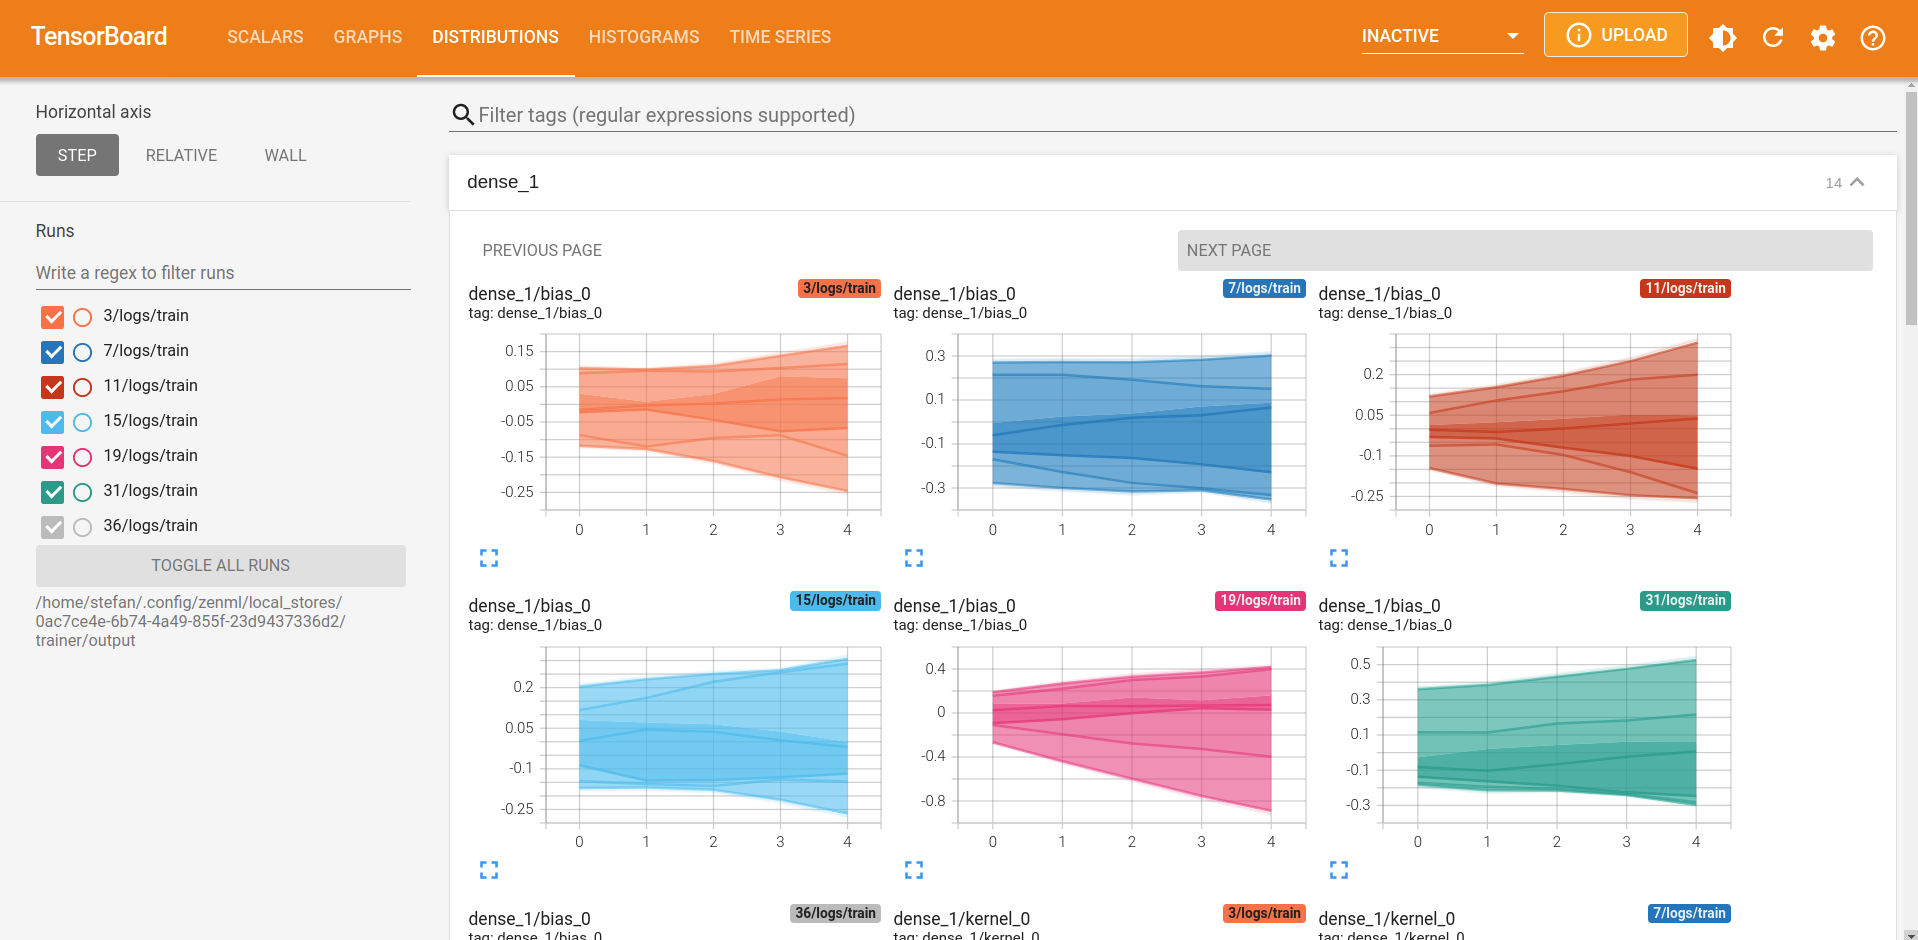
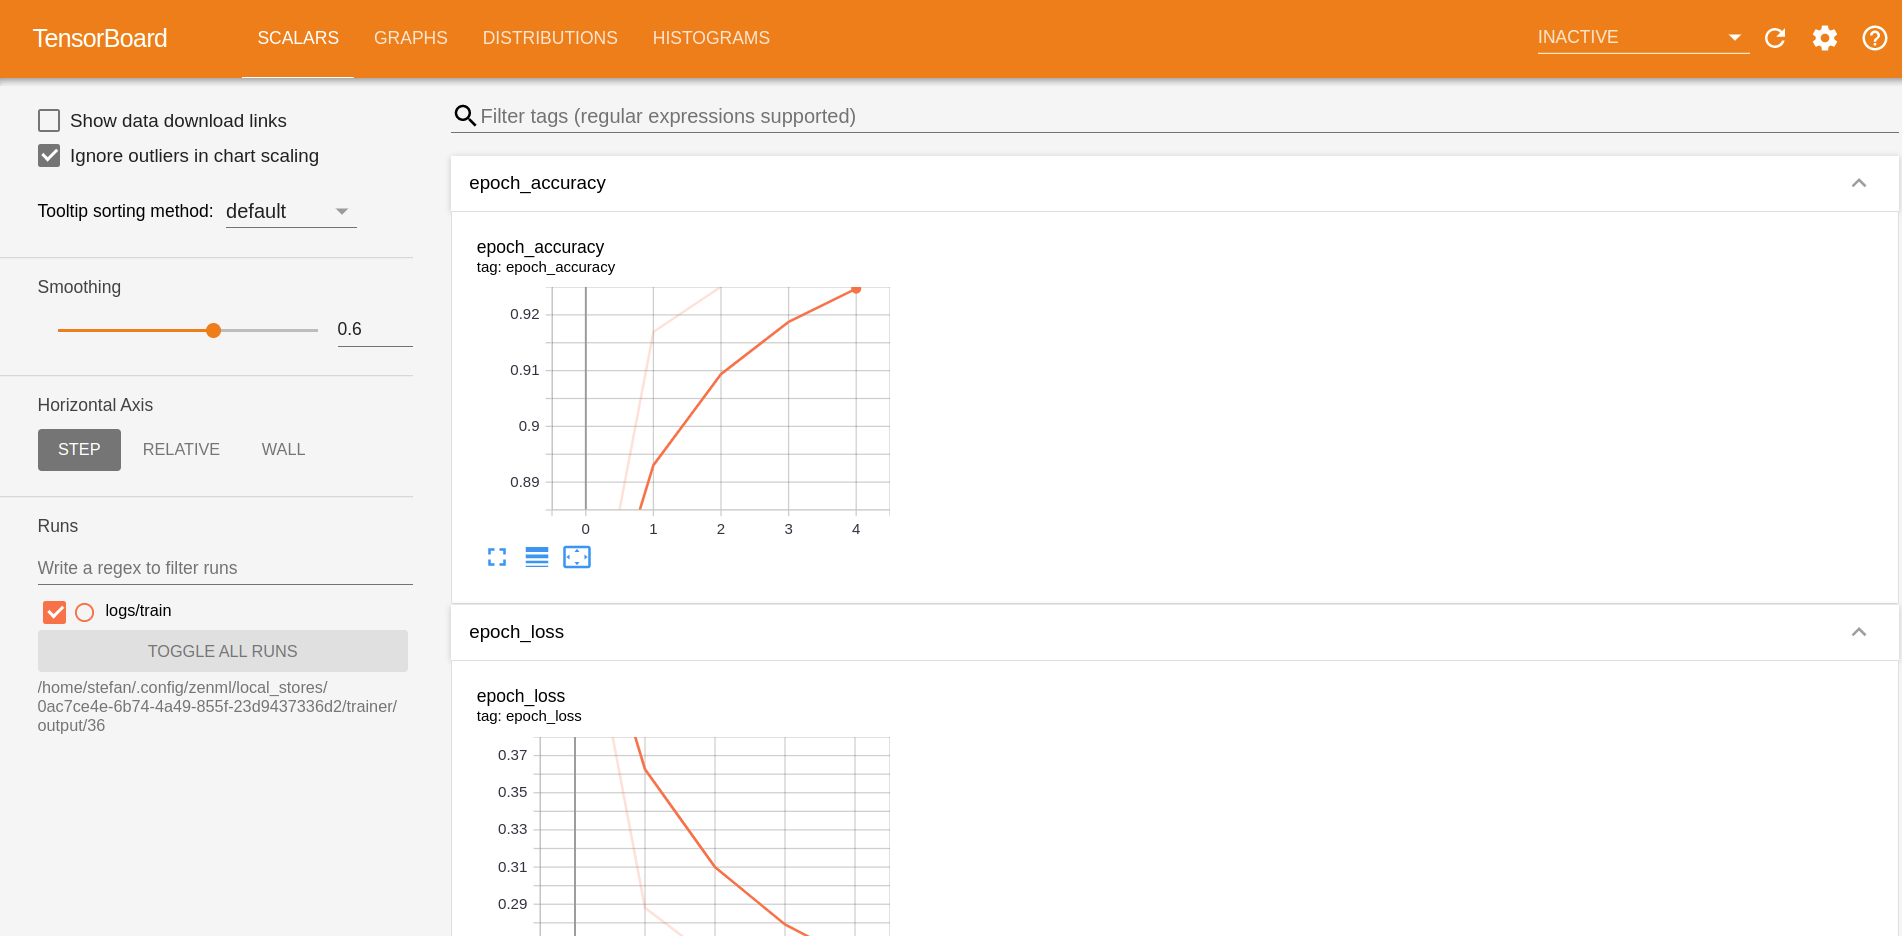
python run.pyThe script will run the pipeline locally and will start a TensorBoard server that can be accessed to visualize the information for the trained model.
Re-running the example with different hyperparameter values will re-train the model and the TensorBoard server will be updated automatically to include the new model information, e.g.:
python run.py --lr=0.02
python run.py --epochs=10Once you're done experimenting, you can stop the TensorBoard server running in the background by running the command below. However, you may want to keep it running if you want to continue on to the next step and run the same pipeline on a local Kubeflow Pipelines deployment.
python run.py --stop-tensorboardNow with all the installation and initialization out of the way, all that's left to do is configuring our ZenML stack. For this example, the stack we create consists of the following four parts:
- The local artifact store stores step outputs on your hard disk.
- The local metadata store stores metadata like the pipeline name and step parameters inside a local SQLite database.
- The docker images that are created to run your pipeline are stored in a local docker container registry.
- The Kubeflow orchestrator is responsible for running your ZenML pipeline in Kubeflow Pipelines.
# Make sure to create the local registry on port 5000 for it to work
zenml container-registry register local_registry --flavor=default --uri=localhost:5000
zenml orchestrator register local_kubeflow_orchestrator --flavor=kubeflow
zenml stack register local_kubeflow_stack \
    -m default \
    -a default \
    -o local_kubeflow_orchestrator \
    -c local_registry \
--setZenML takes care of setting up and configuring the local Kubeflow Pipelines deployment. All we need to do is run:
zenml stack upWhen the setup is finished, you should see a local URL which you can access in your browser and take a look at the Kubeflow Pipelines UI.
We can now run the pipeline by simply executing the python script:
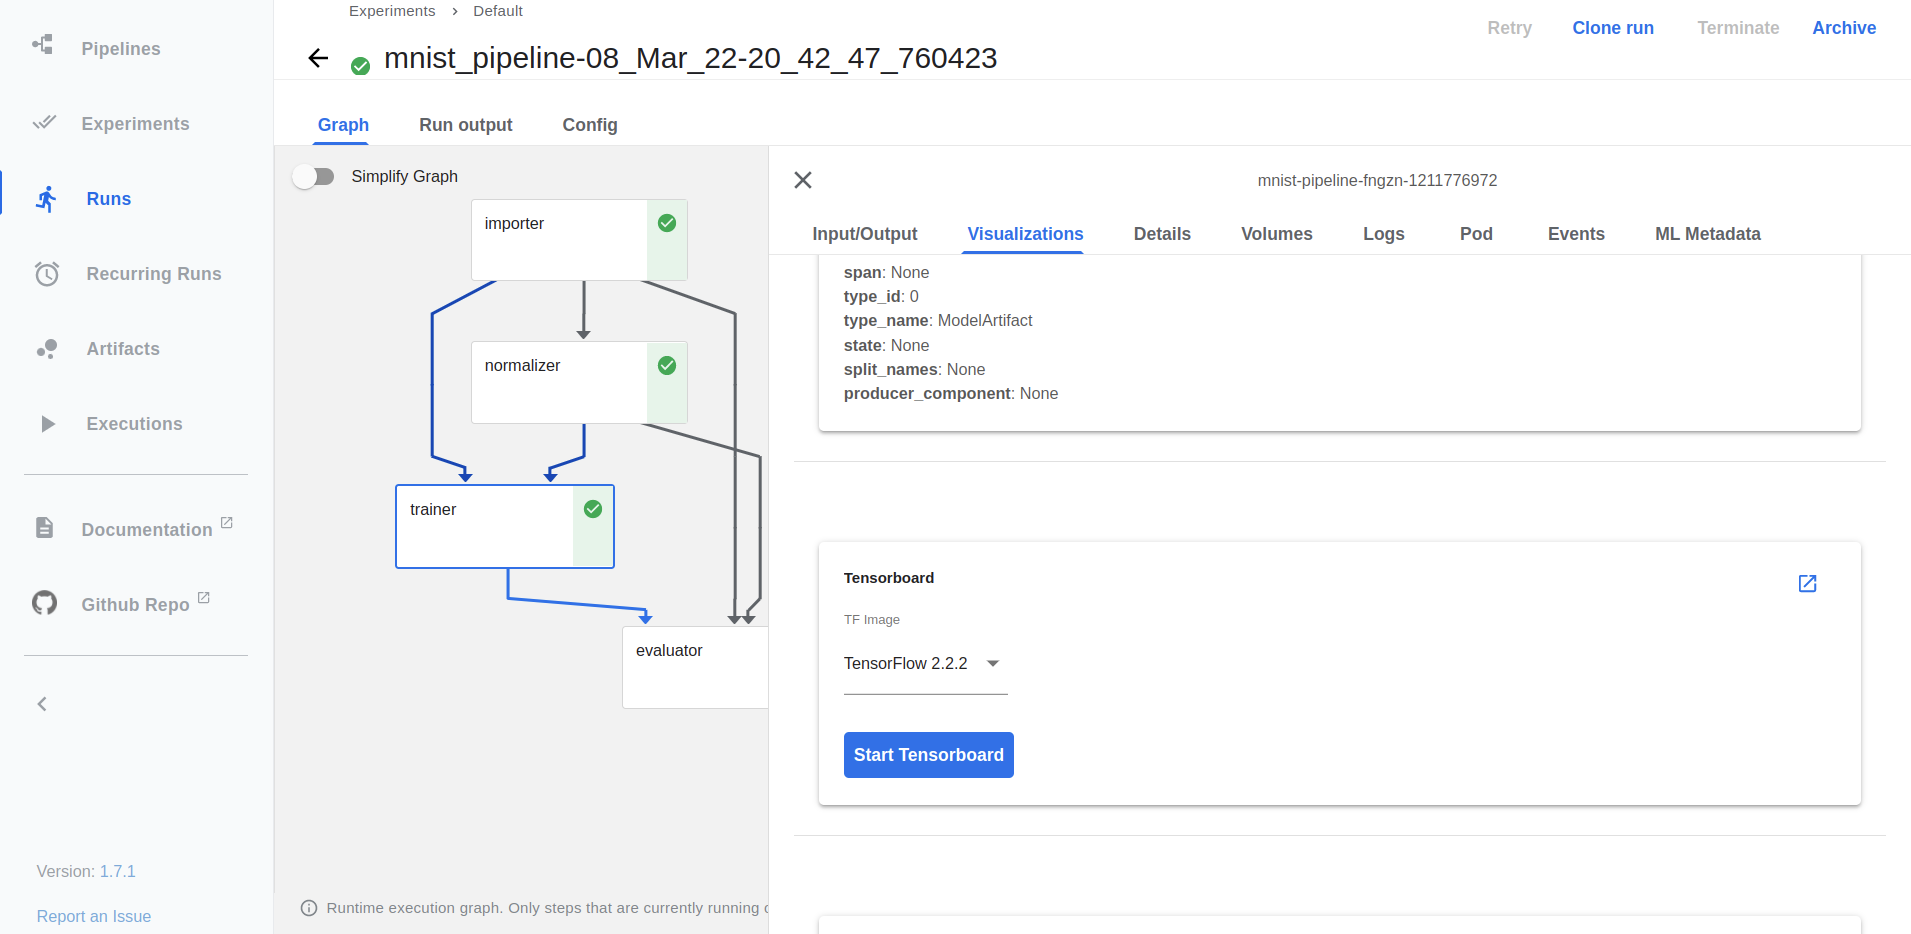
python run.pyThis will build a docker image containing all the necessary python packages and files, push it to the local container registry and schedule a pipeline run in Kubeflow Pipelines. Once the script is finished, you should be able to see the pipeline run here.
The TensorBoard logs for the model trained in every pipeline run can be viewed directly in the Kubeflow Pipelines UI by clicking on the "Visualization" tab and then clicking on the "Open TensorBoard" button.
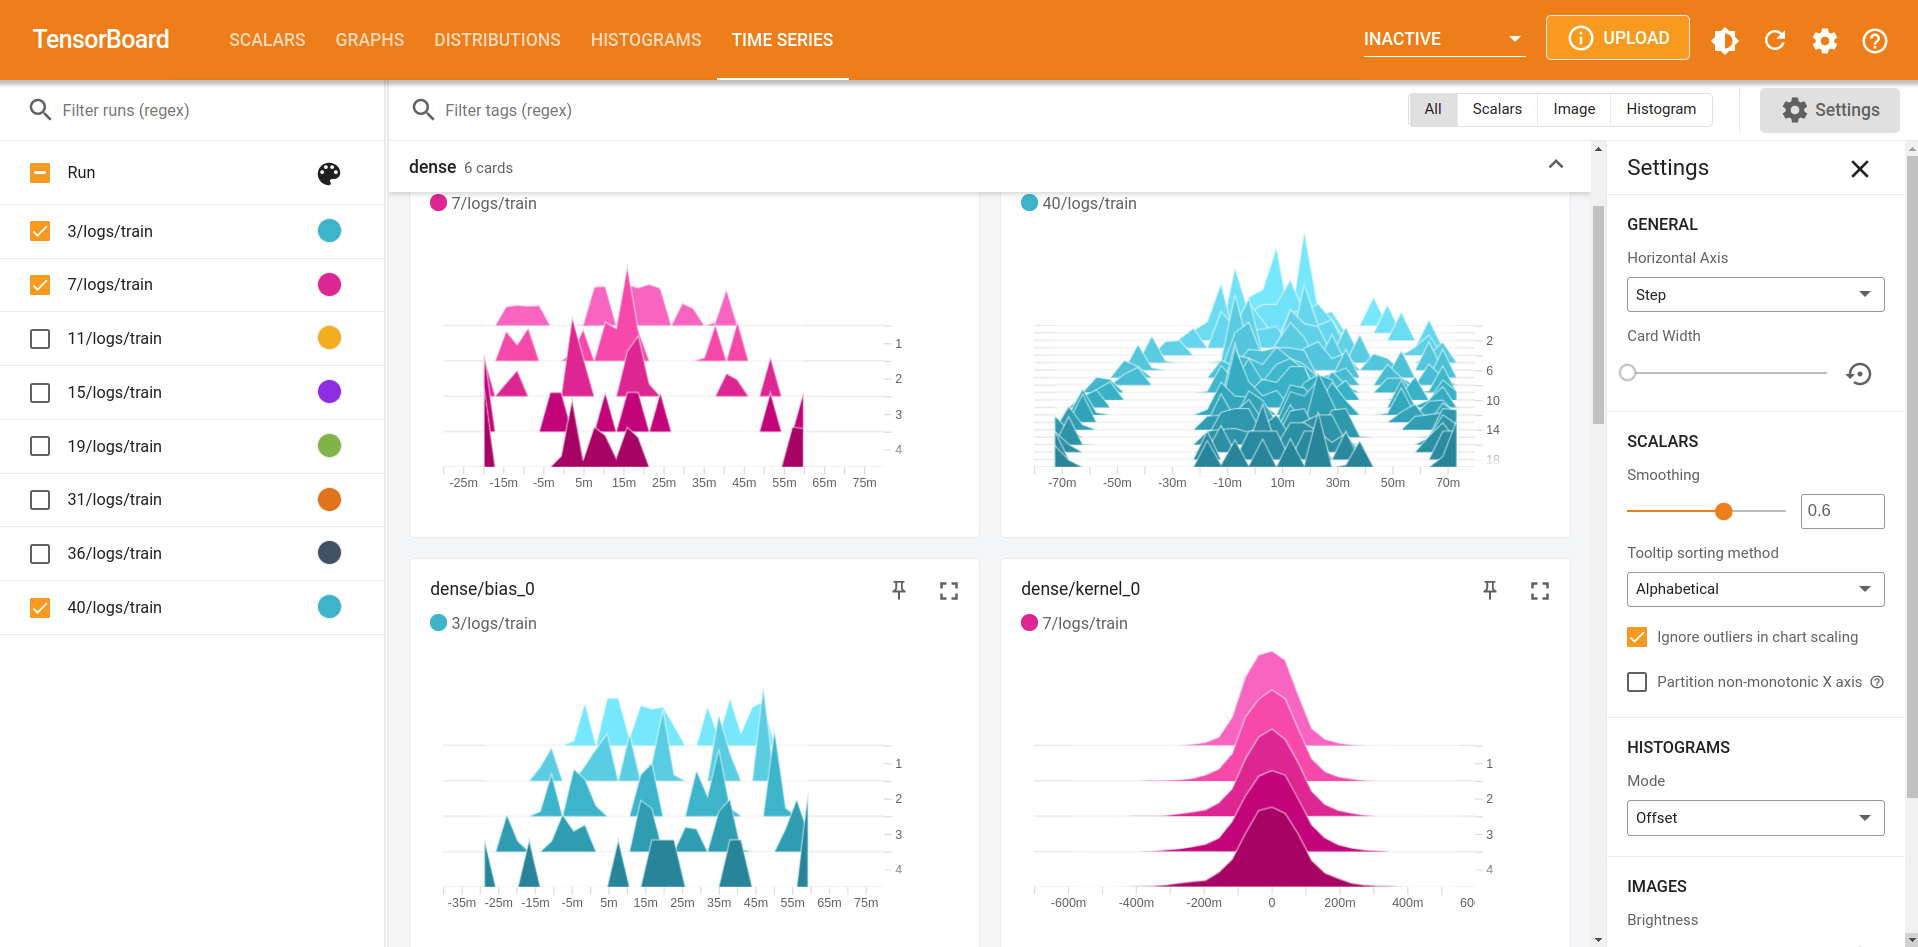
At the same time, the script will start a local TensorBoard server that can be accessed to visualize the information for all past and future versions of the trained model.
Re-running the example with different hyperparameter values will re-train the model and the TensorBoard server will be updated automatically to include the new model information, e.g.:
python run.py --learning_rate=0.02
python run.py --epochs=10Once you're done experimenting, you can stop the TensorBoard server running in the background with the command:
python run.py --stop-tensorboardYou can delete the local Kubernetes cluster and all associated resources by calling:
zenml stack down --forceWe will now run the same pipeline in Kubeflow Pipelines deployed to a Google Kubernetes Engine cluster. As you can see from the long list of additional pre-requisites, this requires lots of external setup steps at the moment. In future releases ZenML will be able to automate most of these steps for you, so make sure to revisit this guide if this is something you're interested in!
- An existing GCP container registry.
- An existing GCP bucket.
- Kubeflow Pipelines deployed to a Google Kubernetes Engine cluster.
- The local docker client has to be authorized to access the GCP container registry.
- Kubectl can access your GCP Kubernetes cluster.
Yes! With ZenML Stack Recipes, you can now provision all the infrastructure you need to run your ZenML pipelines with just a few simple commands.
The flow to get started for this example can be the following:
-
Pull the
gcp-kubeflow-kserverecipe to your local system. Learn more about what this recipe does from its README.zenml stack recipe pull gcp-kubeflow-kserve
-
(Optional) 🎨 Customize your deployment by editing the default values in the
locals.tffile. -
🚀 Deploy the recipe with this simple command.
zenml stack recipe deploy gcp-kubeflow-kserve
Note This command can also automatically import the resources created as a ZenML stack for you. Just run it with the
--importflag and optionally provide a--stack-nameand you're set! Keep in mind, in that case, you'll need all integrations for this example installed before you run this command.Note You should also have kubectl and docker installed on your local system with the local docker client authorized to push to your cloud registry.
-
You'll notice that a ZenML stack configuration file gets created 🤯! You can run the following command to import the resources as a ZenML stack, manually.
zenml stack import <STACK-NAME> <PATH-TO-THE-CREATED-STACK-CONFIG-YAML>

# set the imported stack as the active stack
zenml stack set <STACK-NAME>
-
You should now create a secret for the CloudSQL instance that will allow ZenML to connect to it. Use the following command:
zenml secrets-manager secret register gcp_mysql_secret --schema=mysql --user=<DB_USER> --password=<PWD> \
  --ssl_ca=@</PATH/TO/DOWNLOADED/SERVER-CERT> \
  --ssl_cert=@</PATH/TO/DOWNLOADED/CLIENT-CERT> \
  --ssl_key=@</PATH/TO/DOWNLOADED/CLIENT-KEY>
The values for the username and password can be obtained by running the following commands inside your recipe directory.
terraform output metadata-db-username

terraform output metadata-db-password
For the certificates, visit the Google Cloud Console to create a certificate and download the files to your system.
You can now jump straight to the section on running the pipeline!
To run our pipeline on Kubeflow Pipelines deployed to GCP, we will create a new stack with these components:
- The artifact store stores step outputs in a GCP Bucket.
- The metadata store stores metadata inside the Kubeflow Pipelines internal MySQL database.
- The docker images that are created to run your pipeline are stored in GCP container registry.
- The Kubeflow orchestrator is responsible for running your ZenML pipeline in Kubeflow Pipelines. We need to configure it with the right kubernetes context so ZenML can run pipelines in your GCP cluster.
When running the upcoming commands, make sure to replace <PATH_TO_YOUR_CONTAINER_REGISTRY> and
<PATH_TO_YOUR_GCP_BUCKET> with the actual URIs of your container registry and bucket. You will also need to replace
<NAME_OF_GCP_KUBERNETES_CONTEXT> with the kubernetes context pointing to your gcp cluster.
# In order to create the GCP artifact store, we need to install one additional ZenML integration:
zenml integration install gcp

# Create and activate the stack and its components
zenml container-registry register gcr_registry --flavor=gcp --uri=<PATH_TO_YOUR_CONTAINER_REGISTRY>
zenml metadata-store register kubeflow_metadata_store --flavor=kubeflow
zenml artifact-store register gcp_artifact_store --flavor=gcp --path=<PATH_TO_YOUR_GCP_BUCKET>
zenml orchestrator register gcp_kubeflow_orchestrator --flavor=kubeflow --kubernetes_context=<NAME_OF_GCP_KUBERNETES_CONTEXT>
zenml stack register gcp_kubeflow_stack \
    -m kubeflow_metadata_store \
    -a gcp_artifact_store \
    -o gcp_kubeflow_orchestrator \
    -c gcr_registry \
    --set

# Forward the Kubeflow pipelines UI and metadata store so we can access them locally
zenml stack upConfiguring and activating the new stack is all that's necessary to switch from running your pipelines locally to running them on GCP:
python run.pyThat's it! If everything went as planned this pipeline should now be running in the cloud, and we are one step closer to a production pipeline!
If you're using the Kubeflow orchestrator and some of your pipelines steps have certain hardware requirements, you can specify them using the step decorator as follows:
from zenml.steps import step, ResourceConfiguration

@step(resource_configuration=ResourceConfiguration(cpu_count=8, memory="16GB"))
def my_step(...) -> ...:
    ...
This will make sure that your step runs on a machine with the specified resources as long as such a machine is available in the Kubernetes cluster you're using.
Once you're done experimenting, you can stop the port forwarding and delete the example files by calling:
zenml stack down --force
rm -rf zenml_examplesOur docs regarding the Kubeflow orchestrator integration can be found here.
If you want to learn more about orchestrators in general or about how to build your own orchestrators in ZenML check out our docs.
