This project is primarliy a fork of corbanmailloux's repository esp-mqtt-rgb-led with a means of controlling LED Strips or neopixels.
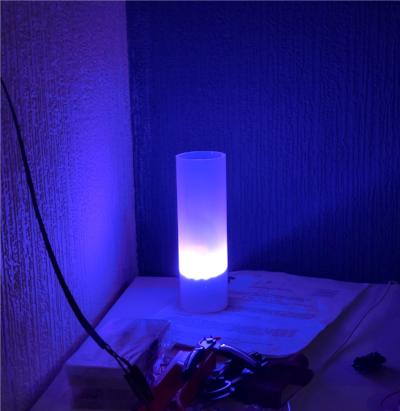
After making my own RGB led lamp with a WS2812B Ring, a NodeMCU V3, some hot glue and half a bird feeder I wanted to intergrate it with home assistant.
I first tried with using a REST approch with HTTP requests but there wasn't an intergration in home assistant, so I was linked to corbanmailloux's repository.
To set this system up, you need to configure the MQTT JSON light component in Home Assistant and set up a light to control. This guide assumes that you already have Home Assistant set up and running. If not, see the installation guides here. As well as these you also have to install the appropriate libraries in your arduino IDE
-
In your
configuration.yaml, add the following:light: + platform: mqtt_json name: mqtt_json_light_1 state_topic: "home/rgb1" command_topic: "home/rgb1/set" brightness: true rgb: true optimistic: false qos: 0
-
Set the
name,state_topic, andcommand_topicto values that make sense for you. Make sure these are unique to every light unless you would like the lights on the same group. -
Restart Home Assistant. Depending on how you installed it, the process differs. For a Raspberry Pi All-in-One install, use
sudo systemctl restart home-assistant.service(or just restart the Pi).
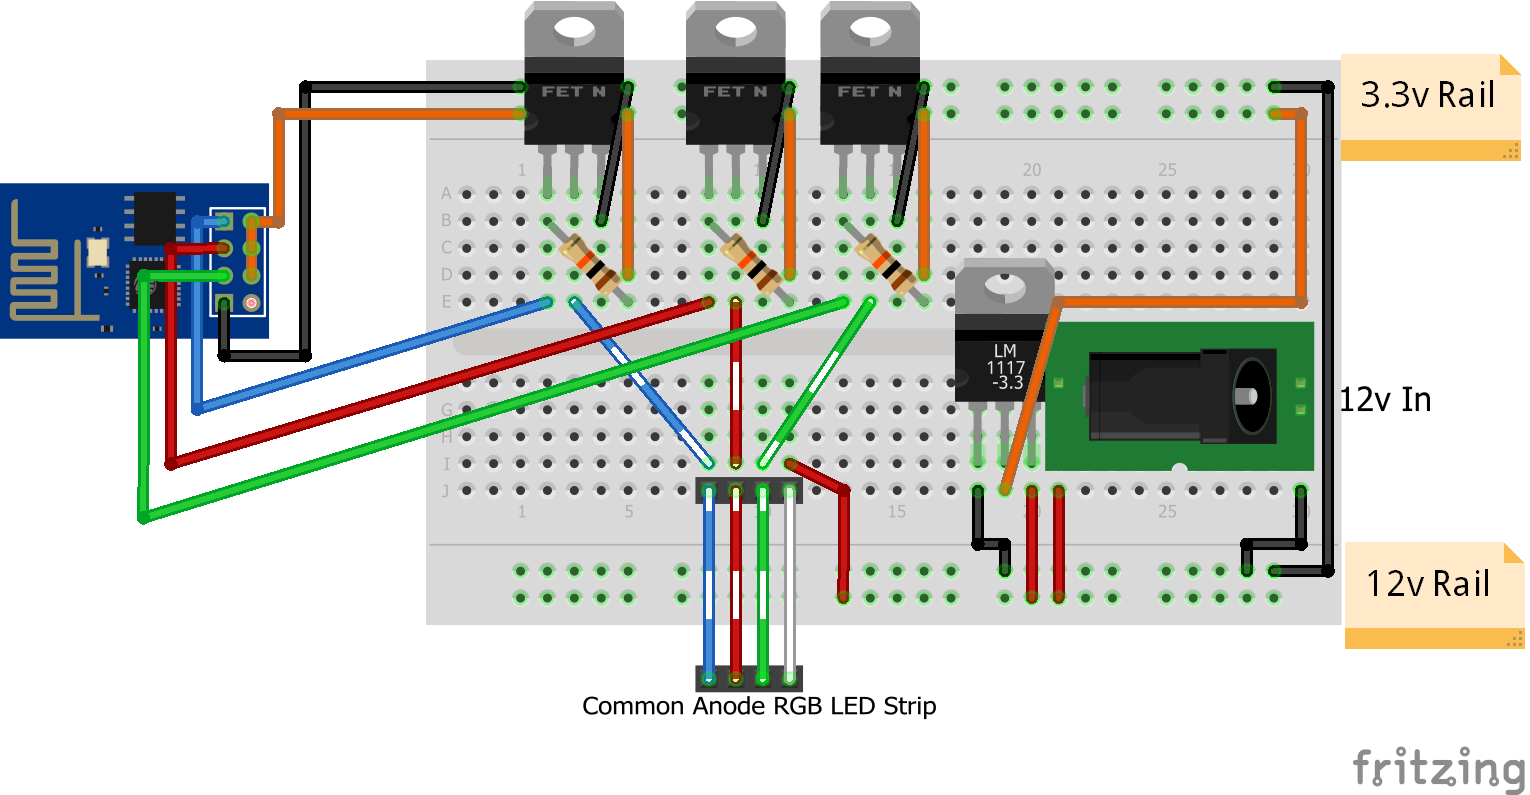
For this I used a NodeMCU v3 which used a ESP8266-01 microcontroller. The NodeMCU is bigger than a raw ESP8266 but it has a voltage regulator and is breadboard friendly. You'll need an ESP set up to work with the Arduino IDE. This needs to be added to your boards manager, you can read here for instructions on how to do this.
- Using the Library Manager in the Arduino IDE, install ArduinoJSON, PubSubClient and FastLED. After downloading all the zipped libraries you can install them with "Sketch" -> "Include libraries" -> "Add from ZIP"
- Open the
mqtt_nodemcuv3_rgb.inofile in the arduino IDE - Configure FastLED using the Data pin, color order, chipset and led number variables.
- Configure the MQTT broker using MQTT server, MQTT username, MQTT port (optional) and MQTT password.
- Configure your wifi connection with your SSID and Password.
- Set the
client_idvariable to a unique value for your network. - Set
light_state_topicandlight_command_topicto match the values you put in yourconfiguration.yaml. - Upload to your nodemcu board after selecting "NodeMCU 1.0".
When wiring to your nodemcu you will want to have a data pin, +5v and ground. If running a small amount of LEDs you can run directly from the board itself provided your microusb power supply has sufficient Amperage. If not then connect ground and 5v to a proper power supply and then conenct it to your nodemcu.