-
Download the Epic Games Launcher. While the Unreal Engine is open source and free to download, registration is still required.
-
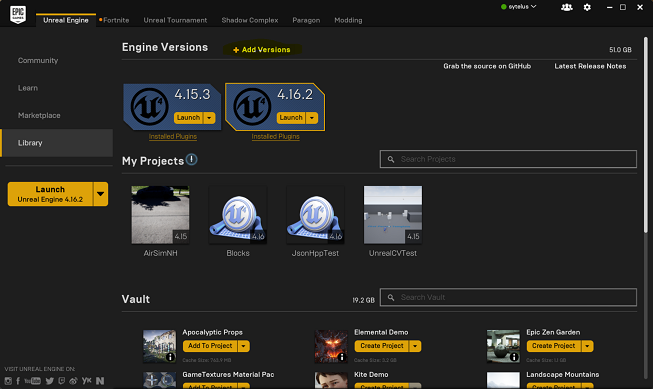
Run the Epic Games Launcher, open the Library tab from left, click on the "Add Versions" which should show the option to download Unreal 4.18 as shown below. If you have multiple versions of Unreal installed then make sure 4.18 is "Current" by clicking down arrow next to the Launch button for the version.
Note: If you have UE 4.16 or older projects, please see the upgrade guide to upgrade your projects.
- You will need Visual Studio 2017 (make sure to install VC++) or newer.
- Start
x64 Native Tools Command Prompt for VS 2017. Create a folder for the repo and rungit clone https://github.com/Microsoft/AirSim.git. - Run
build.cmdfrom the command line. This will create ready to use plugin bits in theUnreal\Pluginsfolder that can be dropped into any Unreal project.
A remote control is required if you want to fly manually. See the remote control setup for more details.
Alternatively, you can use APIs for programmatic control or use the so-called Computer Vision mode to move around using the keyboard.
Finally, you will need an Unreal project that hosts the environment for your vehicles. AirSim comes with a built-in "Blocks Environment" which you can use, or you can create your own. Please see setting up Unreal Environment.
By default, AirSim uses its own built-in firmware called simple_flight. There is no additional setup if you just want to go with it. If you want to switch to using PX4 instead then please see this guide.
Sometimes the Unreal + VS build system doesn't recompile if you make changes to only header files. To ensure a recompile, make some Unreal based cpp file "dirty" like AirSimGameMode.cpp.
