1/ Open Amazon SageMaker Notebook Instances in your preferred AWS region: https://console.aws.amazon.com/sagemaker/home#/notebook-instances
2/ Click Create notebook instance.
3/
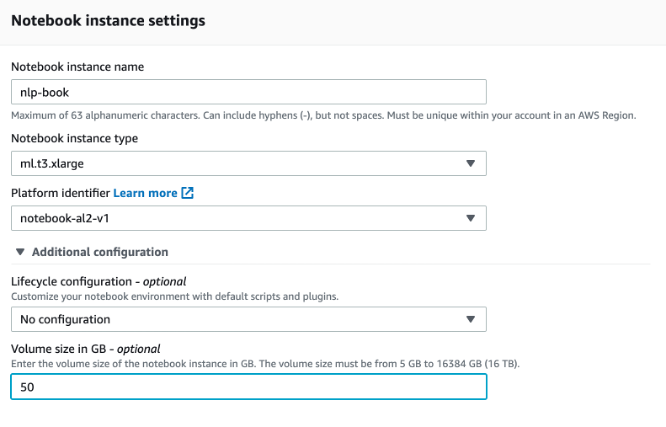
Choose an instance type:
Any ml.t3.* instance or if you want to have an instance with GPU take e.g. ml.g4dn.xlarge.
Overview: https://aws.amazon.com/sagemaker/pricing/
4/ Choose notebook-al2-v1 and add more storage volume, e.g. 50 GB.
5/ (optional) If you plan to use JupyterLab, make sure to add a Lifecycle configuration with the following code. Or execute the code in a terminal in JupyterLab.
sudo -u ec2-user -i <<'EOF' EXTENSION_NAME=@jupyter-widgets/jupyterlab-manager source /home/ec2-user/anaconda3/bin/activate JupyterSystemEnv jupyter labextension install $EXTENSION_NAME source /home/ec2-user/anaconda3/bin/deactivate EOF
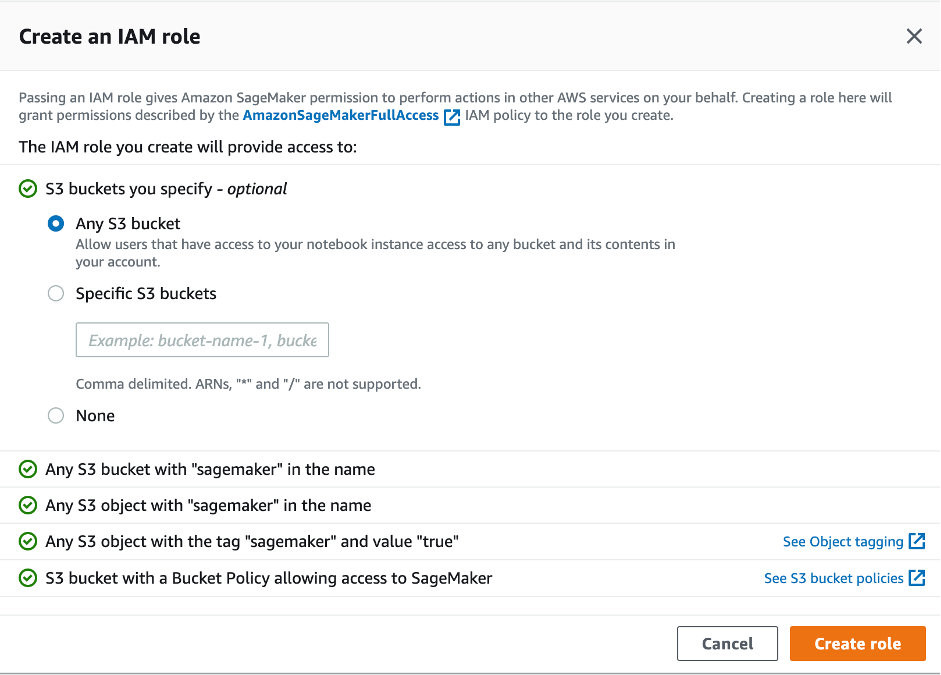
5/ Create a new IAM role, which will used in the notebooks to access AWS resources.
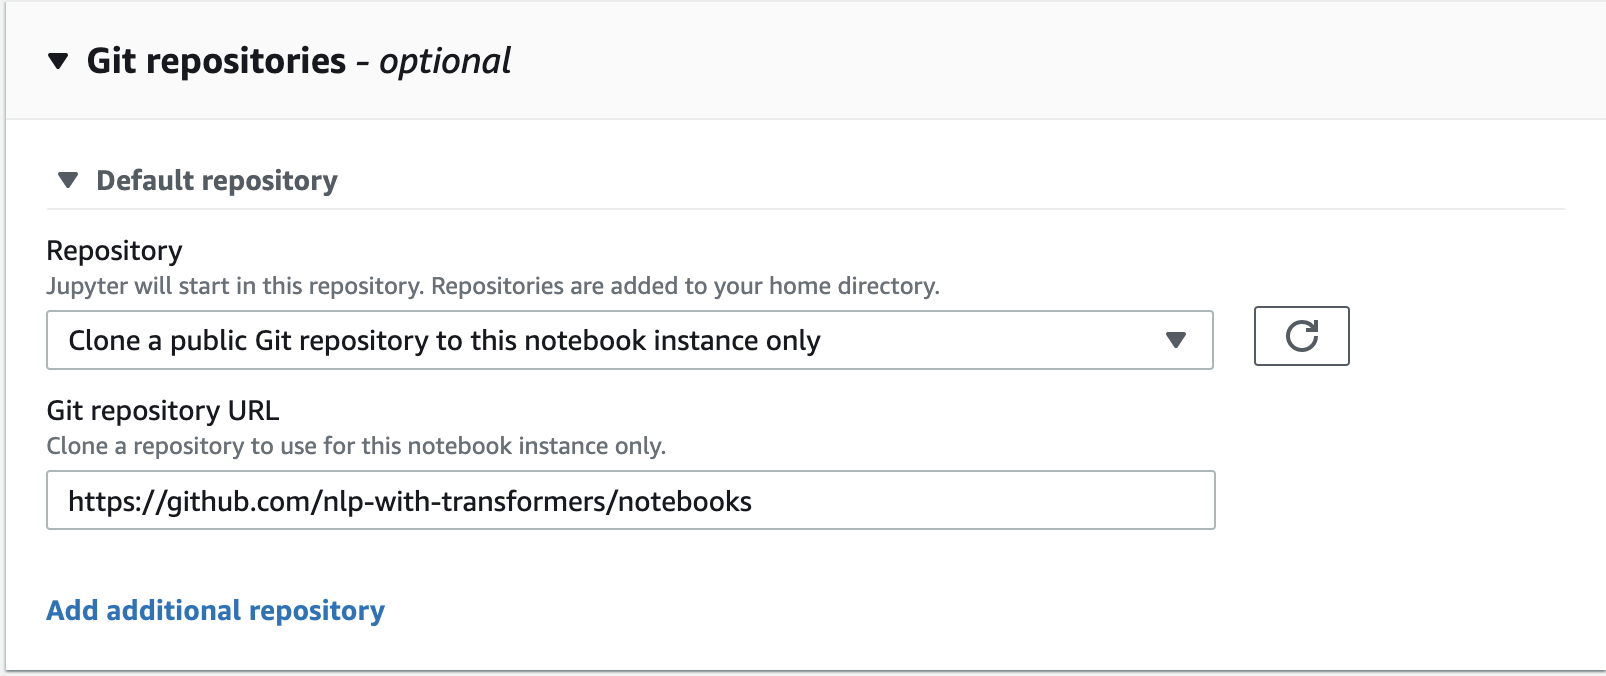
6/ Add this Git repository, which will be cloned to your notebook by selecting Clone a public Git repository to this notebook instance only. Paste the Git repository URL to the next field.
7/ The notebook instance will now created and after you click Open Jupyter you see the cloned notebooks. Navigate to the folder SageMaker, open the first chapter and execute one cell after the other.


