🎆 Hanabi — a GPU particle system for the Bevy game engine.
The Hanabi particle system is a modern GPU-based particle system for the Bevy game engine. It focuses on scale to produce stunning visual effects (VFX) in real time, offloading most of the work to the GPU, with minimal CPU intervention. The design is inspired by modern particle systems found in other industry-leading game engines.
🚧 This project is under heavy development, and is currently lacking both features and performance / usability polish. However, for moderate-size effects, it can already be used in your project. Feedback and contributions on both design and features are very much welcome.
🎆 Hanabi makes heavy use of compute shaders to offload work to the GPU in a performant way, and therefore is not available for the wasm target (WebAssembly). This is a limitation of how Bevy itself uses wgpu as of latest stable release (0.10). The next Bevy release (0.11) will have WebGPU support, making it possible to add WebAssembly support to 🎆 Hanabi. See #41 for details.
The 🎆 Bevy Hanabi plugin is compatible with Bevy versions >= 0.6; see Compatible Bevy versions.
Add the bevy_hanabi dependency to Cargo.toml:
[dependencies]
bevy_hanabi = "0.6"
See also Features below for the list of supported features.
Add the HanabiPlugin to your app:
use bevy_hanabi::prelude::*;

App::default()
    .add_plugins(DefaultPlugins)
    .add_plugin(HanabiPlugin)
    .run();
Create an EffectAsset describing a visual effect:
fn setup(mut effects: ResMut<Assets<EffectAsset>>) {
  // Define a color gradient from red to transparent black
  let mut gradient = Gradient::new();
  gradient.add_key(0.0, Vec4::new(1., 0., 0., 1.));
  gradient.add_key(1.0, Vec4::splat(0.));

  // Create a new expression module
  let mut module = Module::default();

  // Create a lifetime modifier
  let lifetime = module.lit(10.); // literal value "10.0"
  let init_lifetime = InitAttributeModifier::new(
      Attribute::LIFETIME, lifetime);

  // Create an acceleration modifier
  let accel = module.lit(Vec3::new(0., -3., 0.));
  let update_accel = AccelModifier::new(accel);

  // Create the effect asset
  let effect = EffectAsset::new(
    // Maximum number of particles alive at a time
    32768,
    // Spawn at a rate of 5 particles per second
    Spawner::rate(5.0.into()),
    // Move the expression module into the asset
    module
  )
  .with_name("MyEffect")
  // On spawn, randomly initialize the position of the particle
  // to be over the surface of a sphere of radius 2 units.
  .init(InitPositionSphereModifier {
      center: Vec3::ZERO,
      radius: 2.,
      dimension: ShapeDimension::Surface,
  })
  // Also initialize a radial initial velocity to 6 units/sec
  // away from the (same) sphere center.
  .init(InitVelocitySphereModifier {
      center: Vec3::ZERO,
      speed: 6.0.into(),
  })
  // Also initialize the total lifetime of the particle, that is
  // the time for which it's simulated and rendered. This modifier
  // is almost always required, otherwise the particles won't show.
  .init(init_lifetime)
  // Every frame, add a gravity-like acceleration downward
  .update(update_accel)
  // Render the particles with a color gradient over their
  // lifetime. This maps the gradient key 0 to the particle spawn
  // time, and the gradient key 1 to the particle death (10s).
  .render(ColorOverLifetimeModifier { gradient });

  // Insert into the asset system
  let effect_handle = effects.add(effect);
}Use a ParticleEffectBundle to create an effect instance from an existing asset. The simplest way is to use the [ParticleEffectBundle] to ensure all required components are spawned together.
commands
    .spawn(ParticleEffectBundle {
        effect: ParticleEffect::new(effect_handle),
        transform: Transform::from_translation(Vec3::Y),
        ..Default::default()
});See the examples/ folder.
Note for Linux users: The examples build with the bevy/x11 feature by default to enable support for the X11 display server. If you want to use the Wayland display server instead, add the bevy/wayland feature.
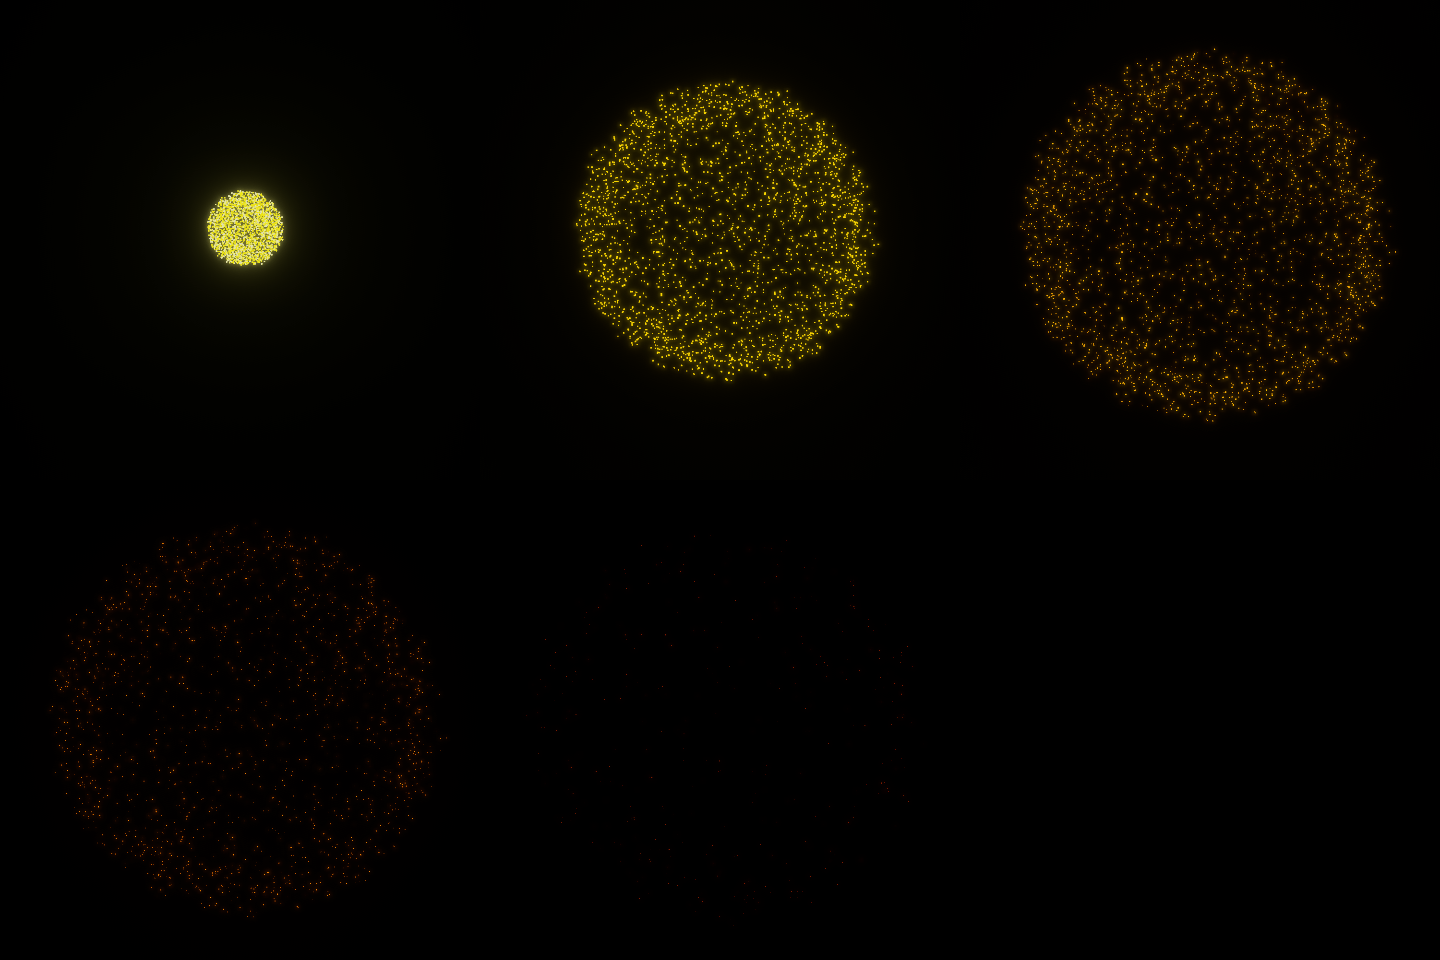
Combine the InitPositionSphereModifier for spawning and LinearDragModifier to slow down particles, to create a firework effect. This example makes use of an HDR camera with Bloom. See the example file for more details about how the effect is designed.
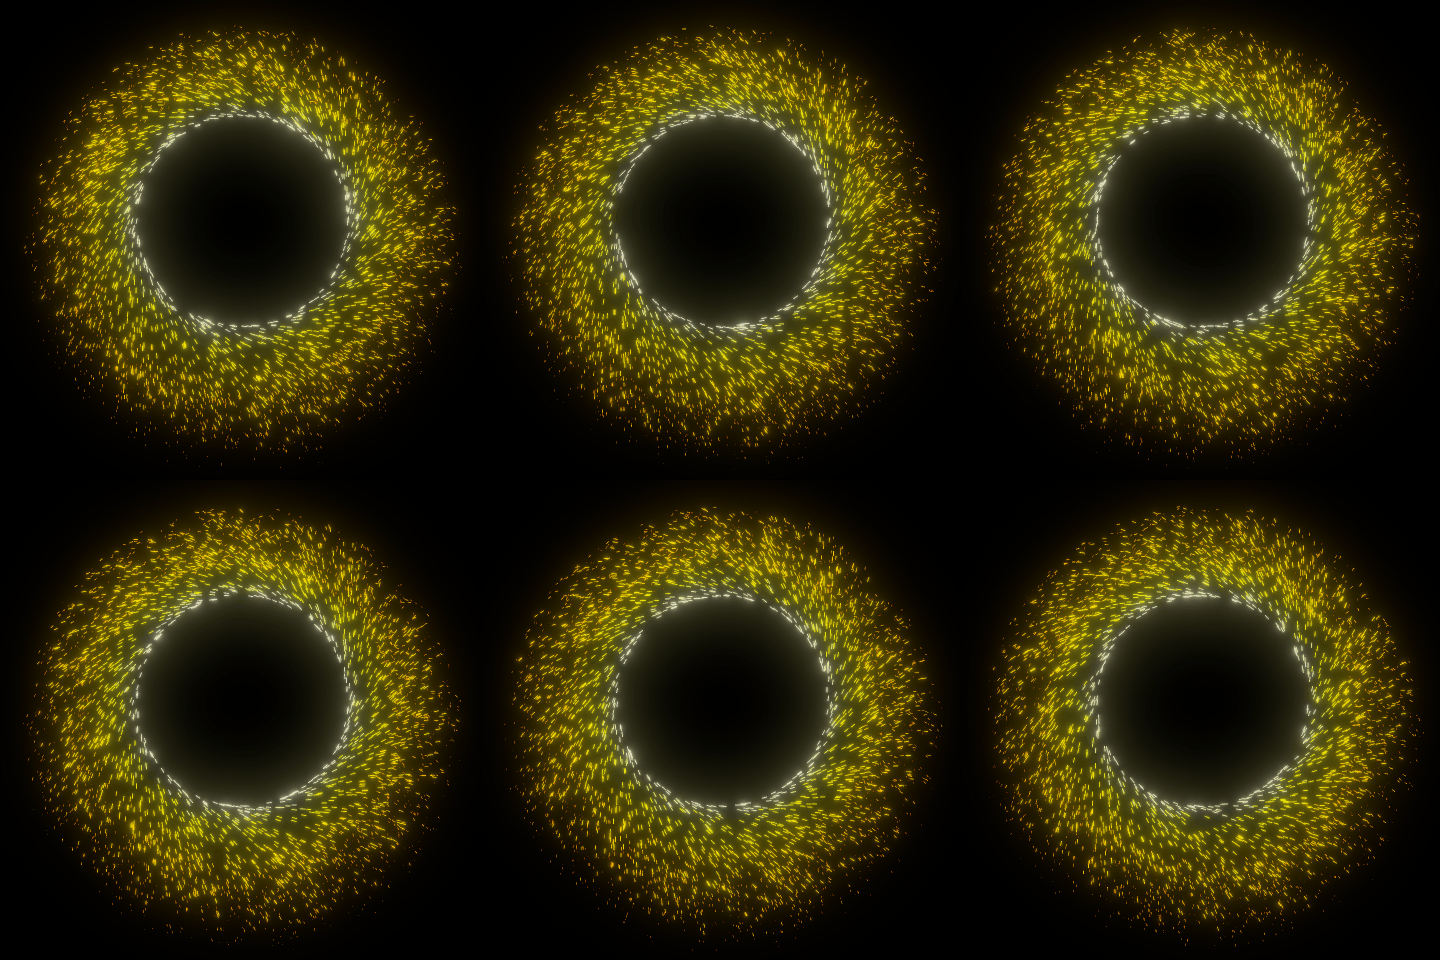
cargo run --example firework --features="bevy/bevy_winit bevy/bevy_pbr bevy/png 3d"Combine the InitVelocityTangentModifier for tangential rotation of particles around a circle and the OrientAlongVelocityModifier to create elongated sparks, to produce a kind of "magic portal" effect. This example makes use of an HDR camera with Bloom. See the example file for more details about how the effect is designed.
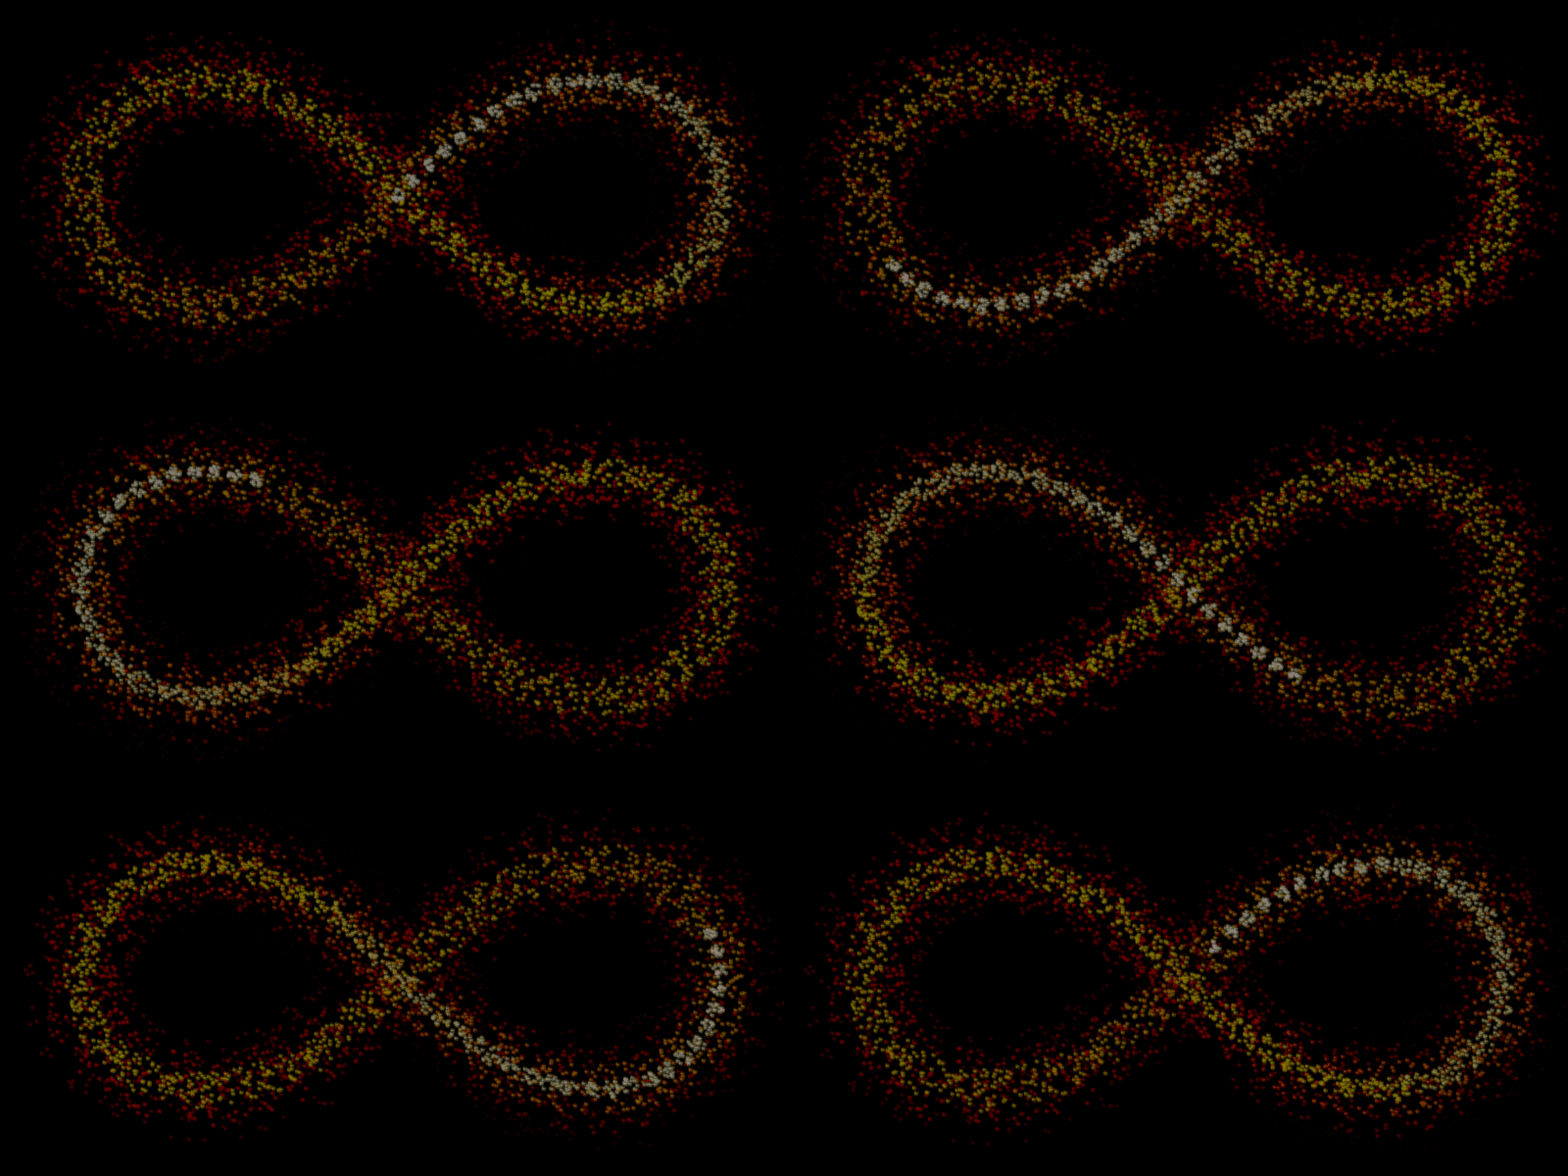
cargo run --example portal --features="bevy/bevy_winit bevy/bevy_pbr bevy/png 3d"Animate an emitter by moving its Transform component, and emit textured quad particles with a ColorOverLifetimeModifier.
cargo run --example gradient --features="bevy/bevy_winit bevy/bevy_pbr bevy/png 3d"This example demonstrates the force field modifier ForceFieldModifier, which allows creating some attraction and repulsion sources affecting the motion of the particles. It also demonstrates the use of the AabbKillModifier to either kill the particles exiting an "allowed" space (green box) or entering a "forbidden" space (red box).
cargo run --example force_field --features="bevy/bevy_winit bevy/bevy_pbr 3d"This example shows how to use 🎆 Hanabi with a 2D camera.
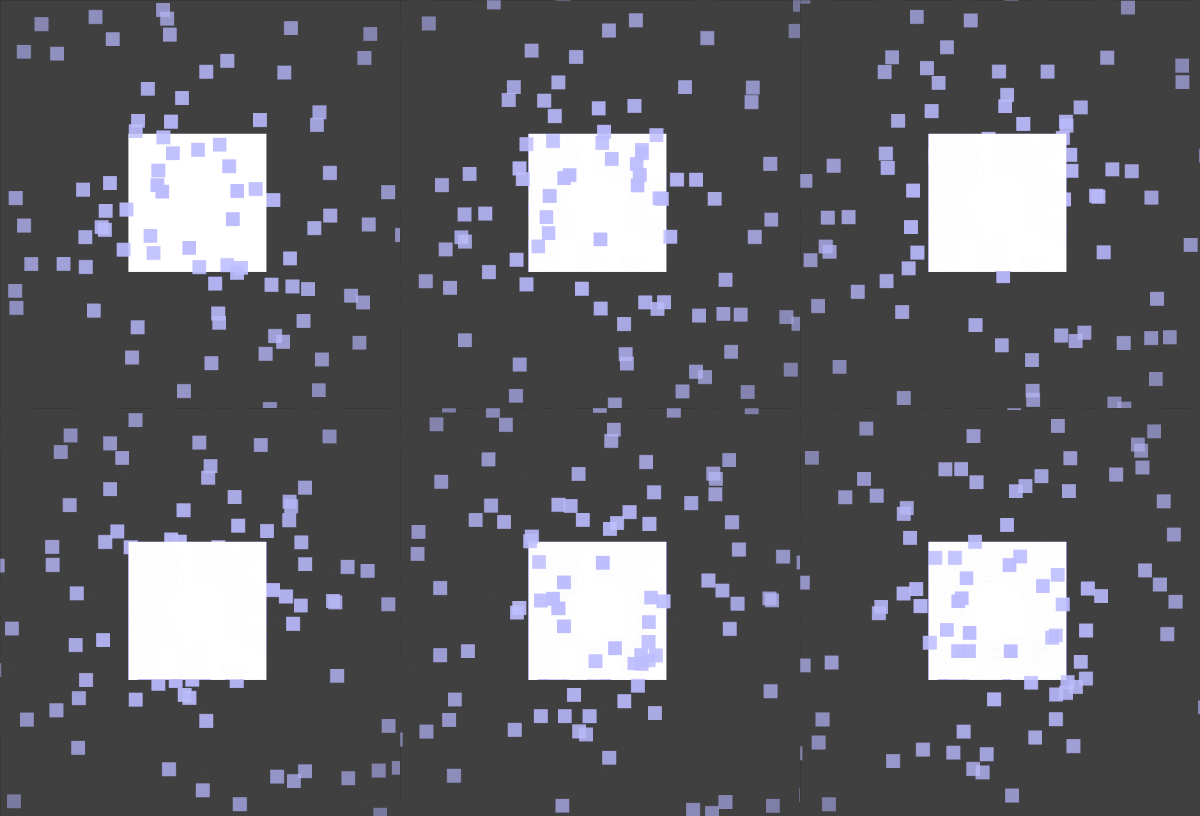
The white square mesh is moving forward and backward along the camera depth. The 2D effect itself remains at a constant position. When the square mesh moves behind the effect, the particles are rendered in front of it, and conversely when it moves forward the particles are rendered behind it.
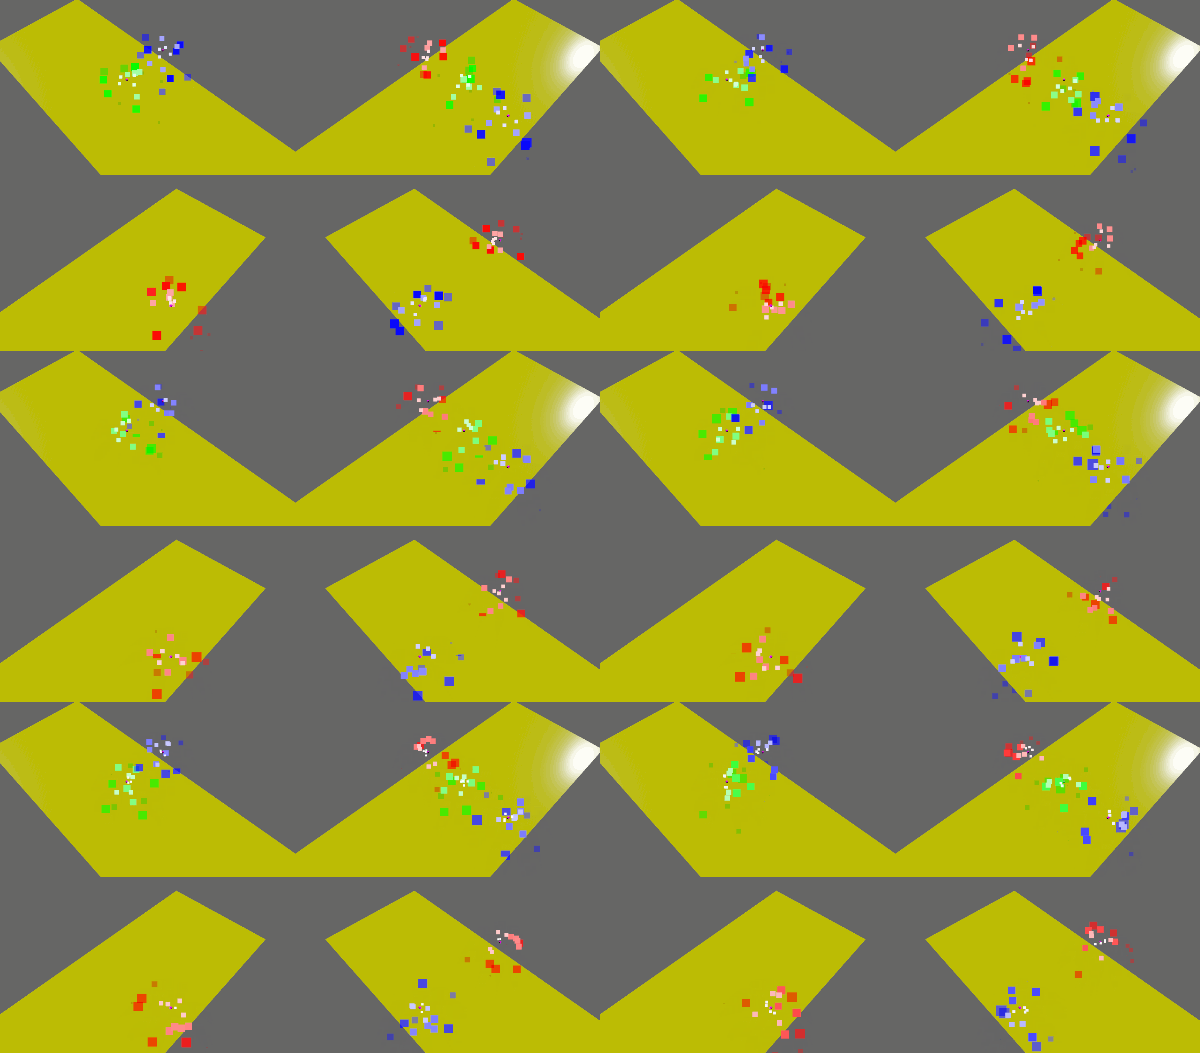
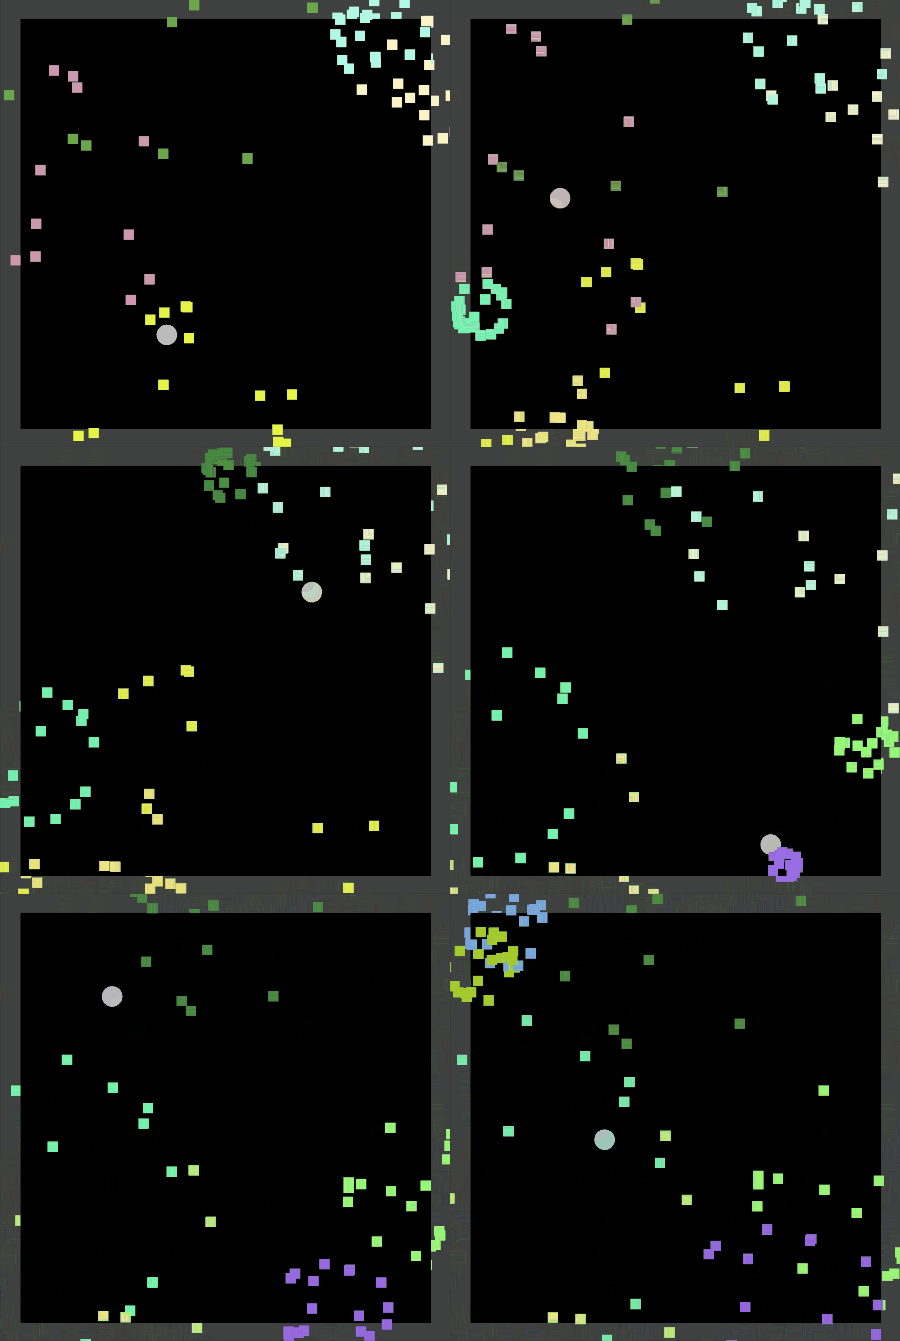
cargo run --example 2d --features="bevy/bevy_winit bevy/bevy_sprite 2d"The example demonstrates the use of multiple cameras and render layers to selectively render effects. Each camera uses a different combination of layers, and each effect is assigned a different layer.
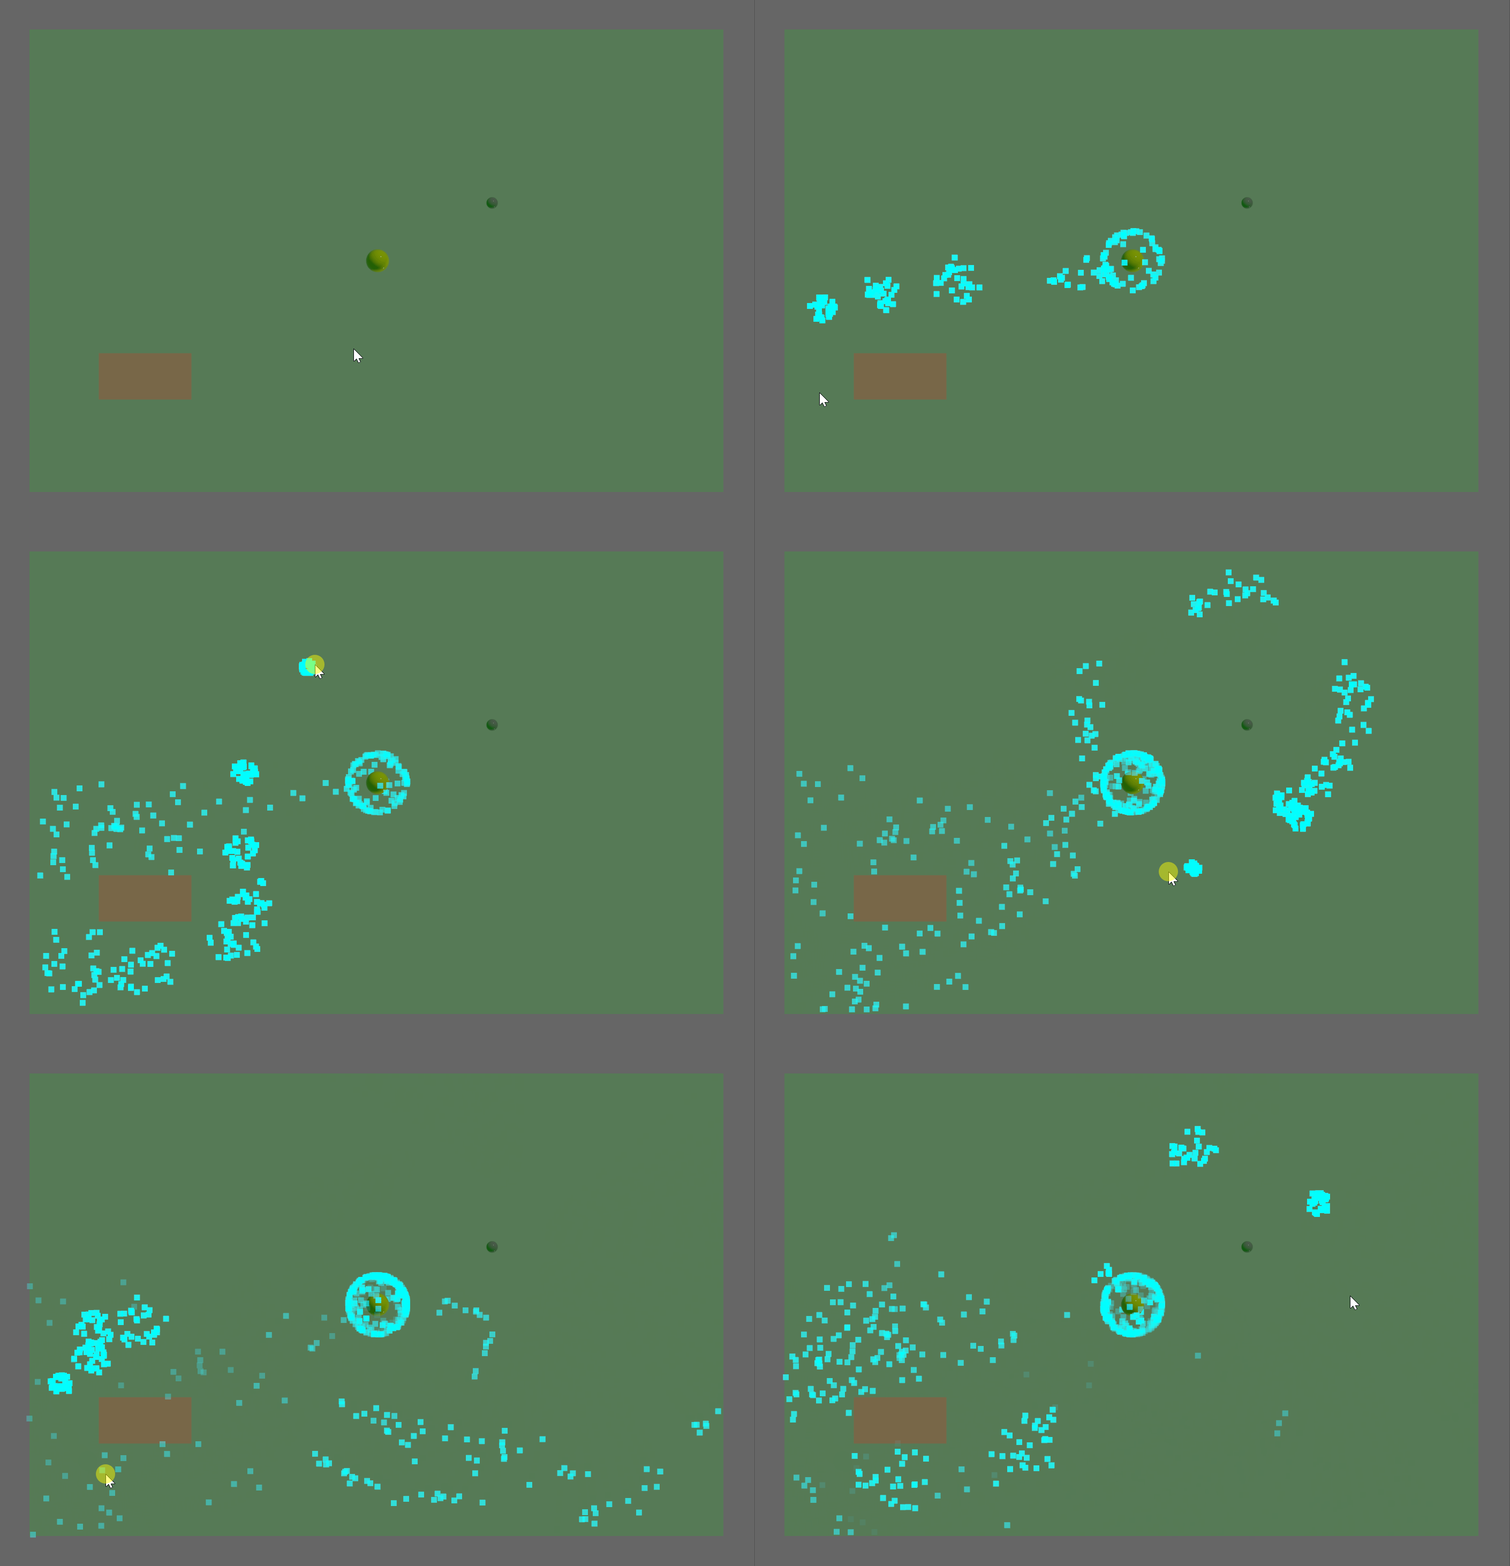
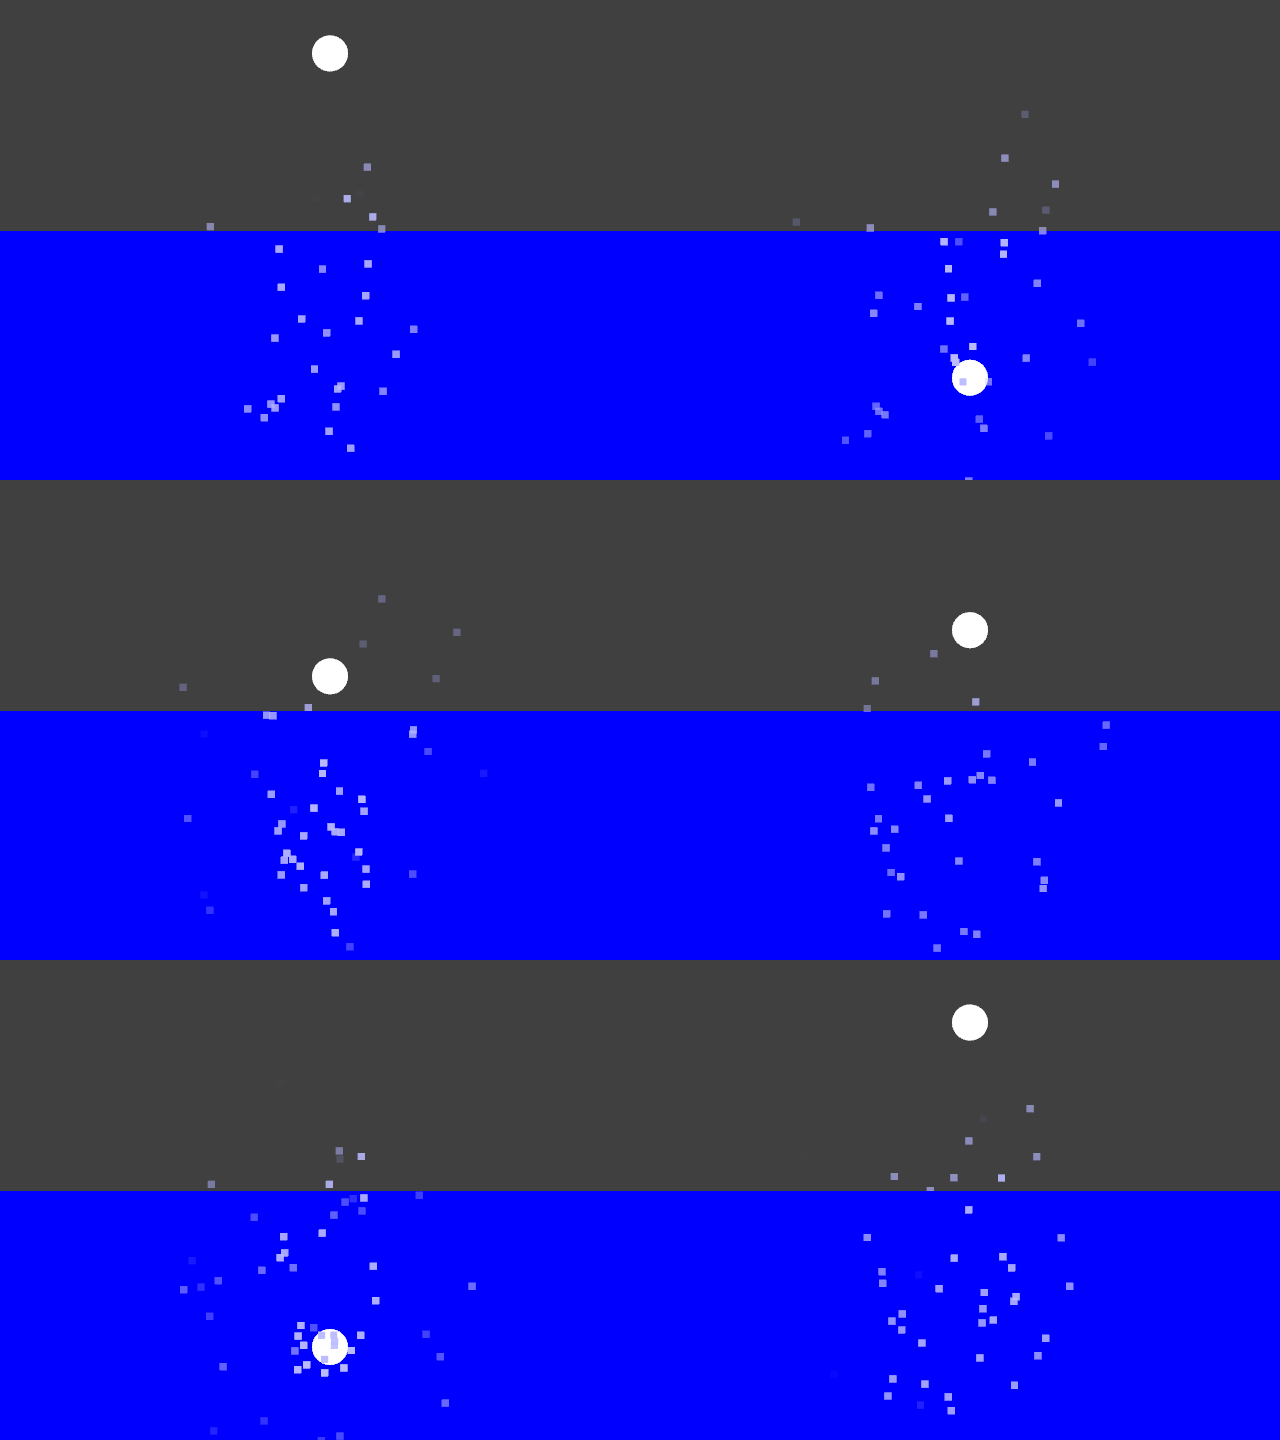
cargo run --example multicam --features="bevy/bevy_winit bevy/bevy_pbr 3d"This example demonstrates manual activation and deactivation of a spawner, from code (CPU). The circle bobs up and down in the water, spawning square bubbles when in the water only.
cargo run --example activate --features="bevy/bevy_winit bevy/bevy_pbr 3d"This example demonstrates three spawn modes:
- Left: Continuous emission with a fixed rate (particles/second).
- Center: One-shot burst emission of a fixed count of particles.
- Right: Continuous bursts of particles, an hybrid between the previous two. This effect also uses a property to change over time the direction of the acceleration applied to all particles.
It also shows the applying of constant acceleration to all particles. The right spawner's acceleration (gravity) is controlled by a custom property, which is slowly rotated by a Bevy system (CPU side).
cargo run --example spawn --features="bevy/bevy_winit bevy/bevy_pbr 3d"This example demonstrates how to emit a burst of particles when an event occurs. A property is also used to modify the color of the particles spawned. This gives total control of the spawning to the user code.
cargo run --example spawn_on_command --features="bevy/bevy_winit bevy/bevy_pbr 3d"This example demonstrates the circle spawner type, which emits particles along a circle perimeter or a disk surface. This allows for example simulating a dust ring around an object colliding with the ground.
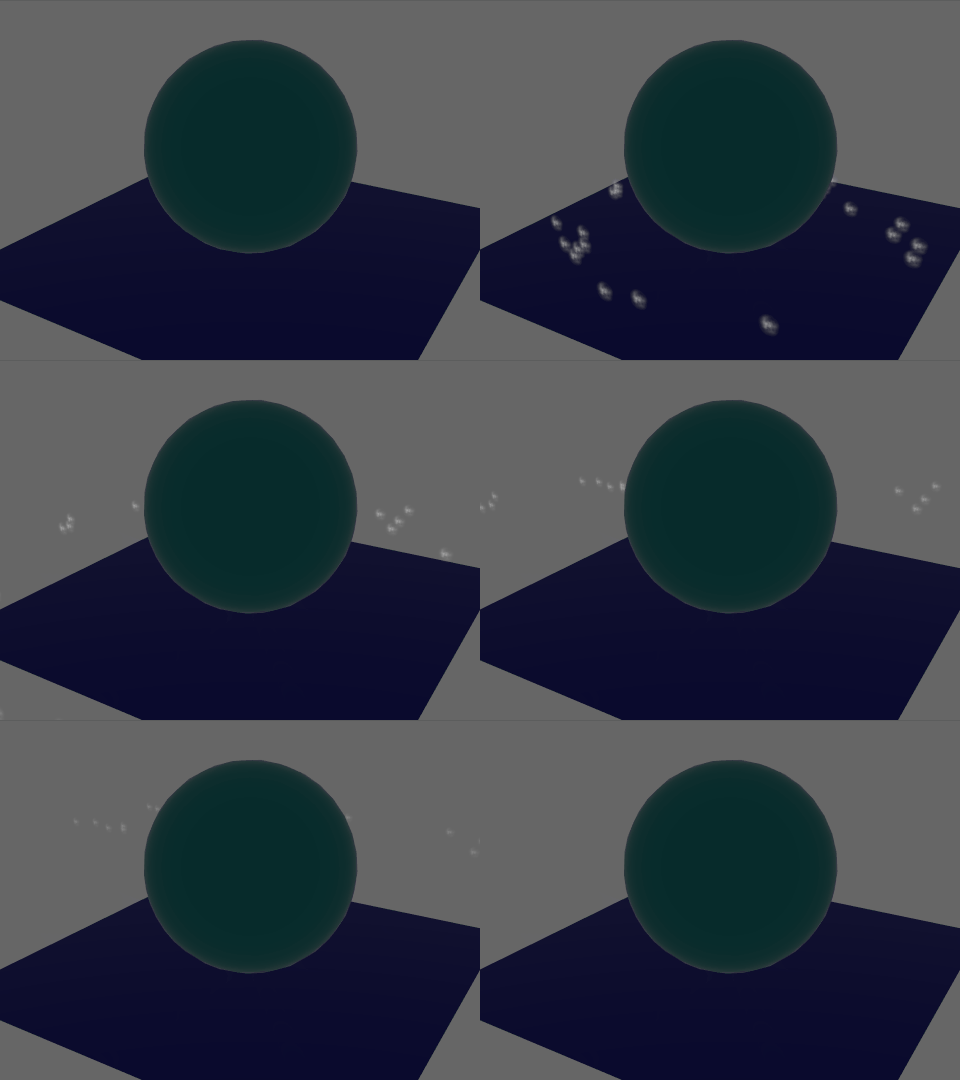
cargo run --example circle --features="bevy/bevy_winit bevy/bevy_pbr bevy/png 3d"This example demonstrates the difference between the default SimulationCondition::WhenVisible which simulates an effect when it's visible only, and SimulationCondition::Always which always simulates an effect even if the entity is hidden.
- The top effect uses
SimulationCondition::Always, continuing to simulate even when hidden, moving to the right. - The bottom effect uses
SimulationCondition::WhenVisible, pausing simulation while hidden, and resuming its motion once visible again from the position where it was last visible.
cargo run --example visibility --features="bevy/bevy_winit bevy/bevy_pbr 3d"This example spawns particles with randomized parameters.
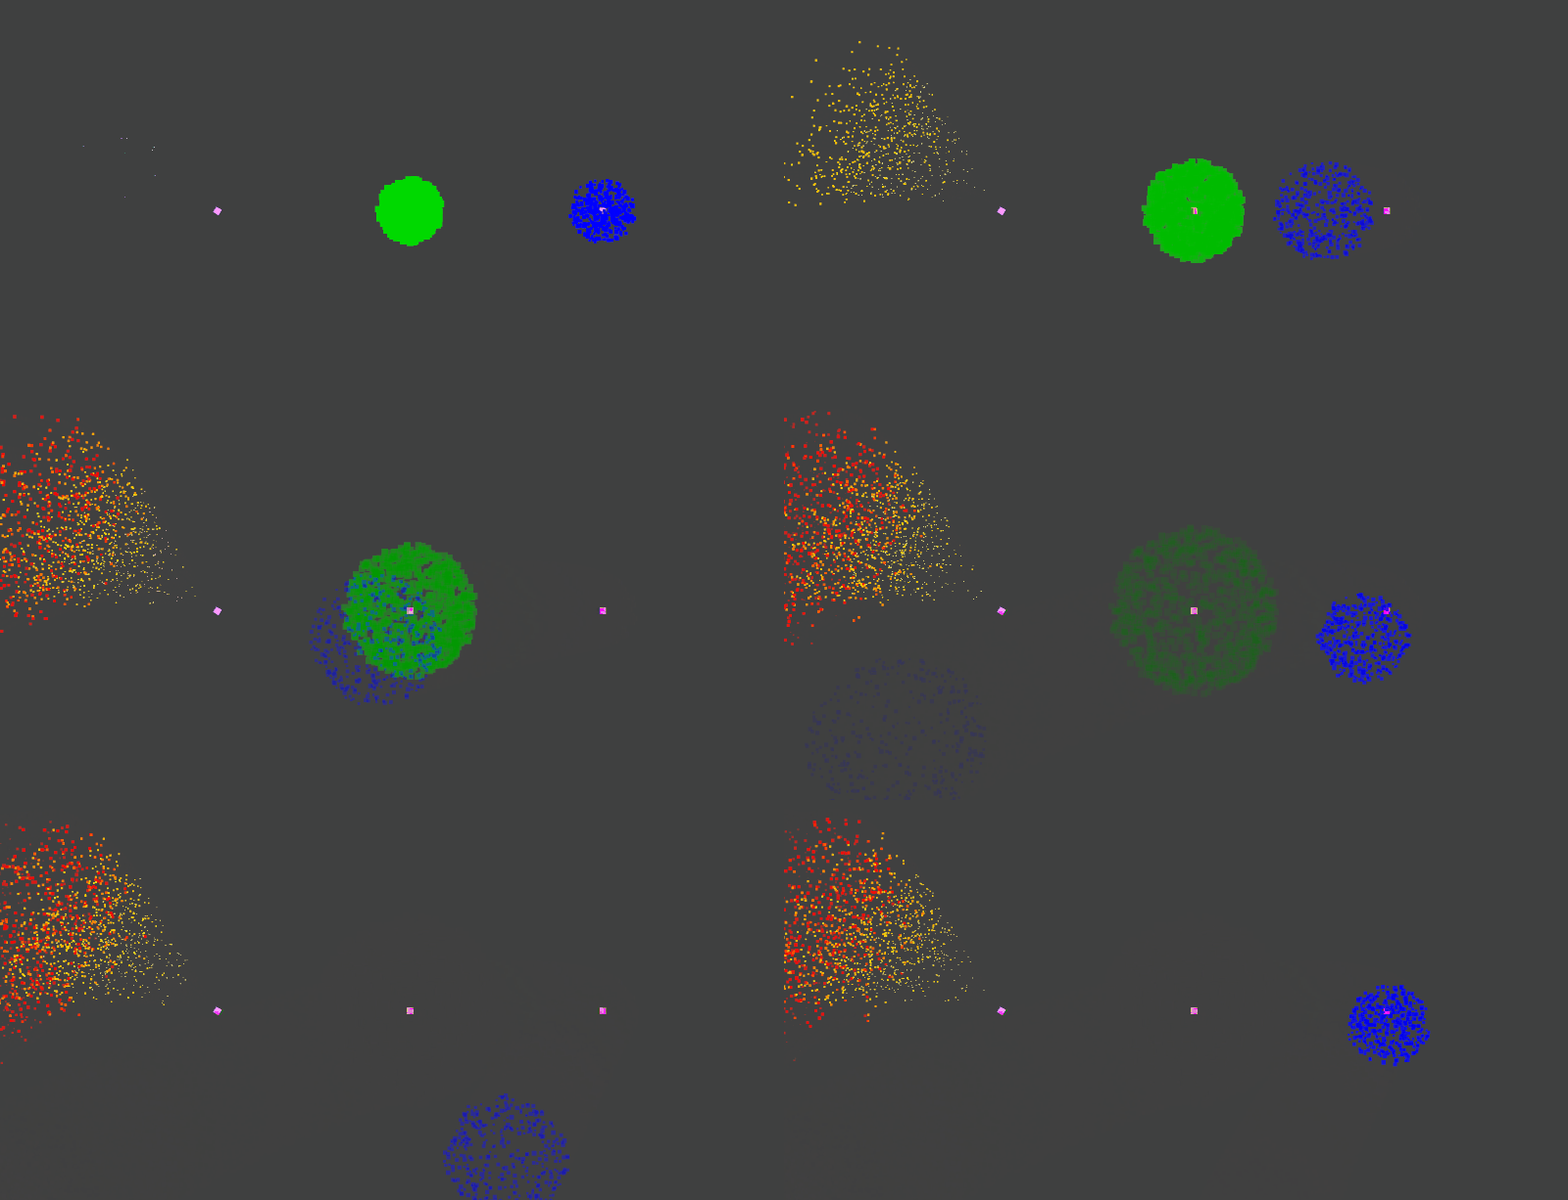
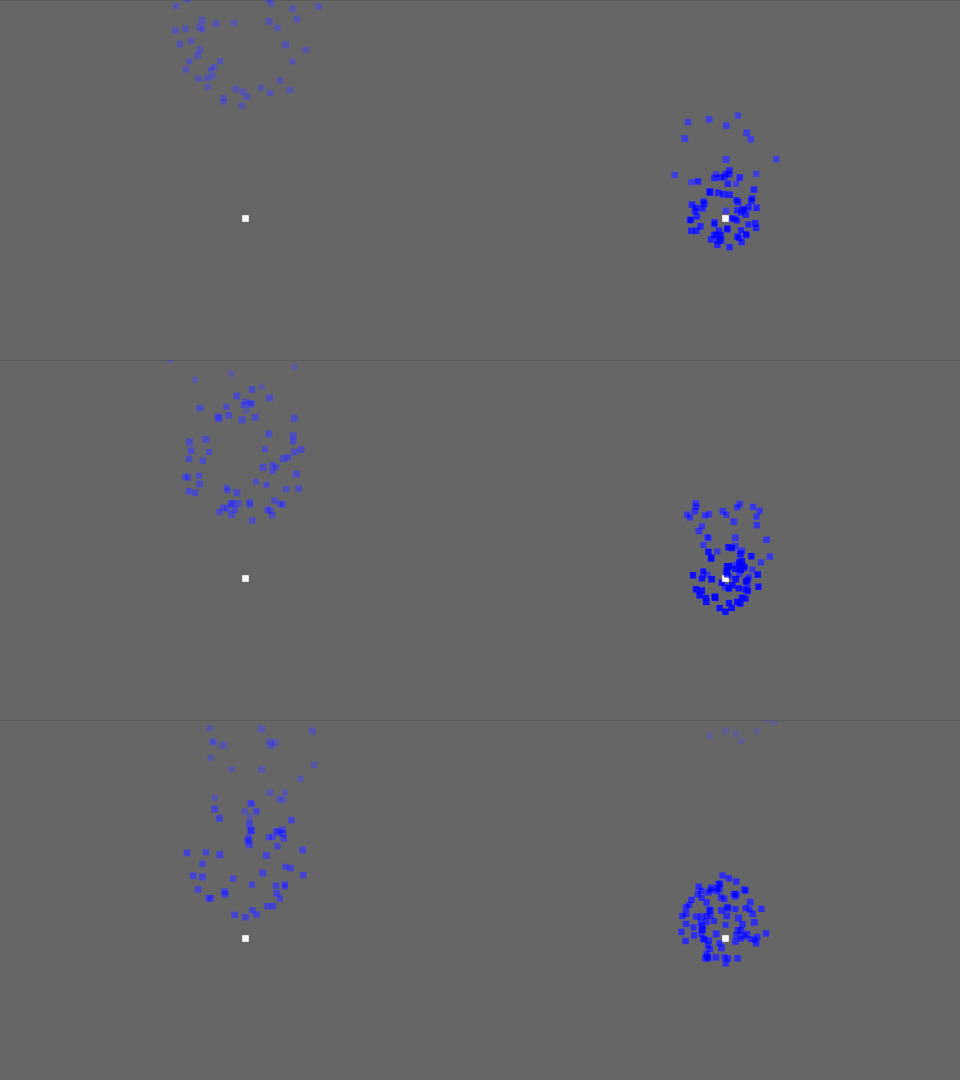
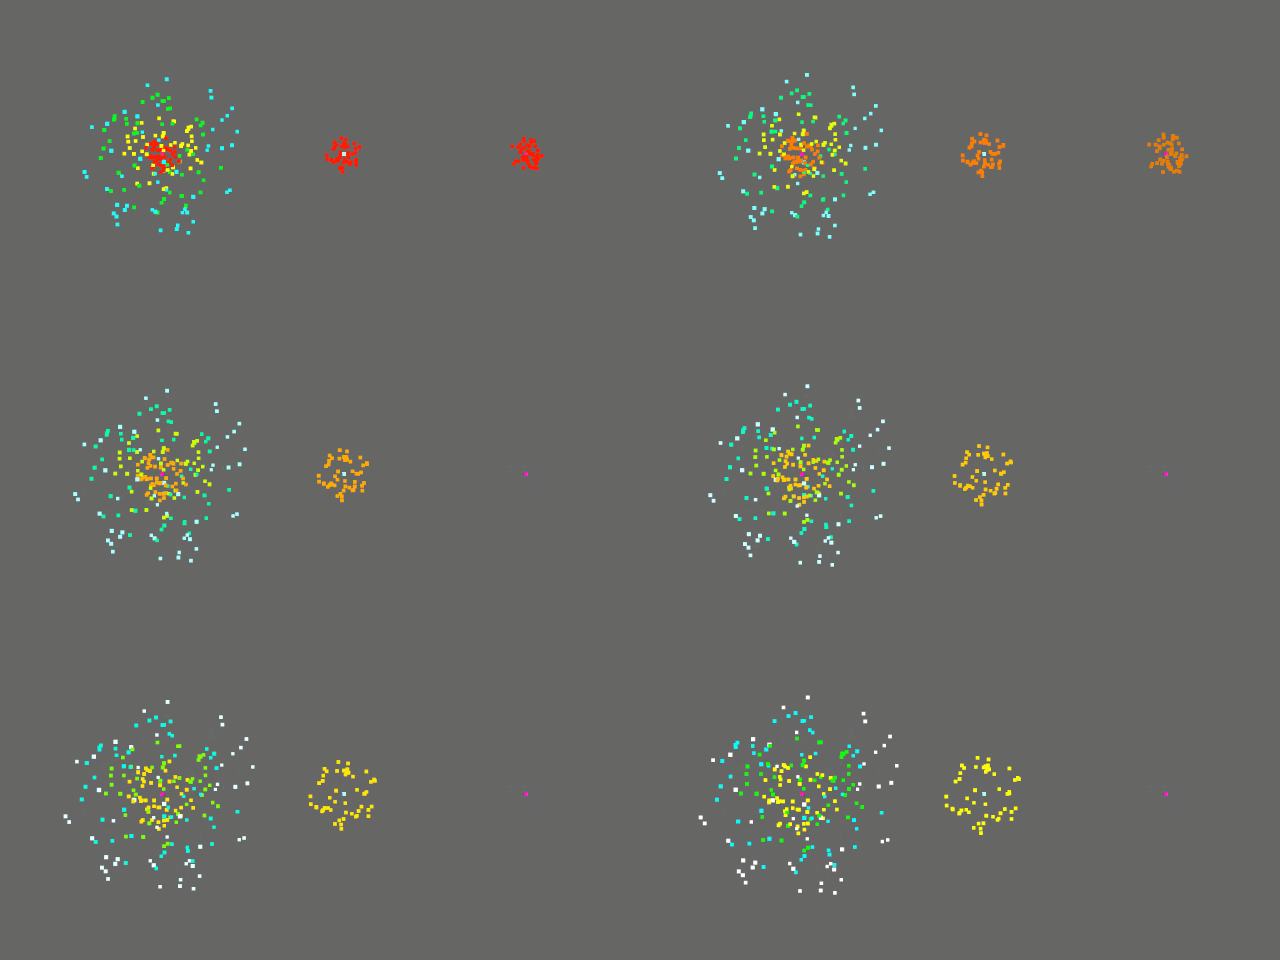
cargo run --example random --features="bevy/bevy_winit bevy/bevy_pbr 3d"This example demonstrates particle effects with different lifetimes. Each effect emits particles every 3 seconds, with a particle lifetime of:
- Left: 12 seconds, longer than the emit rate, so multiple bursts accumulate.
- Center: 3 seconds, like the emit rate, so particles die when new ones are emitted.
- Right: 0.75 second, shorter than the emit rate, so particles die much earlier than the next burst.
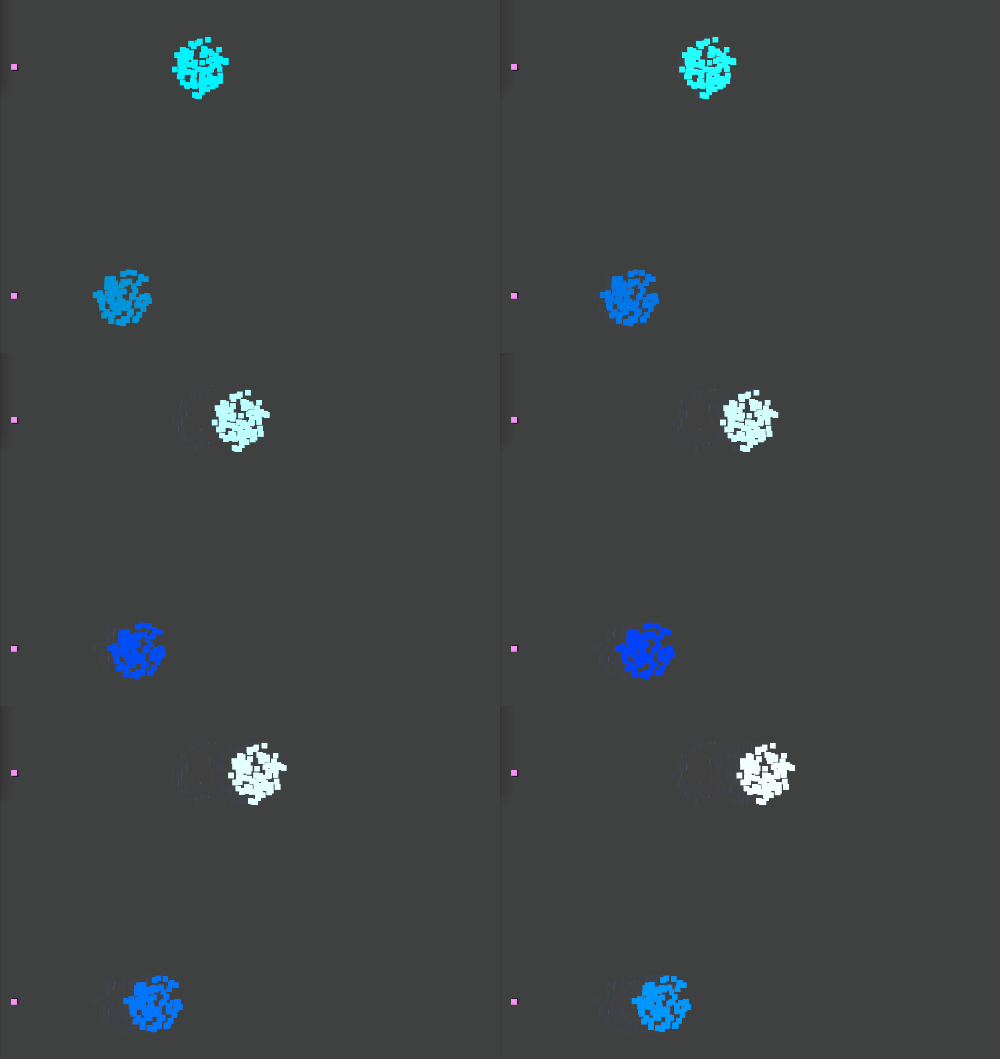
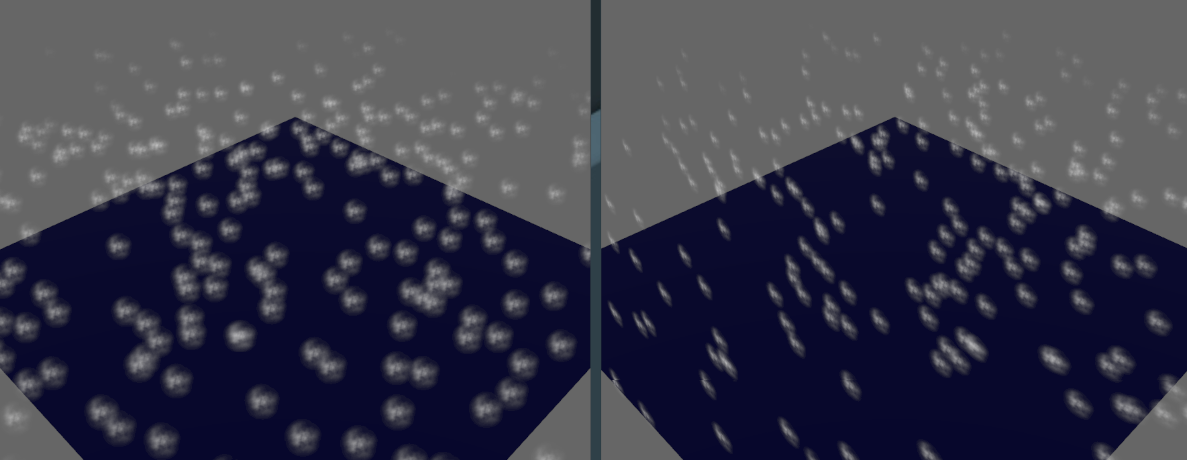
cargo run --example lifetime --features="bevy/bevy_winit bevy/bevy_pbr 3d"This example demonstrates particles with the billboard render modifier, making them always face the camera.
cargo run --example billboard --features="bevy/bevy_winit bevy/bevy_pbr bevy/png 3d"The image on the left has the BillboardModifier enabled.
- Spawn
- Constant rate
- One-time burst
- Repeated burst
- Spawner resetting
- Spawner activation/deactivation
- Randomized spawning parameters
- Initialize
- Constant position
- Position over shape
- cube
- circle
- sphere
- cone / truncated cone (3D)
- plane
- generic mesh / point cloud (?)
- Random position offset
- Velocity over shape (with random speed)
- circle
- sphere
- tangent
- Constant/random per-particle color
- Constant/random per-particle size
- Constant/random par-particle age and lifetime
- Update
- Simulation condition
- Always, even when hidden
- Only when visible
- Motion integration (Euler)
- Apply forces and accelerations
- Constant acceleration (gravity)
- Radial acceleration
- Tangent acceleration
- Force field
- Linear drag
- Collision
- Shape
- plane
- cube
- sphere
- Depth buffer
- Shape
- Allow/deny despawn box
- Lifetime
- Size change over lifetime
- Color change over lifetime
- Simulation condition
- Render
- Quad
- Textured
- Generic 3D mesh
- Deformation
- Velocity (trail)
- Camera support
- Render layers
- 2D cameras (
Camera2dBundle) only - 3D cameras (
Camera3dBundle) only - Simultaneous dual 2D/3D cameras
- Multiple viewports (split screen)
- HDR camera and bloom
- Orient particles
- Face camera (Billboard)
- Face constant direction
- Orient alongside velocity
- Quad
- Debug
- GPU debug labels / groups
- Debug visualization
- Position magnitude
- Velocity magnitude
- Age / lifetime
🎆 Bevy Hanabi supports the following cargo features:
| Feature | Default | Description |
|---|---|---|
2d |
✔ | Enable rendering through 2D cameras (Camera2dBundle) |
3d |
✔ | Enable rendering through 3D cameras (Camera3dBundle) |
For optimization purpose, users of a single type of camera can disable the other type by skipping default features in their Cargo.toml. For example to use only the 3D mode:
bevy_hanabi = { version = "0.6", default-features = false, features = [ "3d" ] }The main branch is compatible with the latest Bevy release.
Compatibility of bevy_hanabi versions:
bevy_hanabi |
bevy |
|---|---|
0.6 |
0.10 |
0.5 |
0.9 |
0.3-0.4 |
0.8 |
0.2 |
0.7 |
0.1 |
0.6 |


