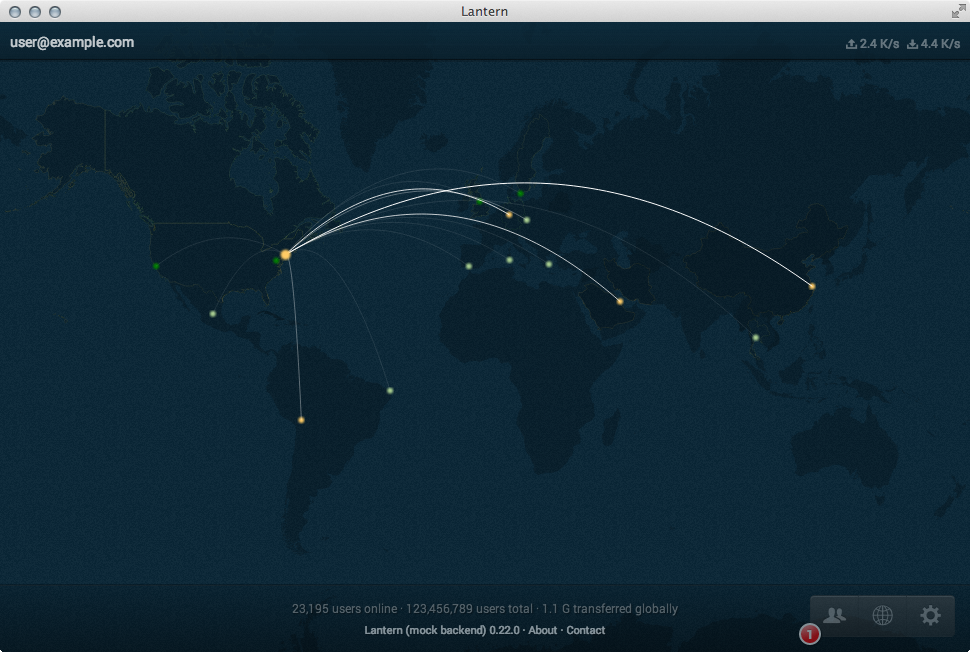
UI for Lantern.
A live demo is deployed to http://lantern-ui.jit.su/app/index.html running against the bundled mock server, which simulates a real Lantern backend. The real backend serves lantern-ui only over localhost, where minification, concatenation, and other speedups appropriate for remotely hosted files are not necessary. Please keep that in mind when accessing the public demo.
This is the repository for the UI of Lantern. It is maintained as a separate repository to facilitate development. This code can be run independently of Lantern's Java backend with a lightweight node.js http server using Faye to implement Lantern's bayeux server.
See SPECS.md for specifications of the state and the state transitions developed for the UI (work in progress).
Install required dependencies (sudo as necessary):
-
Node.js:
brew install nodeor equivalent for your system -
Bower:
npm install -g bower -
Then run
bower installfrom the repo root -
note - for newer versions of bower you may need to run
bower update -
note - if you're asked to select a specific version of select2, choose
1) select2#c4529b8700fb1cc2de5e06b9177147581e0e69d5 which resolved to c4529b8700 and has lantern-ui as dependants
For working on the stylesheets:
Tell compass to watch for changes in the sass stylesheets and
automatically compile them into css in the directory specified by the compass
config file (config/compass.rb):
$ scripts/start-compass.sh &
>>> Compass is watching for changes. Press Ctrl-C to Stop.
Start up the Node.js mock server simulating the Lantern backend:
$ scripts/web-server.js
The UI should now be available at http://localhost:8000/app/index.html
To skip the setup process and go straight to an already set up instance, run:
$ scripts/web-server.js --skip-setup
You should then see something like this when you load the app:
Translated strings are fetched from json files in the "app/locale" directory and interpolated into the app using Angular Translate. To add or change a translated string, update the corresponding mapping in "app/locale/en_US.json" and add or update any references to it in the app if needed.
All translatable content for Lantern has been uploaded to [the Lantern Transifex project](https://www.transifex.com/projects/p/lantern/] to help manage translations. Translatable strings from this code have been uploaded to the ui resource therein. Transifex has been set up to automatically pull updates to that resource from its GitHub url (see http://support.transifex.com/customer/portal/articles/1166968-updating-your-source-files-automatically for more information).
After translators add translations of these strings to the Transifex project, the Transifex client can be used to pull them. See http://support.transifex.com/customer/portal/articles/996157-getting-translations for more.
Globally install required Node.js packages (sudo as necessary):
npm install -g karma
and PhantomJS (brew install phantomjs).
Check out .travis.yml and referenced files for examples of running the
unit tests and end-to-end tests.
TODO: expand this
The UI is implemented as an AngularJS app. Using the
AngularJS Batarang
Chrome extension (especially the performance tab) is highly recommended for
development. As recommended, this repo was started with the
angular-seed. The
scripts/web-server.js script has been modified to attach a bayeux server
and a work-in-progress http API to simulate the Lantern backend.
Specs are currently being developed to represent the full state of the application at any given time, as well as transitions between states. The specs are being developed in parallel to the UI and are currently changing frequently to meet its needs.


