| title | description | services | author | ms.service | ms.subservice | ms.topic | ms.date | ms.author | Customer intent |
|---|---|---|---|---|---|---|---|---|---|
Transform data with Azure Data Box Edge | Microsoft Docs |
Learn how to configure compute role on Data Box Edge and use it to transform data before sending to Azure. |
databox |
alkohli |
databox |
edge |
tutorial |
11/27/2018 |
alkohli |
As an IT admin, I need to understand how to configure compute on Data Box Edge so I can use it to transform the data before sending it to Azure. |
This tutorial describes how to configure compute role on the Data Box Edge. Once the compute role is configured, Data Box Edge can transform data before sending to Azure.
This procedure can take around 30-45 minutes to complete.
In this tutorial, you learn how to:
[!div class="checklist"]
- Create an IoT Hub resource
- Set up compute role
- Add a compute module
- Verify data transform and transfer
Important
Data Box Edge is in preview. Review the Azure terms of service for preview before you order and deploy this solution.
Before you set up compute on your Data Box Edge, make sure that:
- Your Data Box Edge device is activated as detailed in Connect and activate your Azure Data Box Edge.
Before you set up compute role on Data Box Edge, you must create an IoT Hub resource.
For detailed instructions, go to Create an IoT Hub. Use the same subscription and the resource group that you used for your Data Box Edge resource.

When the Edge compute role isn't set up, note:
- The IoT Hub resource doesn't have any IoT devices or IoT Edge devices.
- You can't create Edge local shares. When you add a share, the option to create a local share for Edge compute isn't enabled.
When the Edge compute role is set up on the Edge device, it creates two devices – one is an IoT device and the other is IoT Edge device. Both of these devices can be viewed in the IoT Hub resource.
To set up the compute role on the device, do the following steps.
-
Go to the Data Box Edge resource and then go to Overview and click Set up compute role.

You can also go to Modules and click Configure compute.

-
From the dropdown list, select the IoT Hub resource you created in the previous step. Only the Linux platform is available at this point for your IoT Edge device. Click Create.

-
The compute role takes a couple minutes to create. Because of a bug in this release, even when the compute role is created, the screen doesn't refresh. Go to Modules and you can see that the Edge compute is configured.

-
Go to Overview again and now the screen is updated to indicate that the compute role is configured.

-
Go to the IoT Hub you used when creating the Edge compute role. Go to IoT devices. You can see that an IoT device is now enabled.

-
Go to IoT Edge and you'll see that an IoT Edge device is also enabled.

-
Select and click the IoT Edge device. An Edge agent is running on this IoT Edge device.


There are however no custom modules on this Edge device. You can now add a custom module to this device. To learn how to create a custom module, go to Develop a C# module for your Data Box Edge.
In this section, you'll add a custom module to the IoT Edge device that you created in Develop a C# module for your Data Box Edge.
This procedure uses an example where the custom module used takes files from a local share on the Edge device and moves those to a cloud share on the device. The cloud share then pushes the files to the Azure storage account associated with the cloud share.
-
The first step is to add a local share on the Edge device. In your Data Box Edge resource, go to Shares. Click + Add share. Provide the share name and select the share type. To create a local share, check the Configure as Edge local share option. Select an existing user or create new. Click Create.

If you created a local NFS share, use the following rsync command option to copy files onto the share:
rsync --inplace <source file path> < destination file path>For more information on the rsync command, go to Rsync documentation.
-
Once the local share is created and you've received a successful creation notification (share list may be updated before but you must wait for the share creation to complete), go to the list of shares.

-
Select and click the newly created local share and view the properties of the share. Copy and save the local mount point for Edge modules corresponding to this share.

Go to an existing cloud share created on your Data Box Edge device. Again, copy and save the local mountpoint for Edge compute modules for this cloud share. These local mountpoints will be used when deploying the module.

-
To add a custom module to the IoT Edge device, go to your IoT Hub resource and then go to IoT Edge device. Select and click the device. In the Device details, from the command bar at the top, click Set Modules.

-
Under Add Modules, do the following steps:
-
Provide the name, address, user name, and password for the Container registry settings for the custom module. The name, address and listed credentials are used to retrieve modules with a matching URL. To deploy this module, under Deployment modules, select IoT Edge module. This IoT Edge module is a docker container you can deploy to IoT Edge device associated with your Data Box Edge device.

-
Specify the settings for the IoT Edge custom module. Provide the name of your module and image URI for the corresponding container image.

-
In the Container create options, provide the local mountpoints for the Edge modules copied in the preceding steps for the cloud and local share (important to use these paths as opposed to creating new ones). The local mountpoints are mapped to the corresponding InputFolderPath and the OutputFolderPath that you specified in the module when you updated the module with custom code.
You can copy and paste the sample shown below in your Container create options:
{
 "HostConfig": {
  "Binds": [
   "/home/hcsshares/mysmblocalshare:/home/LocalShare",
   "/home/hcsshares/mysmbshare1:/home/CloudShare"
   ]
 }
}
Also provide any environmental variables here as well for your module.

-
Configure advanced Edge runtime settings if needed and then click Next.

-
-
Under Specify routes, set routes between modules. In this case, provide the name of the local share that will push data to cloud share. Click Next.
You can replace route with the following route string:
"route": "FROM /* WHERE topic = 'mysmblocalshare' INTO BrokeredEndpoint(\"/modules/filemovemodule/inputs/input1\")"
-
Under Review deployment, review all the settings and if satisfied, submit the module for deployment.


This starts the module deployment as shown by the IoT Edge Custom module under Modules.

The final step is to make sure the module is connected and running as expected. Do the following steps to verify that the module is running.
-
The runtime status of module should be running for your IoT Edge device in the IoT Hub resource.

-
Select and click the module and look at the Module Identity Twin. The client status for the Edge device and module should show as Connected.

-
Once the module is running, it is also displayed under the list of Edge modules in your Data Box Edge resource. The runtime status of the module you added is running.

-
Connect to both the local and cloud shares you created via File Explorer.

-
Add data to the local share.

-
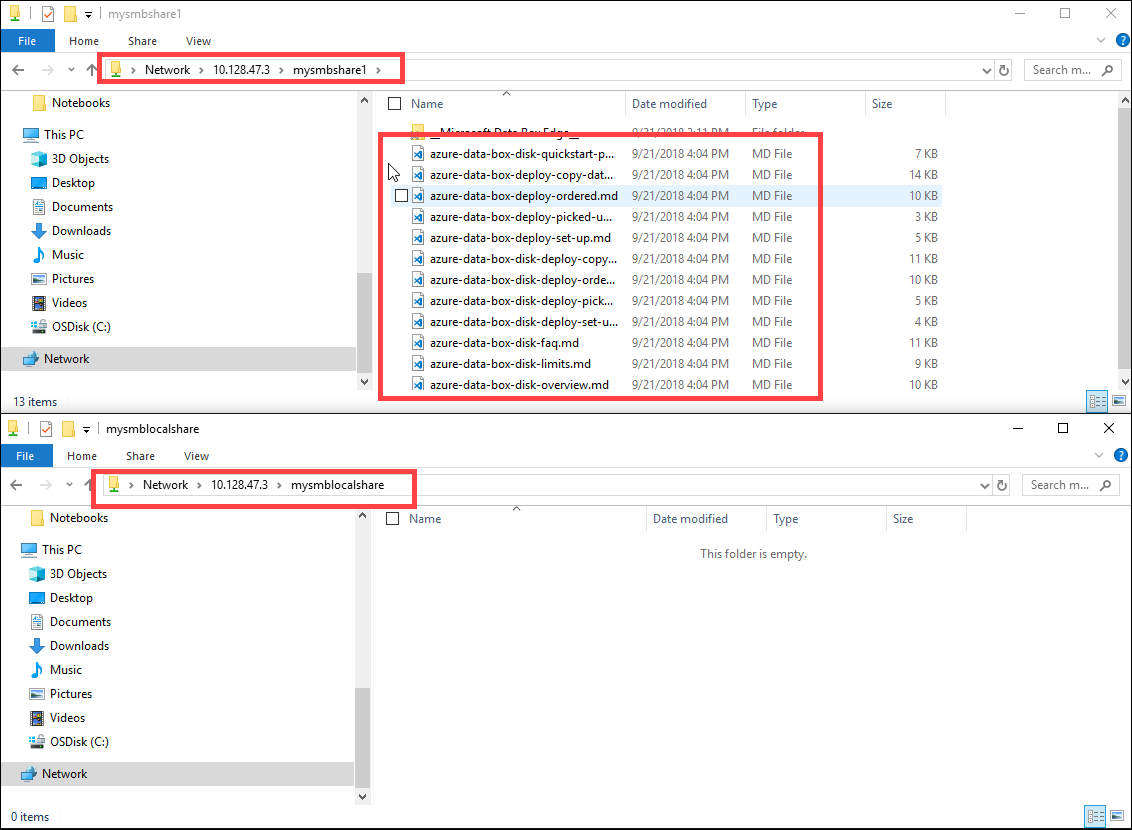
The data gets moved to the cloud share.
-
The data is then pushed from cloud share to the storage account. Go to the Storage Explorer to view the data.


This concludes the validation process.
In this tutorial, you learned about Data Box Edge topics such as:
[!div class="checklist"]
- Create an IoT Hub resource
- Set up compute role
- Add a compute module
- Verify data transform and transfer
Advance to the next tutorial to learn how to administer your Data Box Edge.
[!div class="nextstepaction"] Use local web UI to administer a Data Box Edge