| title | description | author | manager | ms.service | services | ms.topic | ms.tgt_pltfrm | ms.date | ms.author |
|---|---|---|---|---|---|---|---|---|---|
IoT DevKit to cloud -- Connect IoT MXChip DevKit to Azure IoT Hub | Microsoft Docs |
In this tutorial, learn how to send status of sensors on IoT DevKit AZ3166 to the Azure IoT Remote Monitoring solution accelerator. |
liydu |
jeffya |
iot-hub |
iot-hub |
conceptual |
arduino |
02/02/2018 |
liydu |
In this tutorial, you learn how to run a sample app on your DevKit to send sensor data to your Azure IoT Remote Monitoring solution accelerator.
The MXChip IoT DevKit is an all-in-one Arduino compatible board with rich peripherals and sensors. You can develop for it using Visual Studio Code extension for Arduino. And it comes with a growing projects catalog to guide you prototype Internet of Things (IoT) solutions that take advantage of Microsoft Azure services.
Finish the Getting Started Guide to:
- Have your DevKit connected to Wi-Fi
- Prepare the development environment
An active Azure subscription. If you do not have one, you can register via one of these two methods:
-
Activate a free 30-day trial Microsoft Azure account
-
Claim your Azure credit if you are MSDN or Visual Studio subscriber
-
Go to Azure IoT solution accelerators site and click Create a new solution.

[!WARNING] By default, this sample creates an S2 IoT Hub after it creates one IoT Remote Monitoring solution accelerator. If this IoT hub is not used with massive number of devices, we highly recommend you downgrade it from S2 to S1, and delete the IoT Remote Monitoring solution accelerator so the related IoT Hub can also be deleted, when you no longer need it.
-
Select Remote monitoring.
-
Enter a solution name, select a subscription and a region, and then click Create solution. The solution may take a while to be provisioned.

-
After provisioning finishes, click Launch. Some simulated devices are created for the solution during the provisioning process. Click DEVICES to check them out.


-
Click ADD A DEVICE.
-
Click Add New for Custom Device.

-
Click Let me define my own Device ID, enter
AZ3166, and then click Create.
-
Make a note of IoT Hub Hostname, and click Done.


-
Disconnect the DevKit from your computer, if it is connected.
-
Start VS Code.
-
Connect the DevKit to your computer. VS Code automatically detects your DevKit and opens the following pages:
- The DevKit introduction page.
- Arduino Examples: Hands-on samples to get started with DevKit.
-
Expand left side ARDUINO EXAMPLES section, browse to Examples for MXCHIP AZ3166 > AzureIoT, and select RemoteMonitoring. It opens a new VS Code window with a project folder in it.
[!NOTE] If you happen to close the pane, you can reopen it. Use
Ctrl+Shift+P(macOS:Cmd+Shift+P) to open the command palette, type Arduino, and then find and select Arduino: Examples.
In the solution window, run your task through Ctrl+P (macOS: Cmd+P) by entering task cloud-provision in the provided text box.
In the VS Code terminal, an interactive command line guides you through provisioning the required Azure services.

-
Use
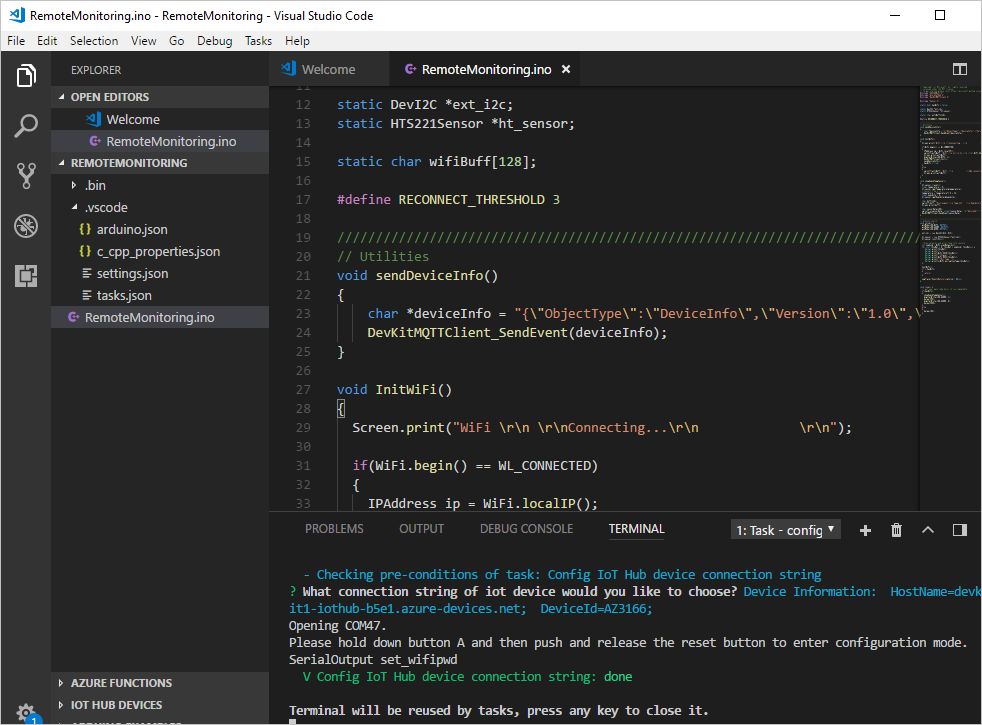
Ctrl+P(macOS:Cmd + P) and type task config-device-connection. -
The terminal asks whether you want to use a connection string that it retrieves from the
task cloud-provisionstep. You could also input your own device connection string by clicking 'Create New...' -
The terminal prompts you to enter configuration mode. To do so, hold down button A, then push and release the reset button. The screen displays the DevKit ID and 'Configuration'.
-
After
task config-device-connectionfinishes, clickF1to load VS Code commands and selectArduino: Upload. VS Code starts verifying and uploading the Arduino sketch.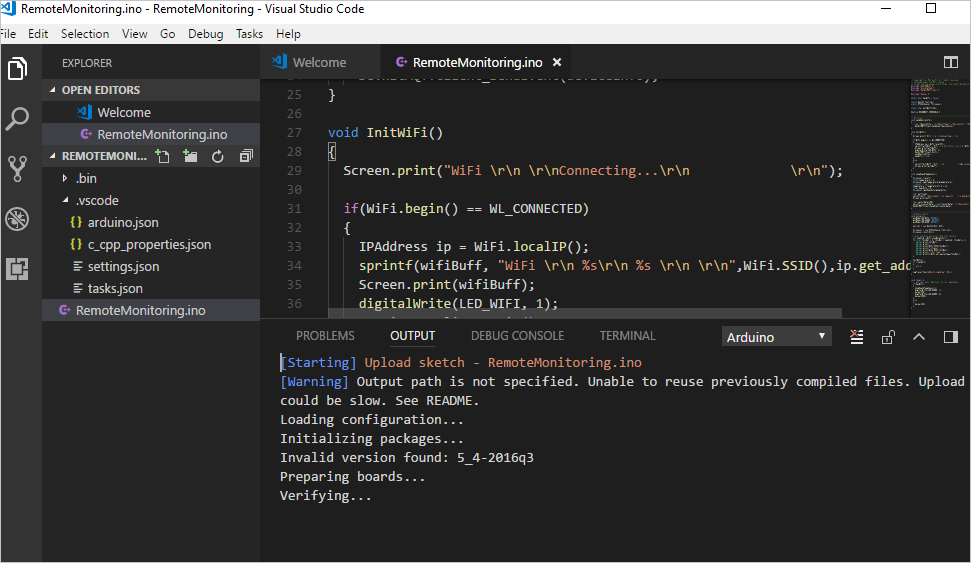


The DevKit reboots and starts running the code.
When the sample app runs, DevKit sends sensor data over WiFi to your Azure IoT Remote Monitoring solution accelerator. To see the result, follow these steps:
-
Go to your Azure IoT Remote Monitoring solution accelerator, and click DASHBOARD.
-
On the Remote Monitoring solution console, you will see your DevKit sensor status.


If you want to change the hardcoded AZ3166 to a customized device ID in the code, modify the line of code displayed in the remote monitoring example.
If you encounter problems, refer to the IoT developer kit FAQs or reach out to us using the following channels:
Now that you have learned how to connect a DevKit device to your Azure IoT Remote Monitoring solution accelerator and visualize the sensor data, here are the suggested next steps: