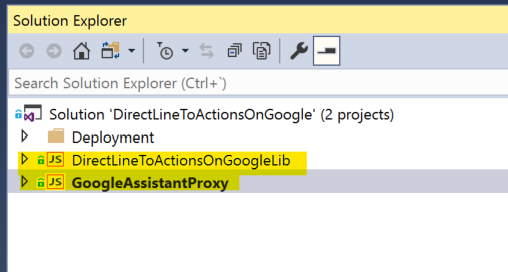
By installing and configuring this proxy service, we can interact with our Bot Framework from Google Assistant
For this, we have to create a project in Action on Google that points to our proxy service. This in turn, will communicate with your bot using Direct Line.
Note: If you are not familiar with Actions on Google,I recommend you try these labs.
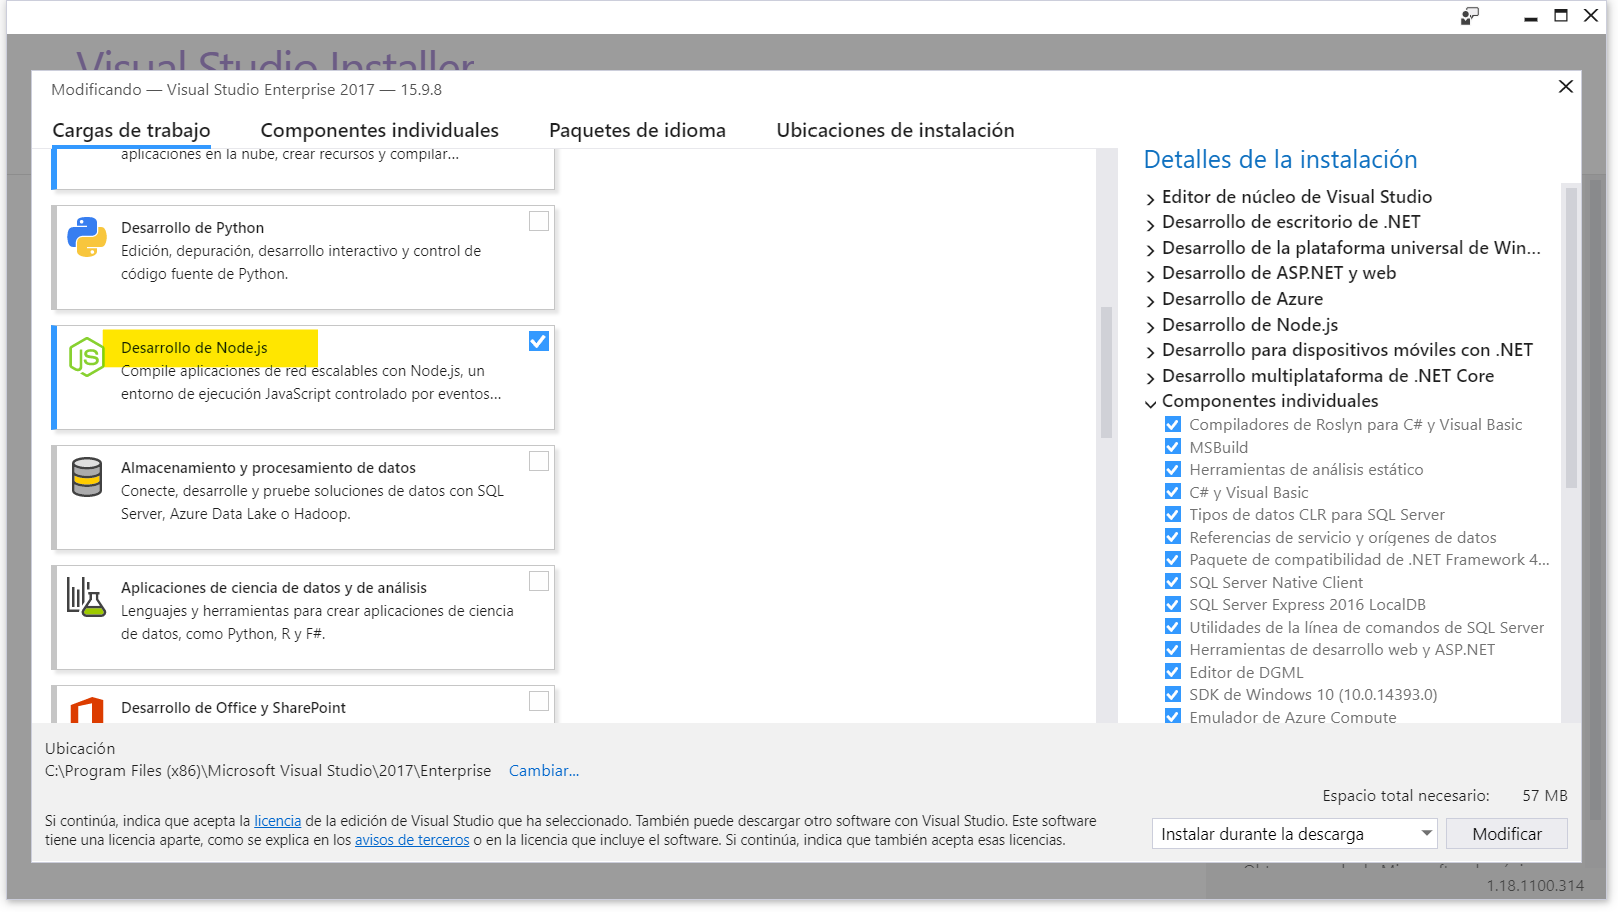
if you can´t open the projects correctly, it means you don´t have the components installed development of Node.js.
You can also test the project locally using ngrok. I show you how here.
Once you´ve tried the solution, I recommend you integrate it into your solution and deploy it together using DevOps.
Add setting DIRECT_LINE_SECRET with the secret key from the Direct Line channel of your bot.
Make sure that the Node version is at least 7.10.1 (in Azure through setting WEBSITE_NODE_DEFAULT_VERSION)
I show you how here
Update templates form GoogleAction with url from your GoogleAssitantProxy. (a template for each language that supports our bot).
in the Deployment folder there are two example templates (one for English and the other for Spanish).
{
 "locale": "es",
 "actions": [{
     "description": "<description>",
     "name": "MAIN",
     "fulfillment": {
         "conversationName": "MAIN_CONVERSATION"
     },
     "intent": {
         "name": "actions.intent.MAIN",
       "trigger": {
         "queryPatterns": [ "Speak with <name of your bot>", "Hi <name of your bot>", "I want to speak to<name of your bot>"]
         }
     }
 }],
 "conversations": {
   "MAIN_CONVERSATION": {
     "name": "MAIN_CONVERSATION",
     "url": "<url-of-your-deployment-GoogleAssitantProxy>",
     "inDialogIntents": [
       {
         "name": "actions.intent.CANCEL"
       }
     ],
     "fulfillmentApiVersion": 2
   }
 }
}-
Update in the script GoogleActionDeploy.cmd your porject identifier Actions for Google
gactions update --project PROJECTID --action_package action.es.json --action_package action.en.json -
Run script GoogleActionsDeploy (if it´s the first time you´ve done it, you need to authenticate it with your Google account).
This script uses gactions CLI, which is the command line tool to update the projects of Actions on Google. More information here.
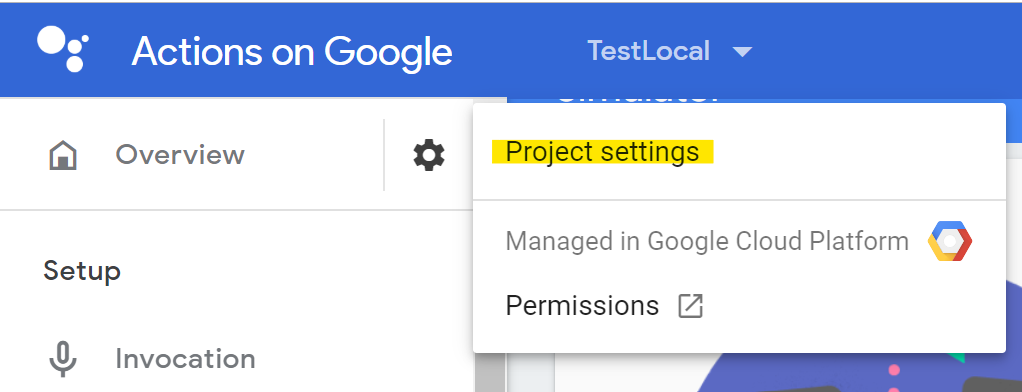
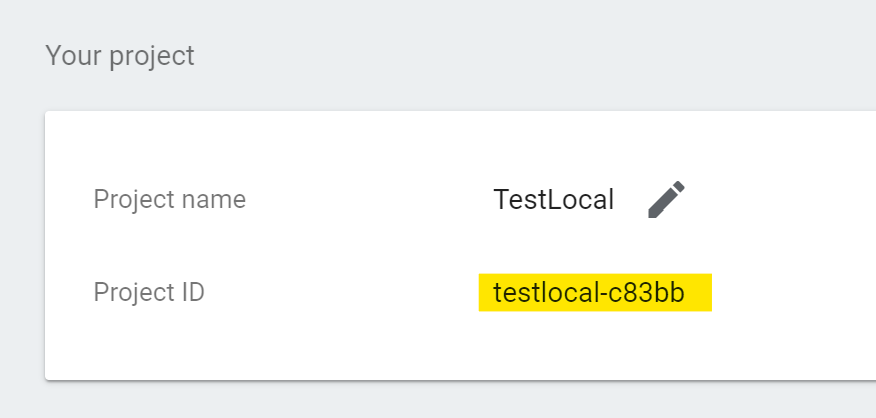
To obtain the identifier of the project. In the console Actions on Google of your project, Settings (the nut), Project ID.
Test in the simulator of the console of 'Actions for Google' and see if it responds.
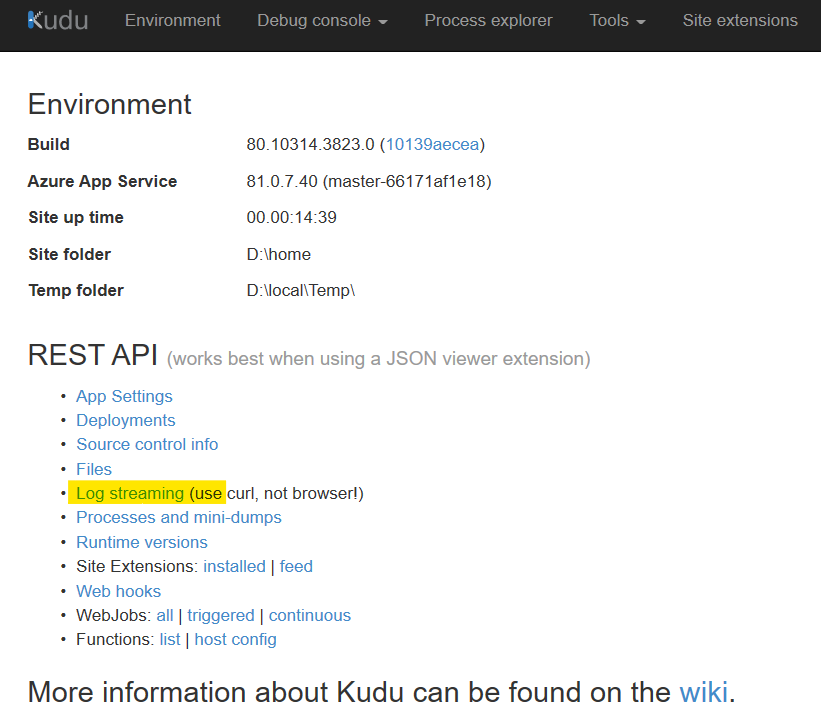
You can see the console in Azure in Advanced Tools, Log streaming
Now that we have configured all the infrastructure, we will now configure our proxy to better adapt it to our bot.
Many thanks to Capgemini for the very impressive work they have carried out here. This code was inspired by their work.
To @juliapiedrahita for starting this project and making the work easier.
By Alberto Fraj (@alfraso).
