By its nature, JavaScript lacks the performance to implement Computer Vision tasks efficiently. Therefore this package brings the performance of the native OpenCV library to your Node.js application. Supports all OpenCV 3 versions. The bindings are available as an asynchronous (via promises or callbacks) and synchronous API.
The ultimate goal of this project is to provide a collection of Node.js bindings, which supports the entire OpenCV and OpenCV-contrib API. An overview of available bindings can be found in the API Documentation. The implementation of missing bindings can be specifically prioritized by requesting new features. Furthermore, contribution is highly appreciated. If you want to get involved you can have a look at the contribution guide.
- Examples
- How to install
- Usage with Docker
- Usage with Electron
- Quick Start
- Async API
- Available Modules
- Request new Features
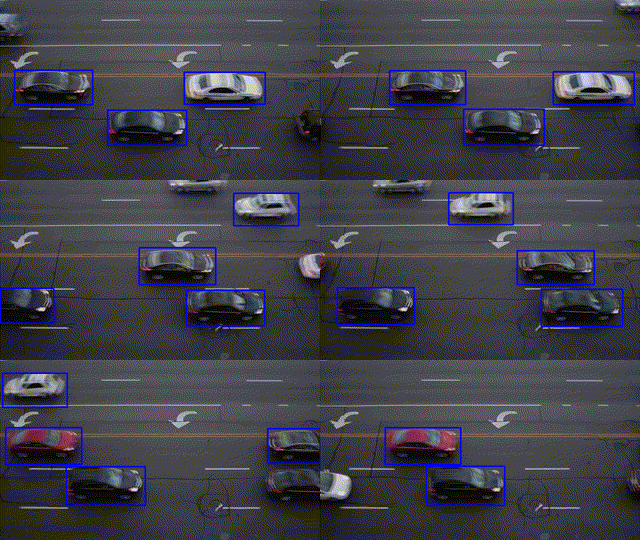
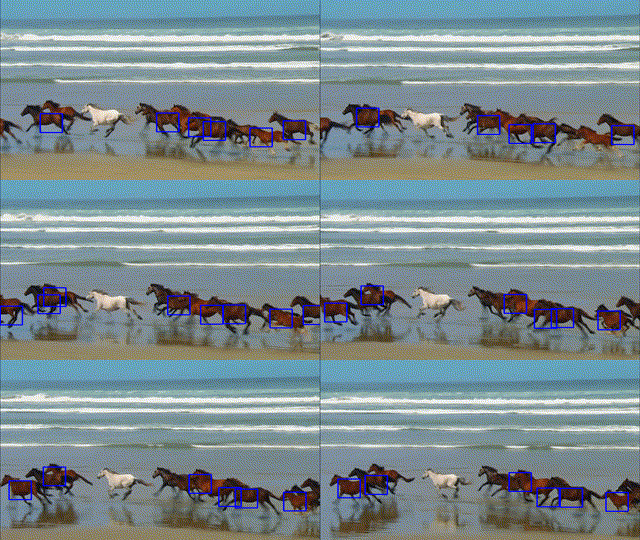
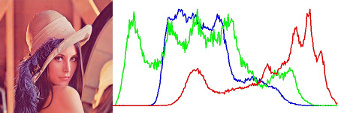
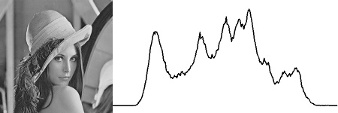
See examples for implementation.
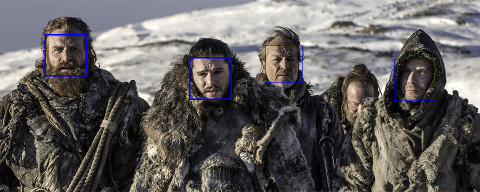
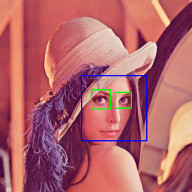
Check out my article about face recognition.
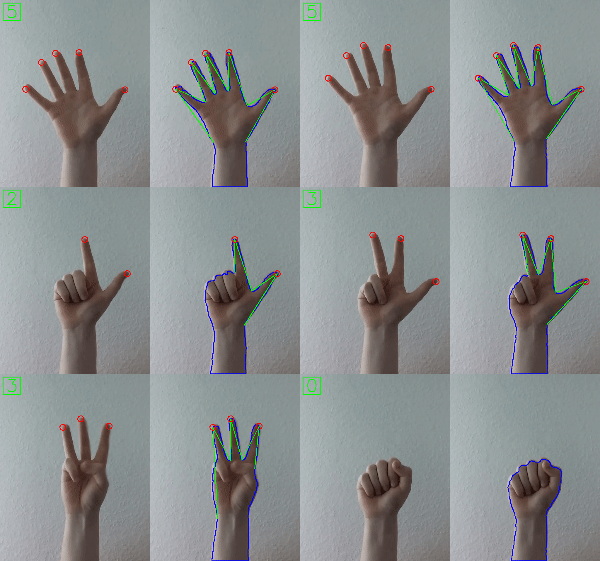
Check out my article about fingertip detection.
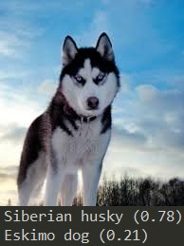
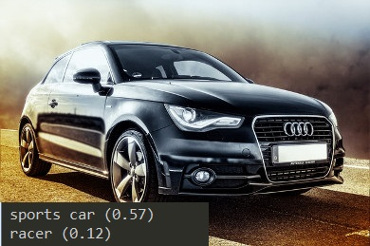
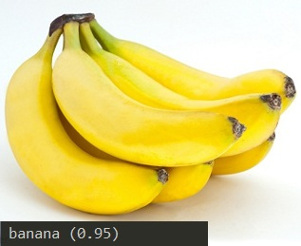
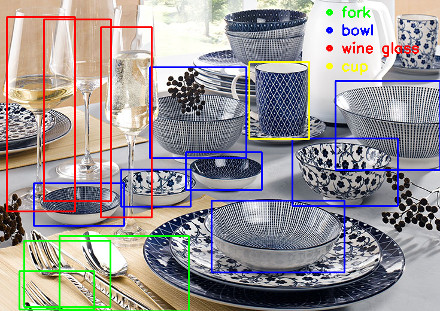
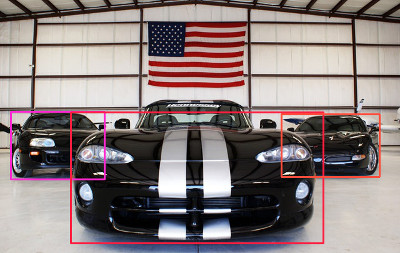
Check out my article about using OpenCV's Deep Neural Networks with Node.js.
Check out my article about recognition of handwritten letters using Histogram of oriented Gradients (HOG) and Support Vector Machines (SVM).
$ npm install --save opencv4nodejsMake sure to have OpenCV 3+ ( extra modules are optional ) installed on your System https://github.com/opencv/opencv/releases/. In case you are running on Windows or have OpenCV set up in a custom directory make sure to set the following environment variables:
- OPENCV_DIR pointing to the root path containing include directory or set OPENCV_INCLUDE_DIR explicitly.
- OPENCV_LIB_DIR pointing to the library dir containing the OpenCV .lib, .so or .dylib files.
On windows you will need the windows build tools to compile opencv4nodejs:
npm install --global windows-build-tools
Also you will need to add the OpenCV binaries to your system path:
- Add an environment variable OPENCV_BIN_DIR pointing to the library dir containing the OpenCV .dll files.
- Append
;%OPENCV_BIN_DIR%;to your path variable.
Note: Restart your current console session after making changes to your environment.
If you are running into issues also check the requirements for node-gyp specific to your OS: https://github.com/nodejs/node-gyp.
opencv-express - example for opencv4nodejs with express.js and docker
Or simply pull from justadudewhohacks/opencv-nodejs for opencv-3.2 + contrib-3.2 with opencv4nodejs globally installed:
FROM justadudewhohacks/opencv-nodejs
Different OpenCV 3.x base images can be found here: https://hub.docker.com/r/justadudewhohacks/.
opencv-electron - example for opencv4nodejs with electron
Add the following script to your package.json:
"electron-rebuild": "electron-rebuild -w opencv4nodejs"Run the script:
$ npm run electron-rebuildRequire it in the application:
const electron = require('electron');
const cv = electron.remote.require('opencv4nodejs');const cv = require('opencv4nodejs');const rows = 100; // height
const cols = 100; // width
// empty Mat
const emptyMat = new cv.Mat(rows, cols, cv.CV_8UC3);
// fill the Mat with default value
const whiteMat = new cv.Mat(rows, cols, cv.CV_8UC1, 255);
const blueMat = new cv.Mat(rows, cols, cv.CV_8UC3, [255, 0, 0]);
// from array (3x3 Matrix, 3 channels)
const matData = [
[[255, 0, 0], [255, 0, 0], [255, 0, 0]],
[[0, 0, 0], [0, 0, 0], [0, 0, 0]],
[[255, 0, 0], [255, 0, 0], [255, 0, 0]]
];
const matFromArray = new cv.Mat(matData, cv.CV_8UC3);
// from node buffer
const charData = [255, 0, ...];
const matFromArray = new cv.Mat(new Buffer.from(charData), rows, cols, cv.CV_8UC3);
// Point
const pt2 = new cv.Point(100, 100);
const pt3 = new cv.Point(100, 100, 0.5);
// Vector
const vec2 = new cv.Vec(100, 100);
const vec3 = new cv.Vec(100, 100, 0.5);
const vec4 = new cv.Vec(100, 100, 0.5, 0.5);const mat0 = new cv.Mat(...);
const mat1 = new cv.Mat(...);
// arithmetic operations for Mats and Vecs
const matMultipliedByScalar = mat0.mul(0.5); // scalar multiplication
const matDividedByScalar = mat0.div(2); // scalar division
const mat0PlusMat1 = mat0.add(mat1); // addition
const mat0MinusMat1 = mat0.sub(mat1); // subtraction
const mat0MulMat1 = mat0.hMul(mat1); // elementwise multiplication
const mat0DivMat1 = mat0.hDiv(mat1); // elementwise division
// logical operations Mat only
const mat0AndMat1 = mat0.and(mat1);
const mat0OrMat1 = mat0.or(mat1);
const mat0bwAndMat1 = mat0.bitwiseAnd(mat1);
const mat0bwOrMat1 = mat0.bitwiseOr(mat1);
const mat0bwXorMat1 = mat0.bitwiseXor(mat1);
const mat0bwNot = mat0.bitwiseNot();const matBGR = new cv.Mat(..., cv.CV_8UC3);
const matGray = new cv.Mat(..., cv.CV_8UC1);
// get pixel value as vector or number value
const vec3 = matBGR.at(200, 100);
const grayVal = matGray.at(200, 100);
// get raw pixel value as array
const [b, g, r] = matBGR.atRaw(200, 100);
// set single pixel values
matBGR.set(50, 50, [255, 0, 0]);
matBGR.set(50, 50, new Vec(255, 0, 0));
matGray.set(50, 50, 255);
// get a 25x25 sub region of the Mat at offset (50, 50)
const width = 25;
const height = 25;
const region = matBGR.getRegion(new cv.Rect(50, 50, width, height));
// get a node buffer with raw Mat data
const matAsBuffer = matBGR.getData();
// get entire Mat data as JS array
const matAsArray = matBGR.getDataAsArray();// load image from file
const mat = cv.imread('./path/img.jpg');
cv.imreadAsync('./path/img.jpg', (err, mat) => {
...
})
// save image
cv.imwrite('./path/img.png', mat);
cv.imwriteAsync('./path/img.jpg', mat,(err) => {
...
})
// show image
cv.imshow('a window name', mat);
cv.waitKey();
// open capture from webcam
const devicePort = 0;
const wCap = new cv.VideoCapture(devicePort);
// open video capture
const vCap = new cv.VideoCapture('./path/video.mp4');
// read frames from capture
const frame = vCap.read();
vCap.readAsync((err, frame) => {
...
});
// loop through the capture
const delay = 10;
let done = false;
while (!done) {
let frame = vCap.read();
// loop back to start on end of stream reached
if (frame.empty) {
vCap.reset();
frame = vCap.read();
}
// ...
const key = cv.waitKey(delay);
done = key !== 255;
}const matBGR = new cv.Mat(..., cv.CV_8UC3);
// convert types
const matSignedInt = matBGR.convertTo(cv.CV_32SC3);
const matDoublePrecision = matBGR.convertTo(cv.CV_64FC3);
// convert color space
const matGray = matBGR.bgrToGray();
const matHSV = matBGR.cvtColor(cv.COLOR_BGR2HSV);
const matLab = matBGR.cvtColor(cv.COLOR_BGR2Lab);
// resize
const matHalfSize = matBGR.rescale(0.5);
const mat100x100 = matBGR.resize(100, 100);
const matMaxDimIs100 = matBGR.resizeToMax(100);
// extract channels and create Mat from channels
const [matB, matG, matR] = matBGR.splitChannels();
const matRGB = new cv.Mat([matR, matB, matG]);const img = ...
// convert your image to rgba color space
const matRGBA = img.channels === 1
? img.cvtColor(cv.COLOR_GRAY2RGBA)
: img.cvtColor(cv.COLOR_BGR2RGBA);
// create new ImageData from raw mat data
const imgData = new ImageData(
new Uint8ClampedArray(matRGBA.getData()),
img.cols,
img.rows
);
// set canvas dimensions
const canvas = document.getElementById('myCanvas');
canvas.height = img.rows;
canvas.width = img.cols;
// set image data
const ctx = canvas.getContext('2d');
ctx.putImageData(imgData, 0, 0);OpenCV method interface from official docs or src:
void GaussianBlur(InputArray src, OutputArray dst, Size ksize, double sigmaX, double sigmaY = 0, int borderType = BORDER_DEFAULT);translates to:
const src = new cv.Mat(...);
// invoke with required arguments
const dst0 = src.gaussianBlur(new cv.Size(5, 5), 1.2);
// with optional paramaters
const dst2 = src.gaussianBlur(new cv.Size(5, 5), 1.2, 0.8, cv.BORDER_REFLECT);
// or pass specific optional parameters
const optionalArgs = {
  borderType: cv.BORDER_CONSTANT
};
const dst2 = src.gaussianBlur(new cv.Size(5, 5), 1.2, optionalArgs);The async API can be consumed by passing a callback as the last argument of the function call. By default, if an async method is called without passing a callback, the function call will yield a Promise.
const classifier = new cv.CascadeClassifier(cv.HAAR_FRONTALFACE_ALT2);

// by nesting callbacks
cv.imreadAsync('./faceimg.jpg', (err, img) => {
  if (err) { return console.error(err); }

  const grayImg = img.bgrToGray();
  classifier.detectMultiScaleAsync(grayImg, (err, res) => {
    if (err) { return console.error(err); }

    const { objects, numDetections } = res;
    ...
  });
});

// via Promise
cv.imreadAsync('./faceimg.jpg')
  .then(img =>
    img.bgrToGrayAsync()
      .then(grayImg => classifier.detectMultiScaleAsync(grayImg))
      .then((res) => {
        const { objects, numDetections } = res;
        ...
      })
  )
  .catch(err => console.error(err));

// using async await
try {
  const img = await cv.imreadAsync('./faceimg.jpg');
  const grayImg = await img.bgrToGrayAsync();
  const { objects, numDetections } = await classifier.detectMultiScaleAsync(grayImg);
  ...
} catch (err) {
  console.error(err);
}- core
- io
- imgproc
- ximgproc
- objdetect
- machinelearning
- deepneuralnetworks
- video
- calib3d
- photo
- features2d
- xfeatures2d
- tracking
- text
- face
Are you missing some functions from OpenCV (overview of available bindings) or have an idea for utility in regards to the OpenCV API, which you would like to be added to this package? No problem! Open a new issue with a listing of the desired function bindings or features and you will find them in this package soon.


