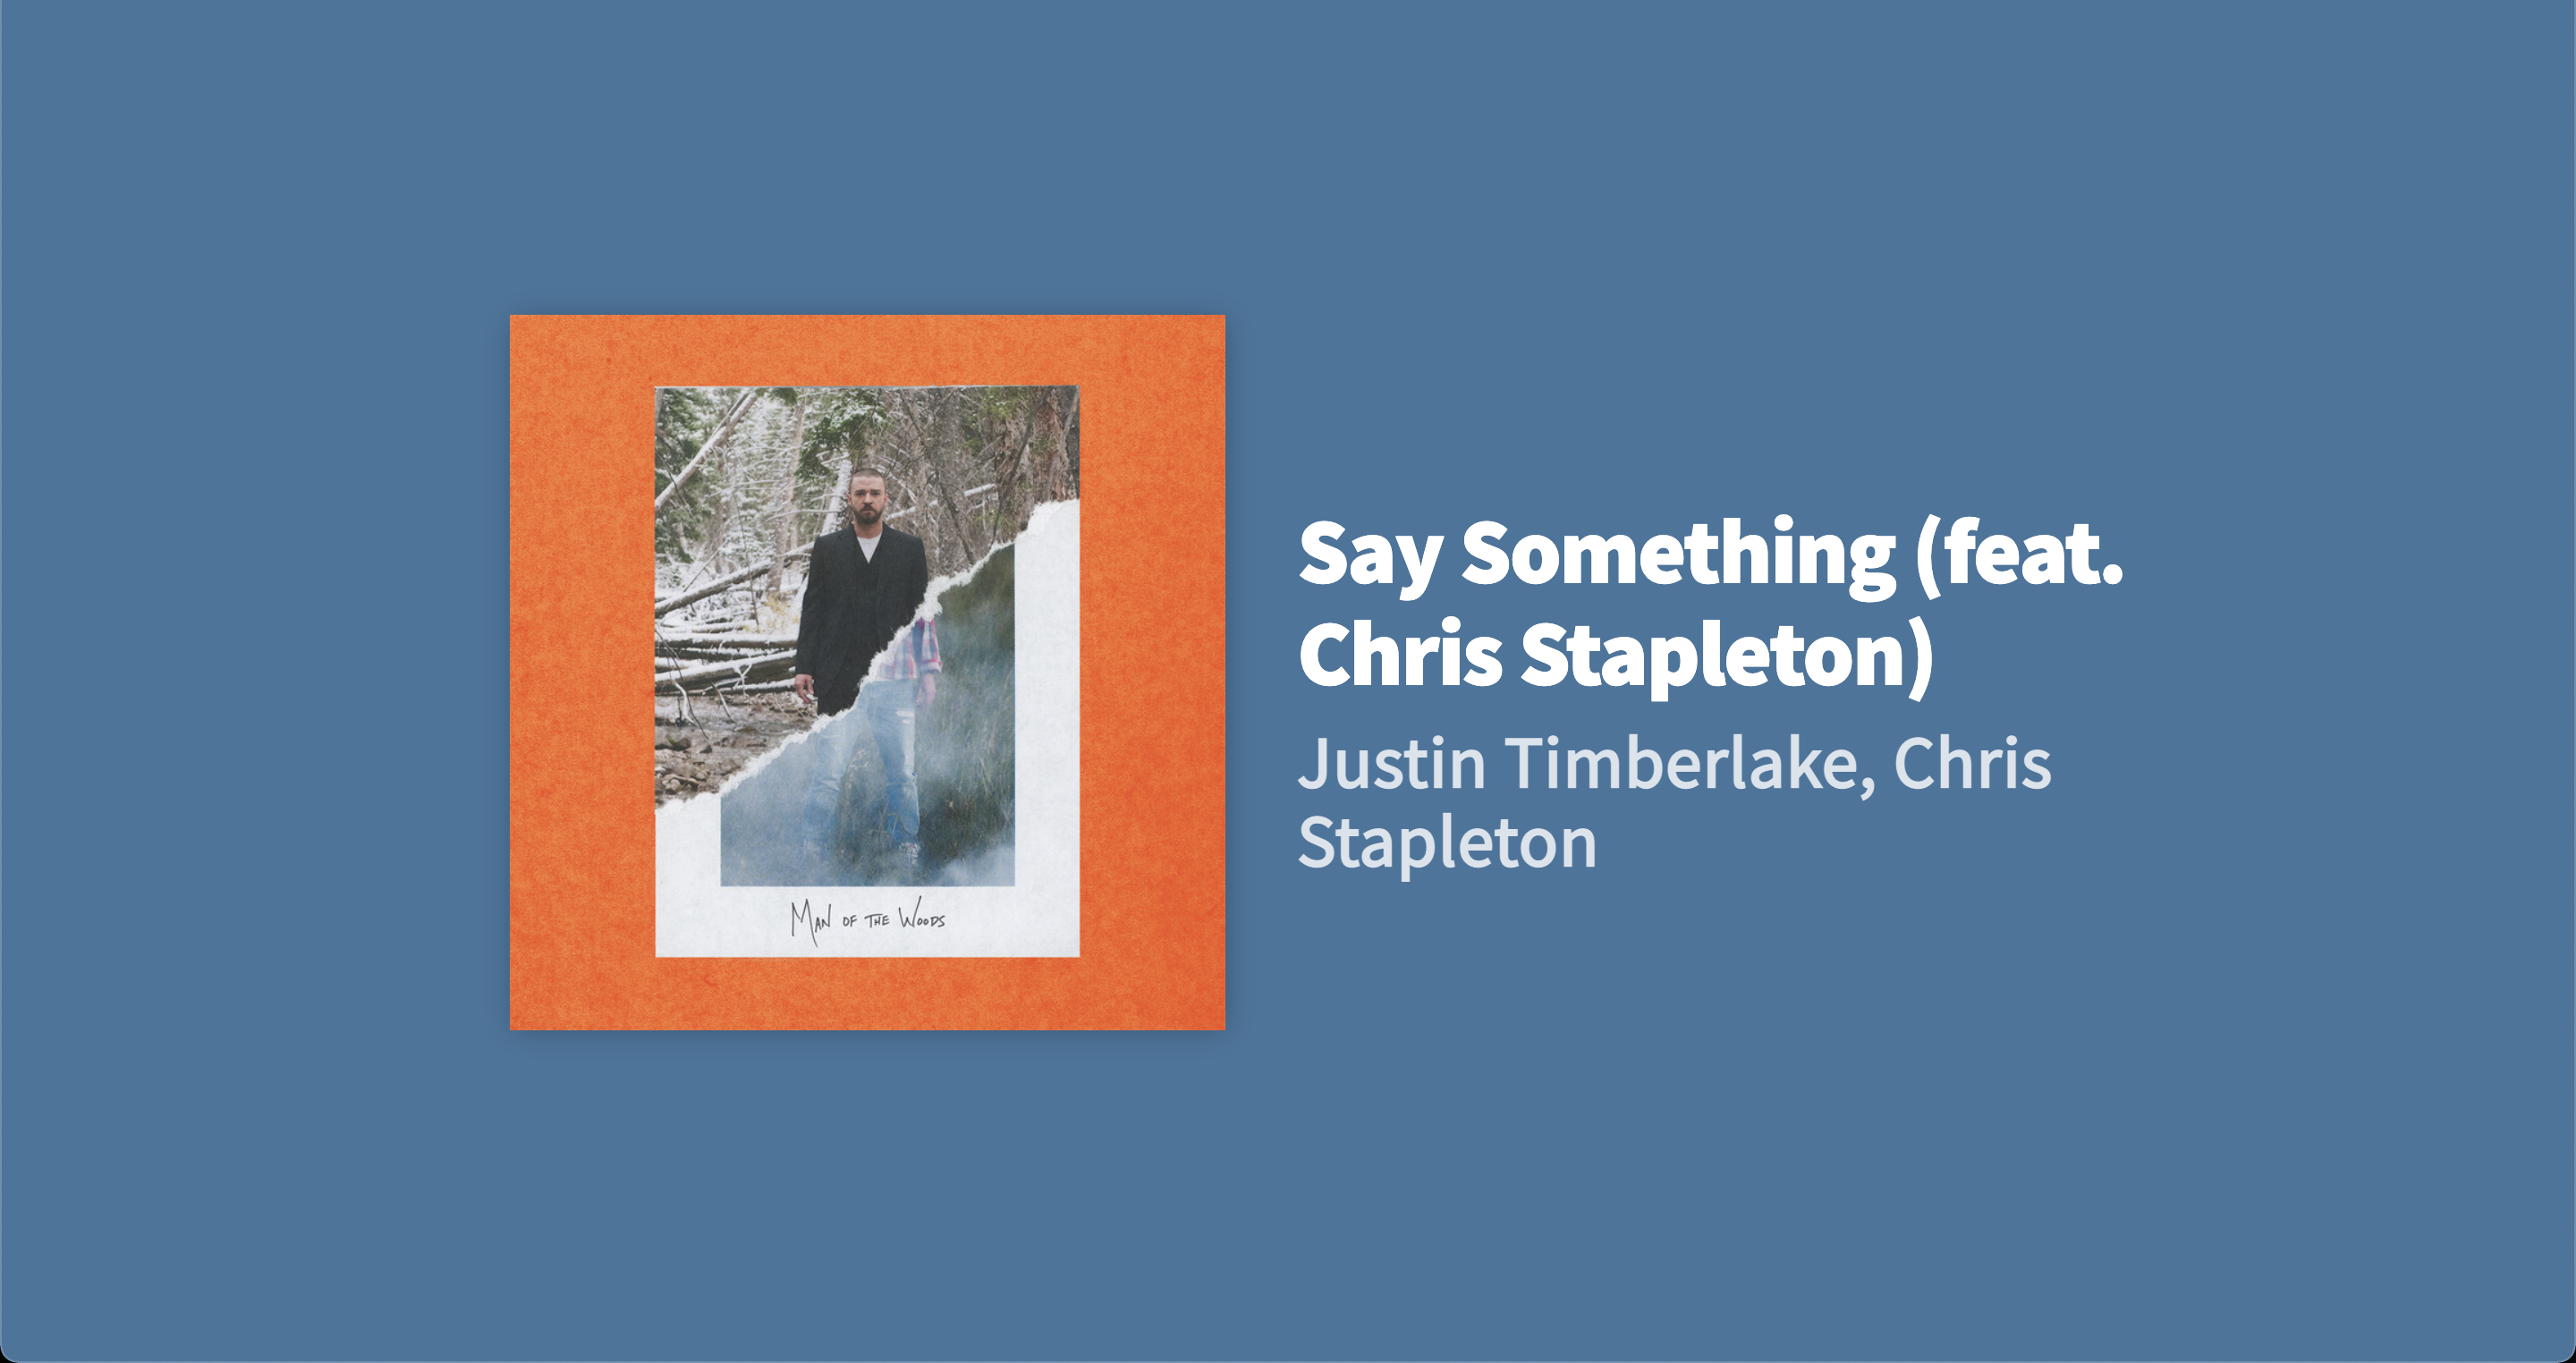
A simple app to display visuals of your current Spotify track. Designed to be used on a Raspberry Pi.
Preview:
Write up: https://ashcroft.dev/blog/now-playing-screen-spotify-raspberry-pi-es6/
🚨 Note: Nowify was created over 2 years ago as a learning exercise and the code and build process can be greatly improved. I'm considering rewriting a modern version in a new repository.
To get this up and running, you'll need to run the build tools to generate the compiled code. You'll then place that compiled code wherever you want to run Nowify (local webserver, Raspberry Pi etc.) - so this will require you to have some tools installed to your desktop. The following was written for using a Mac.
- Install Node.
Given that this project is 2 years old, the versions of each package are quite old, so I'd recommend installing Node via NVM (Node Version Manager) and using v11 for Nowify. Installing Node will also install NPM (Node Package Manager).
Instructions: https://tecadmin.net/install-nodejs-with-nvm/
- Ensure that Gulp is installed.
Gulp is a task-runner that will assist in compiling our code.
-
Clone this repo, navigate to the Nowify folder and ensure that nvm is using Node 11 by running
nvm version -
When in the Nowify folder in your terminal, install the required packages:
npm install babel-core babel-preset-env babel-register babelify browser-sync browserify browsersync eslint gulp gulp-autoprefixer gulp-babel gulp-concat gulp-cssnano gulp-notify gulp-plumber gulp-rename gulp-sass gulp-sourcemaps gulp-uglify vinyl-buffer vinyl-source-stream node-vibrant --save-dev
-
Now that the requiremens are added, you'll need Spotify API keys. Generate them by logging in to the Spotify Dashboard and creating a new client.
-
Enter your Client ID and Client Secret in
src/js/_config.js -
Once that's added, start the build tools by executing
gulpin the terminal.
When the browser window opens, you might see an unstyled page. Simply open any Javascript and CSS file and force a re-save to allow gulp to execute and compile the code. This will compile the CSS and JS into the dist folder.
- Play some music on Spotify
You'll see that Nowify will update with your tracks.
- Move your compiled code
Your compiled version of Nowify will consist of the /dist/ folder and index.html in the root. Move these two to wherever you want to run Nowify from.


