Here, we use the DooD (Docker-outside-of-Docker) to run the jenkins.
For more info about DooD, we HIGHLY suggest to read the blog first.
Here, what we do more is we fix the "sudo" security issue
- Download docker bin file to the HOST Machine, from here: Linux, Mac
- Download & Install docker to the HOST Machine: Linux, Mac
-
Pull the latest Jenkins LTS:
docker pull jenkins/jenkins:lts -
Use --group-add to give jenkins user to have permission to run docker
Run the command to see which group id the container automatically created when we map the -v /var/run/docker.sock:/var/run/docker.sock
Note: If the OS is MAC, change ownership of the /var/run/docker.sock to your current user:
sudo chown `id -u`:staff /var/run/docker.sockdocker run \ -ti \ -v /var/run/docker.sock:/var/run/docker.sock \ --rm \ jenkins/jenkins:lts bash -c "ls -l /var/run/docker.sock"You will get the result as bellow, mark down the group id. Normally speaking, the id should be 999 or 998.
srw-rw---- 1 root 999 0 Jun 16 19:18 /var/run/docker.sock
-
Run Jenkins - Master
-
For more info about how to use the jenkins/jenkins:lts, please refer to: https://github.com/jenkinsci/docker/blob/master/README.md
-
Here, create a '~/jenkins_home' docker volume on the HOST machine, that will survive the container stop/restart/deletion.
-
Get the group-id from step 2, for example 999
docker run \ -p 8080:8080 \ -p 50000:50000 \ -v ~/jenkins_home:/var/jenkins_home \ -v /var/run/docker.sock:/var/run/docker.sock \ -v ~/Downloads/docker/docker:/usr/bin/docker \ --name jenkins2 \ -d \ --rm \ --group-add 999 \ jenkins/jenkins:lts -
-
Open http://127.0.0.1:8080/, and follow the jenkins guid to finish the installation.
-
Install Additional Plugins in http://127.0.0.1:8080/pluginManager/available with "Install without restart":
- HTML Publisher
- Post build task
-
Go to http://127.0.0.1:8080/script, and execute the command to avoid blank html report issue.
System.setProperty("hudson.model.DirectoryBrowserSupport.CSP"," ") -
Create a Slave node
- Go to http://127.0.0.1:8080/computer/
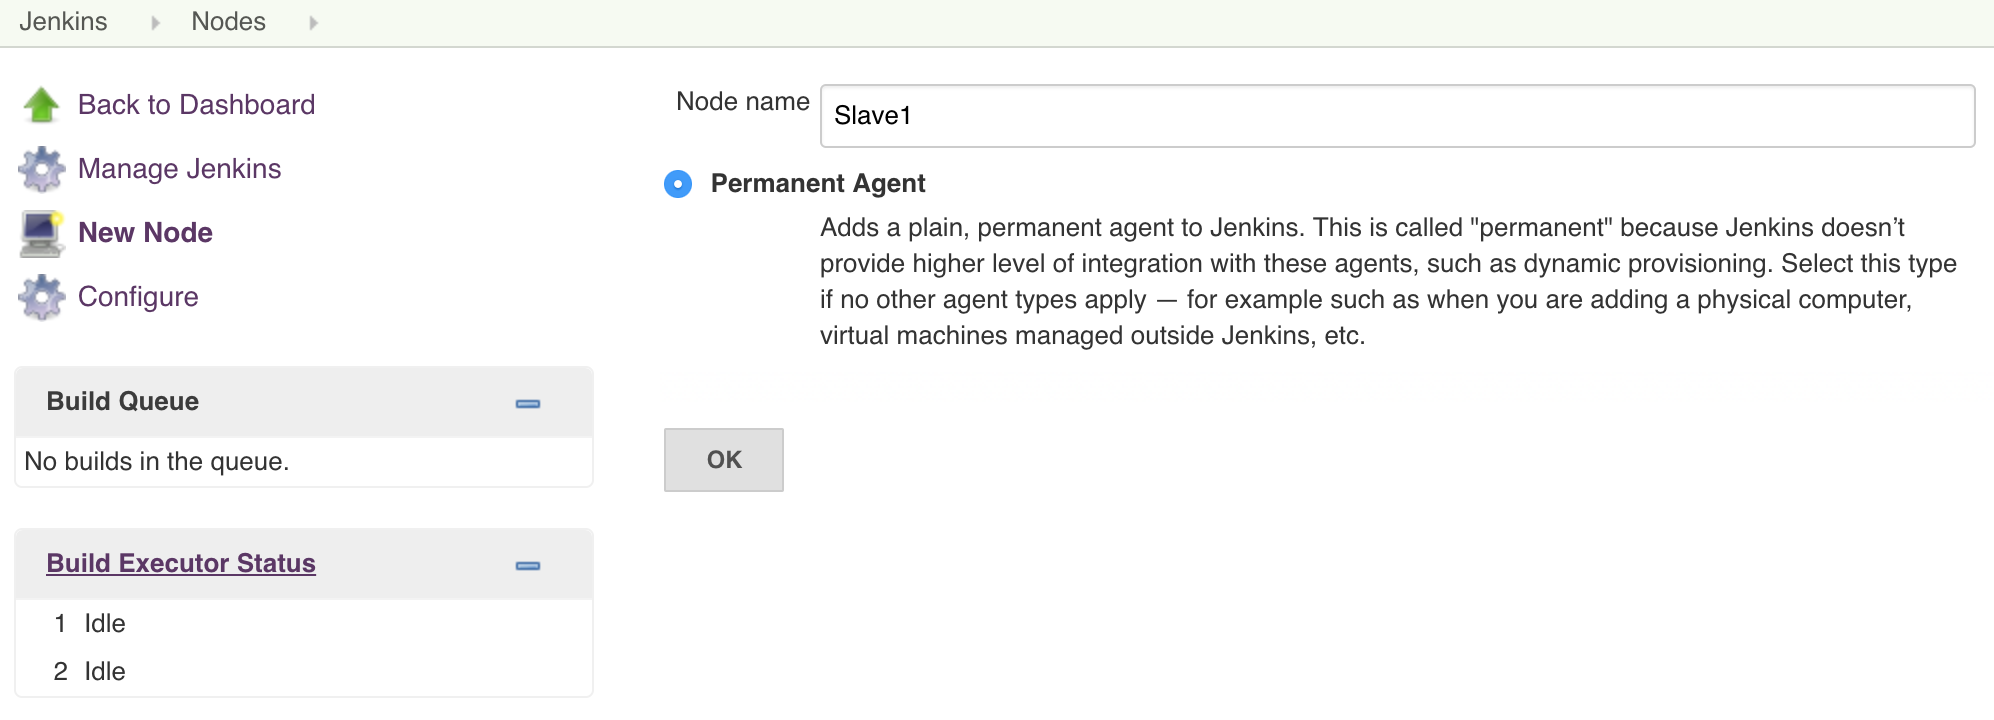
- Click "New Node", enter "Slave 1" to set as following:
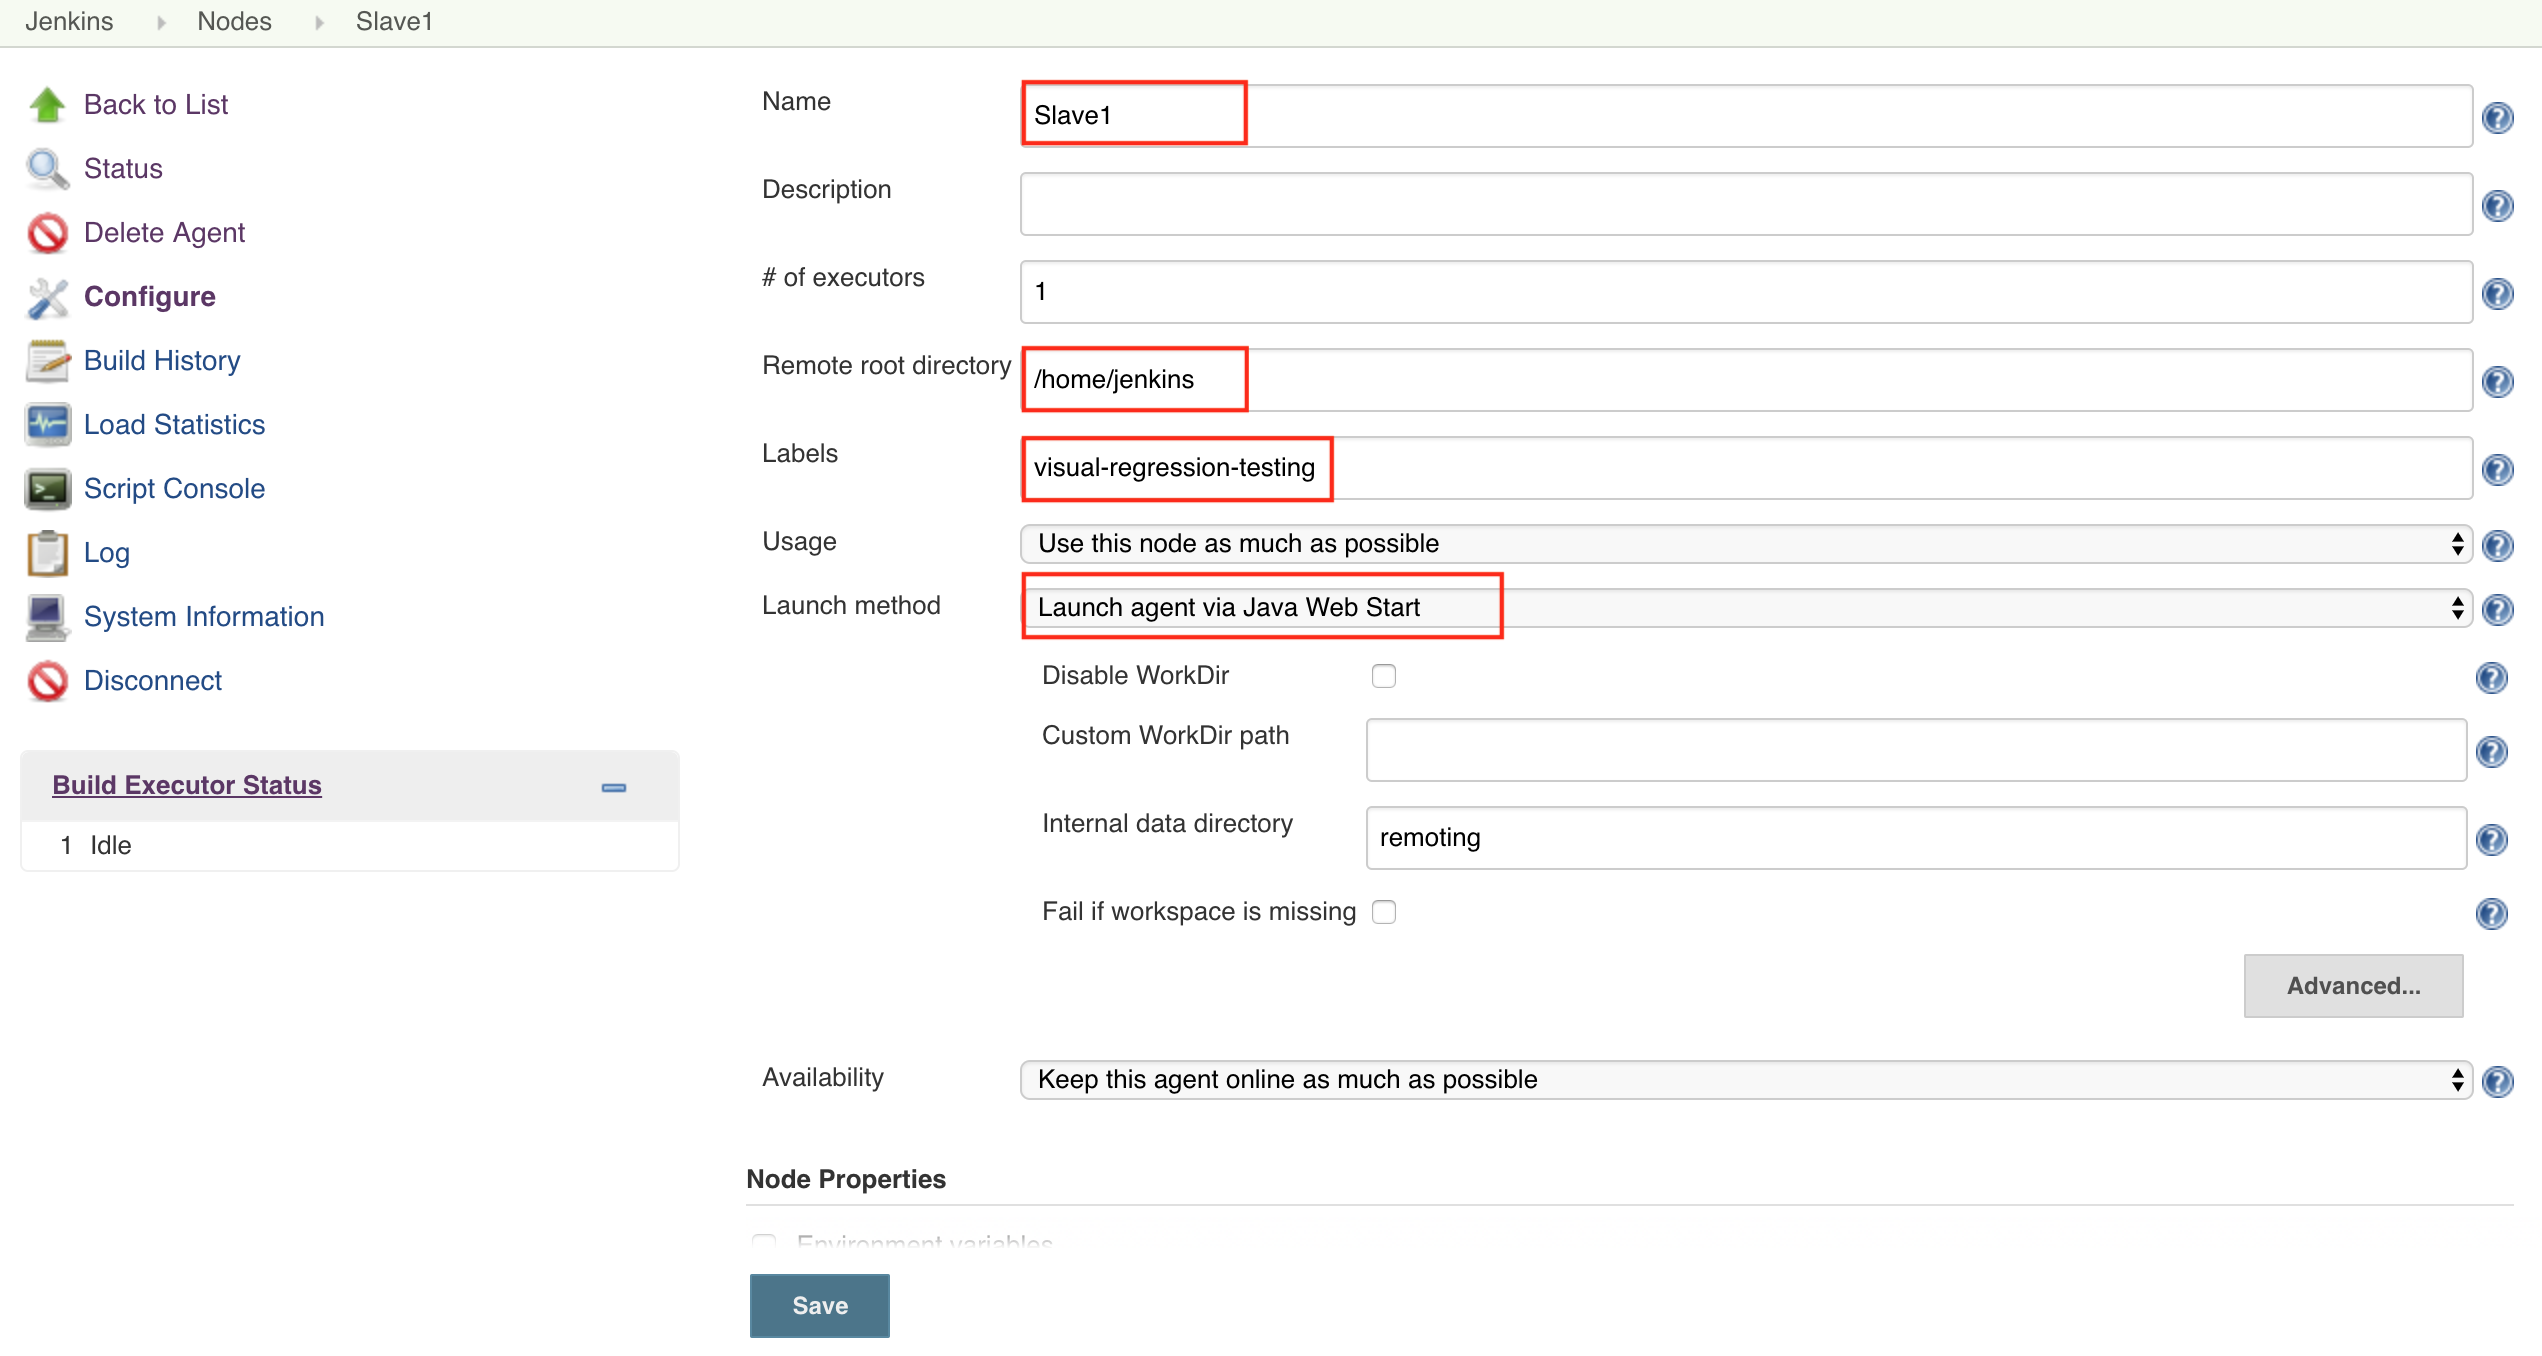
- Set "Remote root directory" to "/home/jenkins", and set "Launch agent via Java Web Start" as following:
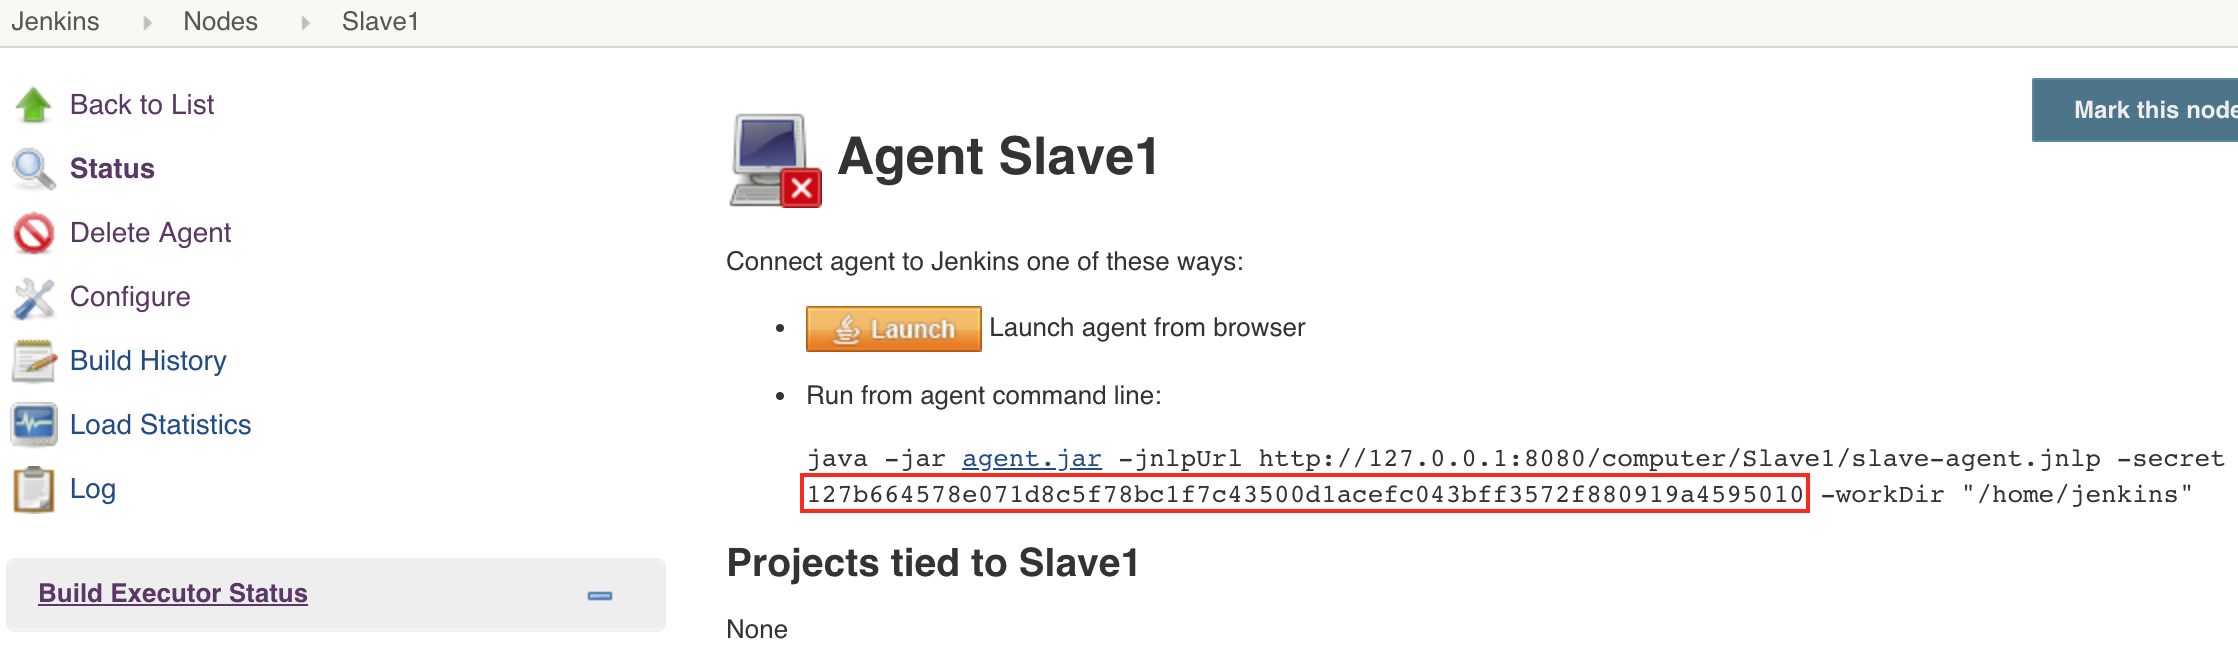
- Click Save, and mark the secret for later use as following:


-
Pull the latest Jenkins jnlp-slave:
docker pull jenkins/jnlp-slave -
Use --group-add to give jenkins user to have permission to run docker
Run the command to see which group id the container automatically created when we map the -v /var/run/docker.sock:/var/run/docker.sock
Note: If the OS is MAC, change ownership of the /var/run/docker.sock to your current user:
sudo chown `id -u`:staff /var/run/docker.sockdocker run \ -ti \ -v /var/run/docker.sock:/var/run/docker.sock \ --rm \ jenkins/jenkins:lts bash -c "ls -l /var/run/docker.sock"You will get the result as bellow, mark down the group id. Normally speaking, the id should be 999 or 998.
srw-rw---- 1 root 999 0 Jun 16 19:18 /var/run/docker.sock
-
Start container for agent:
-
For more info about how to use jenkins/jnlp-slave, please refer to: https://github.com/jenkinsci/docker-jnlp-slave
-
The master url should be 172.17.0.1:8080 between the docker containers
-
Get the group-id from step 2, for example 999
docker run \
     -v ~/jenkins_home:/home/jenkins \
     -v /var/run/docker.sock:/var/run/docker.sock \
     -v YOUR_DOCKER_BIN_FILE:/usr/bin/docker \
     --name jenkins_agent_1 \
     -d \
     --rm \
     --group-add 999 \
     jenkins/jnlp-slave -url http://172.17.0.1:8080 YOUR_SECRET Slave1
For example:
docker run \ -v ~/jenkins_home:/home/jenkins \ -v /var/run/docker.sock:/var/run/docker.sock \ -v ~/Downloads/docker/docker:/usr/bin/docker \ --name jenkins_agent_1 \ -d \ --rm \ --group-add 999 \ jenkins/jnlp-slave -url http://172.17.0.1:8080 127b664578e071d8c5f78bc1f7c43500d1acefc043bff3572f880919a4595010 Slave1 -
-
You could see your agent working as below.
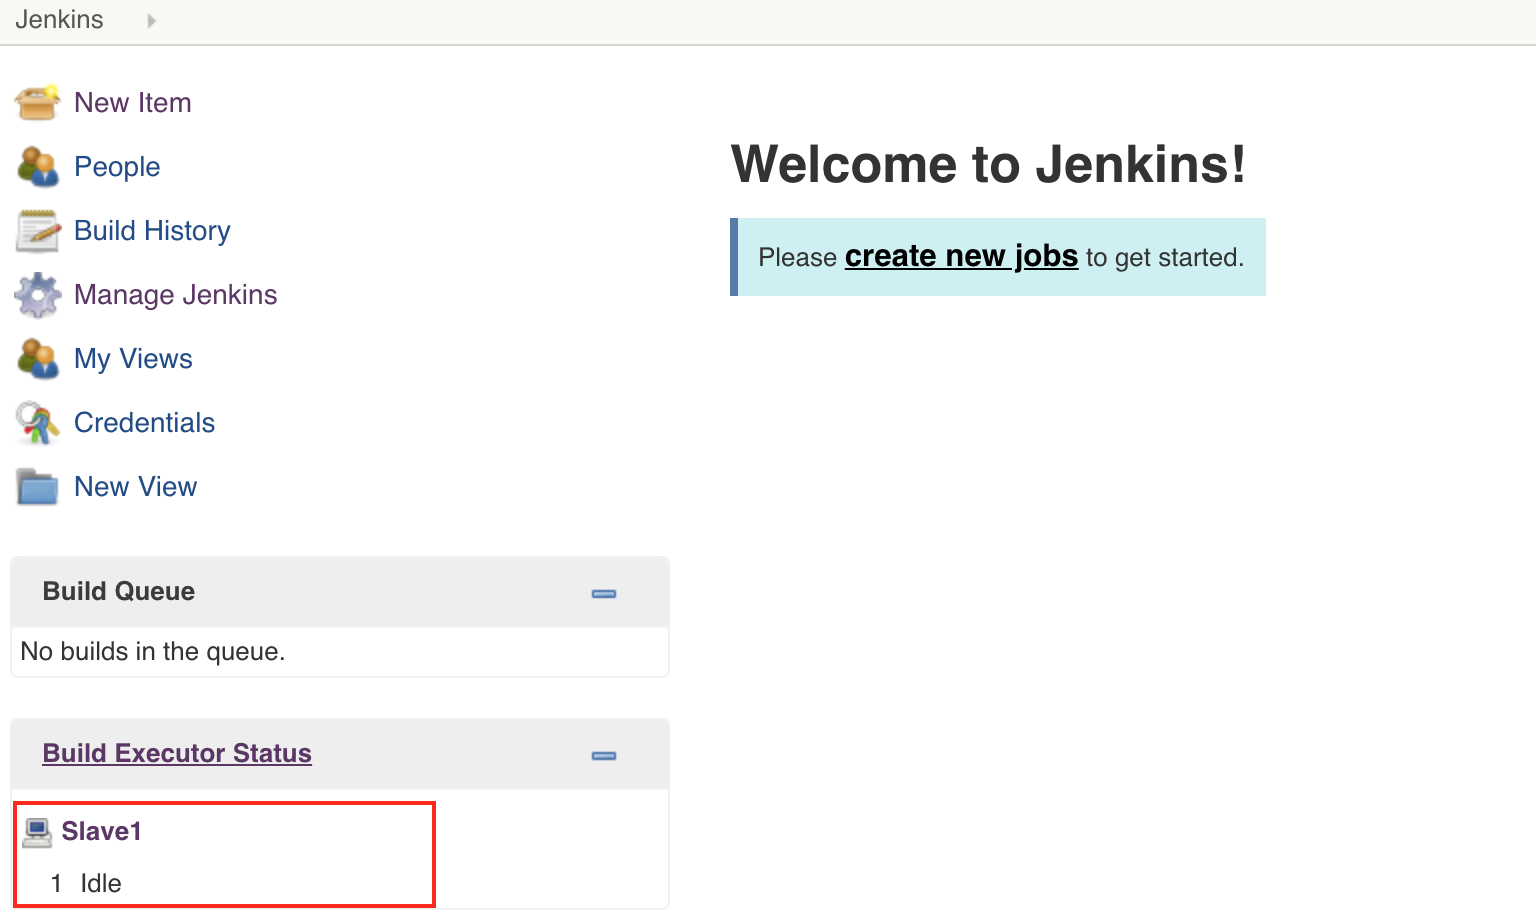

-
Go to http://127.0.0.1:8080/newJob, and select a "Freestyle project" to create a job
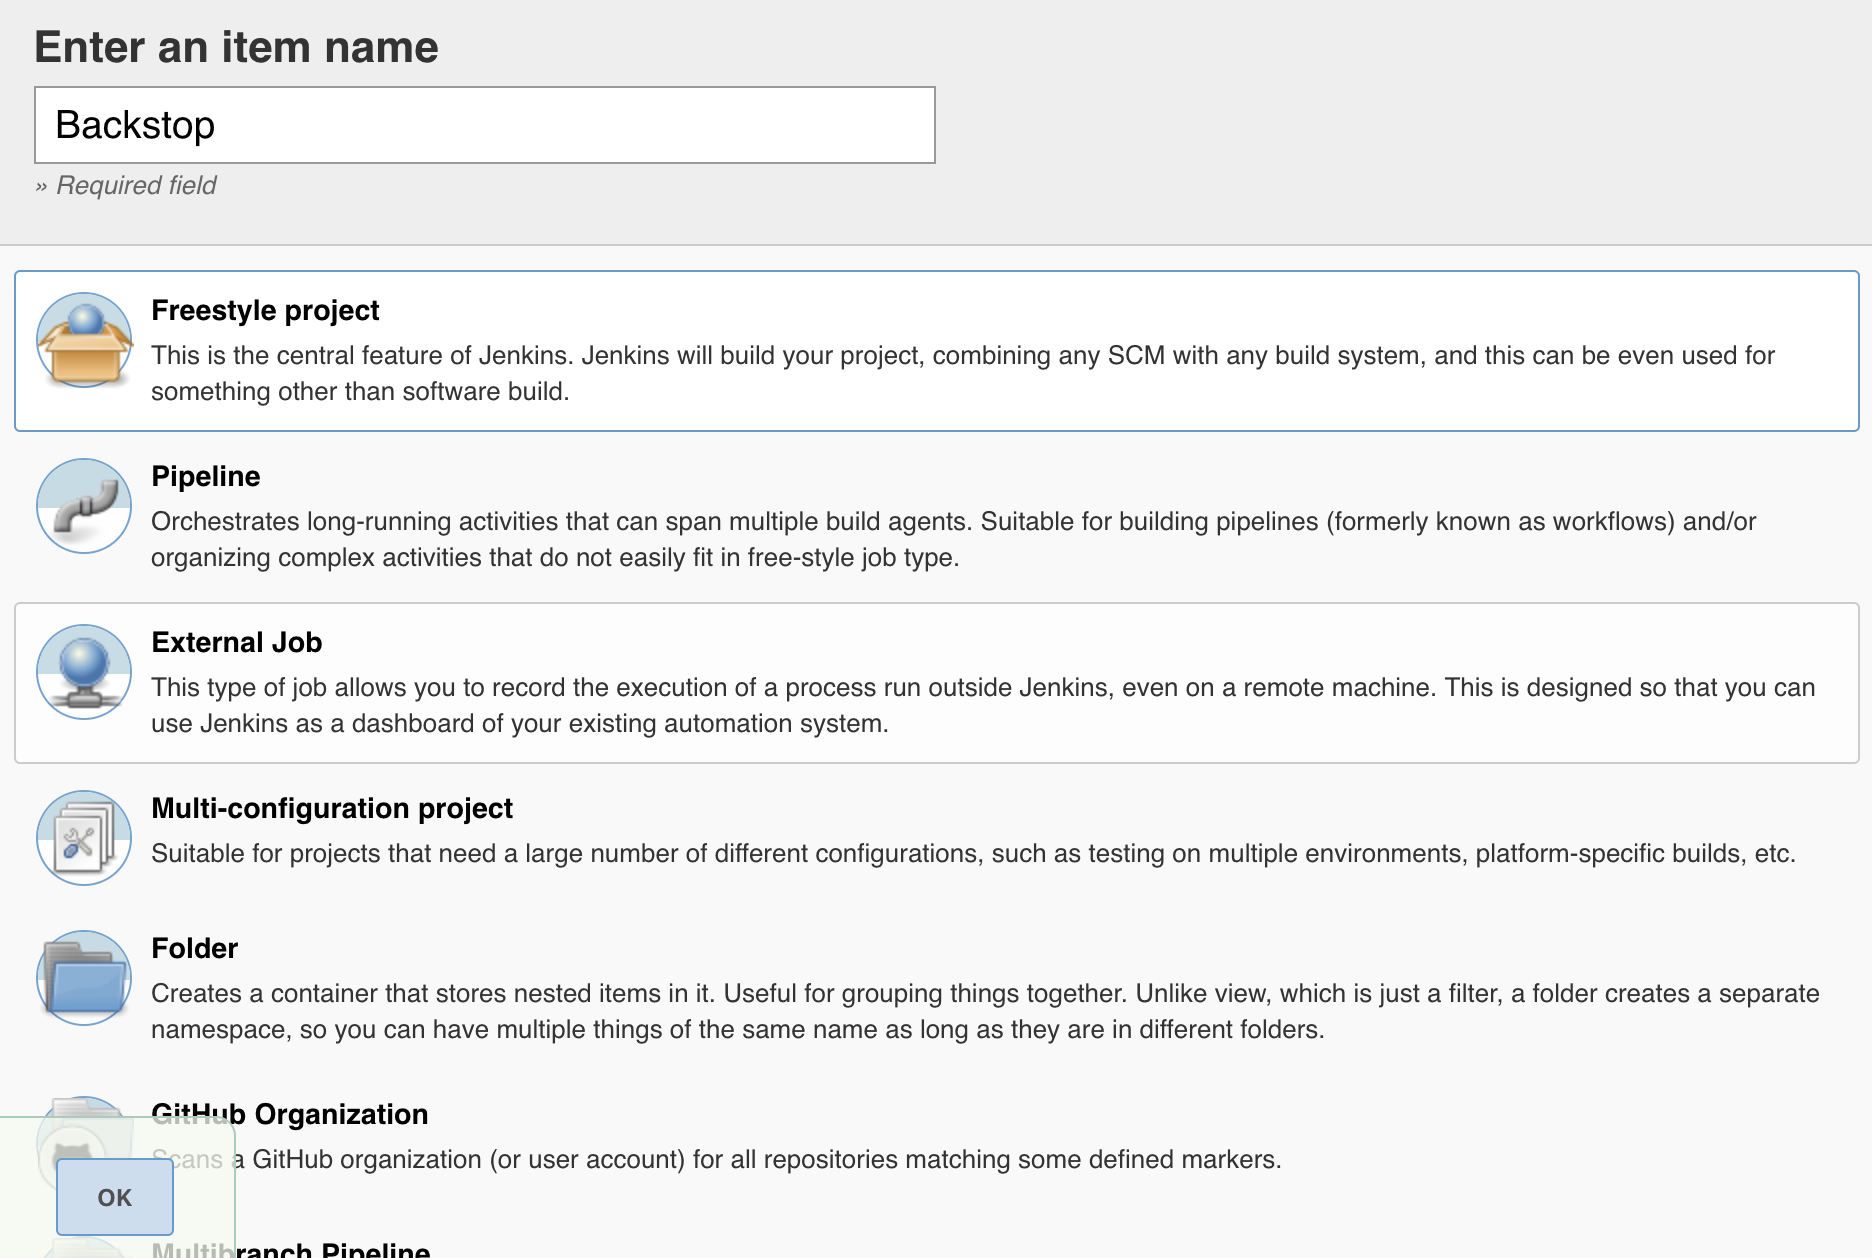
-
Configure
-
General: Set a project name Backstop, and set "Restrict where this project can be run" to "visual-regression-testing"
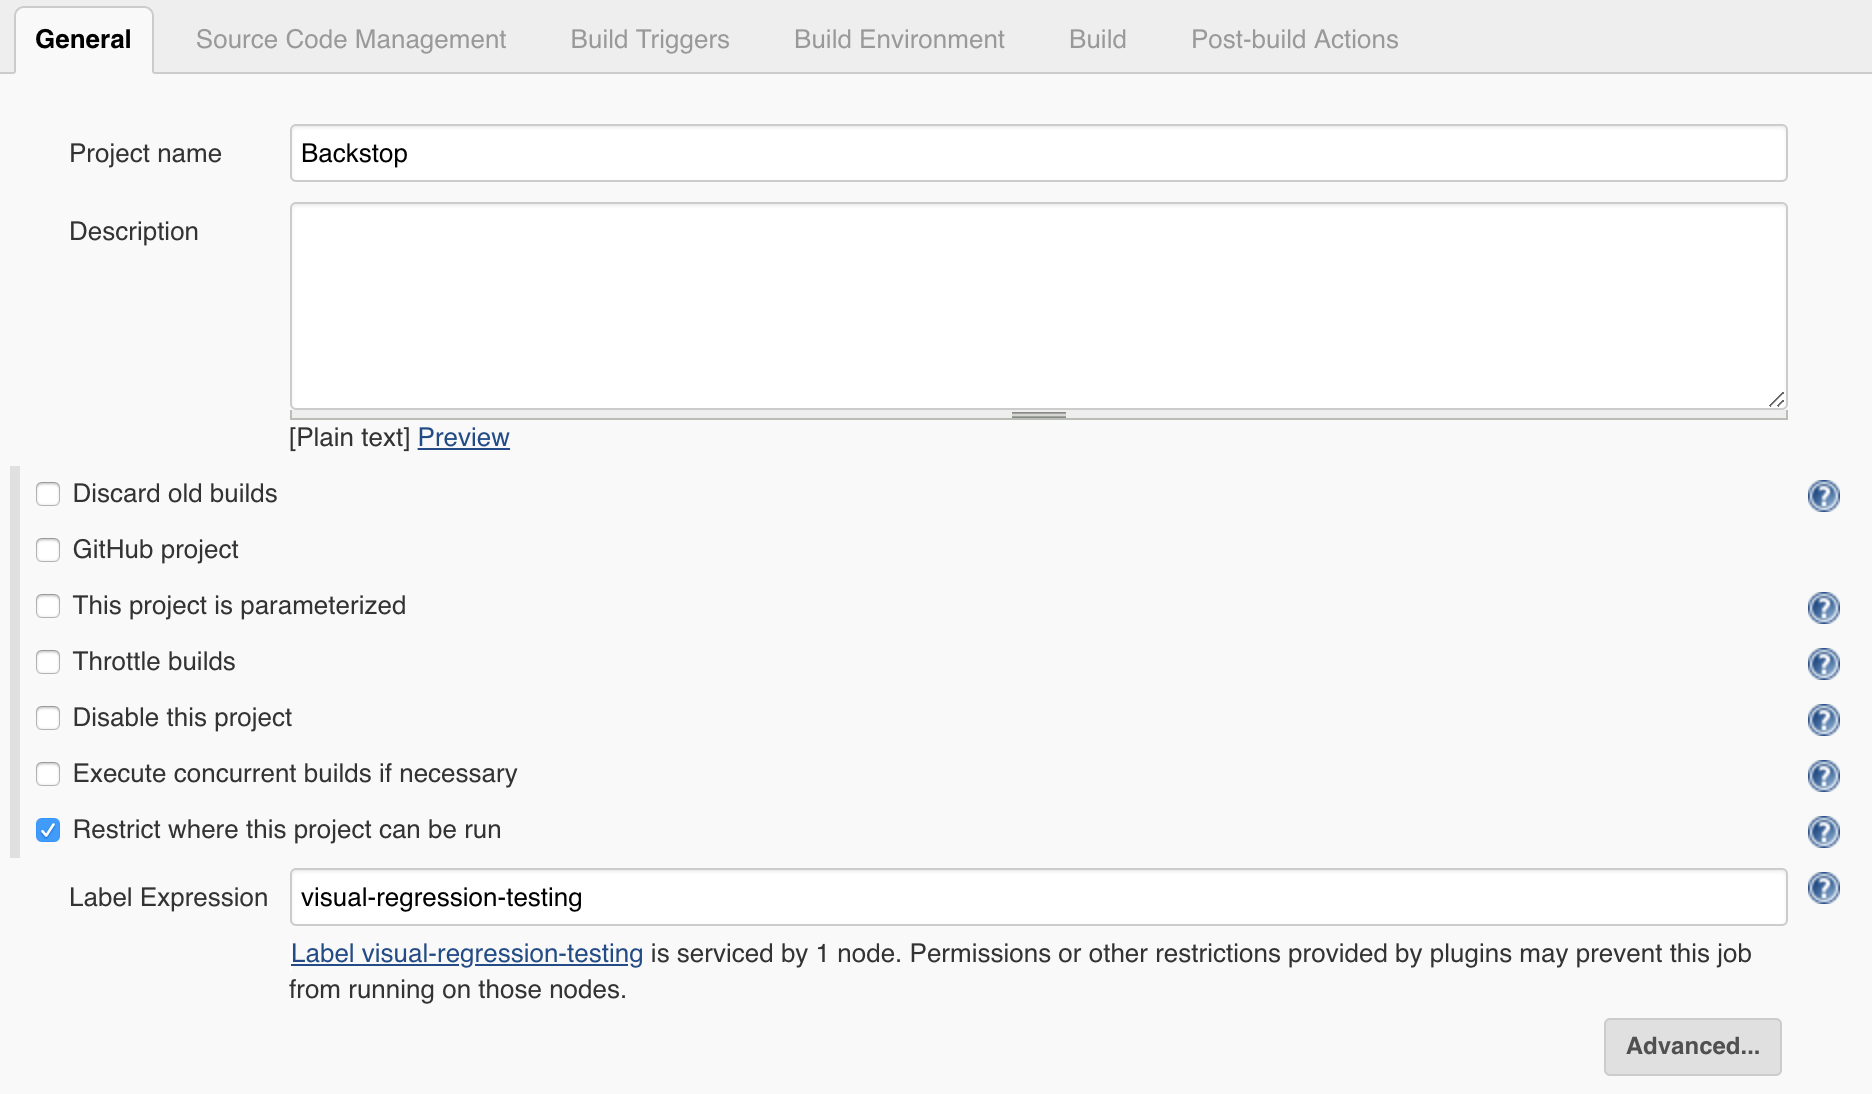
-
Source Code Management: For a instance, you could clone or folk https://github.com/garris/BackstopJS, and then set as following with your own git credential
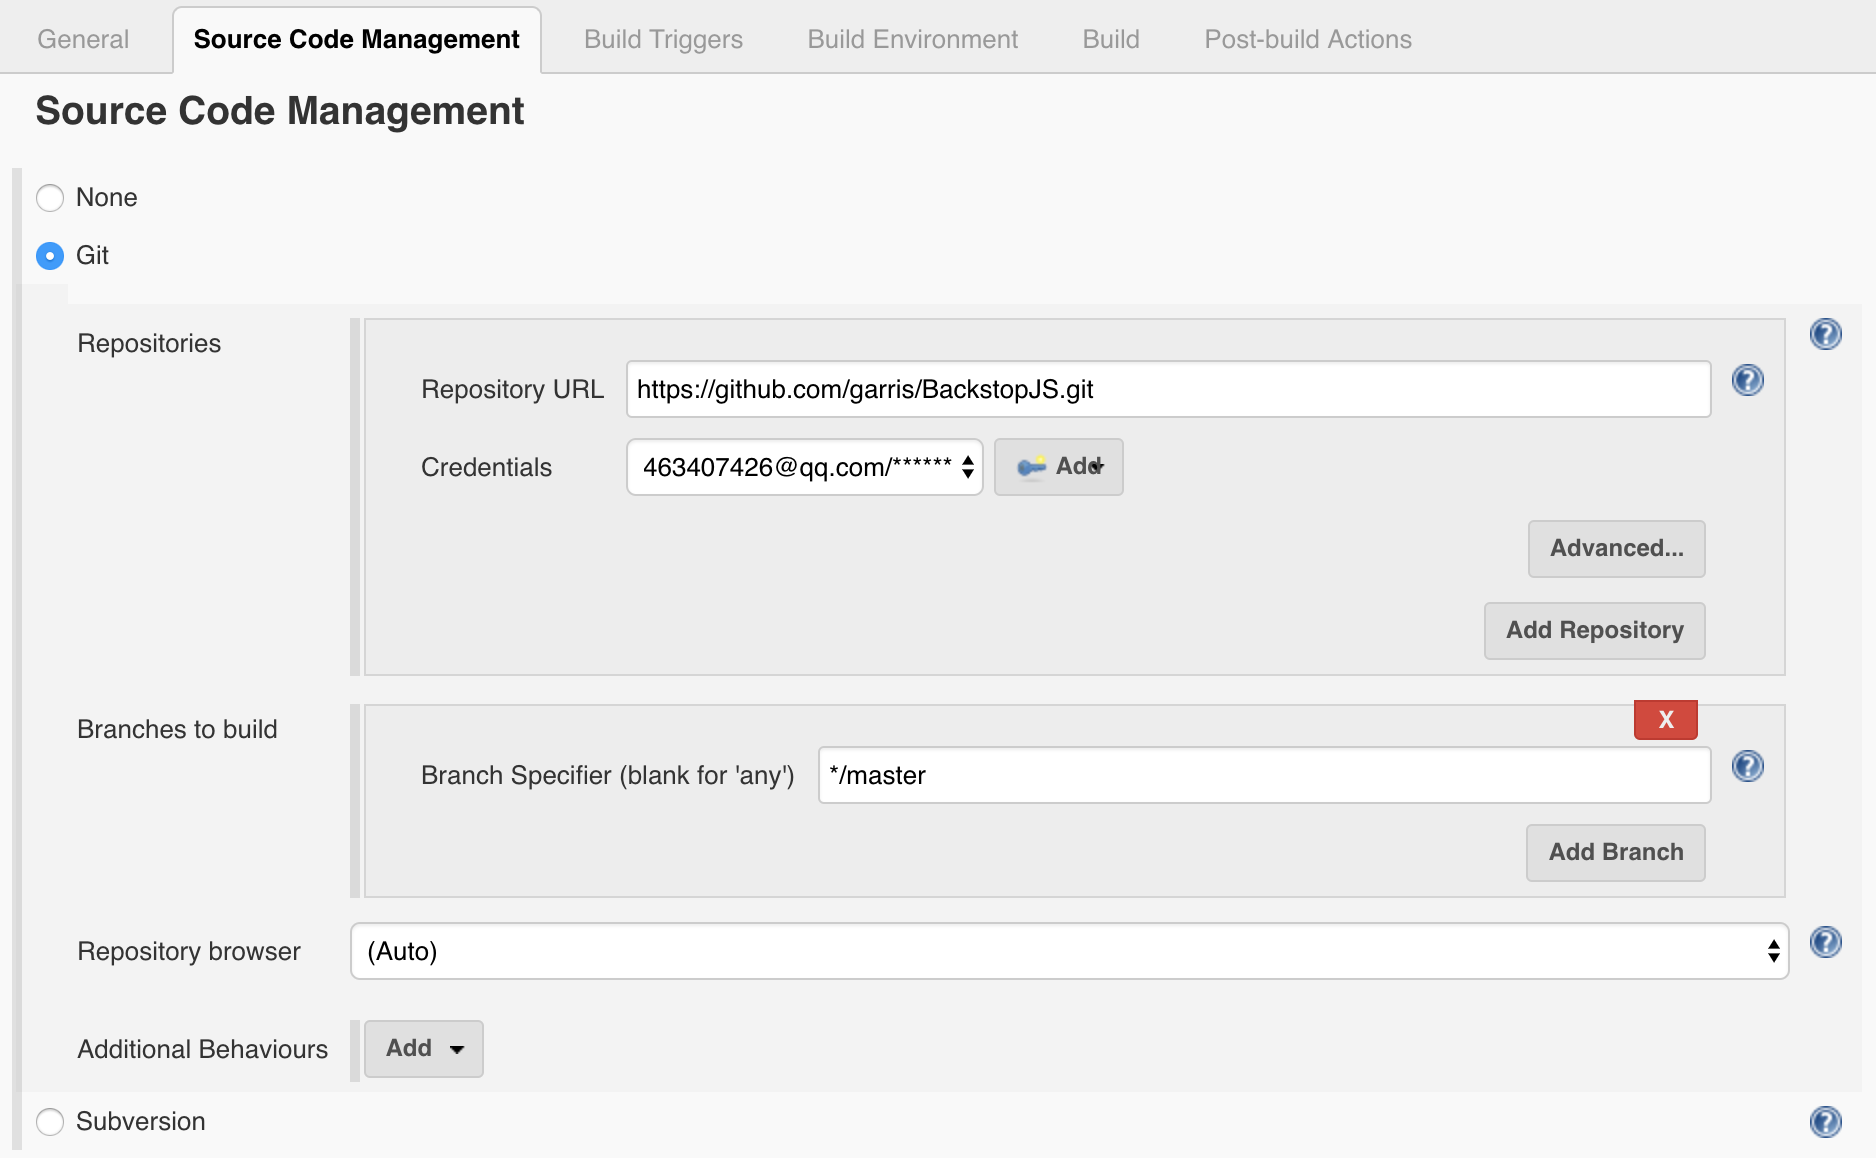
-
Build Triggers: For examples,
- You could run daily test by setting: Build periodically to H 08 * * 1-5
- You could Select Poll SCM and write "H/5 * * * *". This tells Jenkins to “ask” your repository every 5 minutes if there are changes. If there are any, trigger the job.
-
Build: Add Execute Shell, and add following for a sample.
IMPORTANT: Because we use DooD, you need to mount volumes to the container by using --volumes-from <container name> to make user the data is there.
set +x docker pull backstopjs/backstopjs:latest docker run \ --workdir ${WORKSPACE} \ --volumes-from jenkins_agent_1 \ --rm \ --shm-size 2048m \ --name backstopjs \ --entrypoint=sh \ backstopjs/backstopjs:latest \ -c "cd examples/Jenkins/Sample/; backstop test" # Debug Purpose: It will keep container there until job aborted # docker run \ # --workdir ${WORKSPACE} \ # --volumes-from jenkins_agent_1 \ # --rm \ # --shm-size 2048m \ # --name backstopjs \ # --entrypoint=sh \ # backstopjs/backstopjs:latest \ # -c "cd examples/Jenkins/Sample/; while true; do sleep 1; done" -
Post-build Actions:
-
Add Post build task to delete the not exiting container
if [ "$(docker ps -q -f name=backstopjs)" ]; then
    docker rm -f backstopjs
fi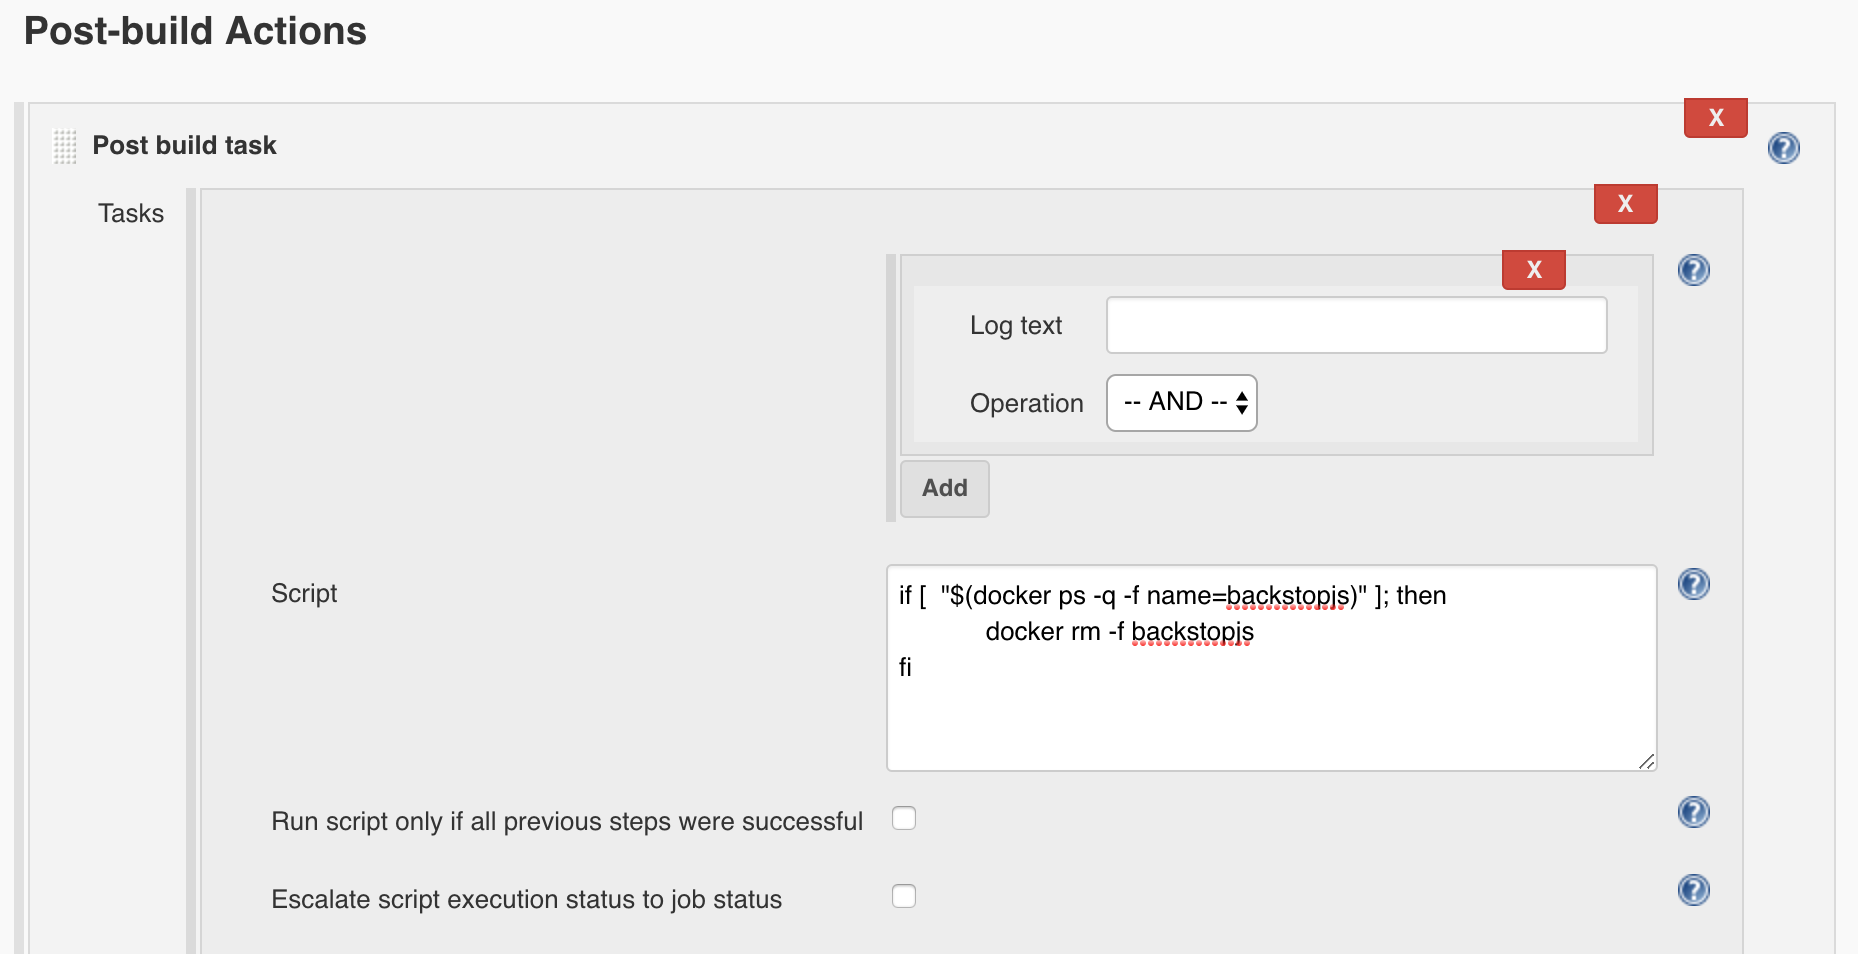
-
Add Post build task to avoid JUnite Test Report issue "Test reports were found but none of them are new. Did tests run?"
cd docker/Jenkins/Sample/backstop_data/ci_report
touch *.xml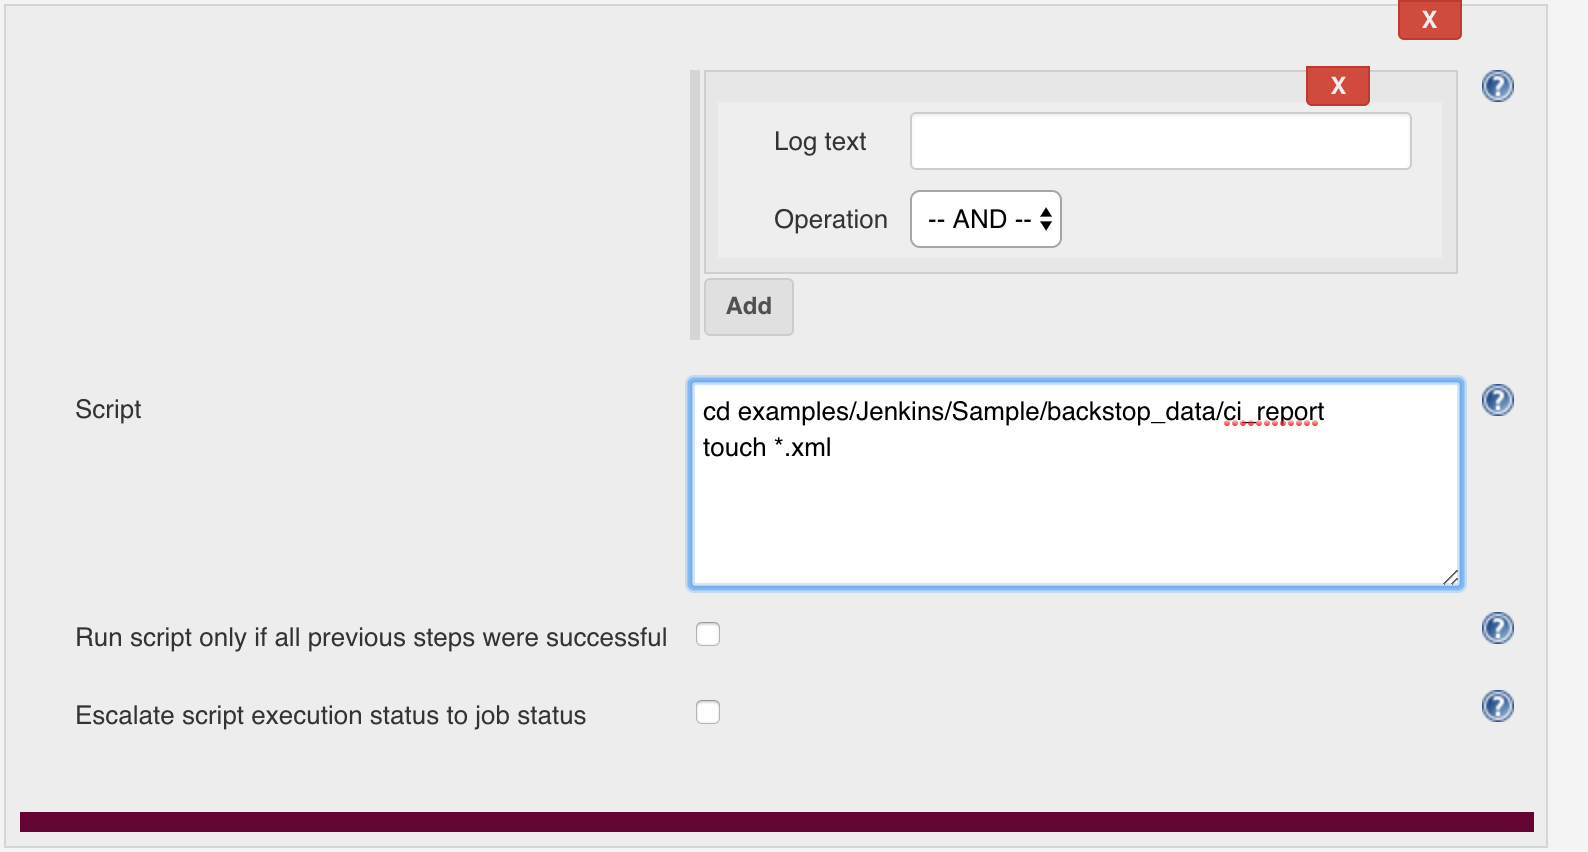
-
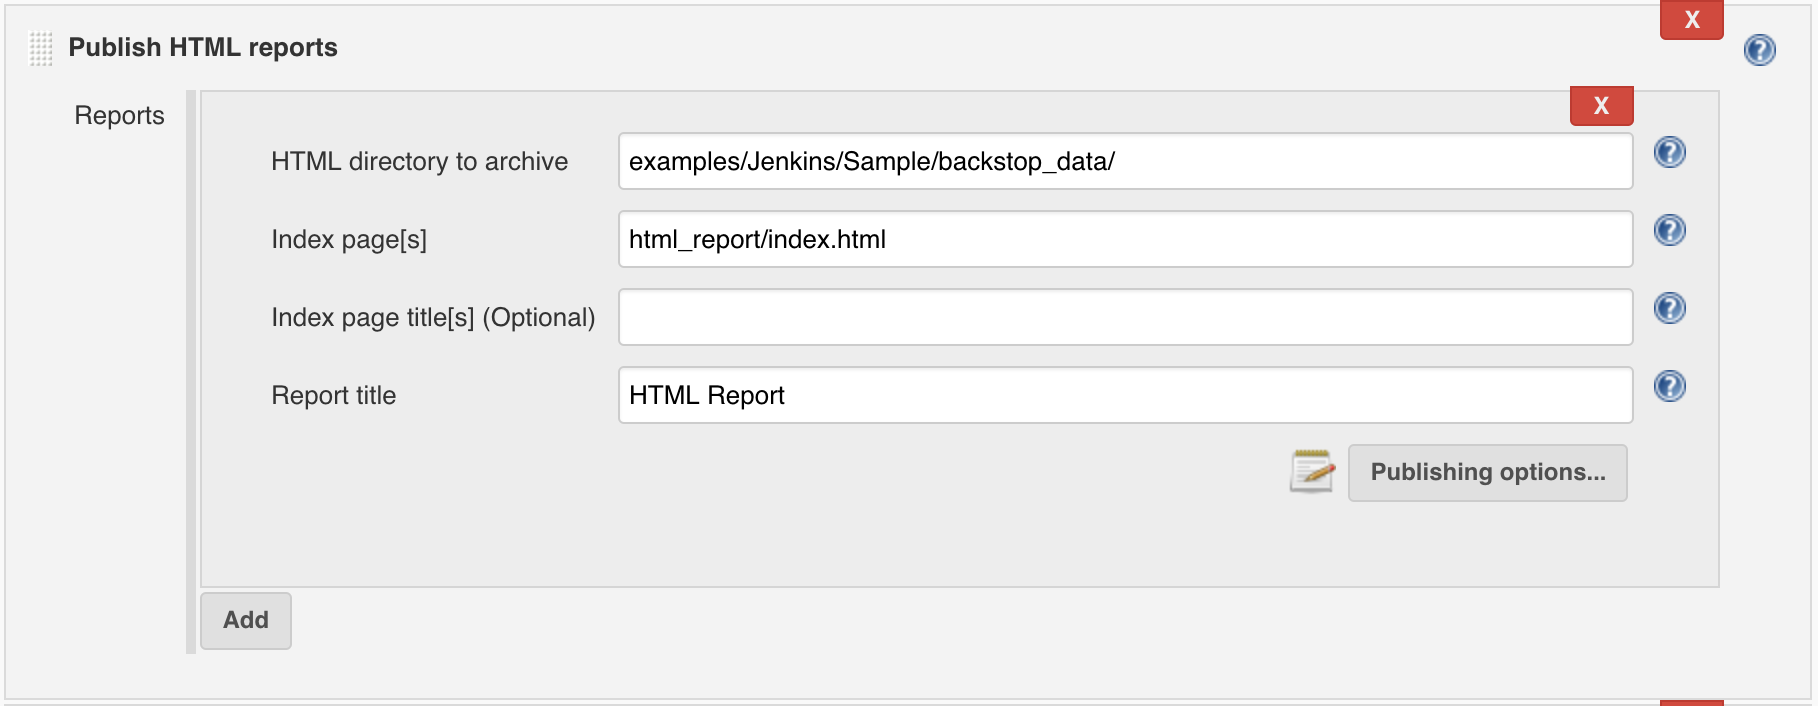
Add Publish HTML reports, and set as following. Note: The HTML directory to archive is: docker/Jenkins/Sample/backstop_data/
-
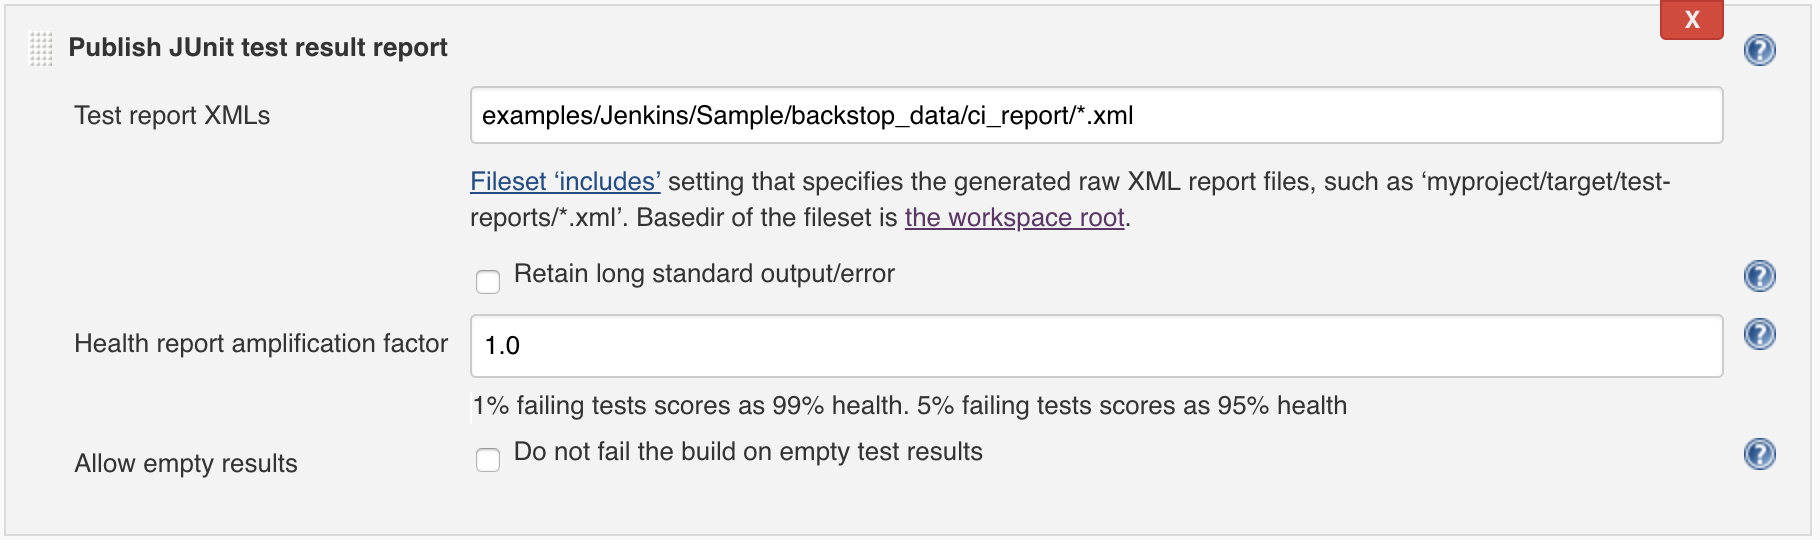
Add Publish JUnit test result report, and set as following
-
-
-
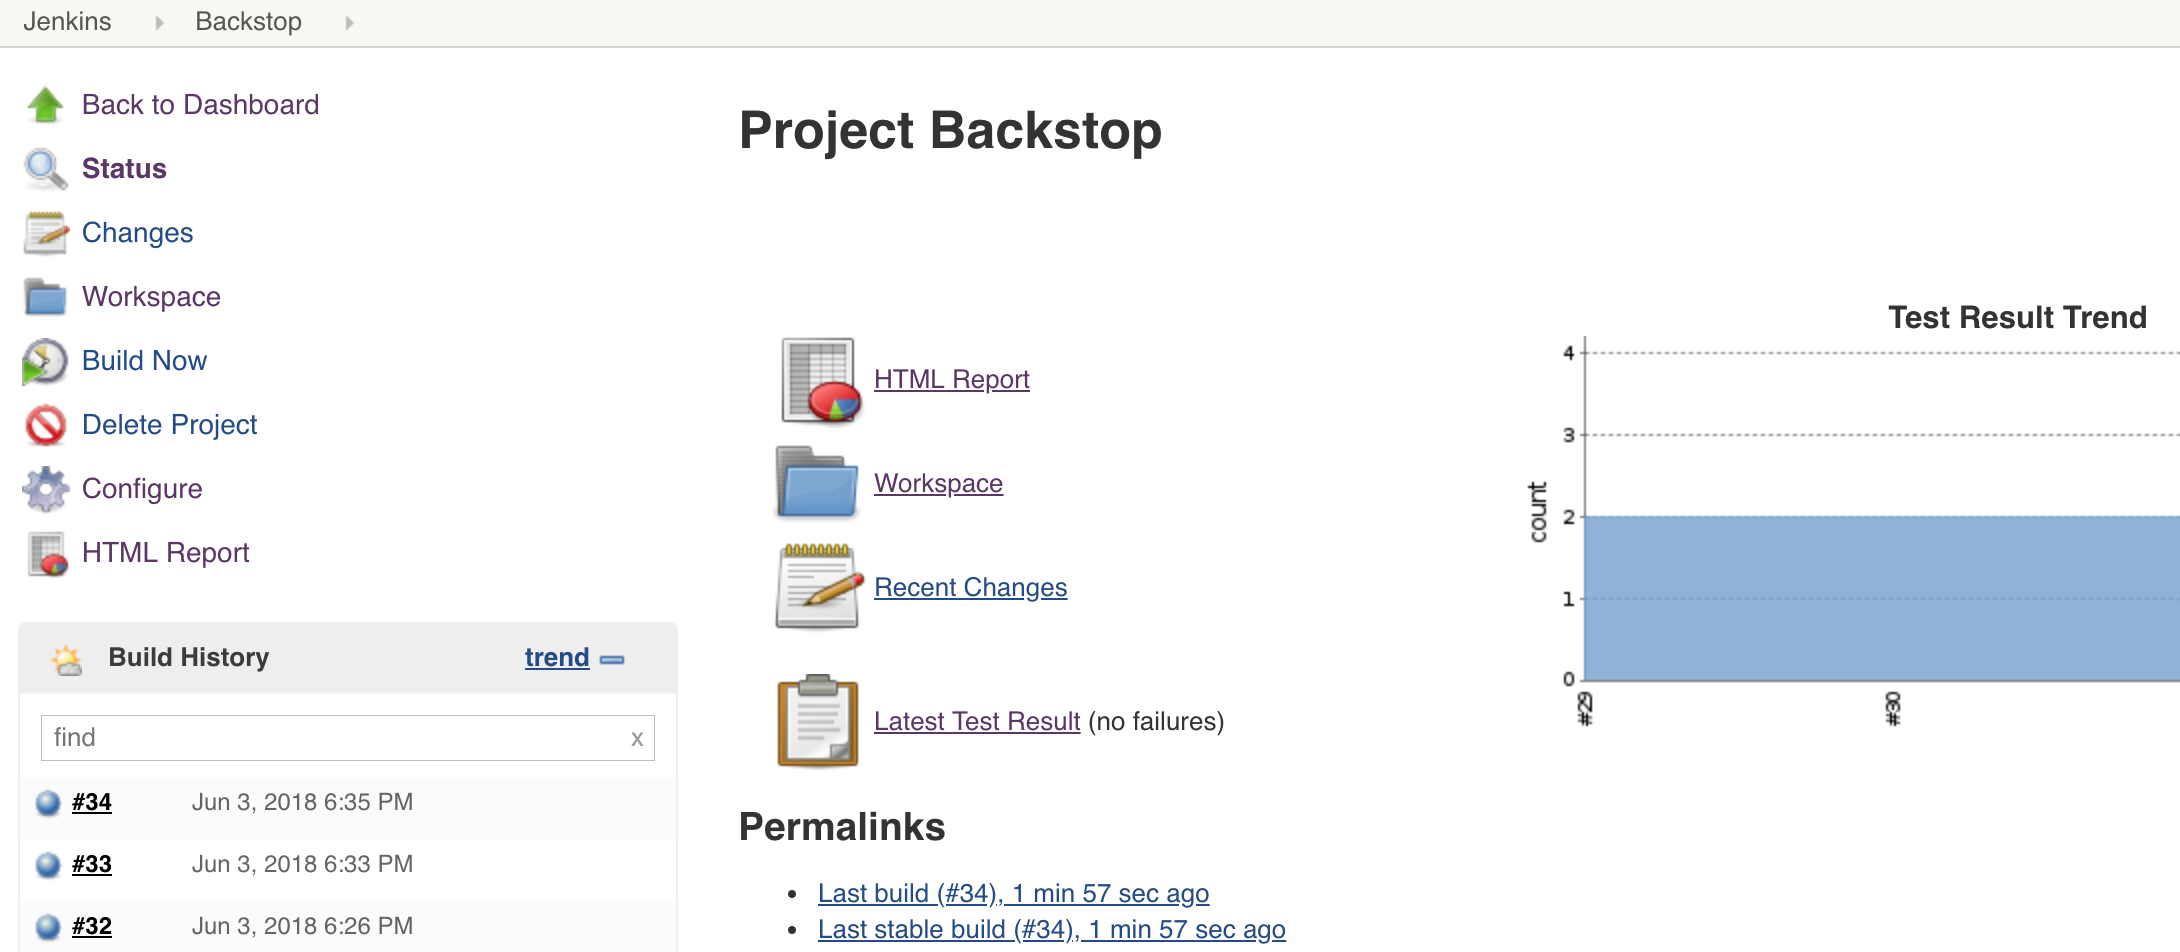
Run build - Get the HTML Report & JUnit Report