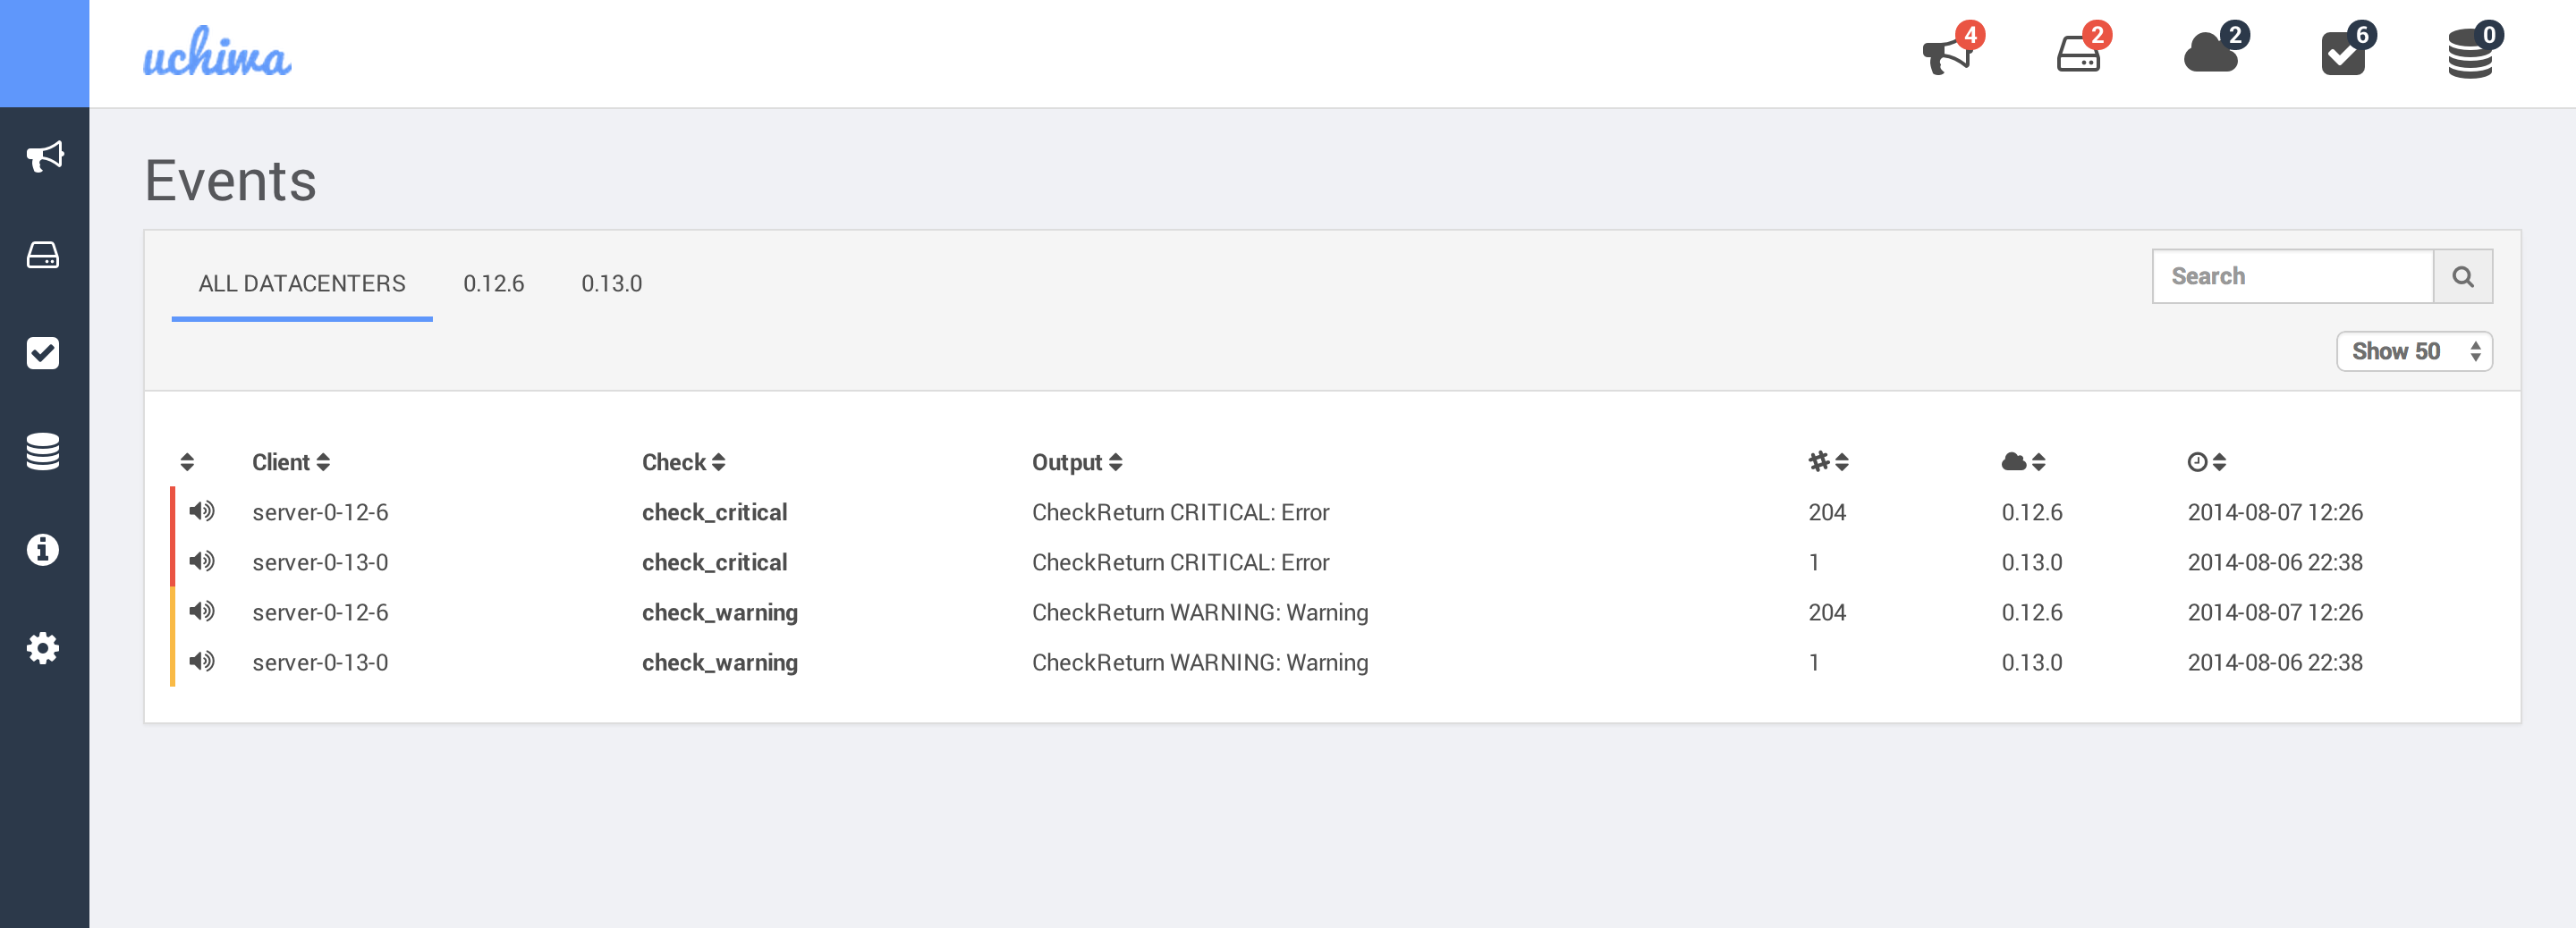
Uchiwa is a simple dashboard for the Sensu monitoring framework, built with Node.js and AngularJS.
The dashboard is under active development, and major changes are not uncommon.
- Support of multiple Sensu APIs
- Real-time updates with Socket.IO
- Client and checks stashes management
- Easily filter events, clients, stashes and events
- Simple client details view
- Easy installation
- Checkout the source:
git clone https://github.com/sensu/uchiwa.git - Install bower on your system:
npm install -g bower - Install the dependencies:
- With root user:
npm install --production --unsafe-perm - With normal user:
npm install --production
- With root user:
- Copy config.json.example to config.json - modify your Sensu API information. See configuration section below
- Start the dashboard:
node app.js - Open your browser:
http://localhost:3000/
The first thing you need is Nginx 1.3.13 or higher, since previous versions do not support websocket connections.
Then, you simply need to open up the Nginx configuration file and add the following route to your virtual server:
location / {
  proxy_pass http://localhost:3000;
  proxy_http_version 1.1;
  proxy_set_header Upgrade $http_upgrade;
  proxy_set_header Connection "upgrade";
  proxy_set_header Host $host;
}
In case you want the dashboard to be accessible within a certain path on the proxy, let's say /uchiwa, simply use the following block instead:
 location ~ (/uchiwa/|/socket.io/) {
  proxy_pass http://localhost:3000;
  proxy_http_version 1.1;
  proxy_set_header Upgrade $http_upgrade;
  proxy_set_header Connection "upgrade";
  proxy_set_header Host $host;

  rewrite /uchiwa/(.*) /$1 break;
}
host- String: The address of the Sensu API.ssl- Boolean: Determines whether or not the API use a SSL certificate.port- Integer: The port of the Sensu API. The default value is 4567.user- String: The username of the Sensu API. Leave empty for none.pass- String: The password of the Sensu API. Leave empty for none.path- String: The path of the Sensu API. Leave empty in case of doubt.timeout- Integer: Timeout for the Sensu API, in milliseconds. The default value is 5000.
user- String: The username of the Uchiwa dashboard. Leave empty for none.pass- String: The password of the Uchiwa dashboard. Leave empty for none.stats- Integer: Determines the retention, in minutes, of graphics data. The default value is 10.refresh- Integer: Determines the interval to pull the Sensu API, in milliseconds. The default value is 10000.
This application comes pre-packaged in a docker container for easy deployment.
There are two ways of running this container:
Make a config.json file for the application, and then launch the uchiwa container with the config mounted as a volume.
# Create a folder that will be mount as a volume to the Docker container
mkdir ~/uchiwa-config
# Copy your uchiwa config into this last folder
cp ~/uchiwa/config.json ~/uchiwa-config/config.json
# Start Docker container. It will listen on port 3000 by default
docker run -v ~/uchiwa-config:/config uchiwa/uchiwa
You can instead use environment variables to configure the application. Host is fixed to 0.0.0.0 and port to 3000, but the other settings can be set:
UCHIWA_USERUCHIWA_PASSUCHIWA_REFRESH
And configuring an API is done with other environment variables which are designed to fit into Docker's container links (allowing you to point uchiwa at an API just be --linking it to that container)
You can link multiple APIs by providing multiple sets of environment variables with different prefixes.
These variables are mandatory.
API1_PORT_4567_TCP_PORT- The port for the API, usually 4567API1_PORT_4567_TCP_ADDR- The hostname or IP for the API
These variables are optional
API1_UCHIWA_NAMEAPI1_UCHIWA_SSLAPI1_UCHIWA_USERAPI1_UCHIWA_PASSAPI1_UCHIWA_PATHAPI1_UCHIWA_TIMEOUT
An example of starting the container with the minimum set of environment needed would be:
docker run -i -t -p 3000 -e API1_PORT_4567_TCP_PORT=3000 -e API1_PORT_4567_TCP_ADDR="1.1.1.1" uchiwa/uchiwa
You may start the dashboard with the following command in order to enable verbose mode: NODE_ENV="development" node app.js
Everyone is welcome to submit patches. Whether your pull request is a bug fix or introduces new classes or functions to the project, we kindly ask that you include tests for your changes. Even if it's just a small improvement, a test is necessary to ensure the bug is never re-introduced.
You should always run npm test before submitting a Pull Request.
- Clone this cookbook (
git clone [email protected]:palourde/uchiwa-sensu.git) - Boot the virtual machines (
vagrant up) - Copy the configuration file (config.json) found on the uchiwa-sensu repo into the uchiwa repo
- Install all dependencies (
npm install) - Run E2E tests (
npm run protractor)
- Author: Simon Plourde ([email protected])
- Contributor: Ethan Hann ([email protected])
MIT (see LICENSE)


