deliver • snapshot • frameit • pem • sigh • produce • cert • spaceship • pilot • boarding • gym • scan • match • precheck
frameit allows you to put a gorgeous device frame around your iOS and macOS screenshots just by running one simple command. Use frameit to prepare perfect screenshots for the App Store, your website, QA or emails.
Get in contact with the developer on Twitter: @FastlaneTools
Features • Installation • Usage • Tips • Need help?
frameit is part of fastlane: The easiest way to automate beta deployments and releases for your iOS and Android apps.
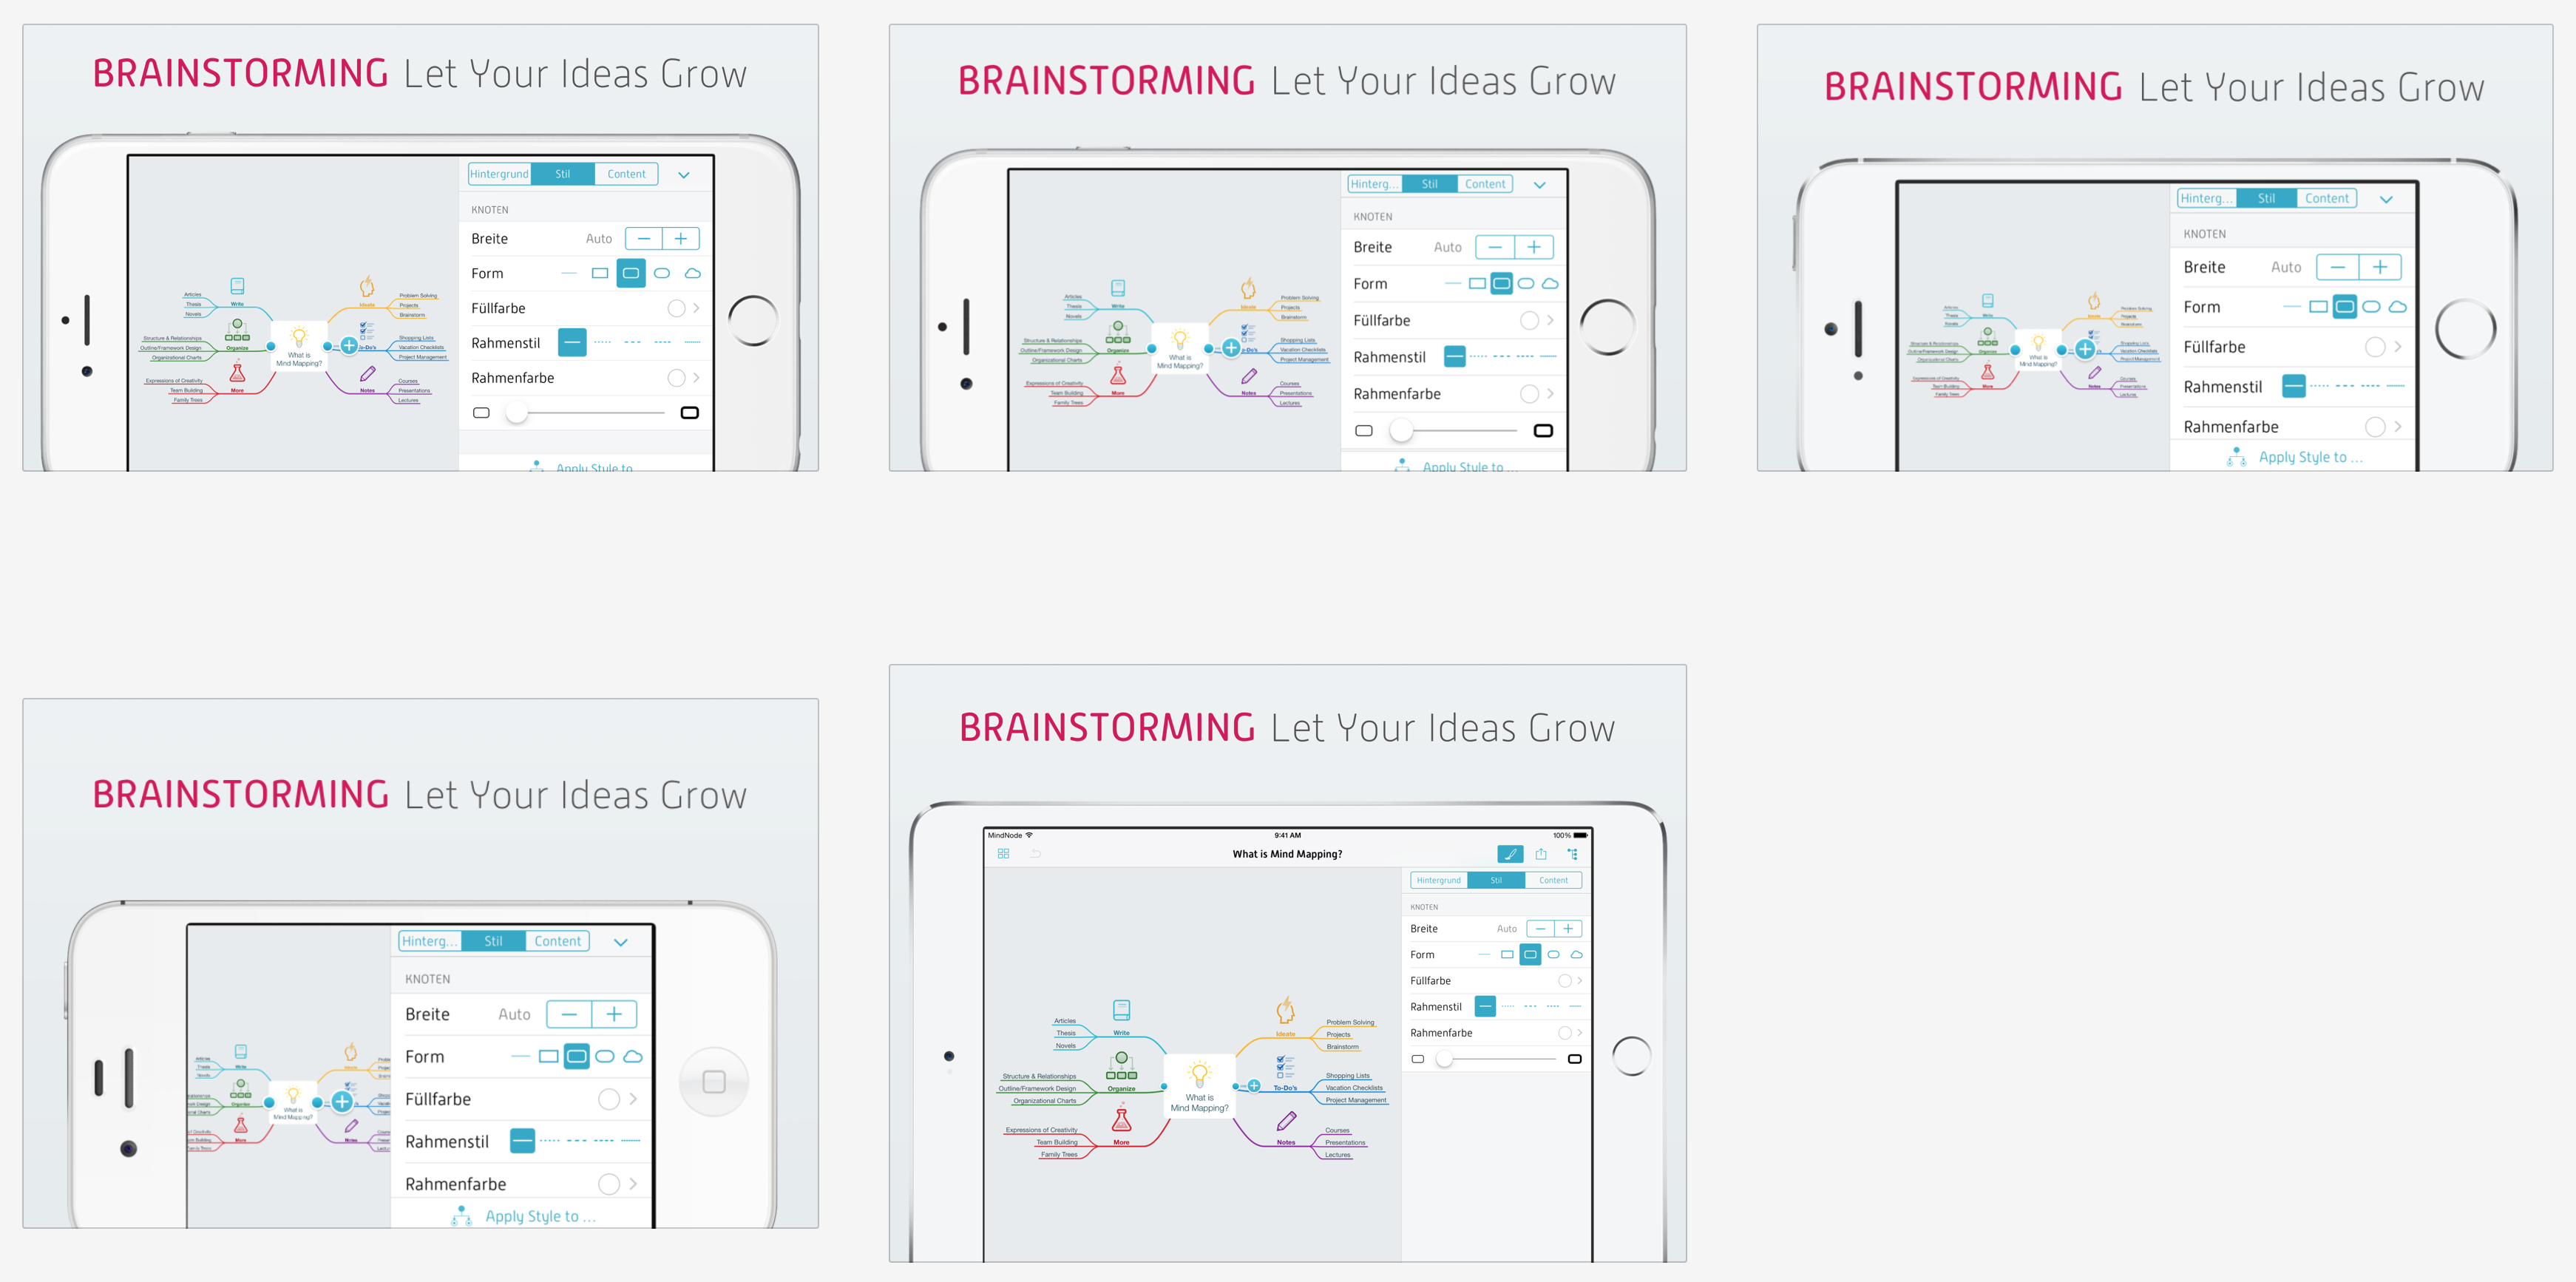
Put a gorgeous device frame around your iOS and macOS screenshots just by running one simple command. Support for:
- iPhone, iPad and Mac
- Portrait and Landscape modes
- Several colors
The complete and updated list of supported devices and colors can be found here
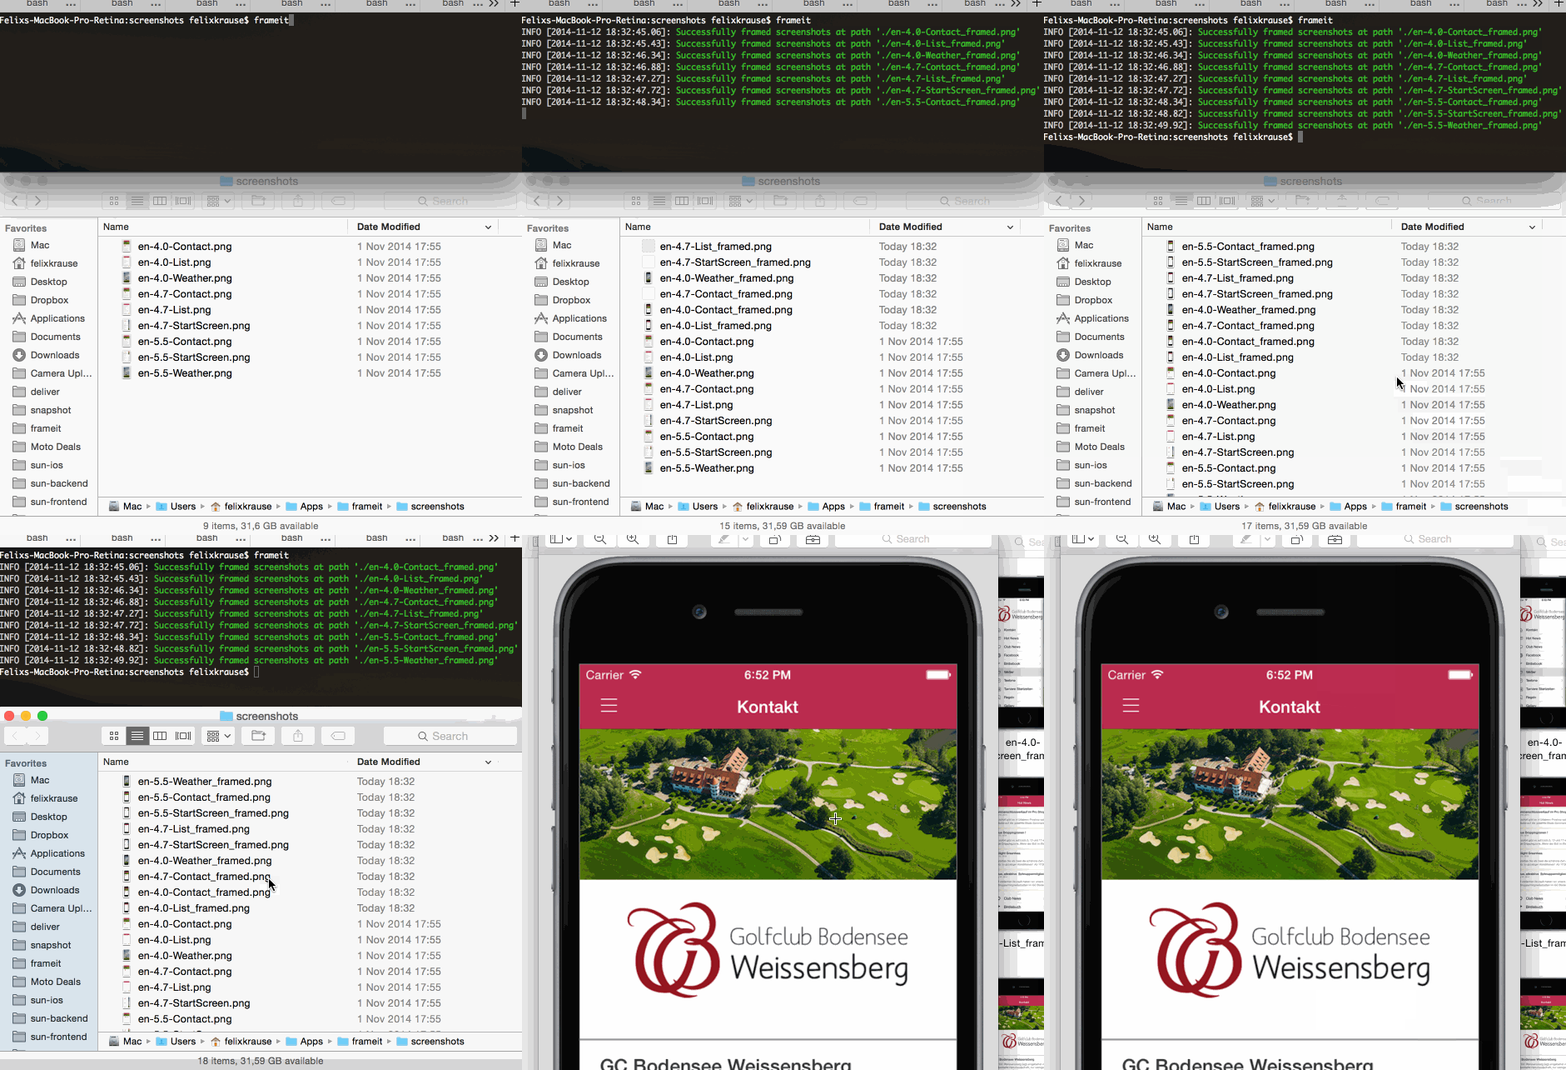
Here is a nice gif, that shows frameit in action:
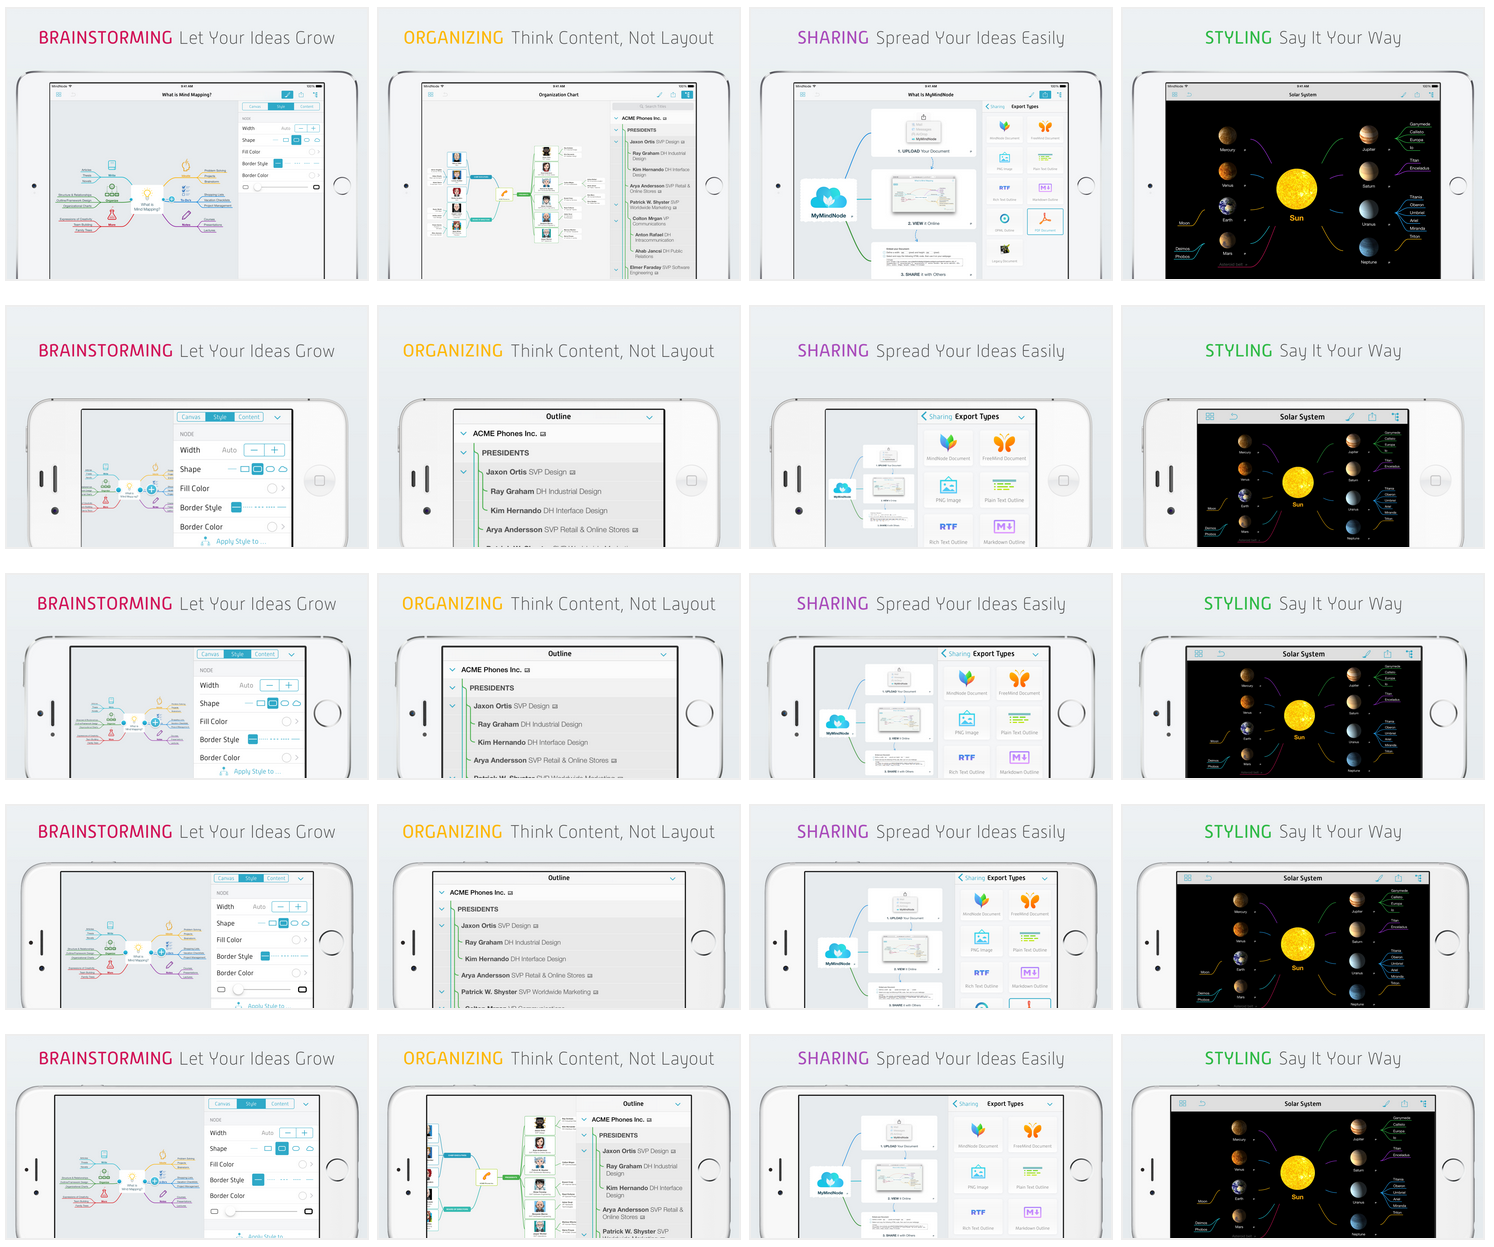
The frameit 2.0 update was kindly sponsored by MindNode, seen in the screenshots above.
Make sure, you have the commandline tools installed
xcode-select --install
Install the gem
sudo gem install fastlane
The first time that frameit is executed the frames will be downloaded automatically. Originally the frames are coming from Facebook frameset and they are kept on this repo: https://github.com/fastlane/frameit-frames
More information about this process and how to update the frames can be found here
Why should you have to use Photoshop, just to add a frame around your screenshots?
Just navigate to your folder of screenshots and use the following command:
fastlane frameit
To use the silver version of the frames:
fastlane frameit silver
To download the latest frames
fastlane frameit download_frames
When using frameit without titles on top, the screenshots will have the full resolution, which means they can't be uploaded to the App Store directly. They are supposed to be used for websites, print media and emails. Check out the section below to use the screenshots for the App Store.
With frameit 2.0 you are now able to add a custom background, title and text colors to your screenshots.
A working example can be found in the fastlane examples project.
Use it to define the general information:
{
  "device_frame_version": "latest",
  "default": {
    "keyword": {
      "font": "./fonts/MyFont-Rg.otf"
    },
    "title": {
      "font": "./fonts/MyFont-Th.otf",
      "color": "#545454"
    },
    "background": "./background.jpg",
    "padding": 50,
    "show_complete_frame": false,
    "stack_title" : false
  },

  "data": [
    {
      "filter": "Brainstorming",
      "keyword": {
        "color": "#d21559"
      }
    },
    {
      "filter": "Organizing",
      "keyword": {
        "color": "#feb909"
      }
    },
    {
      "filter": "Sharing",
      "keyword": {
        "color": "#aa4dbc"
      }
    },
    {
      "filter": "Styling",
      "keyword": {
        "color": "#31bb48"
      }
    }
  ]
}
The stack_title value specifies whether frameit should display the keyword above the title when both keyword and title are defined.
The show_complete_frame value specifies whether frameit should shrink the device and frame so that they show in full in the framed screenshot. If it is false, then they can hang over the bottom of the screenshot.
The filter value is a part of the screenshot named for which the given option should be used. If a screenshot is named iPhone5_Brainstorming.png the first entry in the data array will be used.
You can find a more complex configuration to also support Chinese, Japanese and Korean languages.
The Framefile.json should be in the screenshots folder, as seen in the example.
To define the title and optionally the keyword, put two .strings files into the language folder (e.g. en-US in the example project)
The keyword.strings and title.strings are standard .strings file you already use for your iOS apps, making it easy to use your existing translation service to get localized titles.
Note: These .strings files MUST be utf-16 encoded (UTF-16 BE with BOM). They also must begin with an empty line. If you are having trouble see issue #1740
Note: You MUST provide a background if you want titles. frameit will not add the tiles if a background is not specified.
Use deliver to upload all screenshots to iTunes Connect completely automatically 🚀
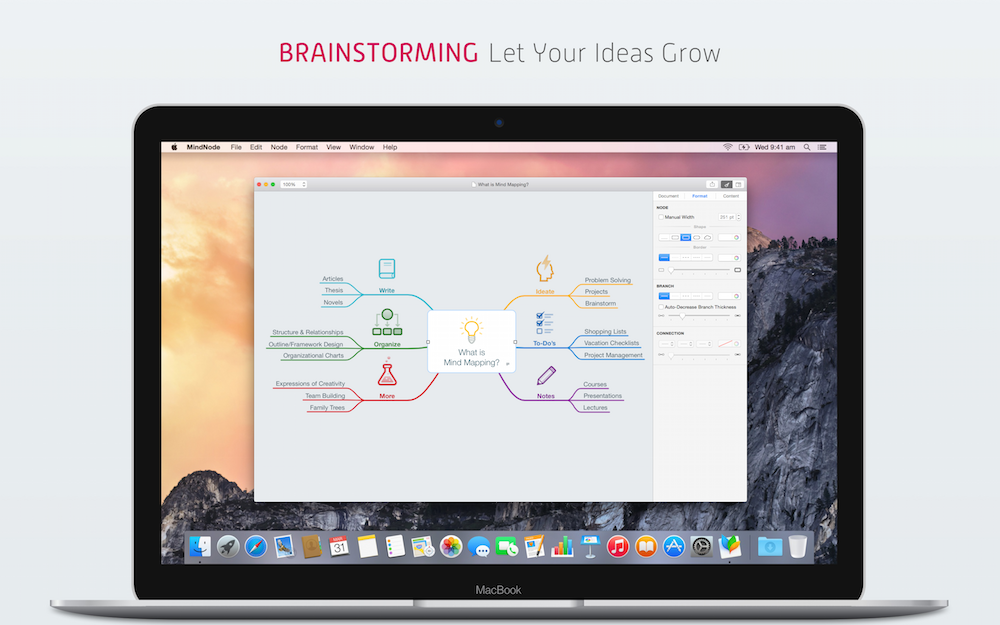
With frameit 2.0 it's possible to also frame macOS Application screenshots. You have to provide the following:
- The
offsetinformation soframeitknows where to put your screenshots - A path to a
background, which should contain both the background and the Mac titleHeight: The height in px that should be used for the title
{
  "default": {
    "title": {
      "color": "#545454"
    },
    "background": "Mac.jpg",
    "offset": {
      "offset": "+676+479",
      "titleHeight": 320
    }
  },
  "data": [
    {
      "filter": "Brainstorming",
      "keyword": {
        "color": "#d21559"
      }
    }
  ]
}
Check out the MindNode example project.
fastlane Toolchain
fastlane: The easiest way to automate beta deployments and releases for your iOS and Android appsdeliver: Upload screenshots, metadata and your app to the App Storesnapshot: Automate taking localized screenshots of your iOS app on every devicepem: Automatically generate and renew your push notification profilessigh: Because you would rather spend your time building stuff than fighting provisioningproduce: Create new iOS apps on iTunes Connect and Dev Portal using the command linecert: Automatically create and maintain iOS code signing certificatesspaceship: Ruby library to access the Apple Dev Center and iTunes Connectpilot: The best way to manage your TestFlight testers and builds from your terminalboarding: The easiest way to invite your TestFlight beta testersgym: Building your iOS apps has never been easierscan: The easiest way to run tests of your iOS and Mac appmatch: Easily sync your certificates and profiles across your team using gitprecheck: Check your app using a community driven set of App Store review rules to avoid being rejected
Check out snapshot to automatically generate screenshots using UI Automation.
Device frames can also be stored in a ./fastlane/screenshots/devices_frames directory if you prefer rather than in the ~/.frameit/device_frames directory. If doing so please be aware that Apple's images are copyrighted and should not be redistributed as part of a repository so you may want to include them in your .gitignore file.
Some stock images provided by Apple still have a white background instead of a transparent one. You'll have to edit the Photoshop file to remove the white background, delete the generated .png file and run fastlane frameit again.
You can use SimulatorStatusMagic to clean up the status bar.
If you run into any quality issues, like having a border around the font, it usually helps to just re-install imagemagick. You can do so by running
brew uninstall imagemagick
brew install imagemagicksudo gem uninstall fastlanerm -rf ~/.frameit
Please submit an issue on GitHub and provide information about your setup
Help us keep frameit open and inclusive. Please read and follow our Code of Conduct.
This project is licensed under the terms of the MIT license. See the LICENSE file.
This project and all fastlane tools are in no way affiliated with Apple Inc. This project is open source under the MIT license, which means you have full access to the source code and can modify it to fit your own needs. All fastlane tools run on your own computer or server, so your credentials or other sensitive information will never leave your own computer. You are responsible for how you use fastlane tools.


