| title | description | position | category |
|---|---|---|---|
Quick start |
Quick Start |
5 |
Overview |
- Step 1: Install Node.js (>=10.8.0) and NPM package management tool;
- Step 2: Install Serverless Devs developer tools;
$ npm install @serverless-devs/s -g
- Step 3: You can use
s -vto judge whether the tool is installed successfully. If the installation is successful, you can see the corresponding version information, for example:@serverless-devs/s: 2.0.89, @serverless-devs/core: 0.1.7, darwin-x64, node-v12.15.0
Since this quick start document will take Alibaba Cloud Function Computing as an example, the password configuration here is also based on Alibaba Cloud password configuration:
- Get AccountId: https://account.console.aliyun.com/#/secure
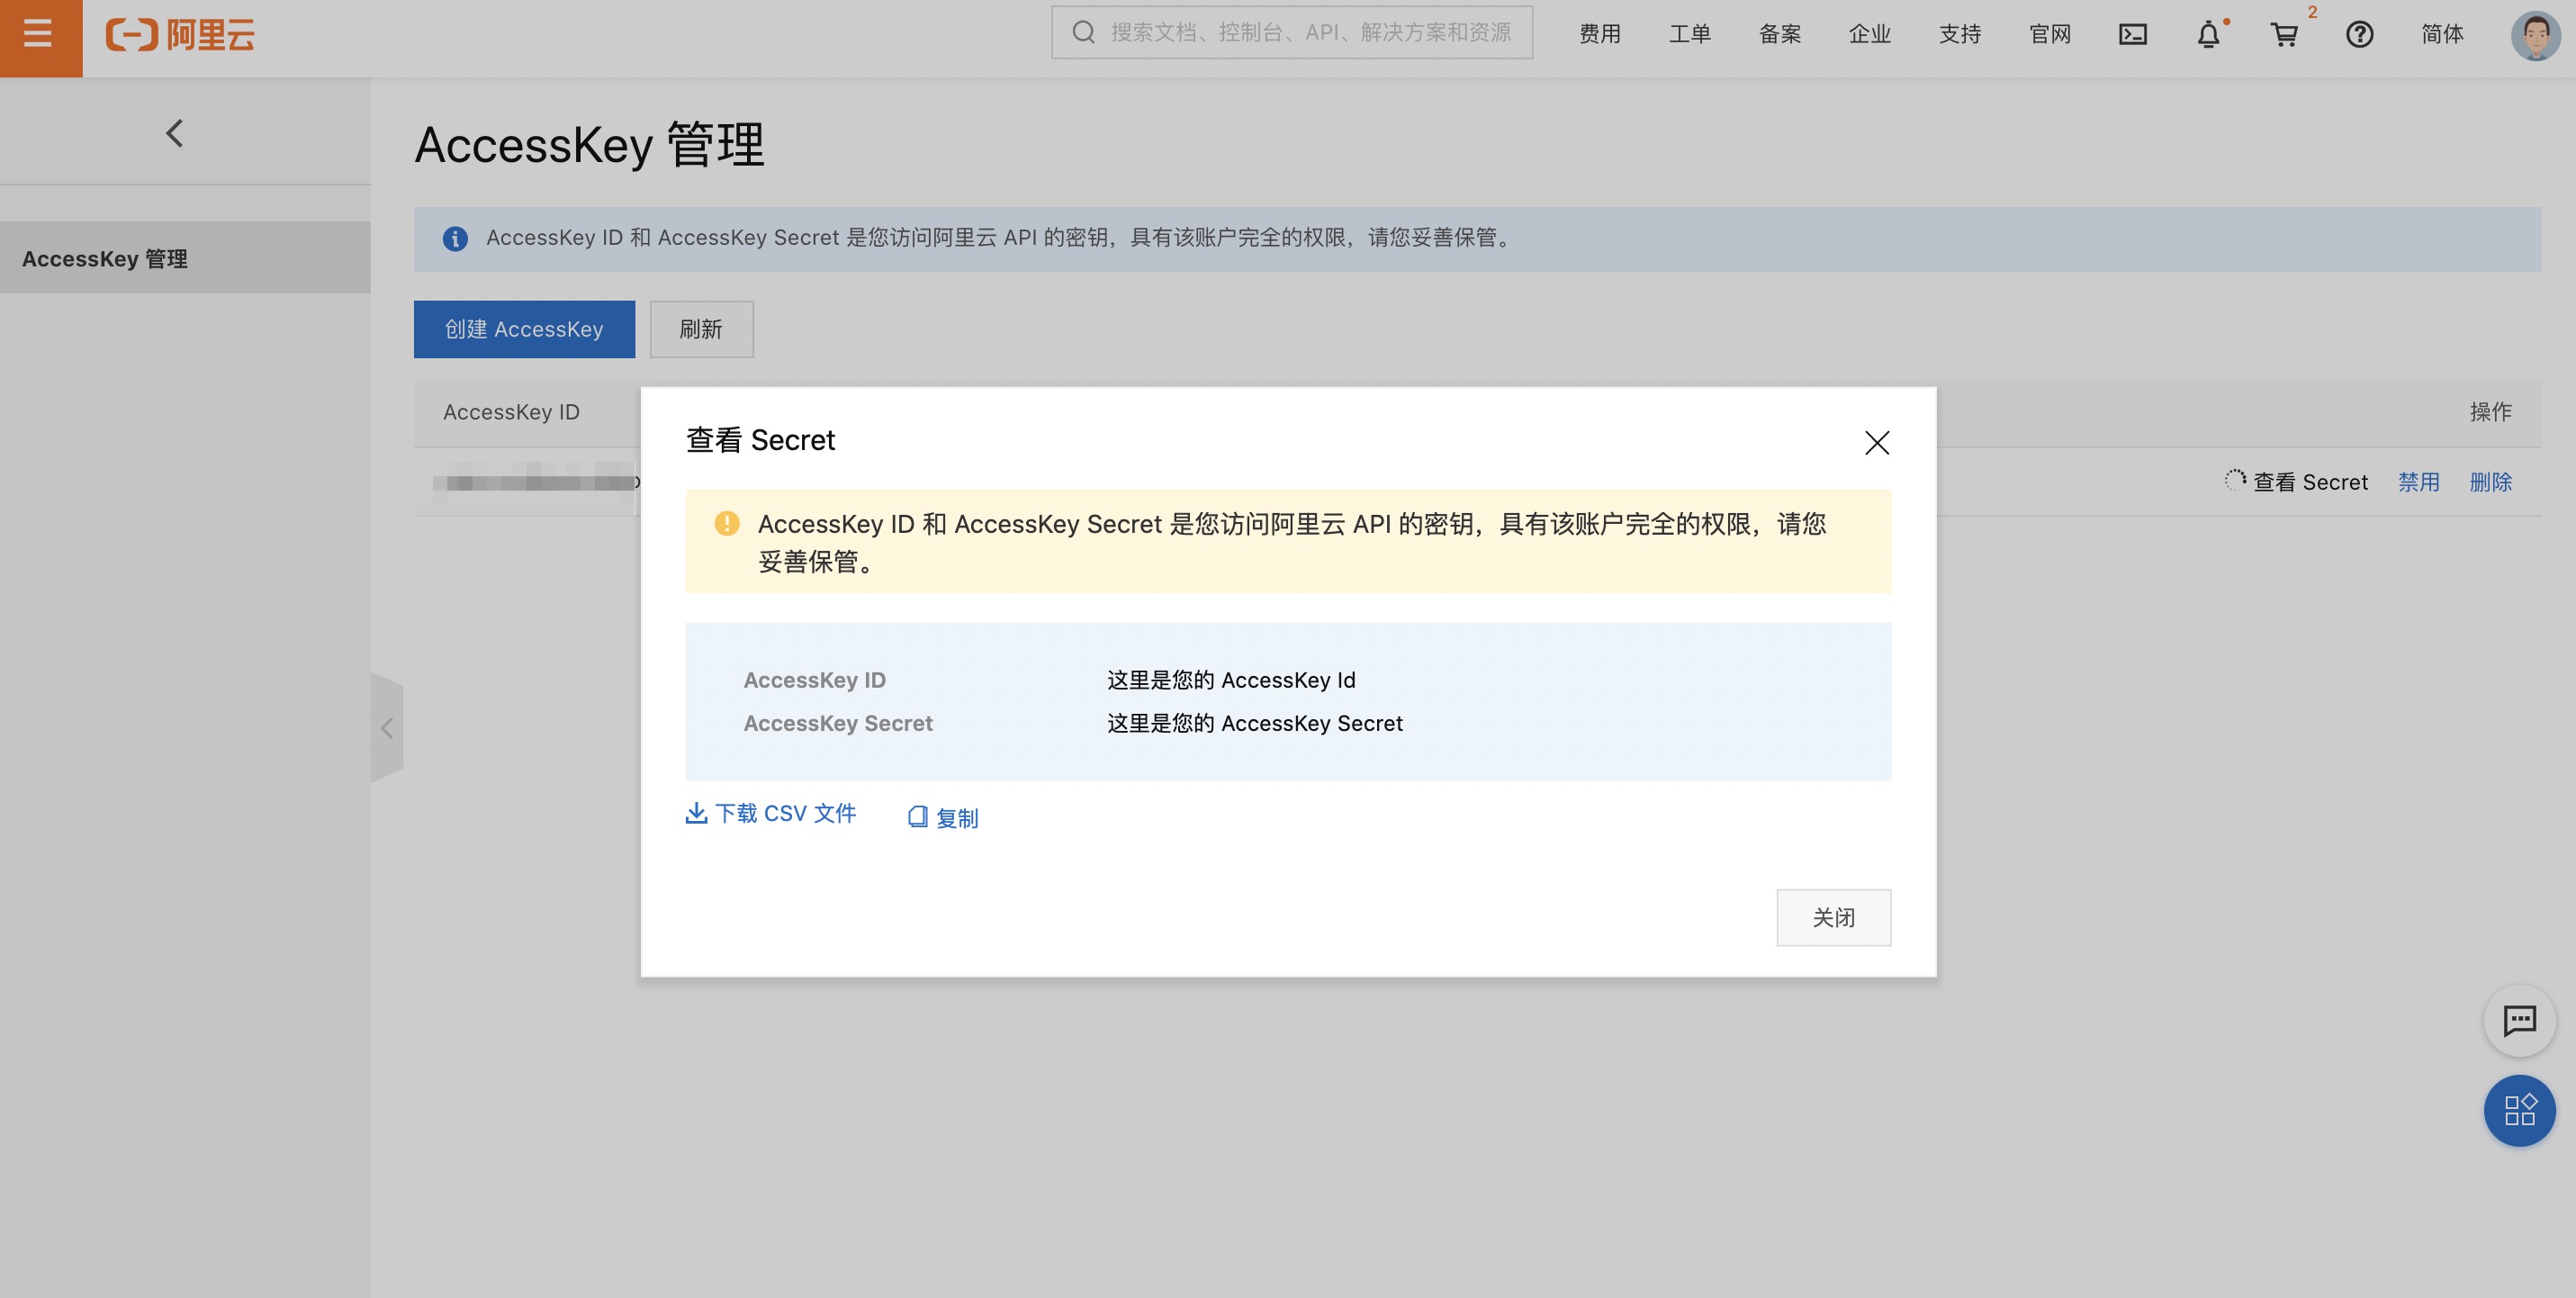
- Get key: https://usercenter.console.aliyun.com/#/manage/ak
-
Open Get AccountId Page to obtain AccountId:
-
Open Get Key Page to obtain key:
-
Execute
s config addand selectAlibaba Cloud (alibaba):$ s config add ? Please select a template: Alibaba Cloud (alibaba) 🧭 Refer to the document for alibaba key: http://config.devsapp.net/account/alibaba ? AccountID ()
-
At this point, you can follow the instructions to configure the key:
? Please select a template: Alibaba Cloud (alibaba)
🧭 Refer to the document for alibaba key:  http://config.devsapp.net/account/alibaba
? AccountID Fill in AccountID here
? AccessKeyID Fill in AccessKeyID here
? AccessKeySecret Fill in AccessKeySecret here
? Please create alias for key pair. If not, please enter to skip alibaba-access

    Alias: alibaba-access
    AccountID: Fill in AccountID here
    AccessKeyID: Fill in AccessKeyID here
    AccessKeySecret: Fill in AccessKeySecret here

Configuration successful
-
In order to verify whether the password is correctly configured, you can view the specified password through
s config get -aalibaba-access:$ s config get -a alibaba-access [2021-10-27T17:39:39.881] [INFO ] [S-CLI] - alibaba-access: AccountID: *******ID AccessKeyID: *********ID AccessKeySecret: *************key
For more detailed key configuration methods, please refer to Secret Configuration Document
AccessKey is the key for your cloud account to access the Alibaba Cloud API. It has full permissions for the account. Please keep it safe! Do not share AccessKey to external channels in any way (eg Github) to avoid being used by others to cause security threat.
Strongly recommended that you follow the Alibaba Cloud Security Best Practices and use the RAM sub-user AccessKey to make API calls.
Create a Python language Hello World project through the s init command. During the boot process, the process of filling in the project name and selecting the key may appear:
- Project name can be:
start-fc-http-python3 - The key can choose the one we created above:
alibaba-access
For example:
$ s init devsapp/start-fc-http-python3
? 🚀 Serverless Awesome: https://github.com/Serverless-Devs/package-awesome
? Please input your project name (init dir) start-fc-http-python3
✔ file decompression completed
? please select credential alias alibaba-access
...
🏄 Thanks for using Serverless-Devs
👉 You could [cd /Users/jiangyu/demo/test/start-fc-http-python3] and enjoy your serverless journey!
🧭️ If you need help for this example, you can use [s -h] after you enter folder.
💞 Document ❤ Star:https://github.com/Serverless-Devs/Serverless-Devs
? 是否立即部署该项目? (Y/n) If you do not want to deploy the project, select n. Run the cd command to enter the project directory. For example, run the cd start-fc-http-python3 command.
Modify the s.yaml file to improve the user experience. For example, add logConfig: auto to the file to enable the automatic log configuration feature. After you modify the YAML file, the YAML file contains the following information:
edition: 1.0.0          #  命令行YAML规范版本,遵循语义化版本(Semantic Versioning)规范
name: fcDeployApp       #  项目名称
access: "default"       #  秘钥别名

services:
  fc-deploy-test:           #  服务名称
    component: devsapp/fc   #  组件名称
    props:                  #  组件的属性值
      region: cn-hangzhou
      service:
        name: fc-deploy-service
        description: 'demo for fc-deploy component'
        logConfig: auto
      function:
        name: http-trigger-py36
        description: this is a test
        runtime: python3
        codeUri: ./code
        handler: index.handler
        memorySize: 128
        timeout: 60
      triggers:
        - name: httpTrigger
          type: http
          config:
            authType: anonymous
            methods:
              - GET
      customDomains:
        - domainName: auto
          protocol: HTTP
          routeConfigs:
            - path: /*
              methods:
                - GET
Save the configuration and close the file. Then, run the s deploy command to deploy the project. Wait for a moment and view the deployment result:
fc-deploy-test:
  region:   cn-hangzhou
  service:
    name: fc-deploy-service
  function:
    name:       http-trigger-py36
    runtime:    python3
    handler:    index.handler
    memorySize: 128
    timeout:    60
  url:
    system_url:    https://1583208943291465.cn-hangzhou.fc.aliyuncs.com/2016-08-15/proxy/fc-deploy-service/http-trigger-py36/
    custom_domain:
      -
        domain: http://http-trigger-py36.fc-deploy-service.1583208943291465.cn-hangzhou.fc.devsapp.net
  triggers:
    -
      type: http
name: httpTriggerThe project is an HTTP function. You can run the s local start command to call the function on your on-premises device. To call event functions, run the s local invoke command.
 	url: http://localhost:7665/2016-08-15/proxy/fc-deploy-service/http-trigger-py36/
	methods: GET
	authType: anonymous

    Tips for more action:
        Start with customDomain method: [s local start auto]
        Debug with customDomain method: [s local start -d 3000 auto]
To call the HTTP function on your on-premises device, enter the value of the url parameter, for example, http://localhost:7665/2016-08-15/proxy/fc-deploy-service/http-trigger-py36/, in the address bar of your browser.
Run the s invoke command to call or trigger a cloud function:
Request url: https://1583208943291465.cn-hangzhou.fc.aliyuncs.com/2016-08-15/proxy/fc-deploy-service/http-trigger-py36/

========= FC invoke Logs begin =========
FC Invoke Start RequestId: eb9cf022-297e-4a27-b3bf-ad304f6e04c9
FC Invoke End RequestId: eb9cf022-297e-4a27-b3bf-ad304f6e04c9

Duration: 2.64 ms, Billed Duration: 3 ms, Memory Size: 128 MB, Max Memory Used: 10.77 MB
========= FC invoke Logs end =========

FC Invoke Result[code: ${resp.code}]:
Hello world!Run the s logs command to query logs. You can also run the s logs -t command to enter the tail mode to query logs.
FunctionCompute python3 runtime inited.


FC Invoke Start RequestId: eb9cf022-297e-4a27-b3bf-ad304f6e04c9
FC Invoke End RequestId: eb9cf022-297e-4a27-b3bf-ad304f6e04c9Run the s metrics command to query metrics.
[2021-06-07T12:20:06.661] [INFO ] [FC-METRICS] - 请用浏览器访问Uri地址进行查看: http://localhost:3000
For more information about commands, see the command help document.
| Building and deployment | Observability | Call and debugging | Release and configuration | Other feature |
|---|---|---|---|---|
| deploy | metrics | local | version | nas |
| build | logs | invoke | alias | info |
| remove | proxied | provision | sync | |
| instance | ondemand | stress | ||
| layer | fun2s | |||
| api |


