React components and TypeScript utilities to help you build top-tier onchain apps.
For documentation and guides, visit onchainkit.xyz.
To integrate OnchainKit into your project, begin by installing the necessary packages.
# Yarn: Add library
yarn add @coinbase/onchainkit

# or

# Use NPM
npm install @coinbase/onchainkit

# Use PNPM
pnpm add @coinbase/onchainkit

# Use BUN
bun add @coinbase/onchainkitAdd this at the top of your application entry point
import '@coinbase/onchainkit/styles.css';const EAS_SCHEMA_ID = '0xf8b05c79f090979bf4a80270aba232dff11a10d9ca55c4f88de95317970f0de9';
const ACCOUNT_ADDRESS = '0x838aD0EAE54F99F1926dA7C3b6bFbF617389B4D9';
<OnchainKitProvider chain={base} schemaId={EAS_SCHEMA_ID}>
<div className="flex h-10 items-center space-x-4">
<Avatar address={ACCOUNT_ADDRESS} showAttestation />
<div className="flex flex-col text-sm">
<b>
<Name address={ACCOUNT_ADDRESS} />
</b>
<Name address={ACCOUNT_ADDRESS} showAddress />
</div>
</div>
</OnchainKitProvider>;
Convert your web page into a Frame
import { FrameMetadata } from '@coinbase/onchainkit/frame';

export default function HomePage() {
  return (
    ...
    <FrameMetadata
      buttons={[
        {
          label: 'Tell me the story',
        },
        {
          action: 'link',
          label: 'Link to Google',
          target: 'https://www.google.com'
        },
        {
          action: 'post_redirect',
          label: 'Redirect to cute pictures',
        },
      ]}
      image={{
       src: 'https://zizzamia.xyz/park-3.png',
       aspectRatio: '1:1'
      }}
      input={{
        text: 'Tell me a boat story',
      }}
      postUrl="https://zizzamia.xyz/api/frame"
    />
    ...
  );
}
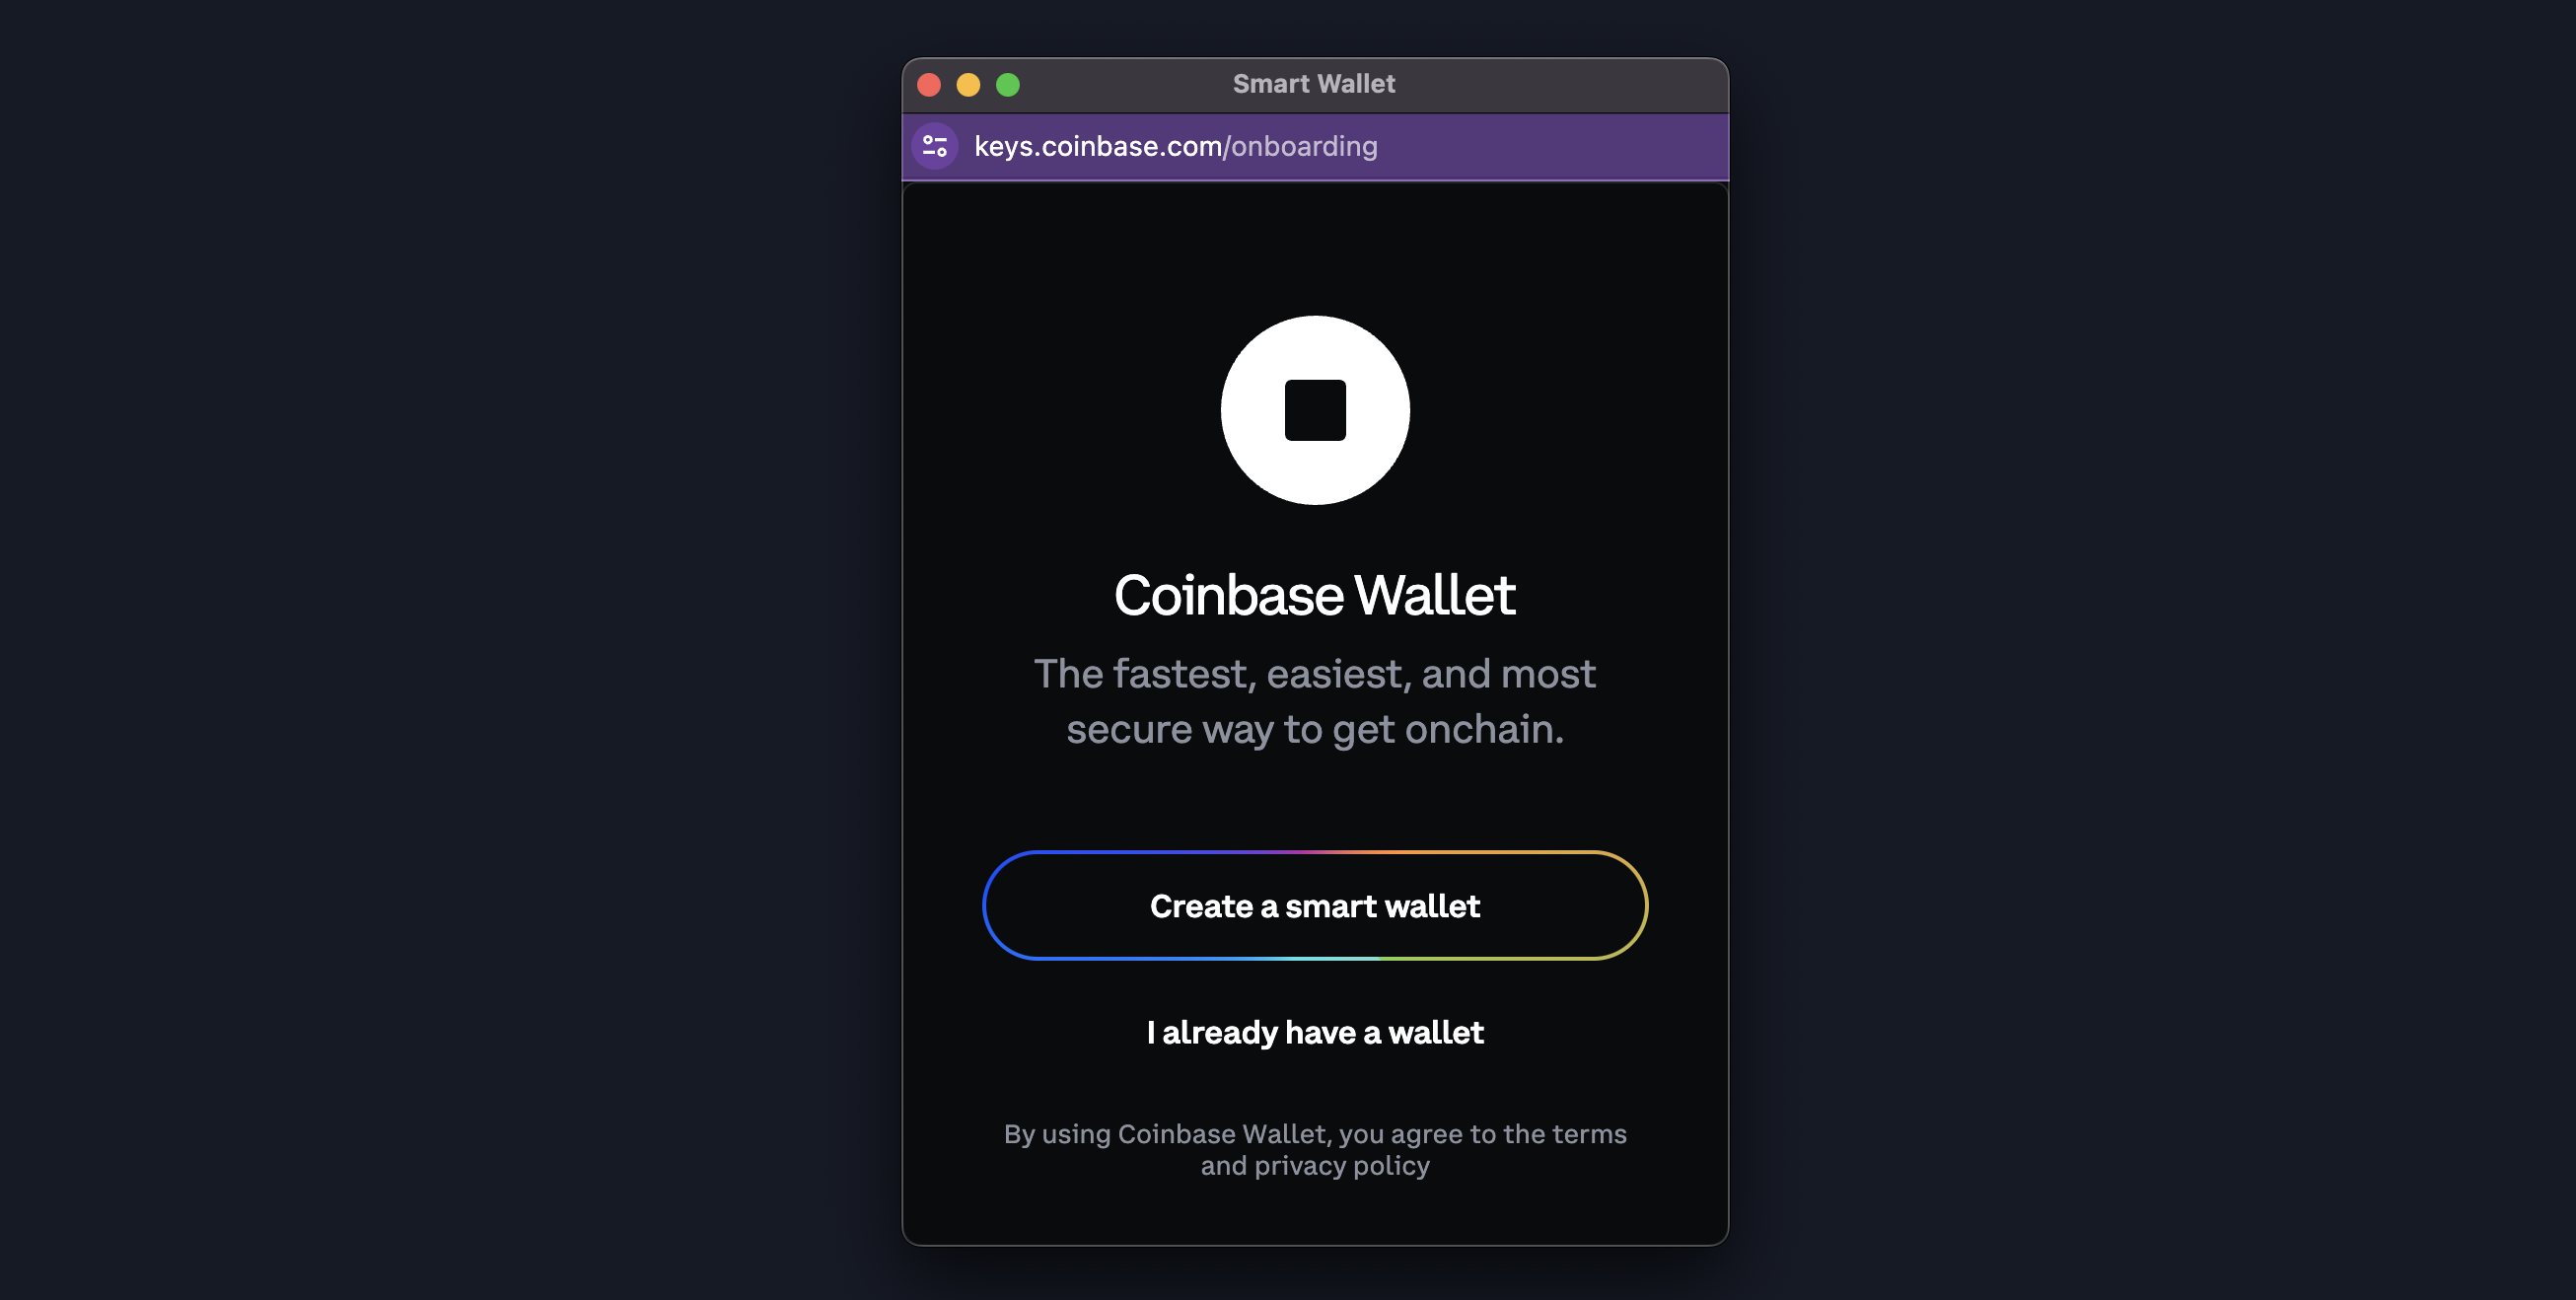
Create or connect your wallet with Connect Account, powered by Smart Wallet.
<div className="flex flex-grow">
  {(() => {
    if (status === 'disconnected') {
      return <ConnectAccount />; // [!code focus]
    }
    return (
      <div className="flex h-8 w-8 items-center justify-center">
        <button type="button" onClick={() => disconnect()}>
          <Avatar address={address} />
        </button>
      </div>
    );
  })()}
</div>

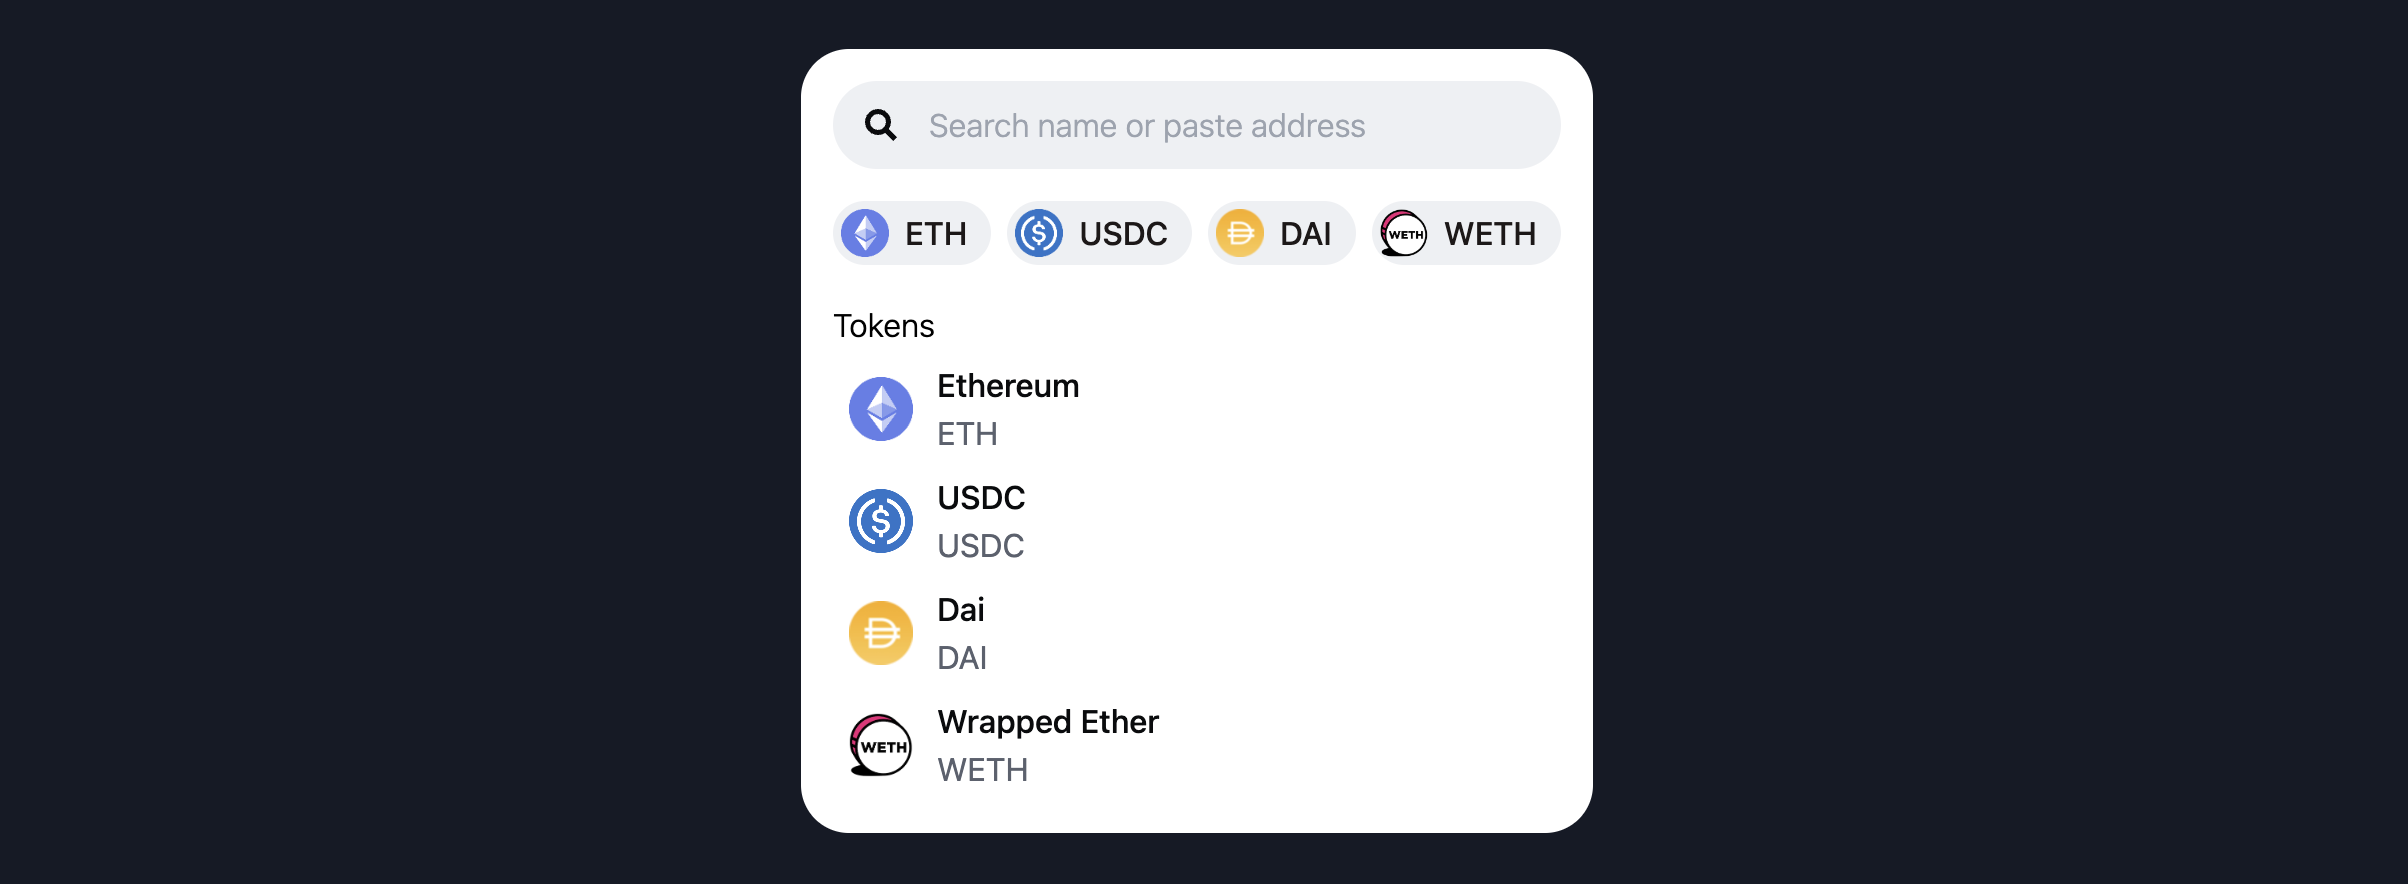
Search Tokens using getTokens and display them with TokenSearch, TokenChip, and TokenRow
const [filteredTokens, setFilteredTokens] = useState<Token[]>([]);

const handleChange = useCallback((value) => {
async function getData(value) {
const tokens: Token[] = await getTokens({ search: value }); // [!code focus]
setFilteredTokens(filteredTokens);
}
getData(value);
}, []);
...

<div className="flex flex-col gap-4 rounded-3xl bg-white p-4">
  <TokenSearch onChange={handleChange} delayMs={200} /> // [!code focus]
  {filteredTokens.length > 0 && (
    <div className="flex gap-2">
      {filteredTokens.map((token) => (
        <TokenChip key={token.name} token={token} onClick={handleSelect} /> // [!code focus]
      ))}
    </div>
  )}
  {filteredTokens.length > 0 ? (
    <div>
      <div className="text-body text-black">Tokens</div>
      <div>
        {filteredTokens.map((token) => (
          <TokenRow key={token.name} token={token} onClick={handleSelect} /> // [!code focus]
        ))}
      </div>
    </div>
  ) : (
    <div className="text-body text-black">No tokens found</div>
  )}
</div>
If you're seeking basic TypeScript utilities, we have plenty of ready-to-use options available.
Coming soon
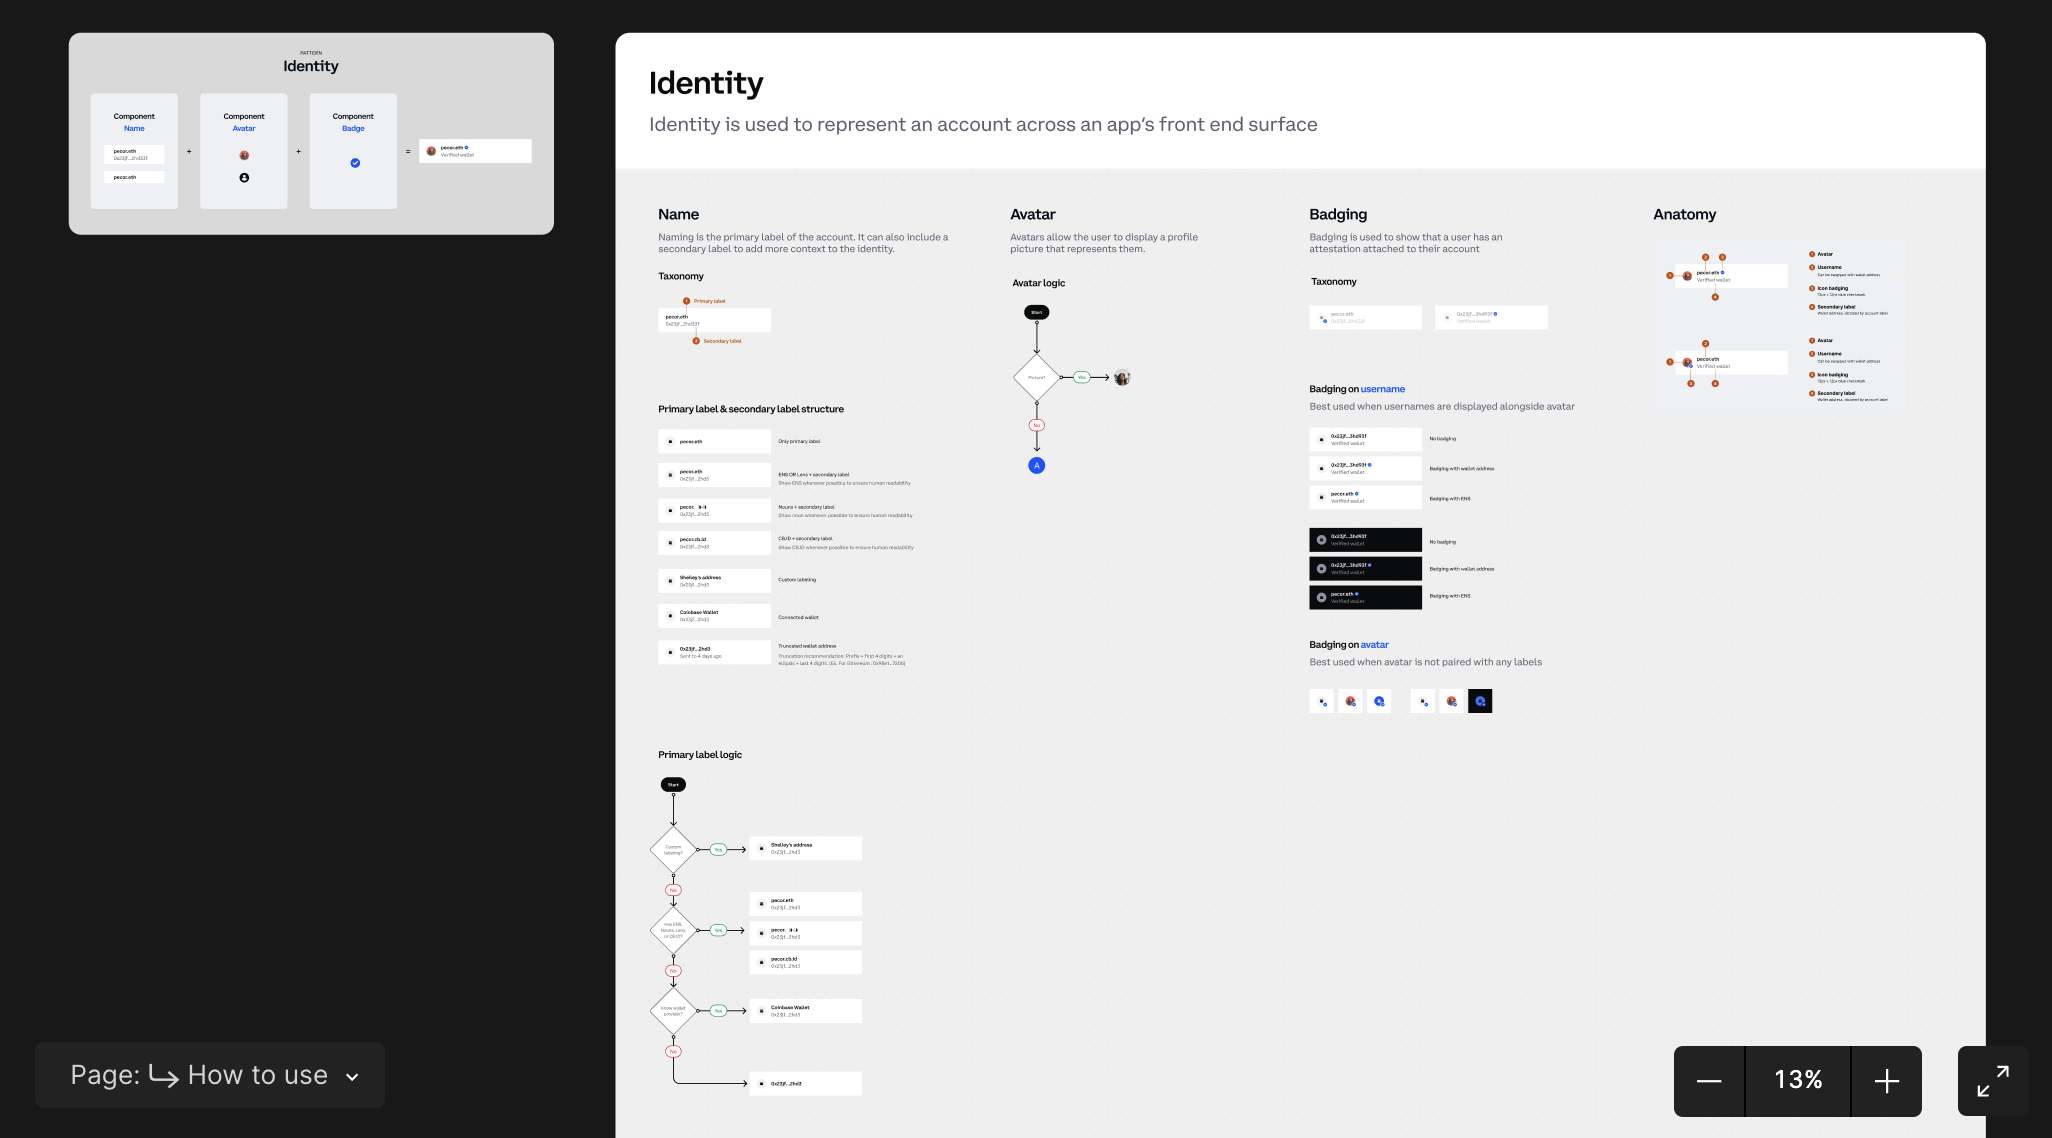
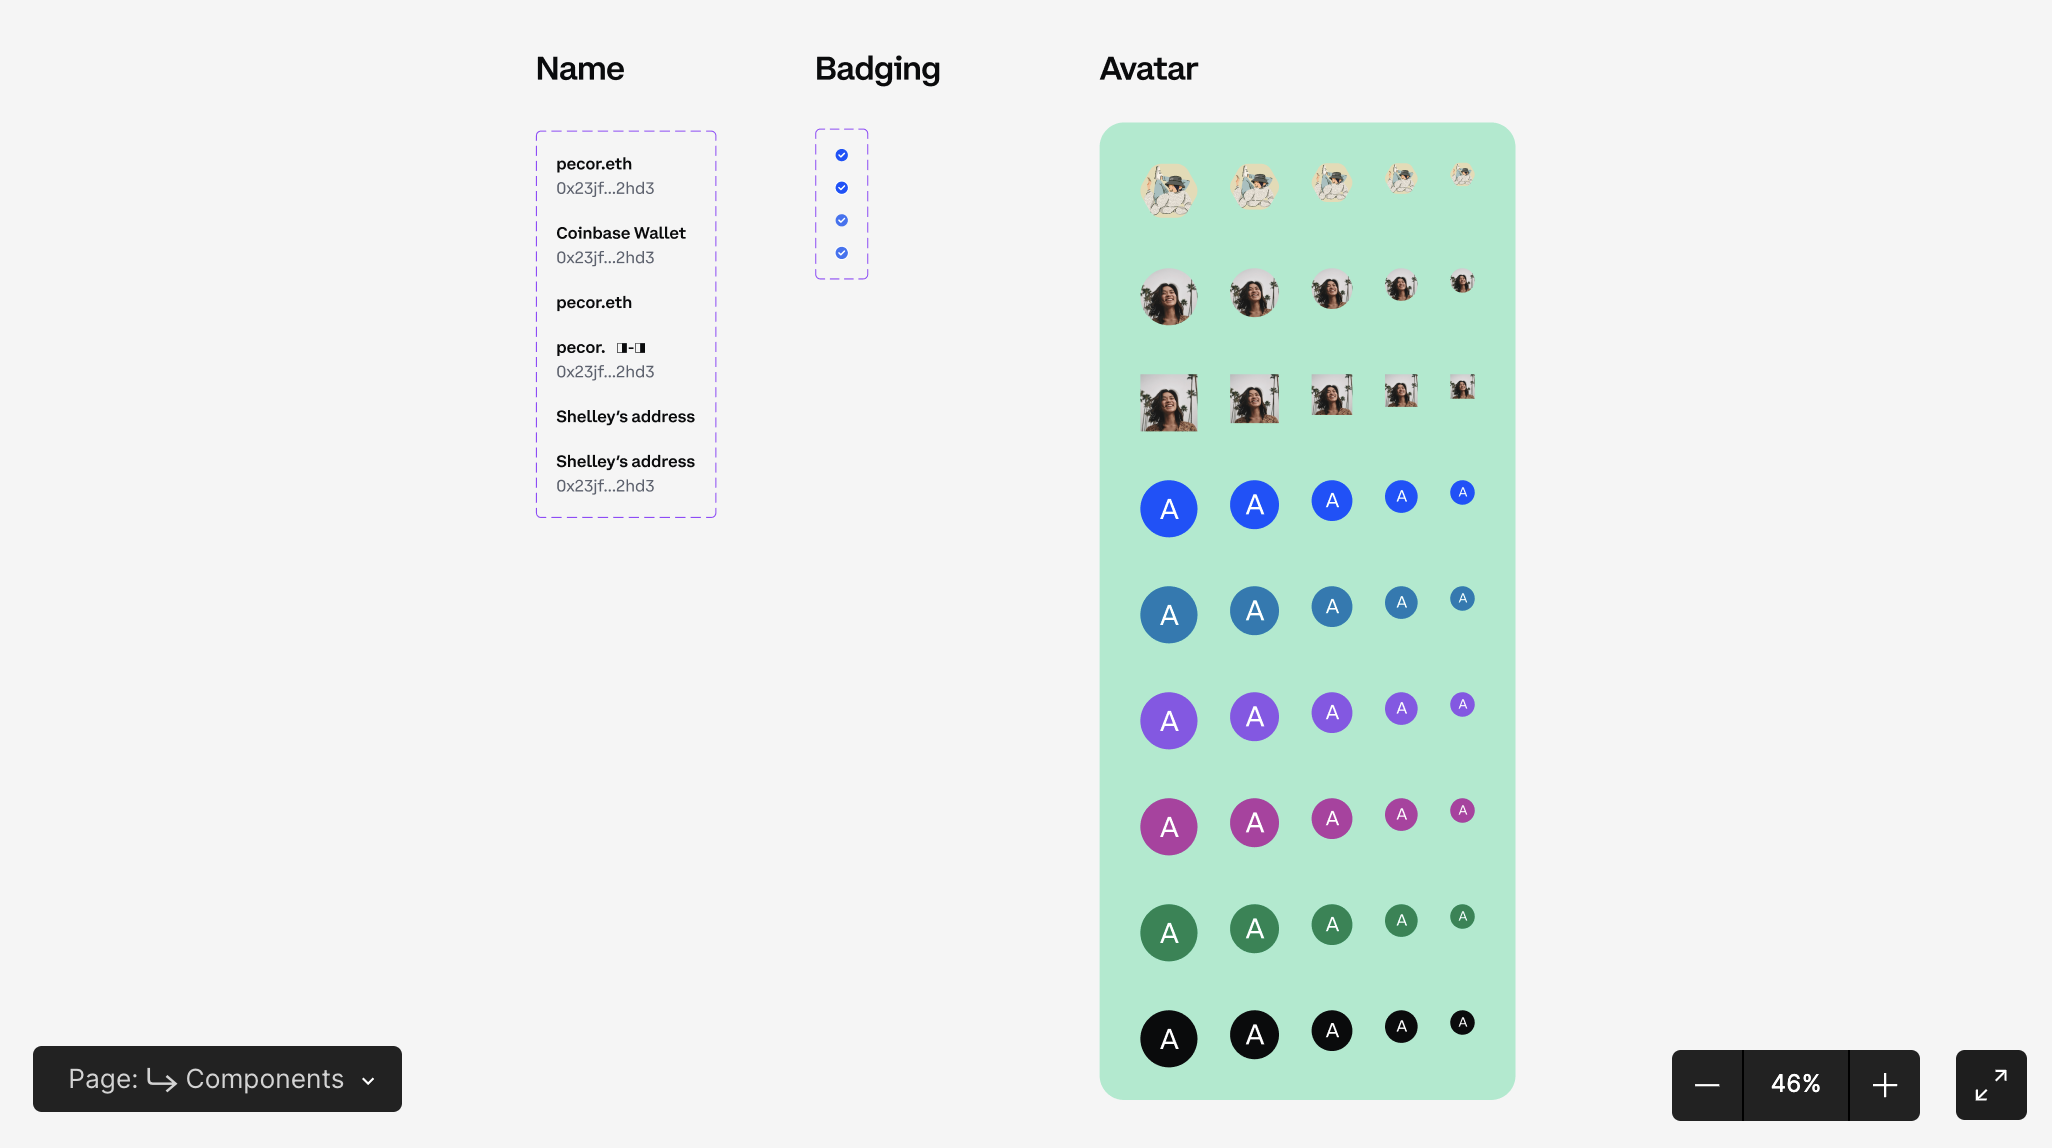
All our component designs are open-sourced. You can access the Figma file to use them for your onchain project.
Figma - How to use

Figma - Components

Check out the following places for more OnchainKit-related content:
- Follow @zizzamia (X, Warpcast) for project updates
- Join the discussions on our OnchainKit warpcast channel
This project is licensed under the MIT License - see the LICENSE.md file for details


