A website for Inventory mangement - using Django,MySQL
This is a WebApp was built as a part of Web programming course of class 2015-2019 Dept. of ISE, NIE. Mysore.
This project demonstrates the use of web technologies like HTML, CSS(Bootstrap), Javascript and uses MySQL as the database. The project was built using Django framework.
I have also containerized the entire app using Docker.
Functionality wise this project does the basic CRUD operations.
- Add Warehouse details
- Add items from Warehouse
- Buy Items
- Sell Items
- Get fast moving items
- Get slow moving items
- Get FSN & ABC list of inventory
The project is containerized , so the only prerequisite is you should have docker and docker-dompose installed in your system.
To get docker for Mac https://docs.docker.com/docker-for-mac/install/
To get docker for Ubuntu https://docs.docker.com/install/linux/docker-ce/ubuntu/
NOTE : This is a Linux container, and can only be run in MacOS or Linux distros.
Get the code from github
git clone https://github.com/naveenrajm7/inventory-management.git
Go inside project repo
cd inventory-management
Run docker-compose
docker-compose up
This command builds container , creates networks and volumes required for webapp.
ISSUE : While running the MySQL container for first time, the process stops before running the Django test server. So simply stop the process by Ctrl+C and run docker-compose up again.
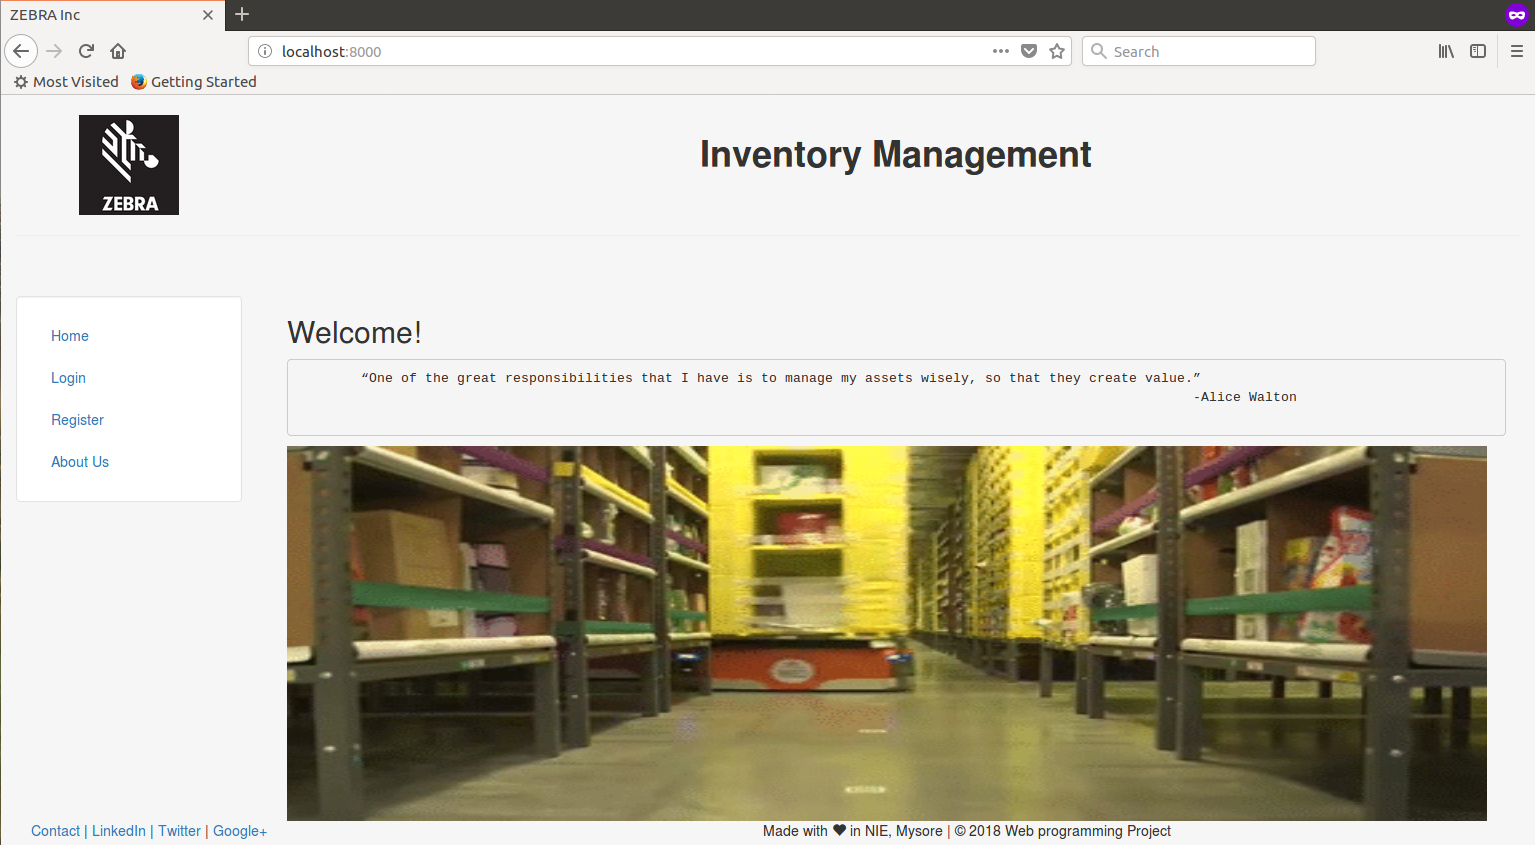
Visit http://localhost:8000 in your browser to see the WebApp.
Press Ctrl+C to stop Django test server.
docker-compose down
To remove containers and network.
To make the data persistent docker volume inventory-management_inventory_volume has been created so deleting the container will not affect the data stored in mysql container.
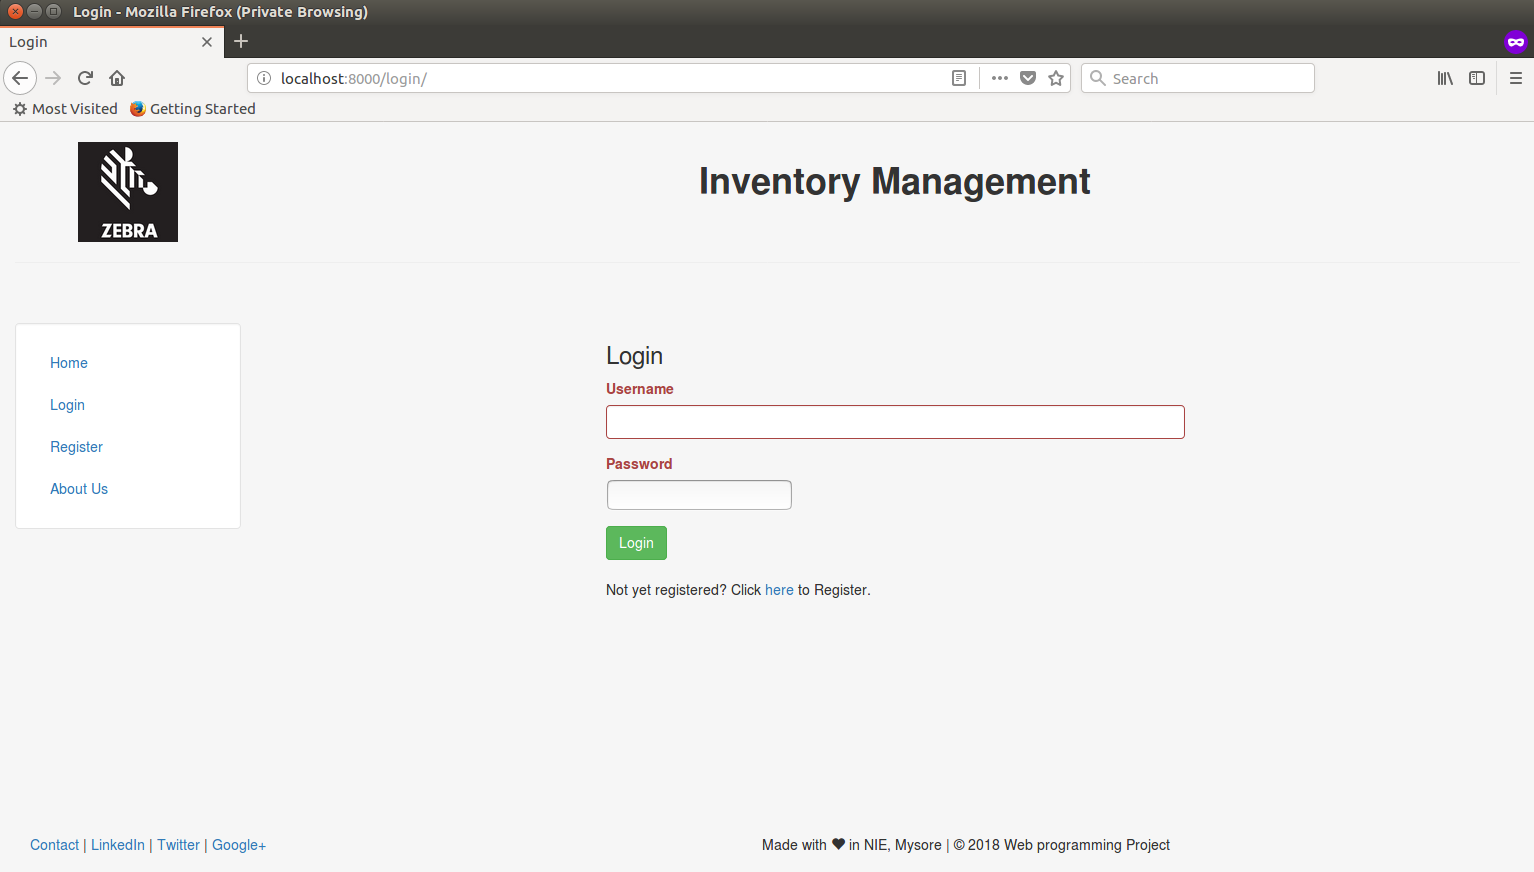
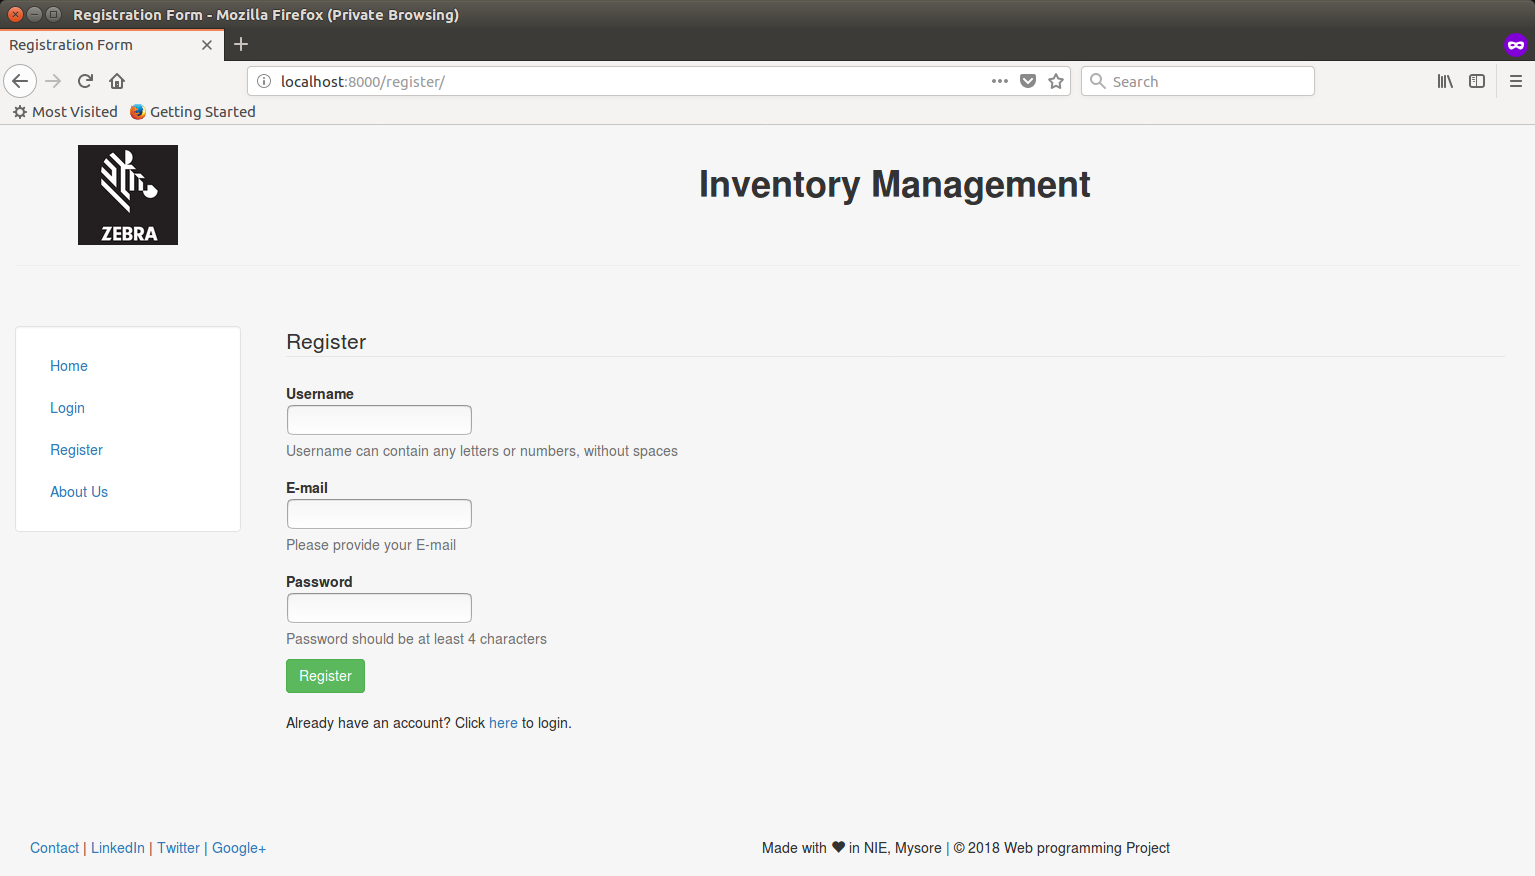
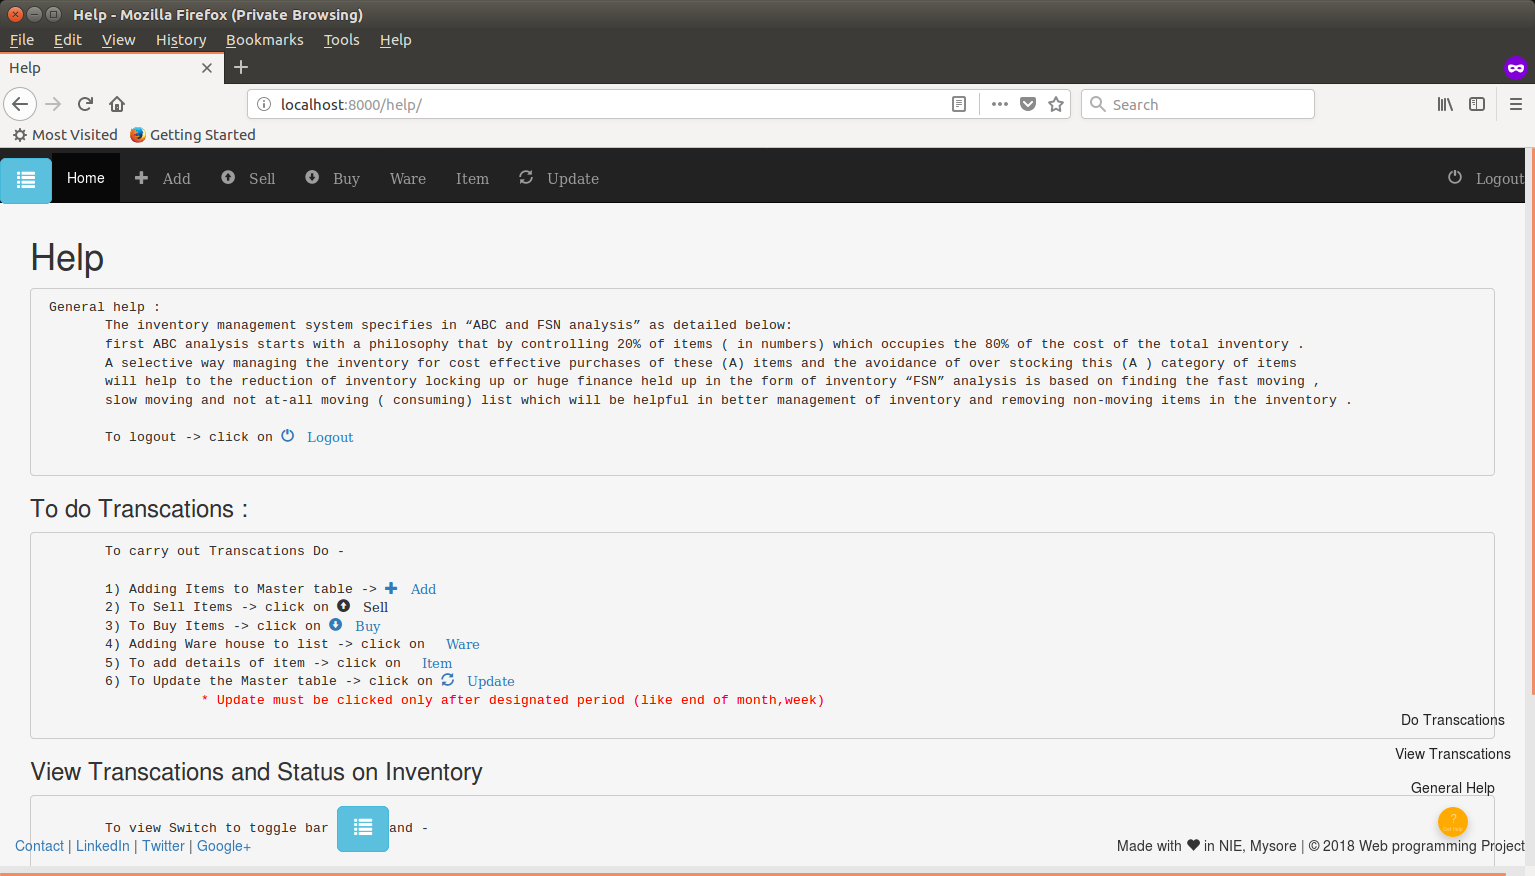
Once installed , visit the http://localhost:8000 , first register & then login to start making transactions. There is also Help section which shows how to use the website.
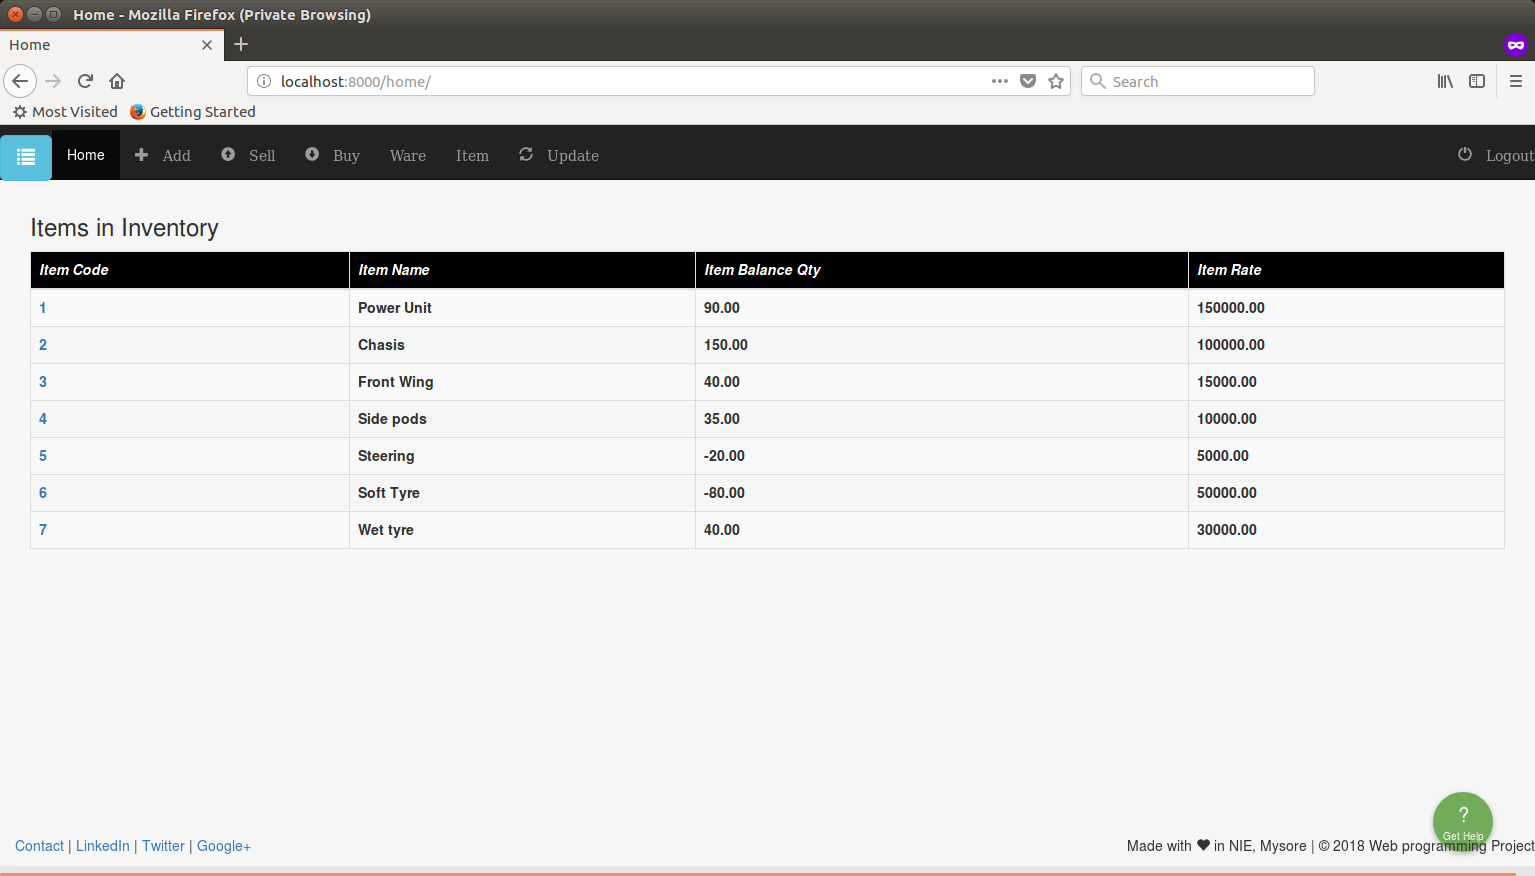 home page after login which shows Master table contents
To carry out Transcations Do -
1. Adding Items to Master table ->  Add
2. To Sell Items -> click on  Sell
3. To Buy Items -> click on  Buy
4. Adding Ware house to list -> click on  Ware
5. To add details of item -> click on  Item
6. To Update the Master table -> click on  Update
        * Update must be clicked only after designated period (like end of month,week)
To view Transcations and status of inventory - To view Switch to toggle bar and -
  1. Sold Items -> click on Sold List
  2. Bought Items -> click on Bought List
  3. Ware House list -> click on Ware House
  4. Items Detail table -> click on Items
  5. Fast Moving Items list -> click on FSN
  6. ABC analysis list -> click on ABC
  7. Dead stock of Inventory -> click on Dead Stock
  8. Generate reorder list -> click on Reorder List
If you encounter any issue using this project. Open issue in github.
You can also take up any open issue and work on it.
