Any change you want to make, whether it’s just fixing the typo in the lesson, updating the code, or suggesting a minor or major update to any learning unit is considered a contribution.
You will have to have the https://github.com/ironhack-edu/temp-id-case-study repository (folder) locally on your computer. How to do this? (for no coders)
Creating a "fork" is producing a personal copy of someone else’s project.
If you forked someone's project, you will be able to push your code (this is called making pull request) so the owner of the original project can check it and if they find it useful, use it.
Let's use the HTML exercise repo for this demo.
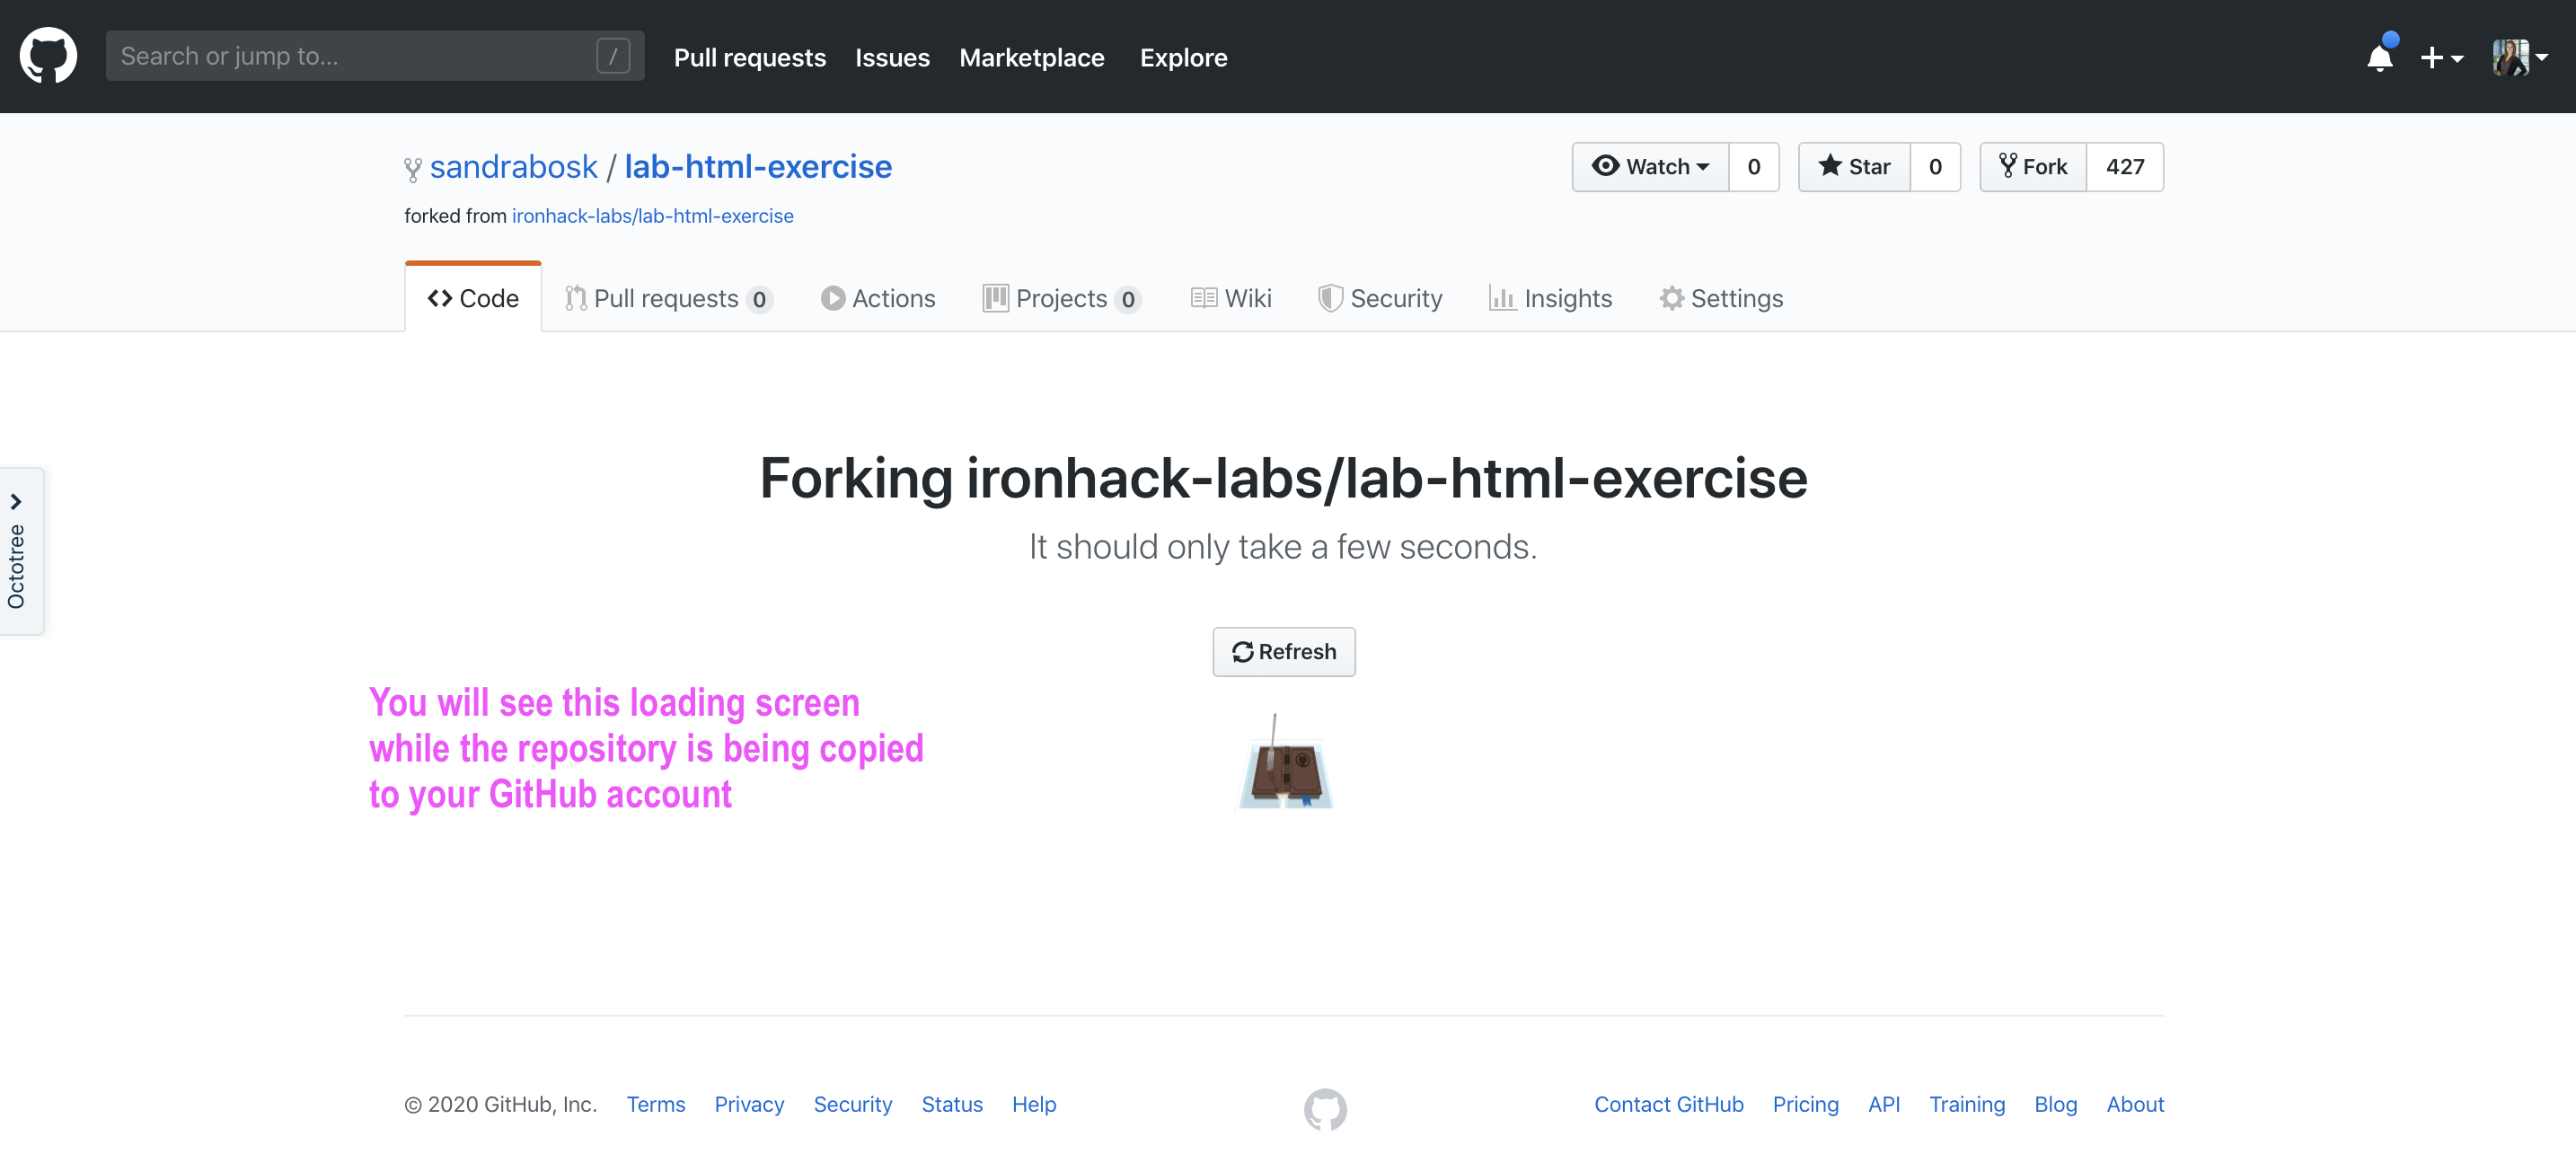
After clicking on the fork button, you will be presented with the loading screen that will most likely look like this:
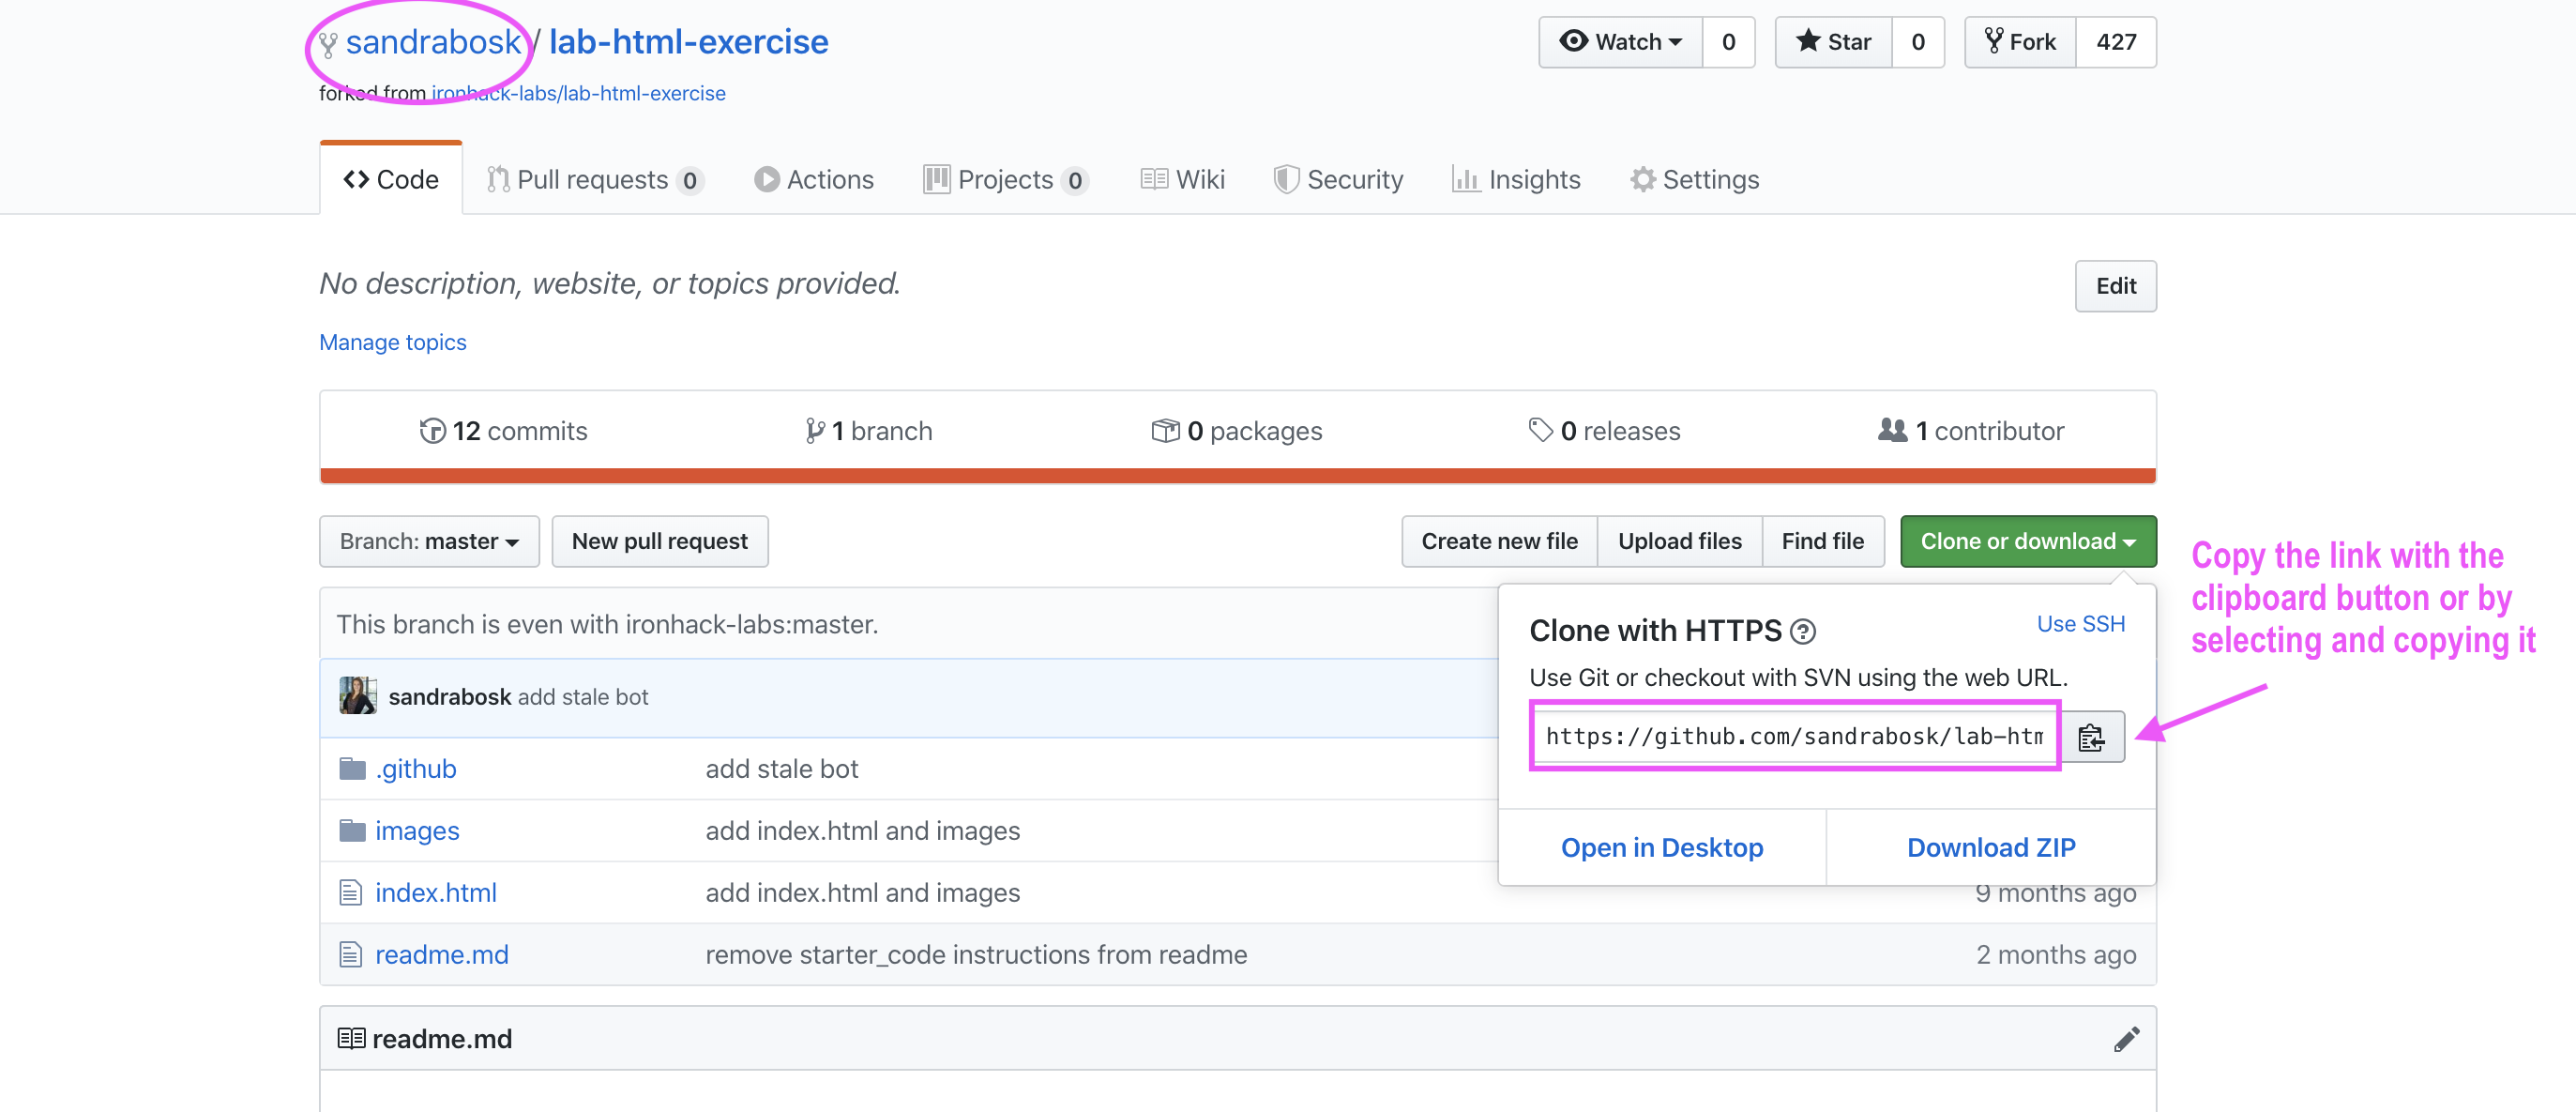
After the forking is done successfully, you will be redirected to the copied repository on your GitHub account.
That would summarize the forking process.
Now, on your GitHub account, you have access to the copied repository. This will be a repository you will copy (clone) to your local machine and that will be your working area.
- Click on the green Code button and copy the link by selecting and copying or by using the clipboard button.
- Open your terminal and navigate to the location where you want to store the local version of your repository.
- When you navigated to the correct folder in your terminal run the following command:
# you will paste the URL from the clipboard instead of the one we gave in this example
$ git clone https://github.com/ironhack-labs/lab-html-exercise- Navigate to the cloned repo locally:
$ cd <name of the cloned folder >- Create a branch you will be using to make changes:
$ git checkout -b "branch-name"Open the project in VS Code:
$ code .After you made changes to your project, you can check which files you changed by running again:
$ git statusTo add the changes:
$ git add .👍 The dot represents all files in the current repository.
To commit changes:
$ git commit -m “<your message>”To push changes:
$ git push origin branch-nameAfter pushing your changes from your local master to the remote master, your commit should be visible on GitHub (the changes you made locally are now available in the GitHub repository as well).
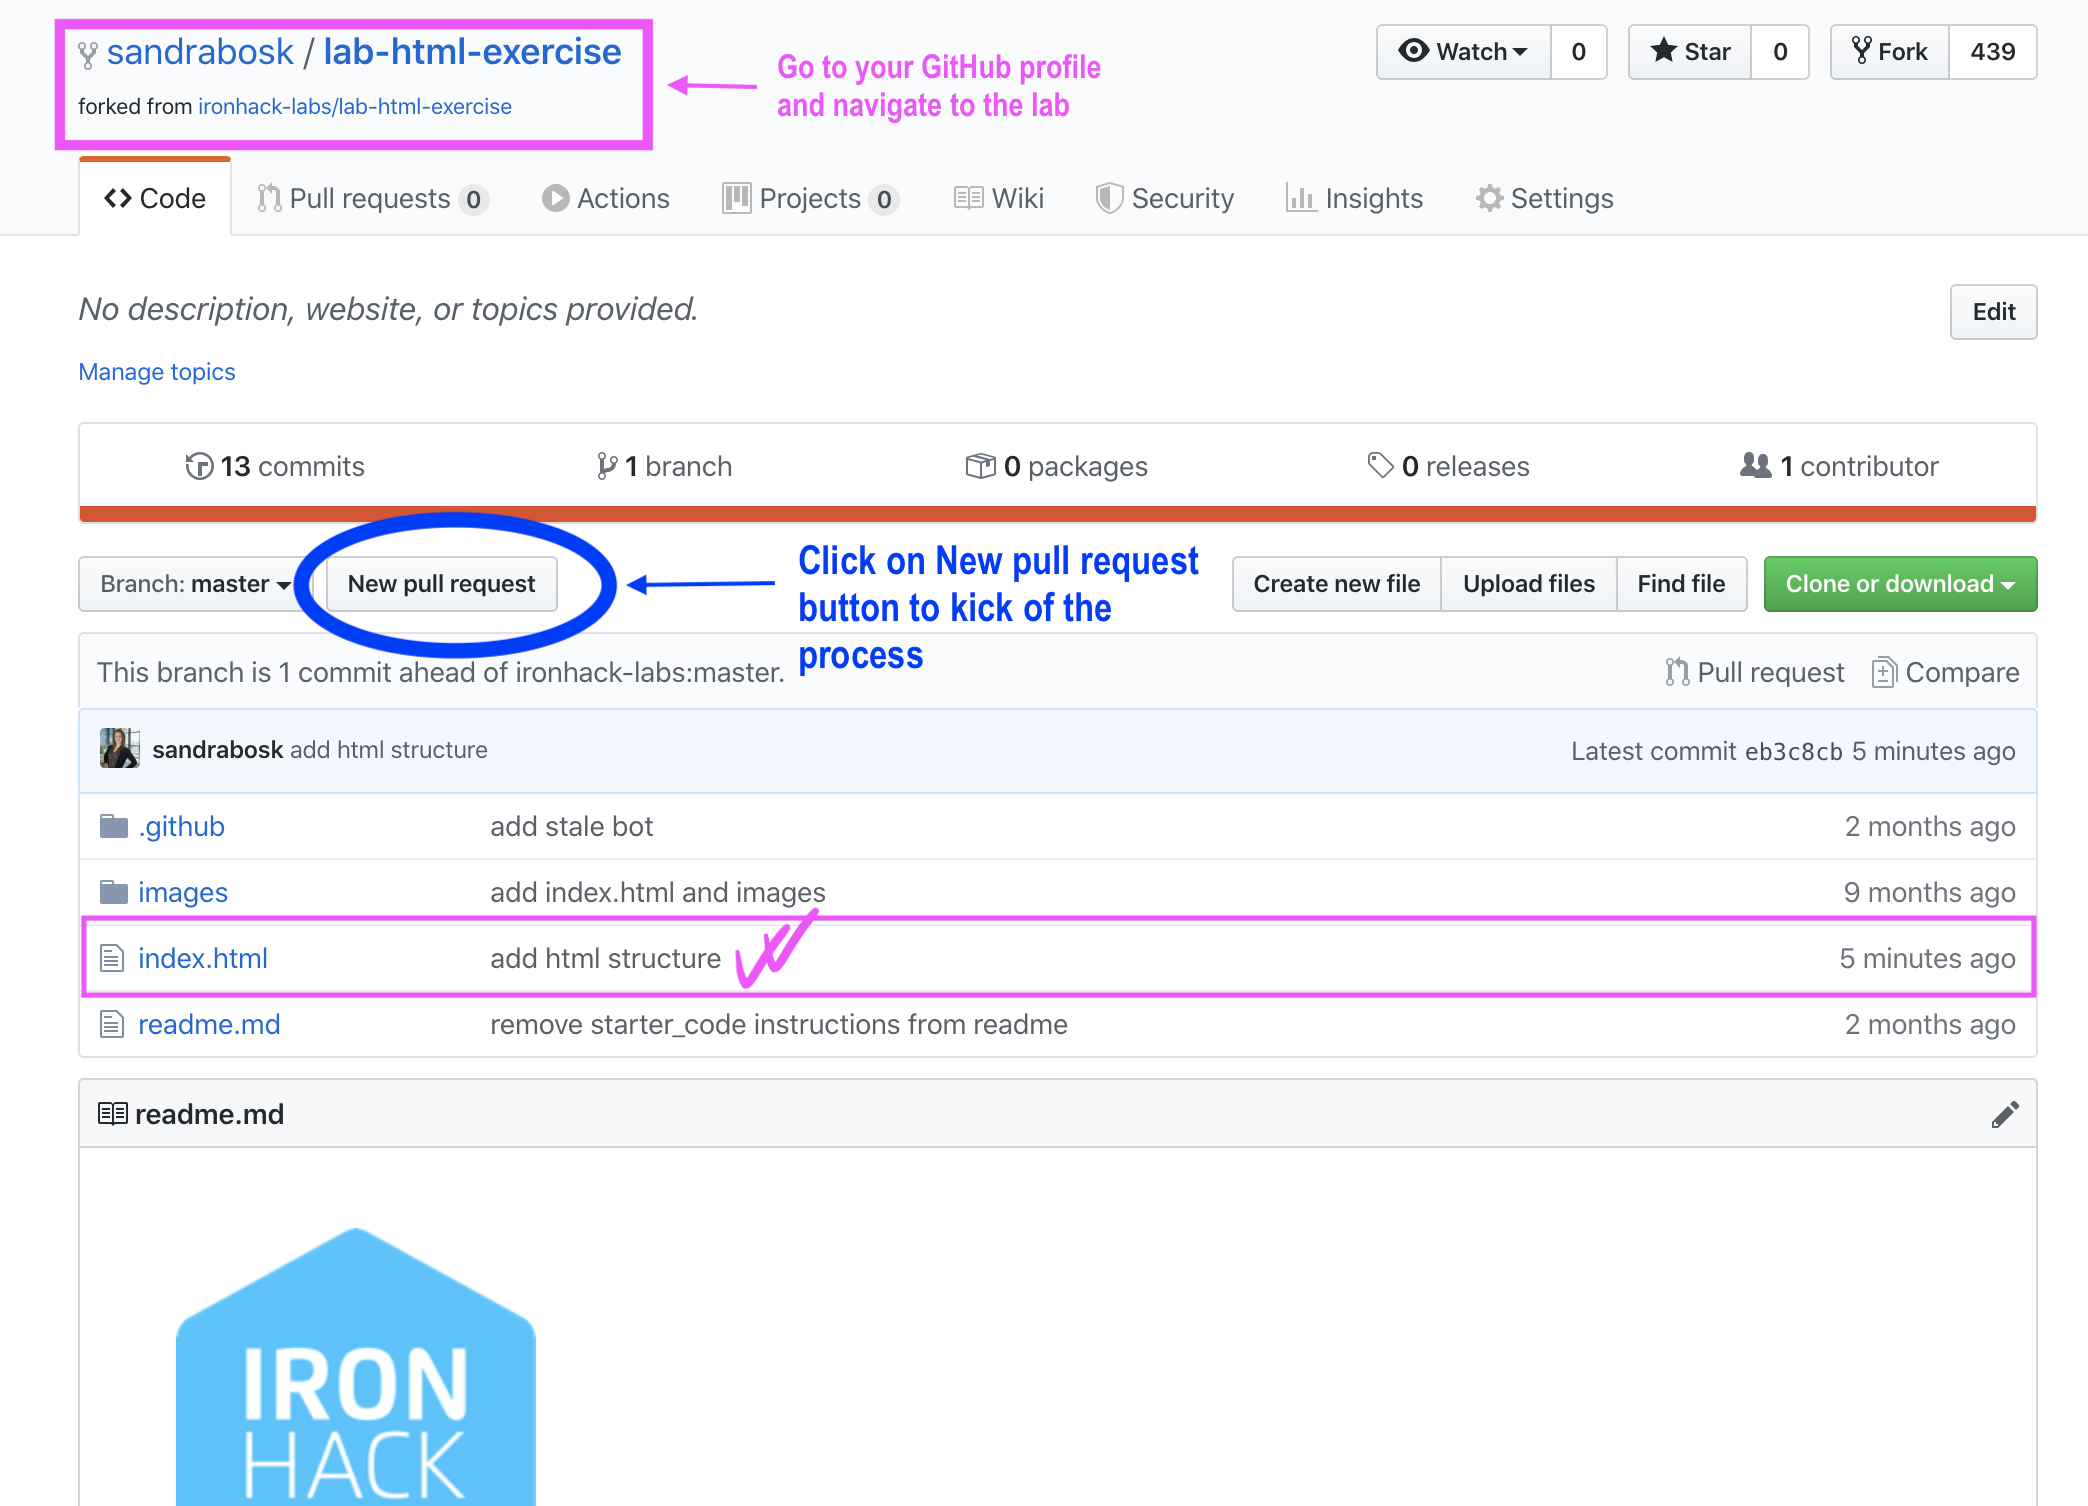
When your commit is successfully pushed to GitHub, you can create a pull request by clicking on the "New pull request" button.
You should add sandrabosk as a Reviewer or in the comment field of the Pull Request (with @sandrabosk). This way we will be notified that your work is ready to be reviewed.
Thank you for your contributions!


