You'll need an OCI free trial account (click here to sign up). We're going to use a ready-to-go image to install the required resources, so all you need to start is a free account.
Registered lab participants should have received $300 in credits to use for Data Science operations.
You'll also need an SSH key pair to access the OCI Stack we're going to create. For Mac/Linux systems, you can use ssh-keygen. On Windows, you'll use PuTTY Key Generator.
To summarize Mac/Linux:
ssh-keygen -t rsa -N "" -b 2048 -C "<key_name>" -f <path/root_name>
For Windows, and step-by-step instructions for Mac/Linux, please see the Oracle Docs on Managing Key Pairs.
-
Click the button below to begin the deploy of the Data Science stack and custom image:
-
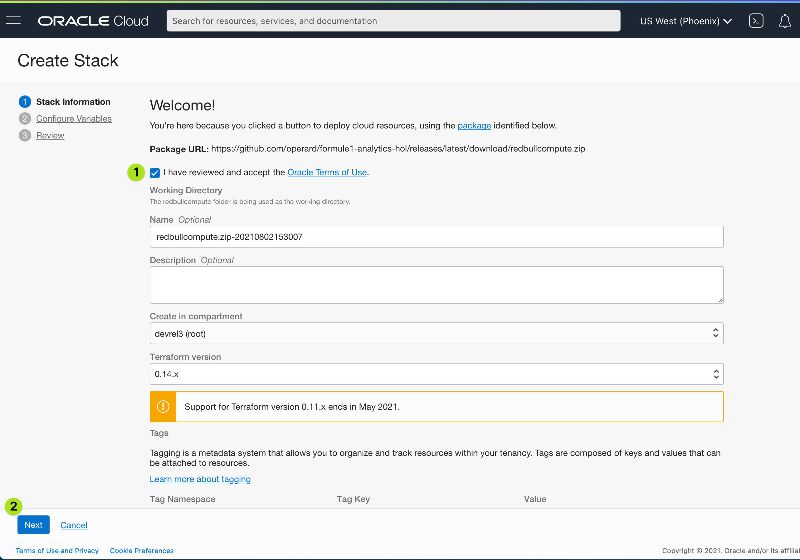
If needed, log into your account. You should then be presented with the Create Stack page.
These next few steps will deploy a stack to your OCI tenancy. This will include a Compute instance and the necessary tools to deploy and run Jupyter Lab from within your OCI account.
Under Stack Information (the first screen), check the box I have reviewed and accept the Oracle Terms of Use. Once that box is checked, the information for the stack will be populated automatically.
-
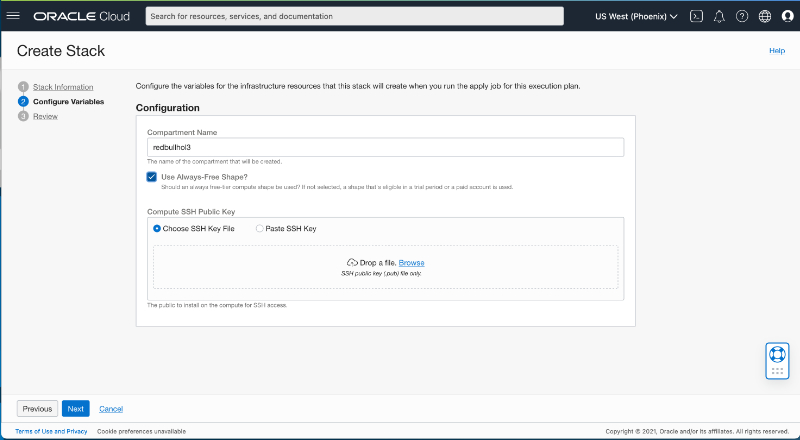
Click Next at the bottom of the screen. This will take you to the Configure Variables page. On this page you'll need to provide the SSH key we created in the prerequisites. If you want your Compute instance to function after your Free Trial ends, check the box for an Always Free Shape. Then click Next again.
-
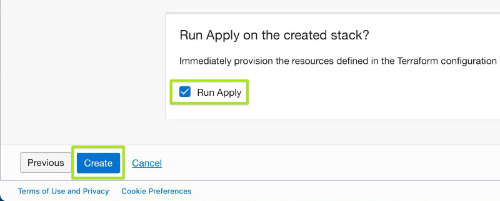
On the Review page, be sure Run Apply is checked, and click Create.
-
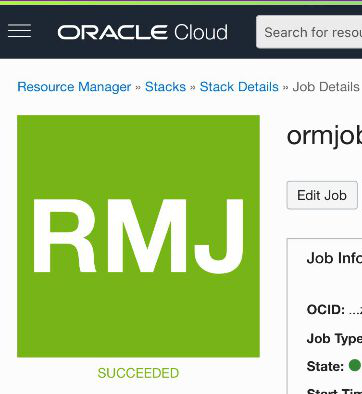
This will take you to the Job Details page, and OCI will begin creating the stack and deploying the custom image for the lab. This will take about 11 minutes. When it completes (assuming everything went smoothly), the Job Details will show a bright green square with "Succeeded" below it.
-
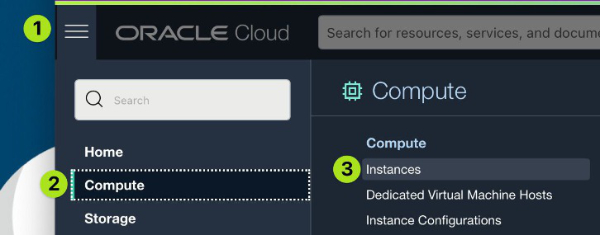
Once the Create Stack job has succeeded, click the hamburger menu in the upper left, select Compute in the sidebar, and click Instances in the menu.
-
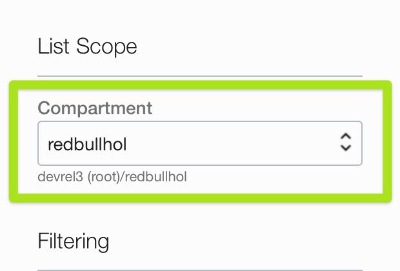
On the Instances screen, make sure "redbullhol" is selected under Compartment. If "redbullhol" isn't in the dropdown menu, it may need some time to show up, so grab (another) cup of coffee/tea and check back in a few minutes.
-
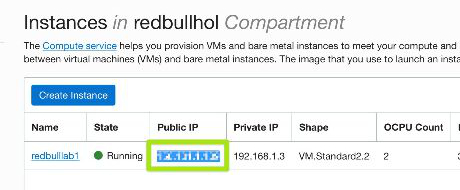
Once the "redbullhol" compartment is selected, you should see a running Instance in the list. The address you'll need to access it is in the Public IP column. Copy the IP address shown.
-
Next, open a new tab in your browser to load up the web UI for Jupyter Lab. Paste the IP address you just copied with
:8888added to the end. The URL should look likehttps://xxx.xxx.xxx.xxx:8888(substituting the public IP we copied in the previous step). Jupyter Lab is running on port 8888, so when you navigate to this URL you should see the Juypter login.Note: You should not be on VPN when opening Jupyter Lab.

-
Log in with the jupyter token and assign a password like
Redbull1. -
You should now see the Jupyter Lab. Navigate in the sidebar to
/redbull-analytics-hol/beginners/to see the Jupyter notebooks for this lab.


The notebooks are numbered and you'll progress through them in order. These will walk you through collecting and analyzing the data we'll use to predict some races.
The Jupyter notebooks are ordered by number, and you'll progress through them in sequence.
All of the data and models for this lab are already stored in this directory. You can run the notebooks to see what they do, but it's not required to see the finished product. Note that running the notebook 04.ML_Modelling takes about 40 minutes, so if you want to play with it, save it until after the live lab.
These notebooks use data gathered from ergast.com. The data gathering process takes some time, so we've gone ahead and pulled the data in for you. However, if you want to see how it's done, take a look in the from_scratch directory, where you'll find the original scripts that gathered the remote data.
See the notes in each notebook for a bit of explanation as you go. If you have a basic understanding of Python, you should also be able to see the nitty gritty of what's happening.
View each notebook in numeric order:
- 01_0.Formule1_Data_Collection.ipynb
- 01_1.Weather_Data_Collection.ipynb
- 01_2.Qualifying_Data_Collection.ipynb
- 02.Data_Preparation_merging.ipynb
- 03.f1_analysis_EDA.ipynb
- 04.ML_Modelling.ipynb
- 05.ML_Model_Serving.ipynb
To see the results of the lab, you'll need to start the web server using Terminal.
-
In the menu at the top of the page, select File->New->Terminal.
-
Enter the following commands, hitting return after each one (feel free to copy and paste)
cd /home/opc/redbull-analytics-hol/beginners/web source /home/opc/redbullenv/bin/activate python3 app.py -
Open a web browser to the public IP of your Jupyter Lab, but use port 8888 instead of port 8001:
https://xxx.xxx.xxx.xxx:8888The Public IP is the one at which you're currently accessing Jupyter Lab, which we copied from the Running Instances step above.