| title | sub_title | author | theme | ||||||||||||||||
|---|---|---|---|---|---|---|---|---|---|---|---|---|---|---|---|---|---|---|---|
Cooking up TUIs with Ratatui |
Welcome to the workshop! |
Orhun Parmaksız |
|
🐁 Open Source Developer (github.com/orhun)
🦀 Creator of git-cliff, binsider, kmon, systeroid…
🐭 Chef de Cuisine @ Ratatui
📦 Package Maintainer @ Alpine & Arch Linux (btw)
https://orhun.dev
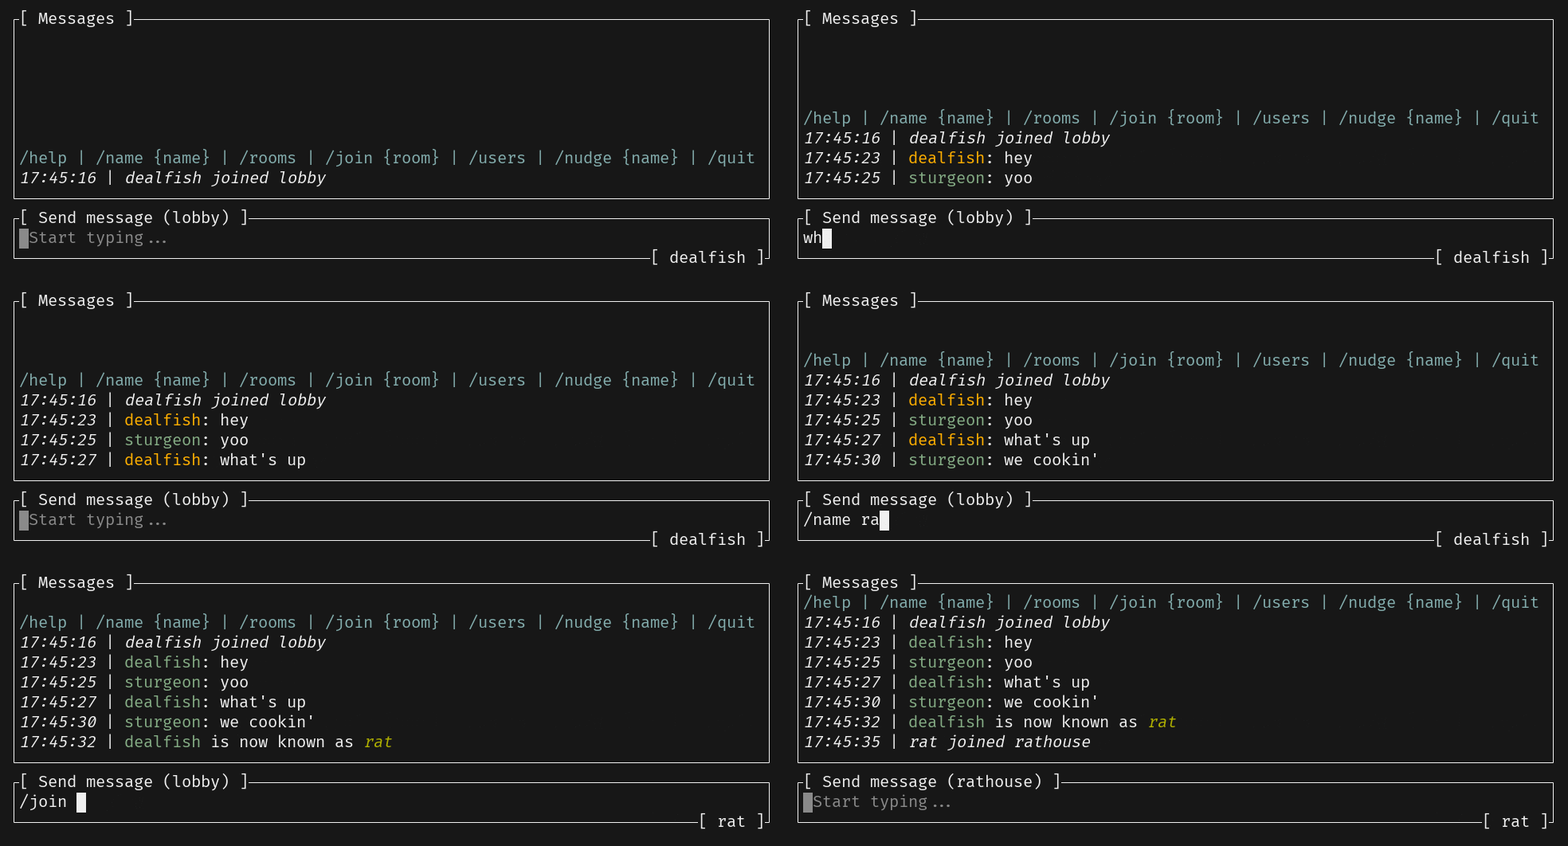
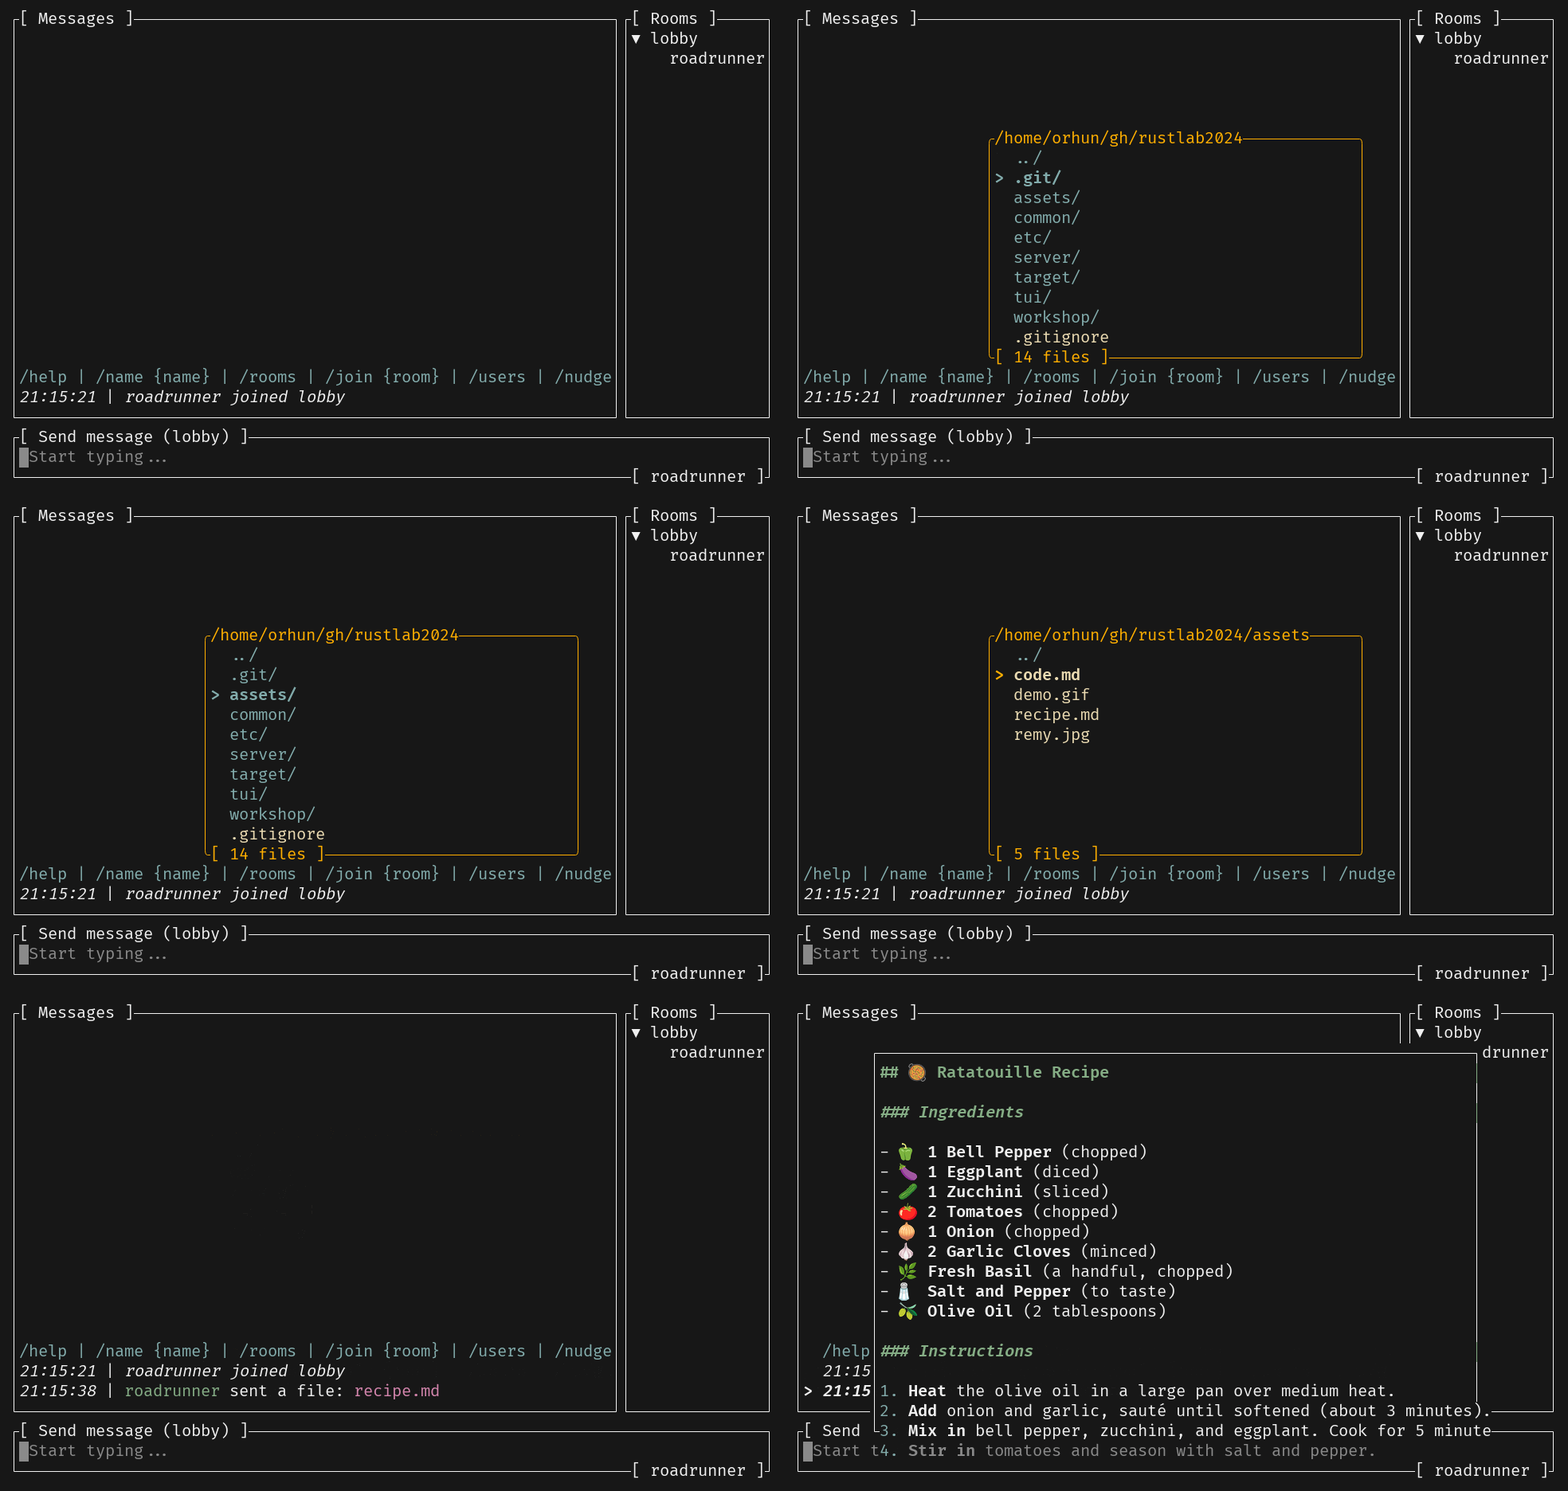
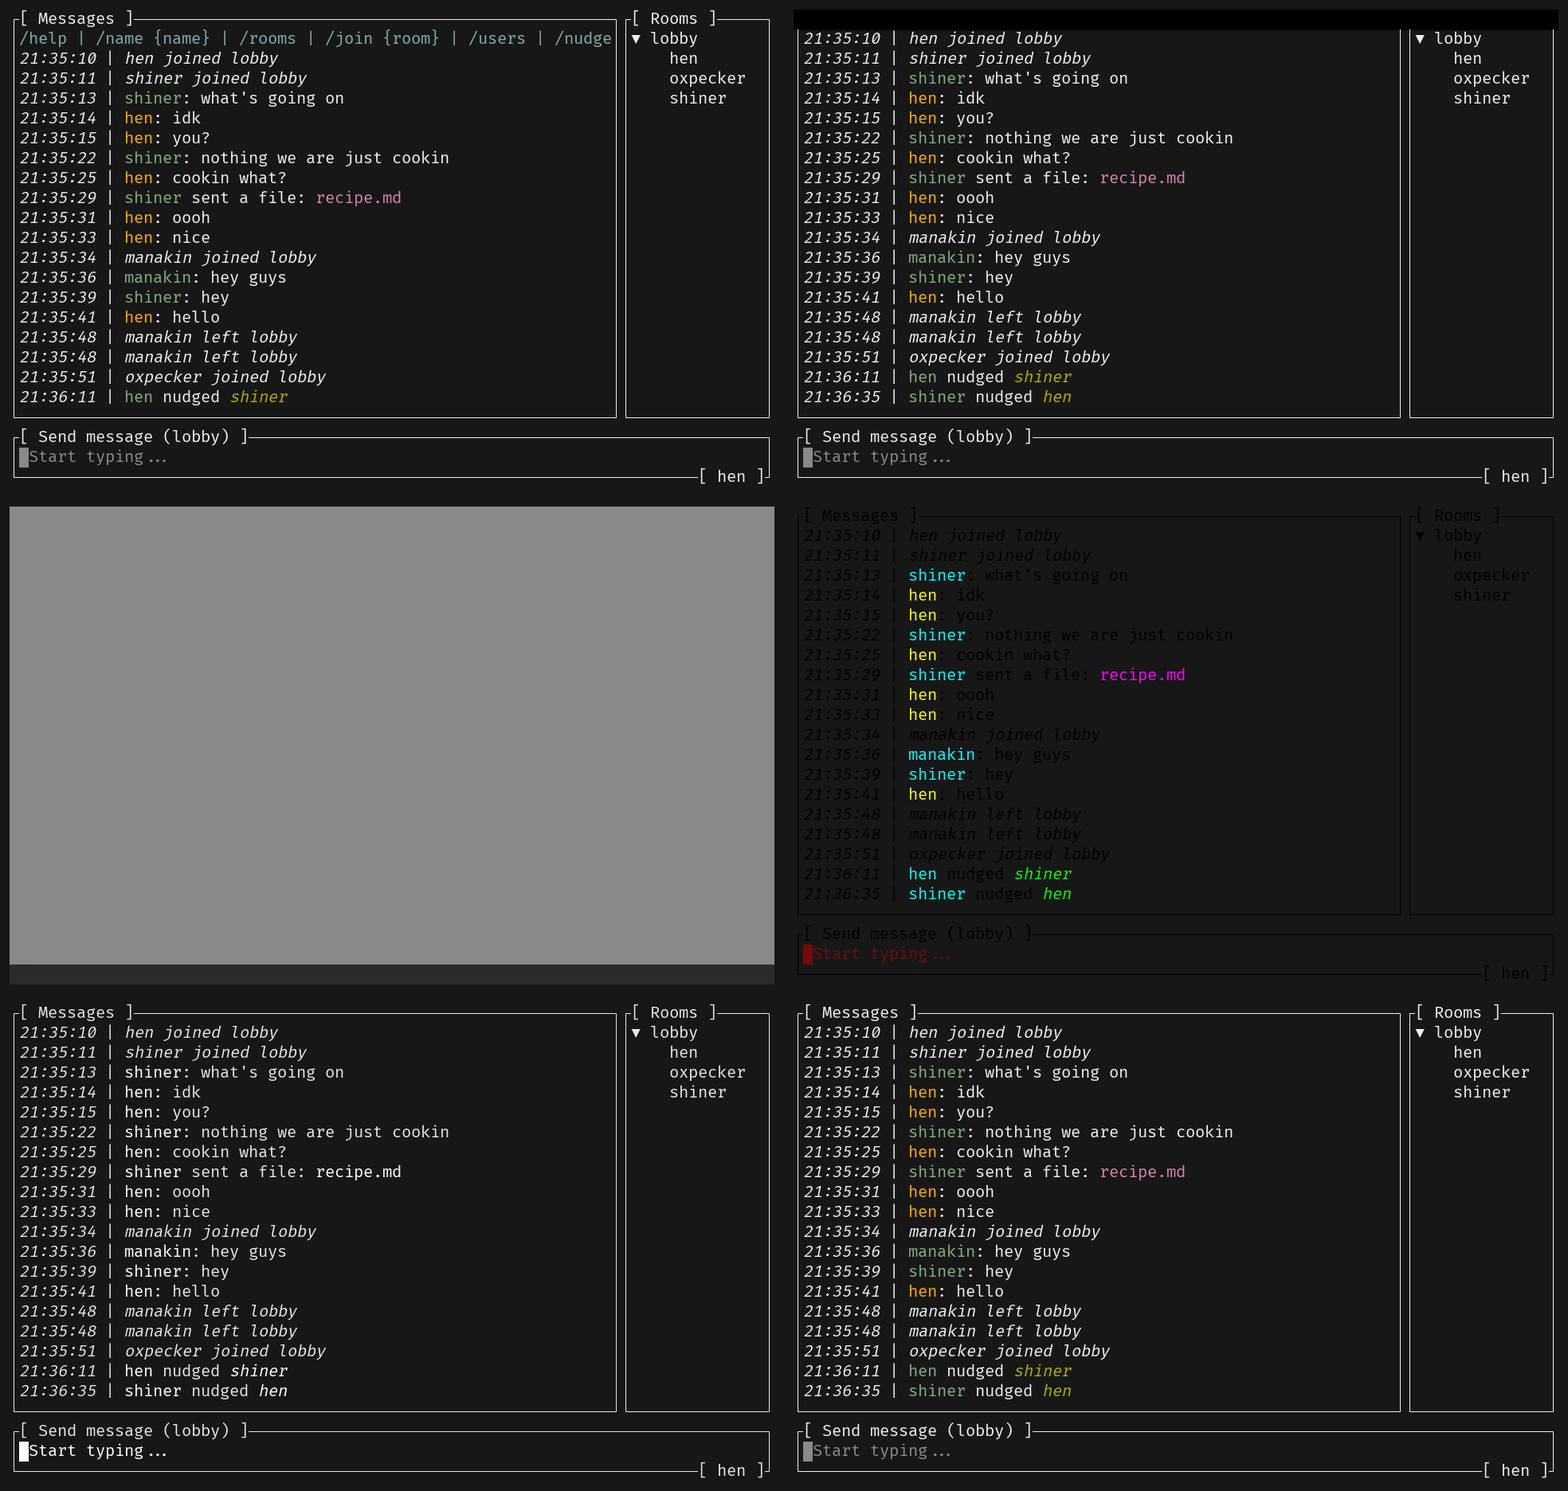
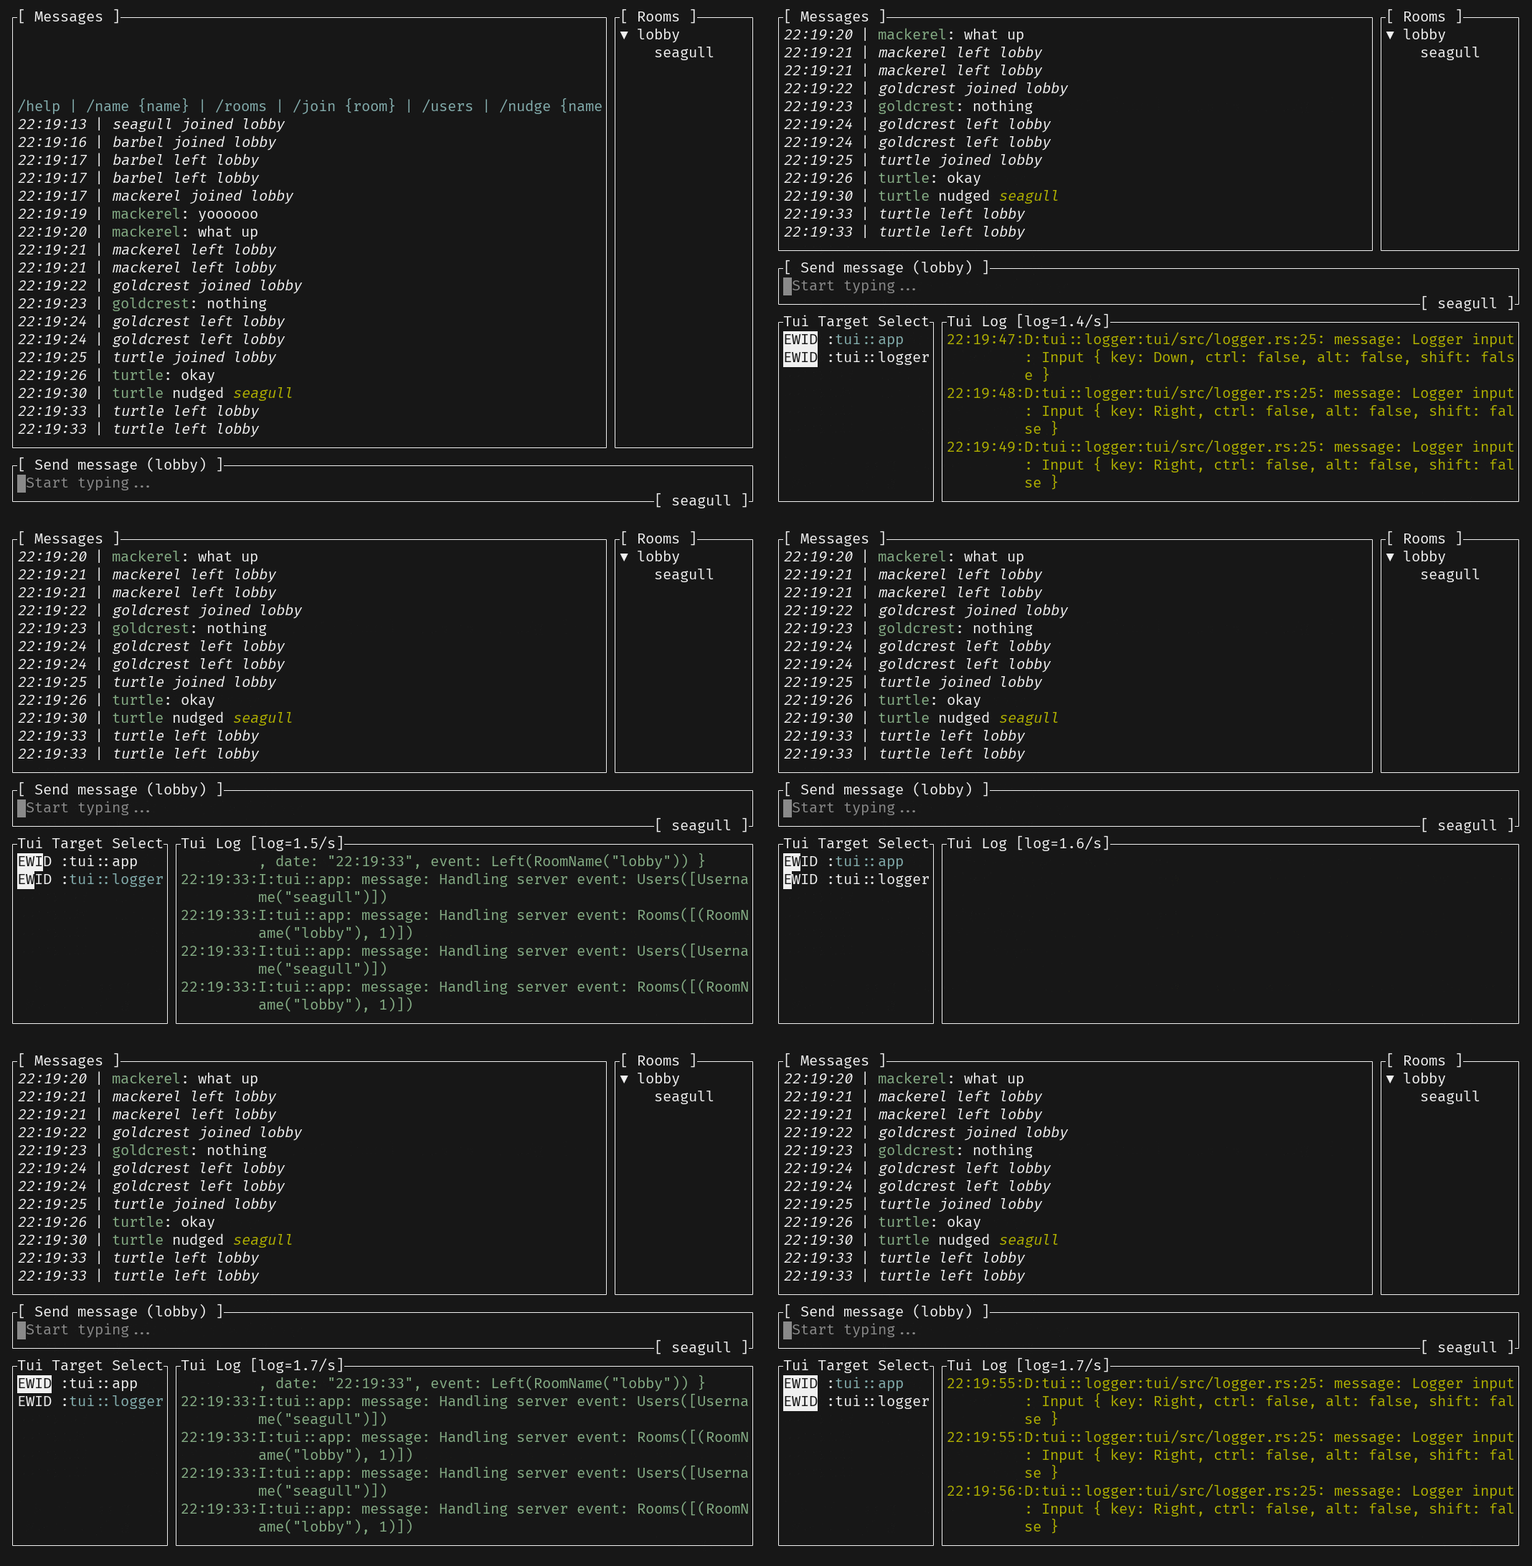
A terminal chat application that supports sending messages, files, and images.
- Get familiar with the fundamentals of Ratatui.
- Learn how to incorporate widgets and structure your application.
- Understand the best practices of building TUI applications in Rust.
- Have fun!
-
Install a code editor (w/
rust-analyzer) -
Install a good terminal emulator (i.e.
wezterm) -
Clone this repository:
git clone https://github.com/orhun/rustlab2024-ratatui-workshop- Introduction
- Initializing the project
- Initializing the TUI
- Server connection
- Message list
- Text input (w/
tui-textarea) - Room list (w/
tui-tree-widget) - Help popup
- File explorer (w/
ratatui-explorer) - Image preview (w/
ratatui-image) - Markdown preview (w/
tui-markdown) - Terminal effects (w/
tachyonfx) - Logging (w/
tui-logger) - Testing (w/
insta) - End (& more???)
This is a hands-on workshop.
It consists of chapters that build upon each other.
Each chapter is in its own branch:
chapter-N: Contains the code with incomplete parts.chapter-N-solution: Contains the full solution to move on to the next chapter.
Replace N with the chapter number (e.g. chapter-5)
There are two ways of participation:
1. Code along with me:
git merge origin/chapter-1

# and when you are done:
git merge origin/chapter-1-solution

# or use -X theirs to discard your custom changes
git merge -X theirs origin/chapter-1-solution
2. Follow along the solutions:
git merge origin/chapter-1-solutionAnd always ask questions!
server: A TCP server that handles the communication between clients.common: Shared types (e.g. commands, events) for the server and client.
cargo run -p servernc 127.0.0.1 42069| Command | Syntax | Description |
|---|---|---|
| Help | /help |
Displays help information |
| Change Username | /name <username> |
Changes the username to <username> |
| List Rooms | /rooms |
Lists available chat rooms |
| Join Room | /join <roomname> |
Joins the specified <roomname> |
| List Users | /users |
Lists users in the current room |
| Send File | /file <filename> <data> |
Sends a file with <filename> and <data> |
| Nudge User | /nudge <username> |
Sends a nudge to <username> |
| Quit | /quit |
Exits the chat |
See the chapter 0 documentation.
Create the project
cargo new tuigit merge origin/chapter-1Create the TUI
- Add dependencies
- Create the
Appstruct - Implement the
runmethod (*)
git merge origin/chapter-2Connect to the server
- Parse command-line arguments
- Create a TCP stream
- Read server events (*)
git merge origin/chapter-3Display the message list
- Create a
MessageListstruct - Implement the
Widgettrait (*) - Render the message list
- Handle server events
git merge origin/chapter-4Add text input
- Add the
tui-textareadependency - Create a
TextArea(*) - Handle text input events (*)
- Send messages to the server (*)
- Render the text input (*)
git merge origin/chapter-5Add room list
- Add the
tui-tree-widgetdependency - Create a
RoomListstruct - Implement the
Widgettrait (*) - Handle room events
- Render the room list (*)
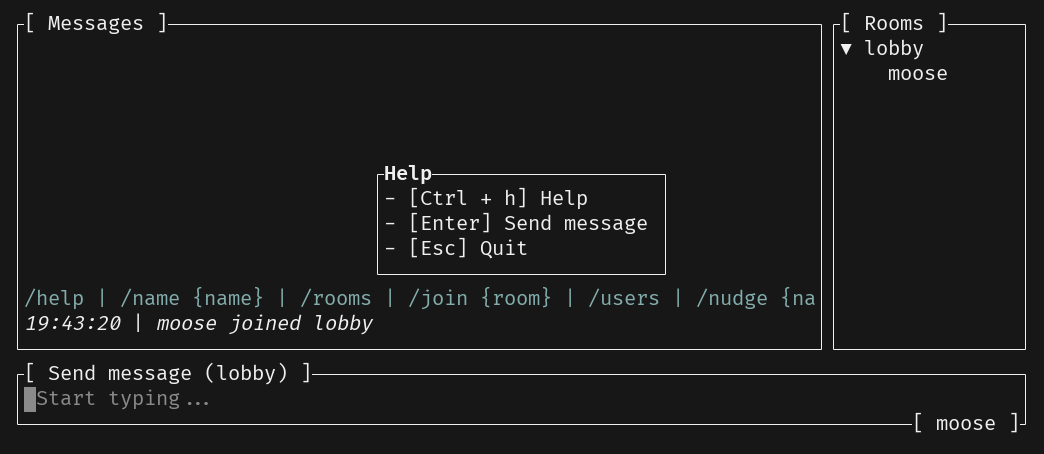
git merge origin/chapter-6Add help popup
- Create a new channel for events
- Create a
HelpPopupstruct - Implement the
Widgettrait (*) - Handle help events (*)
- Define the key bindings (*)
- Handle popup events (*)
- Render the popup
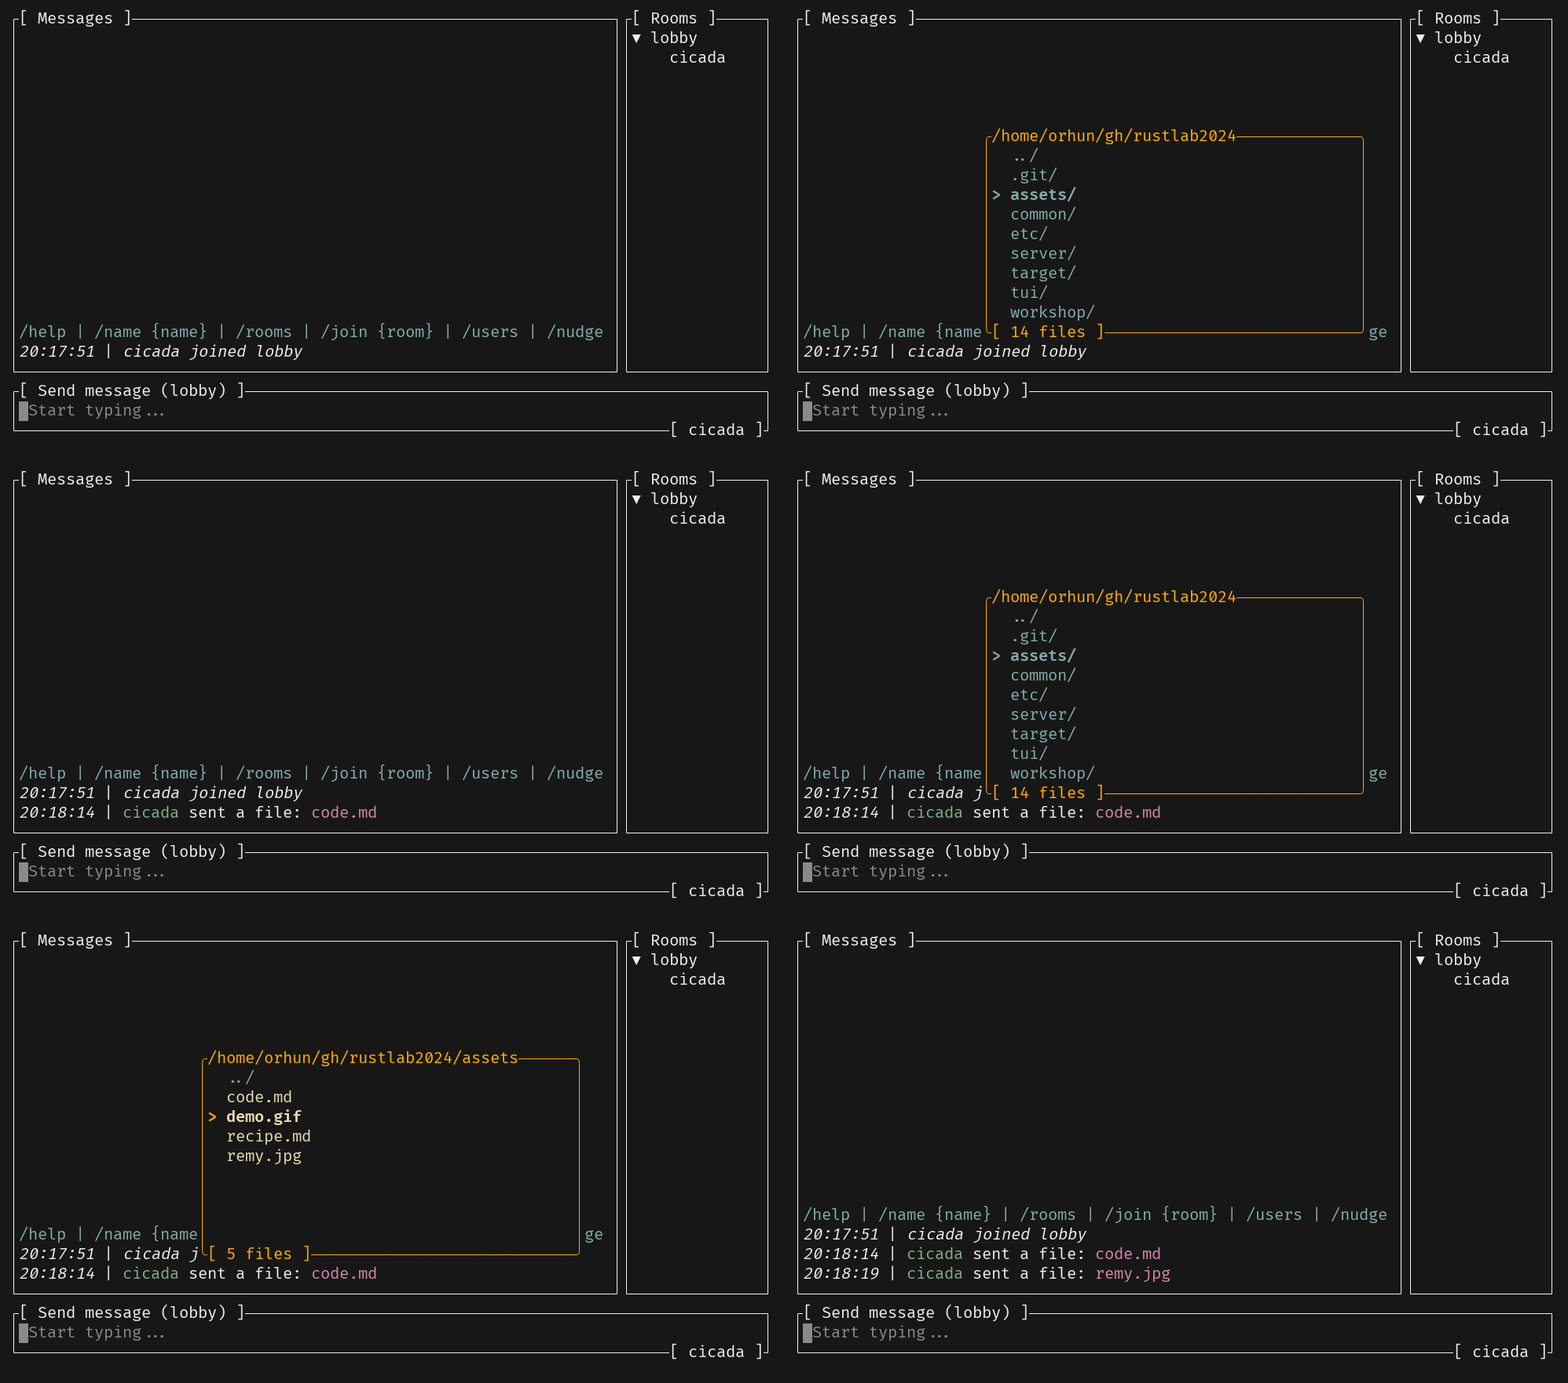
git merge origin/chapter-7Add file explorer
Add file explorer
- Add the
ratatui-explorerdependency - Refactor popup module
- Create a
FileExplorerpopup (*) - Handle popup input events (*)
- Render the file explorer (*)
- Send files to the server (*)
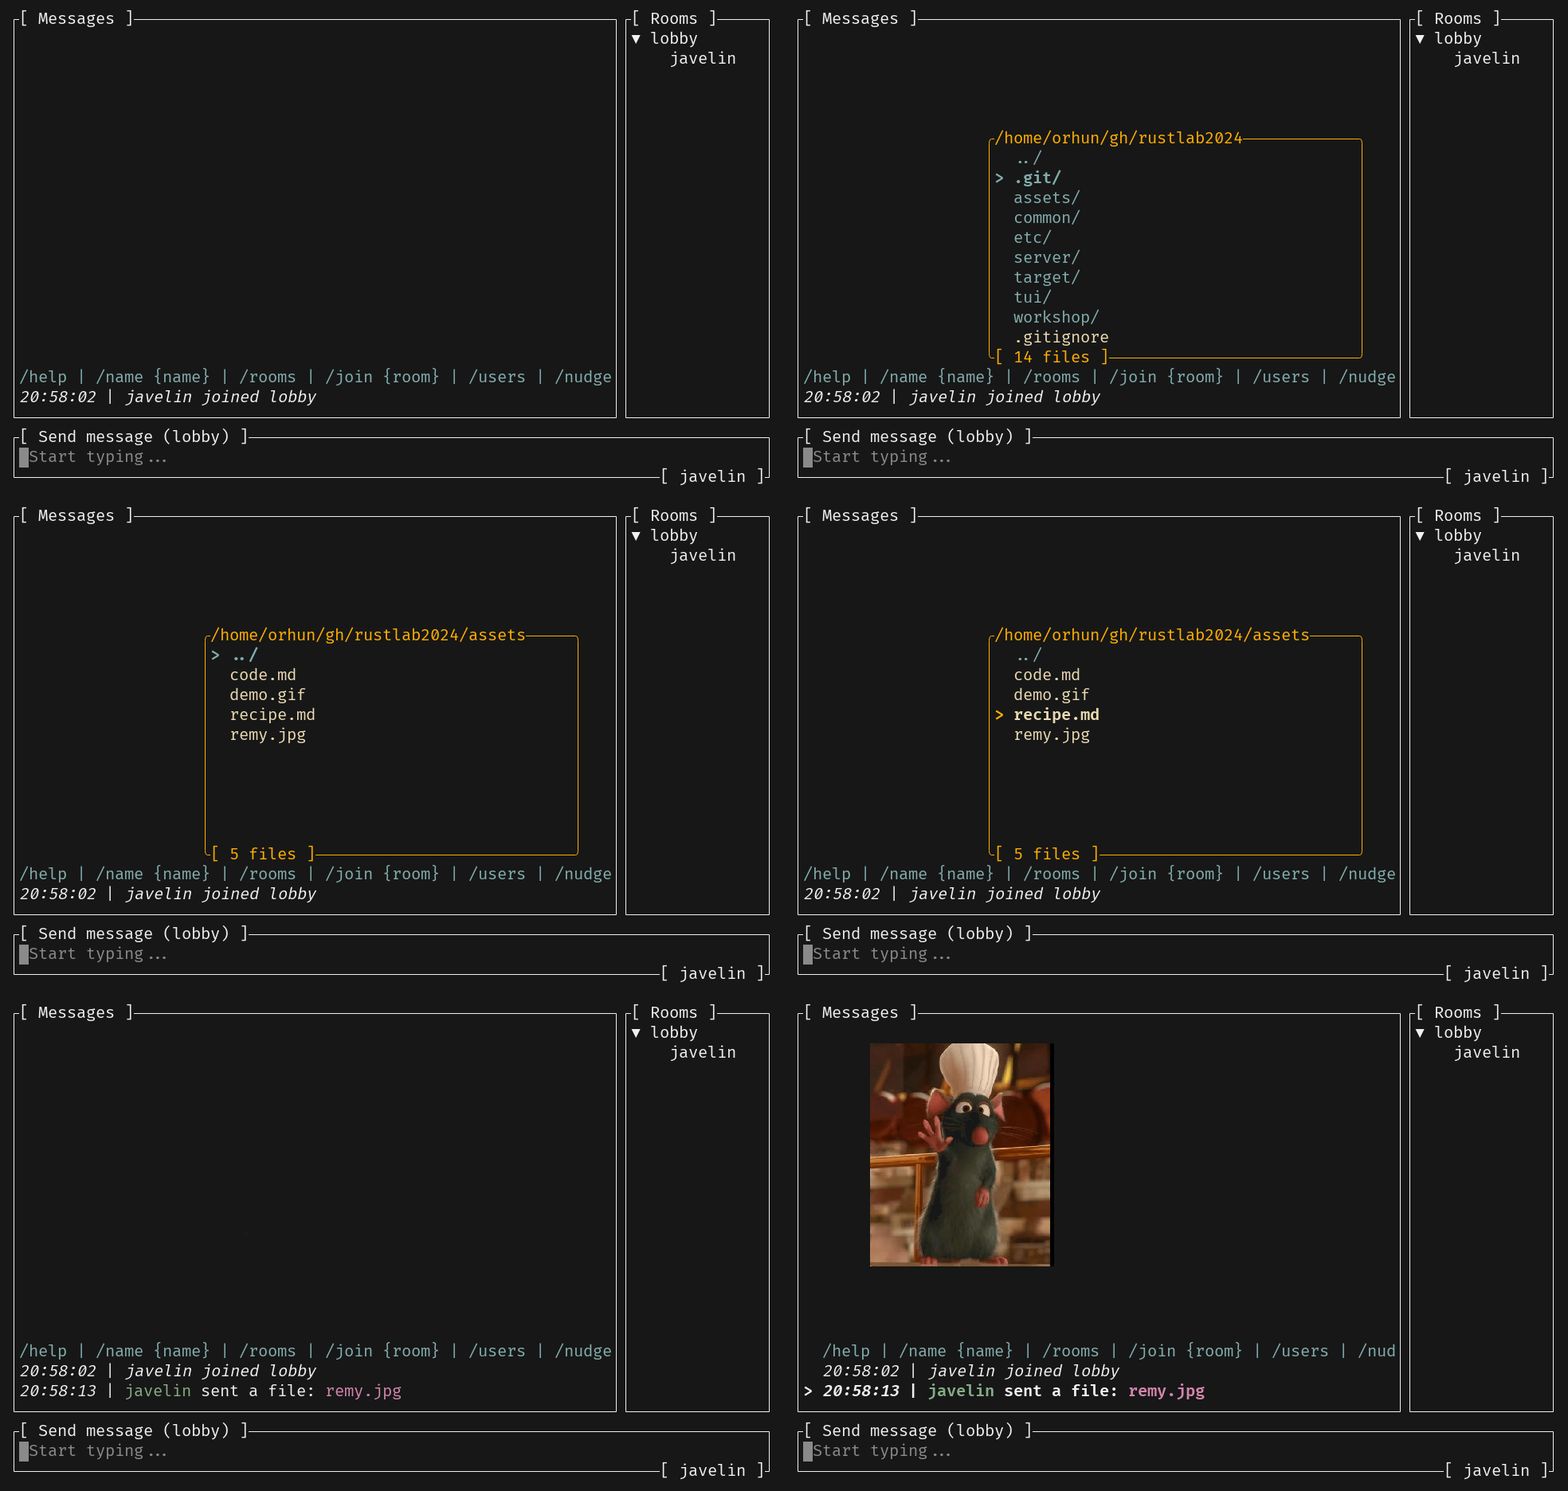
git merge origin/chapter-8Add image preview
Add image preview
- Make
MessageListstateful (*) - Handle image preview popup (*)
- Add the
ratatui-imagedependency - Render the images (*)
- Render the popup (*)
git merge origin/chapter-9Add markdown preview
Add markdown preview
- Add the
tui-markdowndependency - Create a
MarkdownPreviewpopup (*) - Render the markdown (*)
- Render the popup (*)
git merge origin/chapter-10Add terminal effects
Add terminal effects
- Add the
tachyonfxdependency - Add the
Effectvariant to thePopupenum - Construct an effect (*)
- Render the effect popup (*)
- Handle the room events (*)
- Handle the events in messages (*)
git merge origin/chapter-11Add logging
Add logging
- Add the
tui-loggerandtracingdependencies - Create a
Loggerstruct - Implement the
Widgettrait (*) - Add some logging (*)
- Initialize logging (*)
- Update application to handle show/hide logger
- Render the logger (*)
git merge origin/chapter-12Add testing
- Add the
instadependency - Write a simple test case (*)
git merge origin/chapter-13Congratulations! 🎉 You have completed the workshop and became a real terminal chef! 👨🍳🐀
Connect to the public instance:
cargo run -p tui -- --ip 104.248.254.123
Ideas to extend the application:
- Add a
Scrollbar - Support different themes
- Different border styles, colors, etc.
Learn more about Ratatui:
Get involved:
- Try building your TUIs with Ratatui and share your experience with us!
- Join our social platforms for questions and help!
- Check out our GitHub repository if you are interested in contributing.
🧀


