| title | description |
|---|---|
Terraform Remote State Storage with AWS S3 and DynamnoDB |
Implement Terraform Remote State Storage with AWS S3 and DynamnoDB |
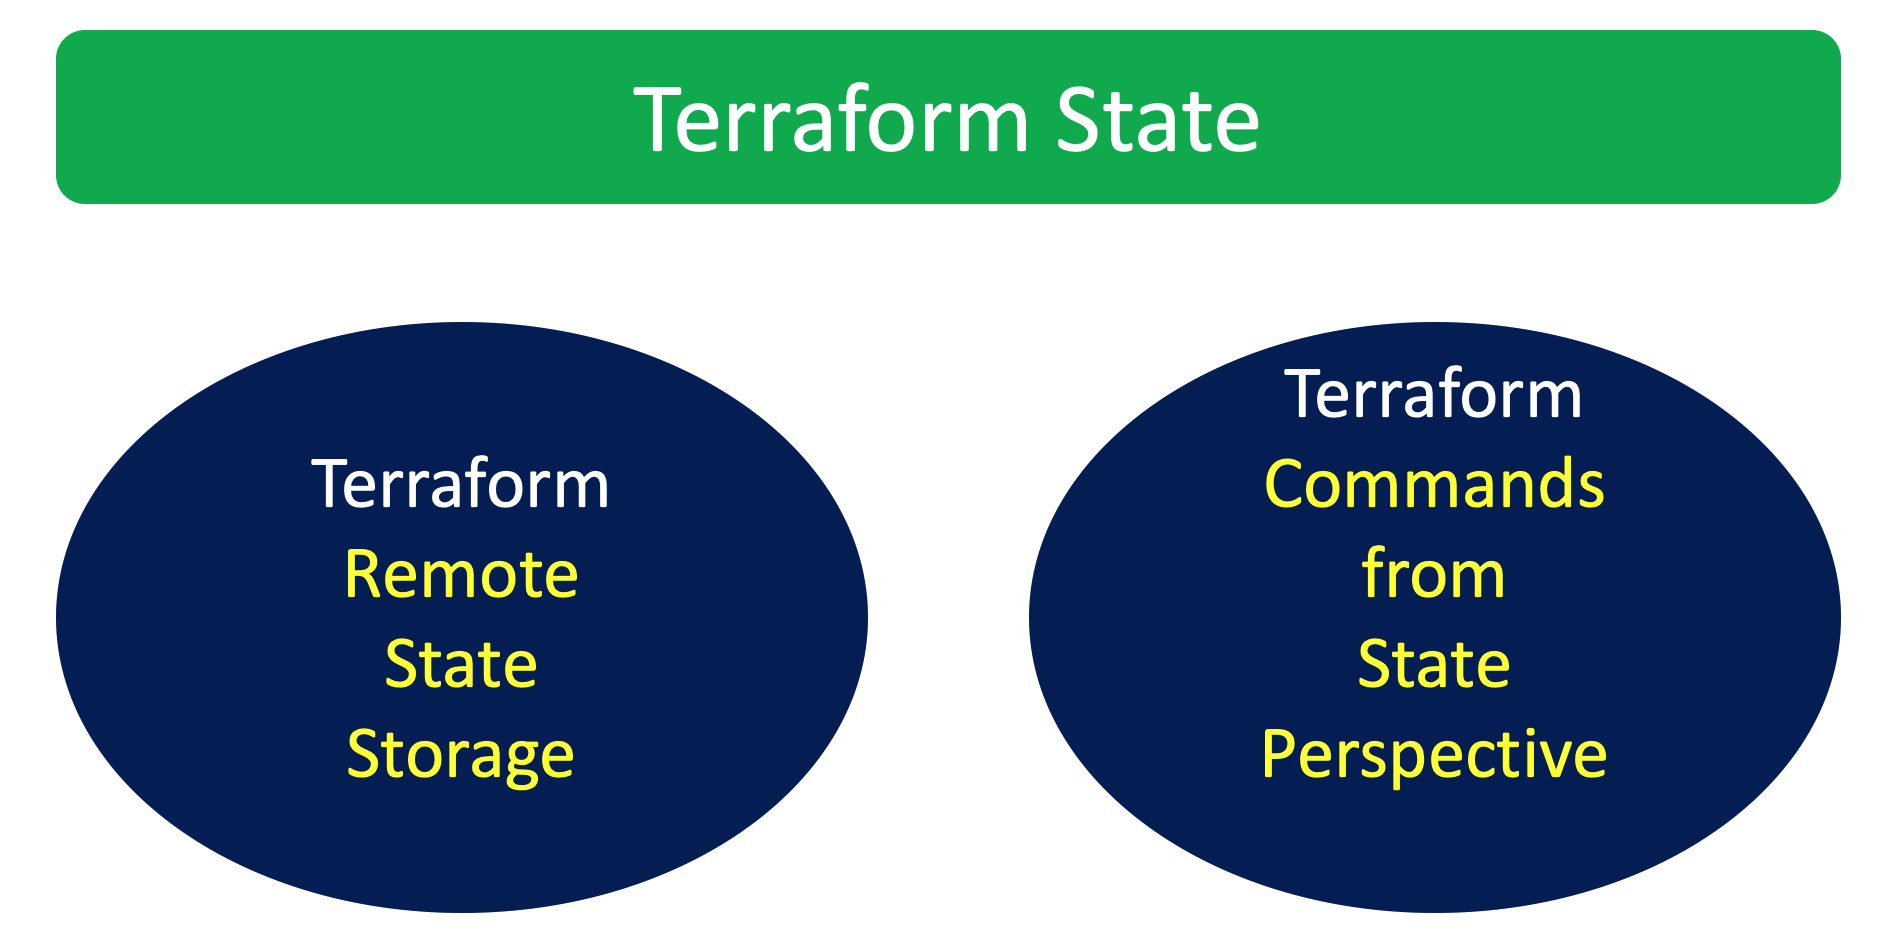
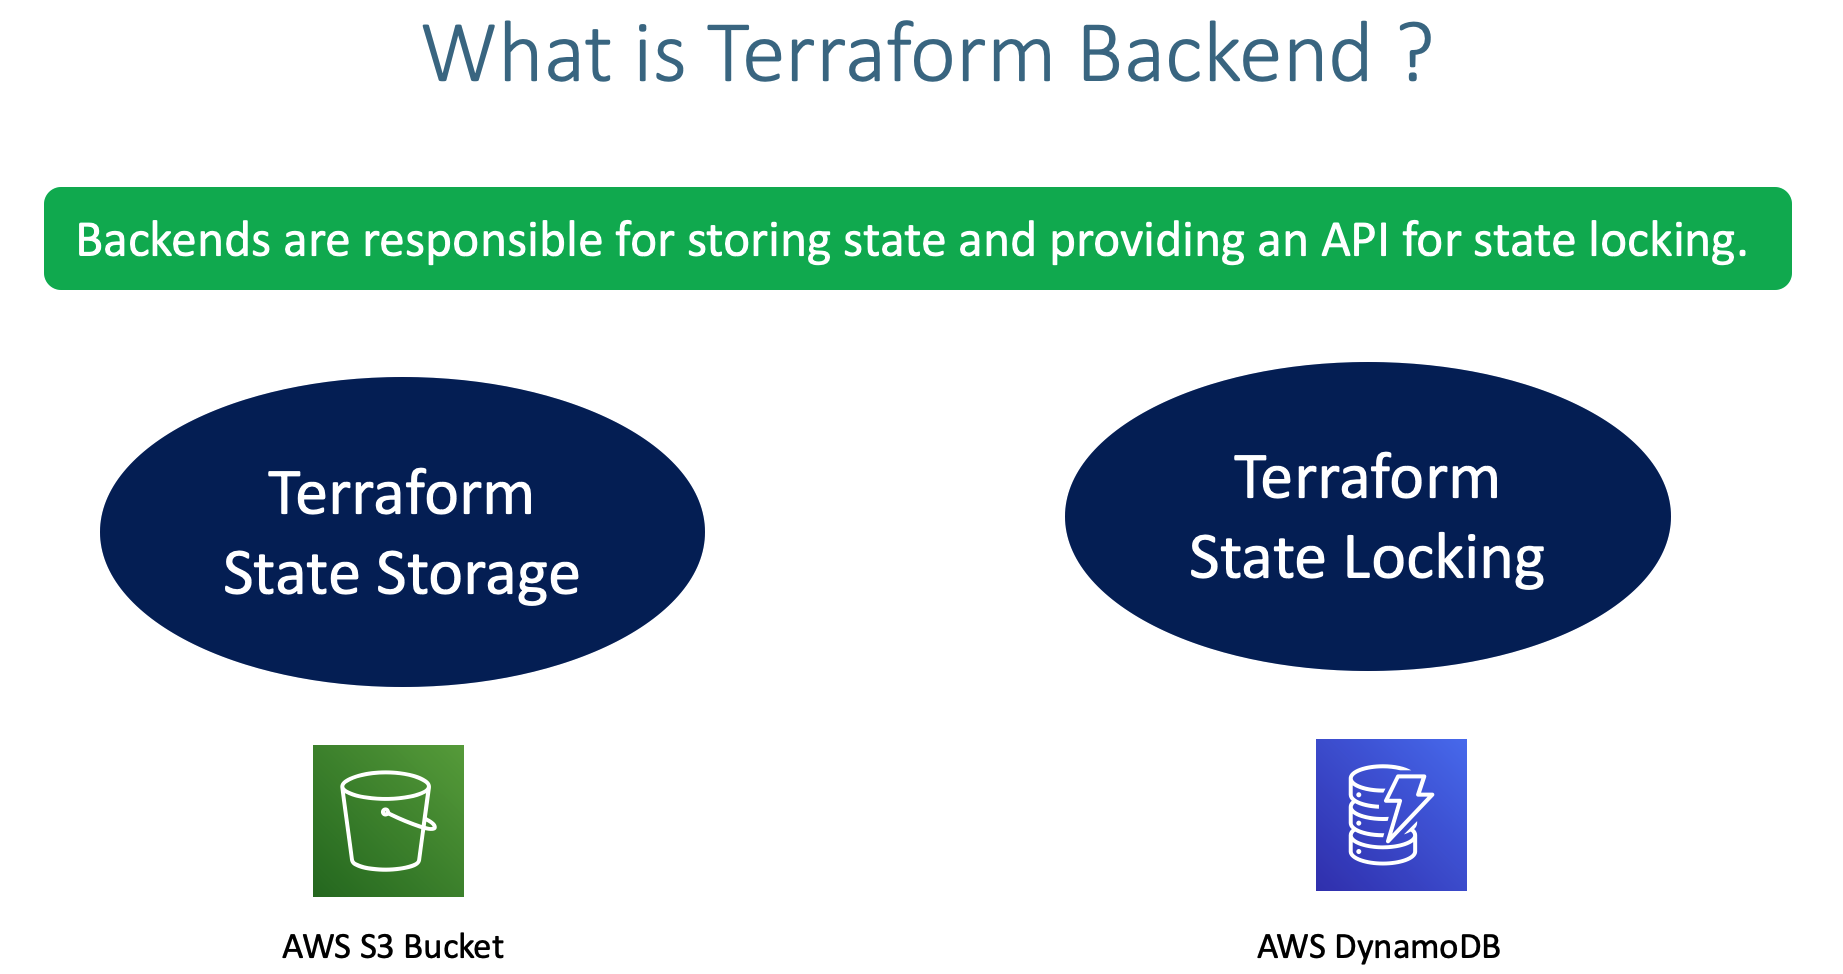
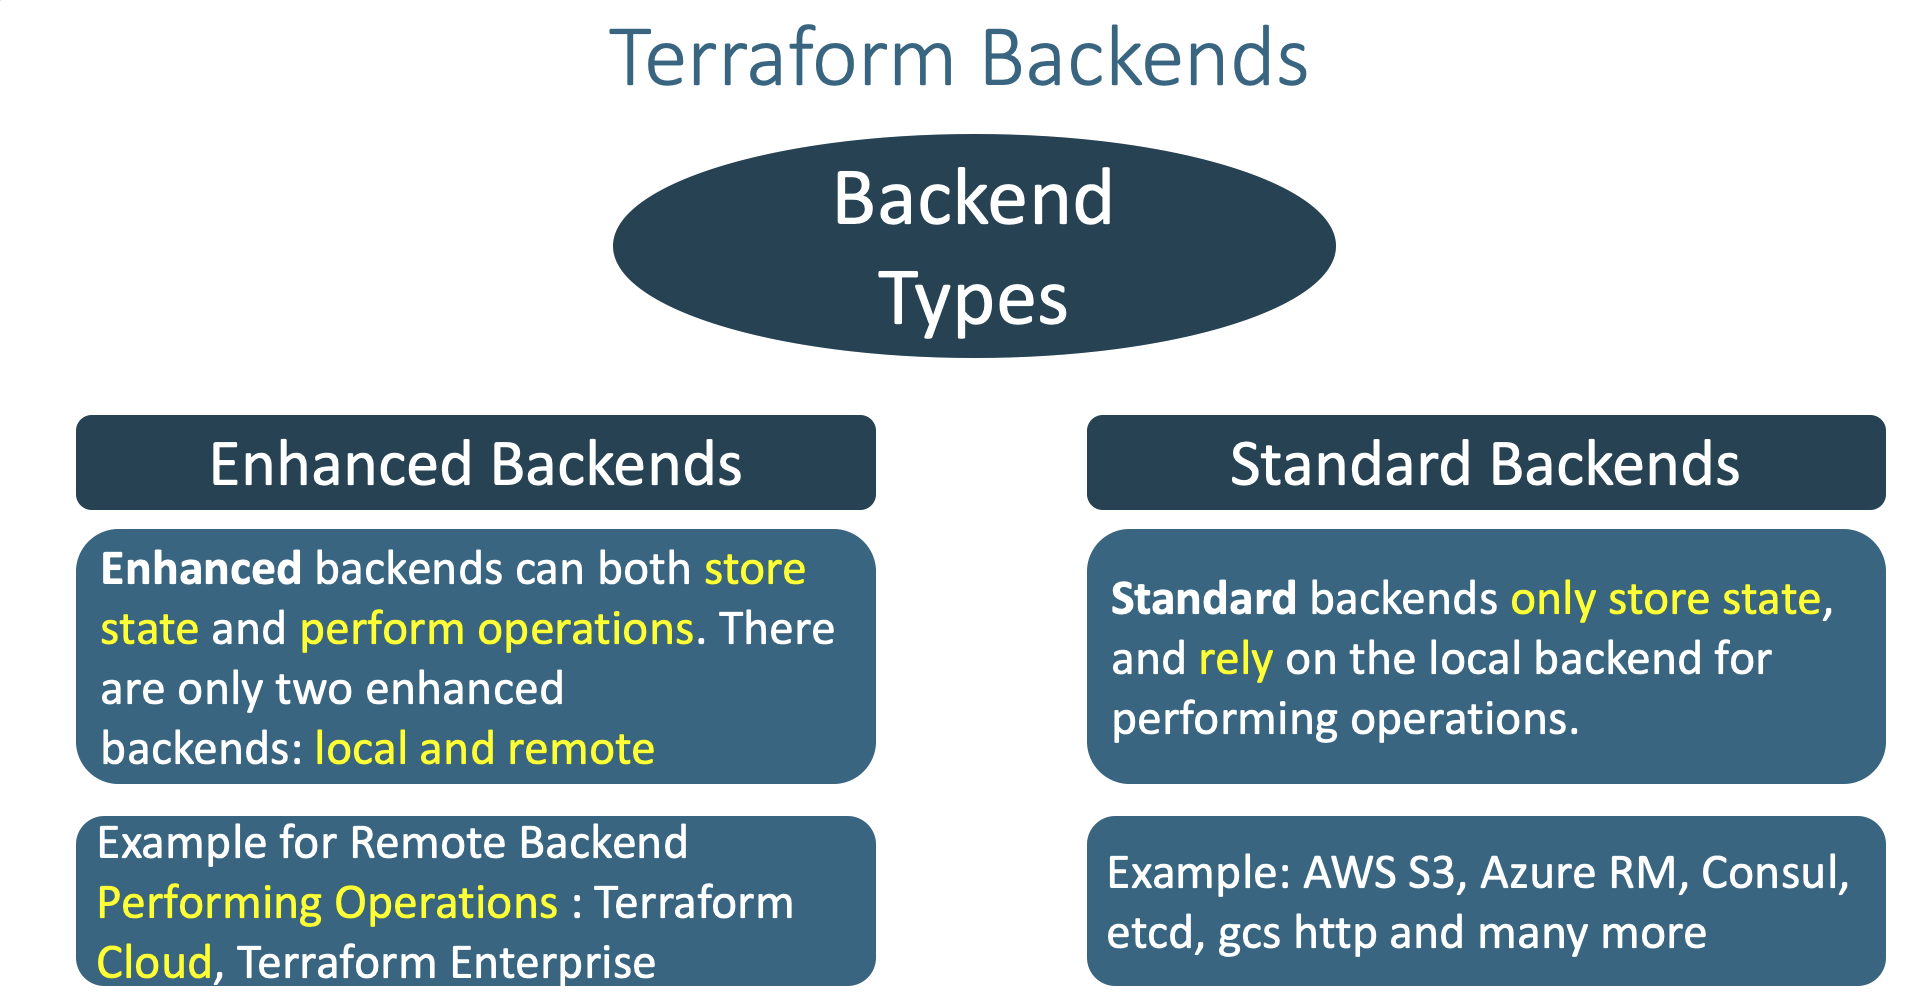
- Understand Terraform Backends
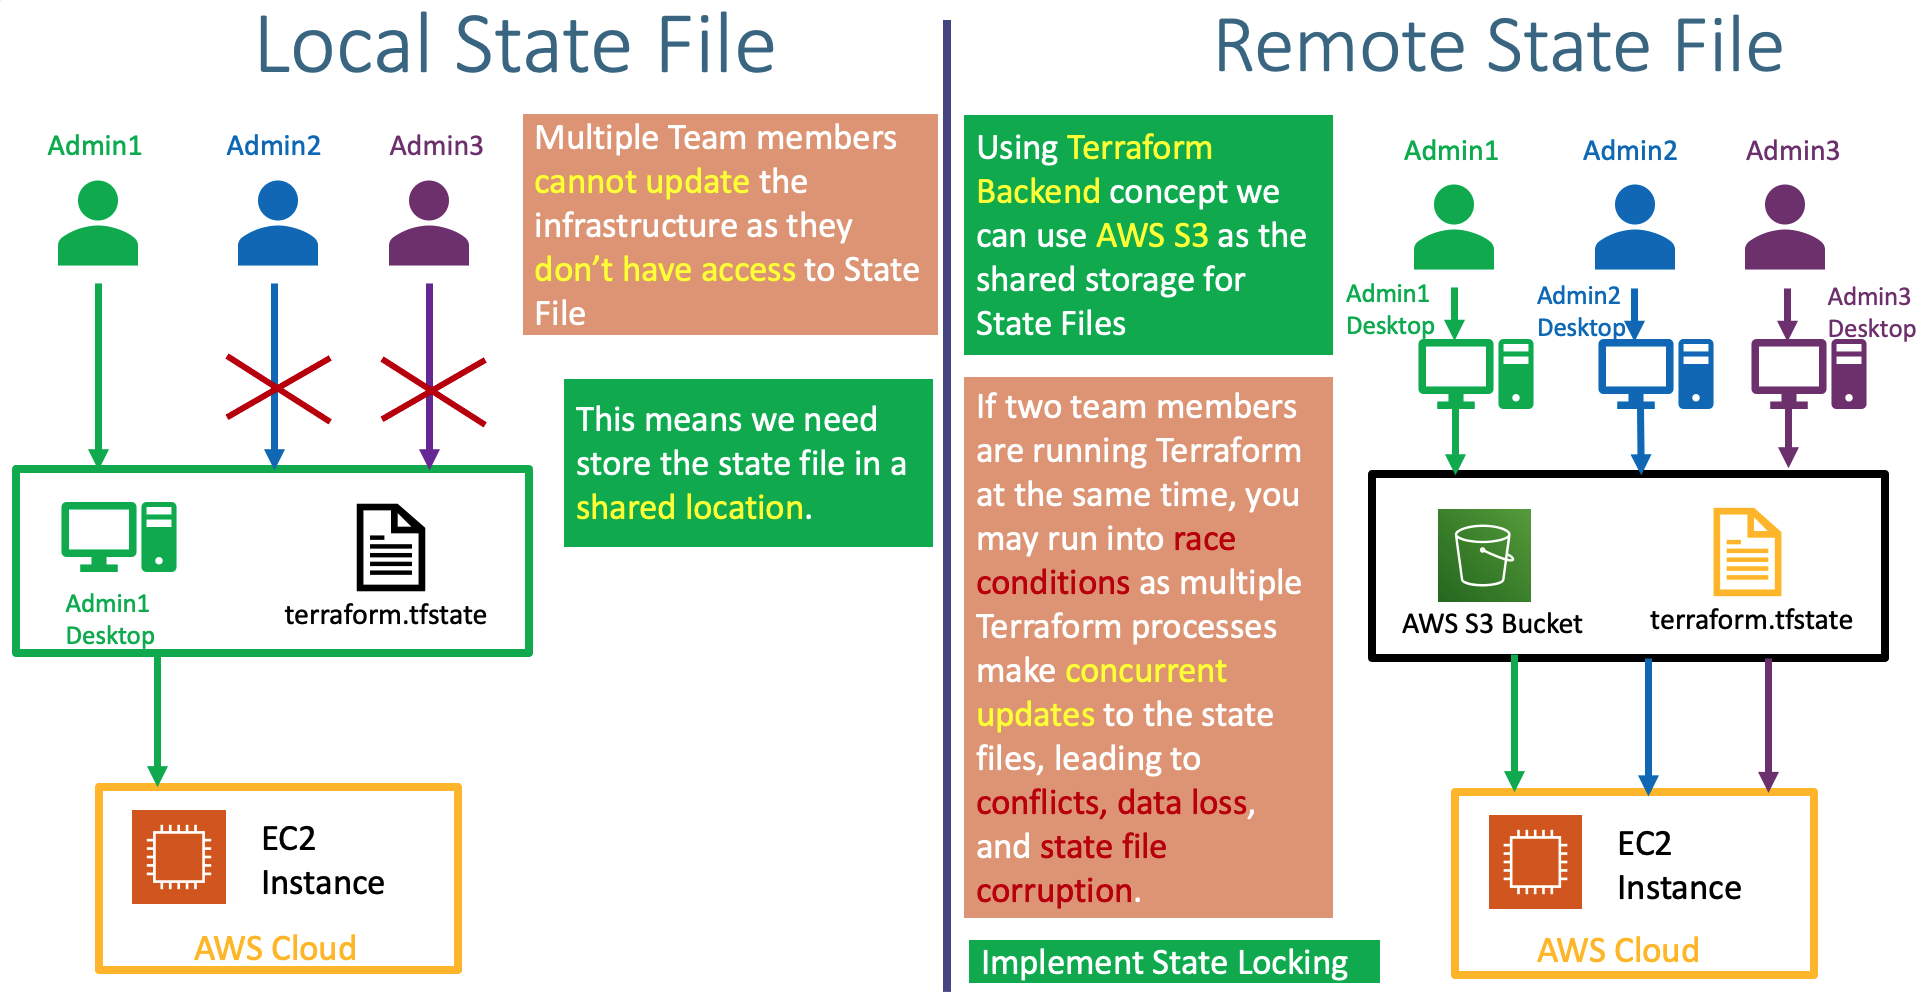
- Understand about Remote State Storage and its advantages
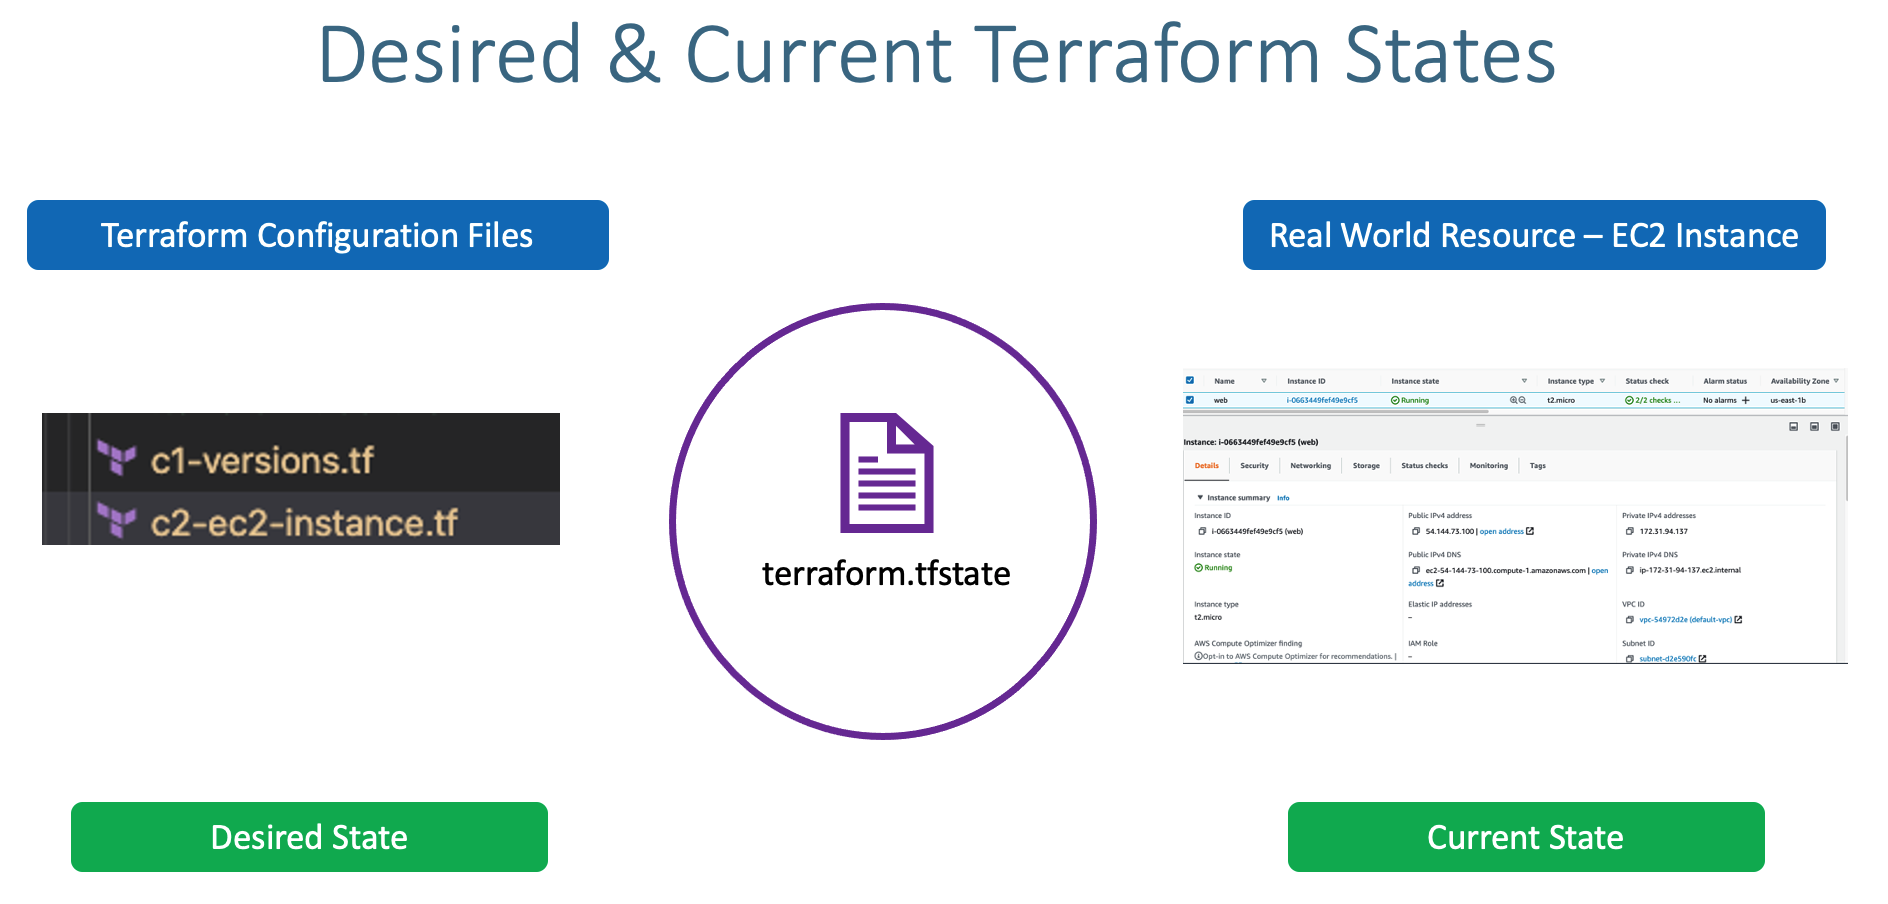
- This state is stored by default in a local file named "terraform.tfstate", but it can also be stored remotely, which works better in a team environment.
- Create AWS S3 bucket to store
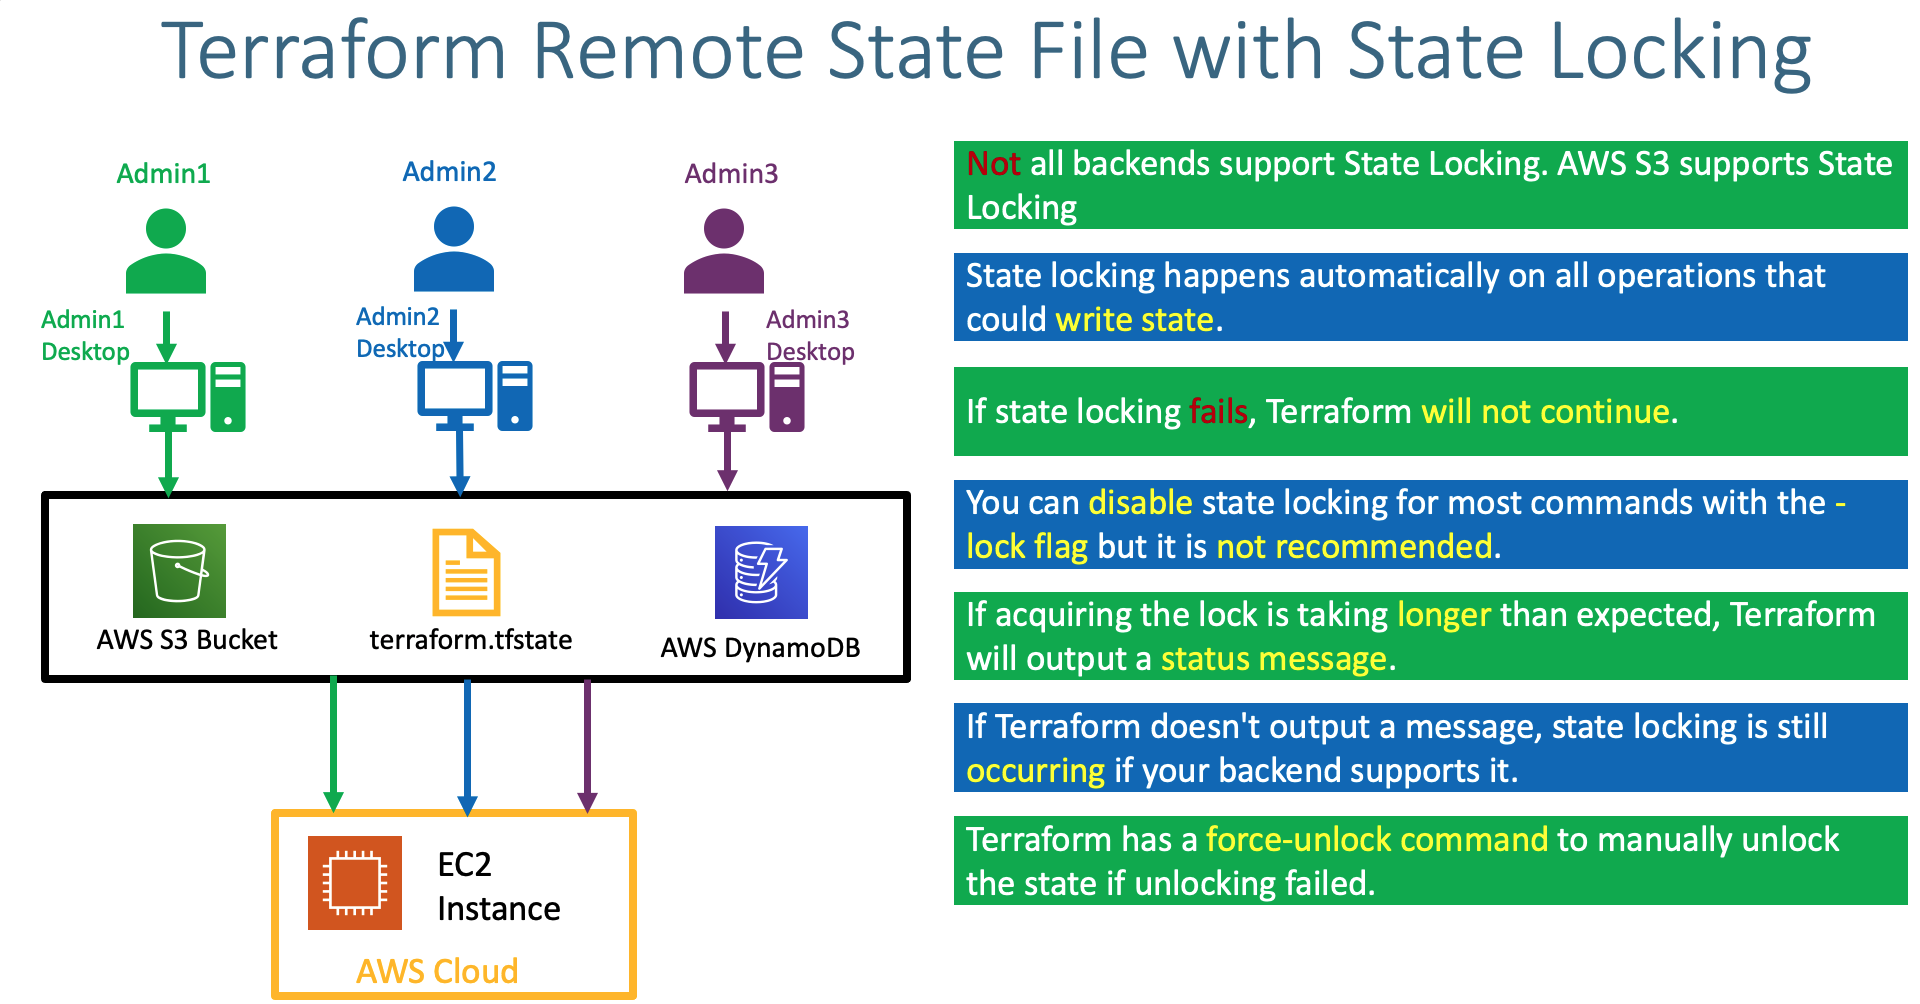
terraform.tfstatefile and enable backend configurations in terraform settings block - Understand about State Locking and its advantages
- Create DynamoDB Table and implement State Locking by enabling the same in Terraform backend configuration
- Copy Terraform Projects-1 and 2 to Section-12
- 01-ekscluster-terraform-manifests
- 02-k8sresources-terraform-manifests
- Copy folder
08-AWS-EKS-Cluster-Basics/01-ekscluster-terraform-manifeststo12-Terraform-Remote-State-Storage/ - Copy folder
11-Kubernetes-Resources-via-Terraform\02-k8sresources-terraform-manifeststo12-Terraform-Remote-State-Storage/
- Go to Services -> S3 -> Create Bucket
- Bucket name: terraform-on-aws-eks
- Region: US-East (N.Virginia)
- Bucket settings for Block Public Access: leave to defaults
- Bucket Versioning: Enable
- Rest all leave to defaults
- Click on Create Bucket
- Create Folder
- Folder Name: dev
- Click on Create Folder
- Create Folder
- Folder Name: dev/eks-cluster
- Click on Create Folder
- Create Folder
- Folder Name: dev/app1k8s
- Click on Create Folder
- File Location:
01-ekscluster-terraform-manifests/c1-versions.tf - Terraform Backend as S3
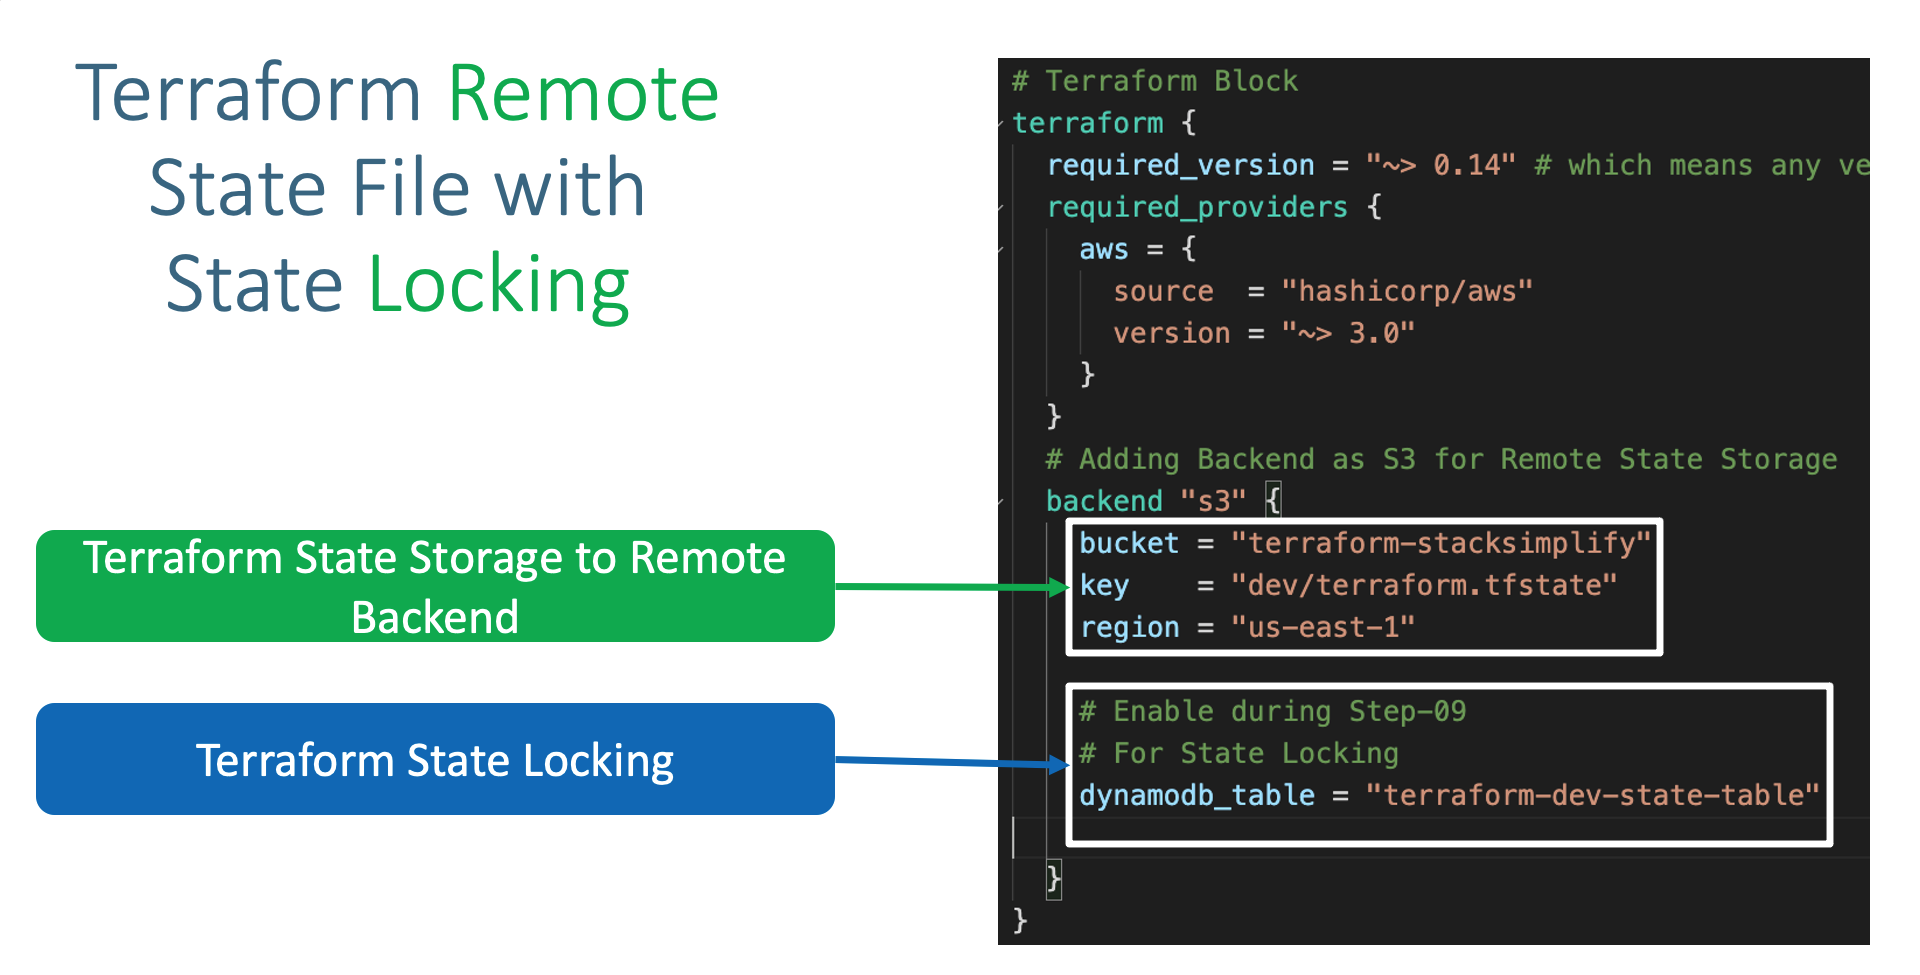
- Add the below listed Terraform backend block in
Terrafrom Settingsblock inc1-versions.tf
  # Adding Backend as S3 for Remote State Storage
  backend "s3" {
    bucket = "terraform-on-aws-eks"
    key    = "dev/eks-cluster/terraform.tfstate"
    region = "us-east-1"

    # For State Locking
    dynamodb_table = "dev-ekscluster"
} - File Location:
01-ekscluster-terraform-manifests/terraform.tfvars - Update
environmenttodev
# Generic Variables
aws_region = "us-east-1"
environment = "dev"
business_divsion = "hr"- Understand about Terraform State Locking Advantages
- Create Dynamo DB Table for EKS Cluster
- Table Name: dev-ekscluster
- Partition key (Primary Key): LockID (Type as String)
- Table settings: Use default settings (checked)
- Click on Create
- Create Dynamo DB Table for app1k8s
- Table Name: dev-app1k8s
- Partition key (Primary Key): LockID (Type as String)
- Table settings: Use default settings (checked)
- Click on Create
# Change Directory
cd 01-ekscluster-terraform-manifests

# Initialize Terraform
terraform init
Observation:
Successfully configured the backend "s3"! Terraform will automatically
use this backend unless the backend configuration changes.

# Terraform Validate
terraform validate

# Review the terraform plan
terraform plan
Observation:
1) Below messages displayed at start and end of command
Acquiring state lock. This may take a few moments...
Releasing state lock. This may take a few moments...
2) Verify DynamoDB Table -> Items tab

# Create Resources
terraform apply -auto-approve

# Verify S3 Bucket for terraform.tfstate file
dev/eks-cluster/terraform.tfstate
Observation:
1. Finally at this point you should see the terraform.tfstate file in s3 bucket
2. As S3 bucket version is enabled, new versions of `terraform.tfstate` file new versions will be created and tracked if any changes happens to infrastructure using Terraform Configuration Files- File Location:
02-k8sresources-terraform-manifests/c1-versions.tf - Add the below listed Terraform backend block in
Terrafrom Settingsblock inc1-versions.tf
  # Adding Backend as S3 for Remote State Storage
  backend "s3" {
    bucket = "terraform-on-aws-eks"
    key    = "dev/app1k8s/terraform.tfstate"
    region = "us-east-1"

    # For State Locking
    dynamodb_table = "dev-app1k8s"
} - File Location:
02-k8sresources-terraform-manifests/c2-remote-state-datasource.tf - Update the EKS Cluster Remote State Datasource information
# Terraform Remote State Datasource - Remote Backend AWS S3
data "terraform_remote_state" "eks" {
  backend = "s3"
  config = {
    bucket = "terraform-on-aws-eks"
    key    = "dev/eks-cluster/terraform.tfstate"
    region = "us-east-1"
  }
}# Change Directory
cd 02-k8sresources-terraform-manifests
# Initialize Terraform
terraform init
Observation:
Successfully configured the backend "s3"! Terraform will automatically
use this backend unless the backend configuration changes.
# Terraform Validate
terraform validate
# Review the terraform plan
terraform plan
Observation:
1) Below messages displayed at start and end of command
Acquiring state lock. This may take a few moments...
Releasing state lock. This may take a few moments...
2) Verify DynamoDB Table -> Items tab
# Create Resources
terraform apply -auto-approve
# Verify S3 Bucket for terraform.tfstate file
dev/app1k8s/terraform.tfstate
Observation:
1. Finally at this point you should see the terraform.tfstate file in s3 bucket
2. As S3 bucket version is enabled, new versions of `terraform.tfstate` file new versions will be created and tracked if any changes happens to infrastructure using Terraform Configuration Files# Configure kubeconfig for kubectl
aws eks --region <region-code> update-kubeconfig --name <cluster_name>
aws eks --region us-east-1 update-kubeconfig --name hr-dev-eksdemo1
# List Worker Nodes
kubectl get nodes
kubectl get nodes -o wide
Observation:
1. Verify the External IP for the node
# Verify Services
kubectl get svc# List Pods
kubectl get pods -o wide
Observation:
1. Both app pod should be in Public Node Group
# List Services
kubectl get svc
kubectl get svc -o wide
Observation:
1. We should see both Load Balancer Service and NodePort service created
# Access Sample Application on Browser
http://<LB-DNS-NAME>
http://abb2f2b480148414f824ed3cd843bdf0-805914492.us-east-1.elb.amazonaws.com- Go to Services -> EC2 -> Load Balancing -> Load Balancers
- Verify Tabs
- Description: Make a note of LB DNS Name
- Instances
- Health Checks
- Listeners
- Monitoring
- Important Note: This is not a recommended option to update the Node Security group to open ports to internet, but just for learning and testing we are doing this.
- Go to Services -> Instances -> Find Private Node Group Instance -> Click on Security Tab
- Find the Security Group with name
eks-remoteAccess- - Go to the Security Group (Example Name: sg-027936abd2a182f76 - eks-remoteAccess-d6beab70-4407-dbc7-9d1f-80721415bd90)
- Add an additional Inbound Rule
- Type: Custom TCP
- Protocol: TCP
- Port range: 31280
- Source: Anywhere (0.0.0.0/0)
- Description: NodePort Rule
- Click on Save rules
# List Nodes
kubectl get nodes -o wide
Observation: Make a note of the Node External IP

# List Services
kubectl get svc
Observation: Make a note of the NodePort service port "myapp1-nodeport-service" which looks as "80:31280/TCP"

# Access the Sample Application in Browser
http://<EXTERNAL-IP-OF-NODE>:<NODE-PORT>
http://54.165.248.51:31280- Go to Services -> Instances -> Find Private Node Group Instance -> Click on Security Tab
- Find the Security Group with name
eks-remoteAccess- - Go to the Security Group (Example Name: sg-027936abd2a182f76 - eks-remoteAccess-d6beab70-4407-dbc7-9d1f-80721415bd90)
- Remove the NodePort Rule which we added.
# Delete Kubernetes  Resources
cd 02-k8sresources-terraform-manifests
terraform apply -destroy -auto-approve
rm -rf .terraform*

# Verify Kubernetes Resources
kubectl get pods
kubectl get svc

# Delete EKS Cluster (Optional)
1. As we are using the EKS Cluster with Remote state storage, we can and we will reuse EKS Cluster in next sections
2. Dont delete or destroy EKS Cluster Resources

cd 01-ekscluster-terraform-manifests/
terraform apply -destroy -auto-approve
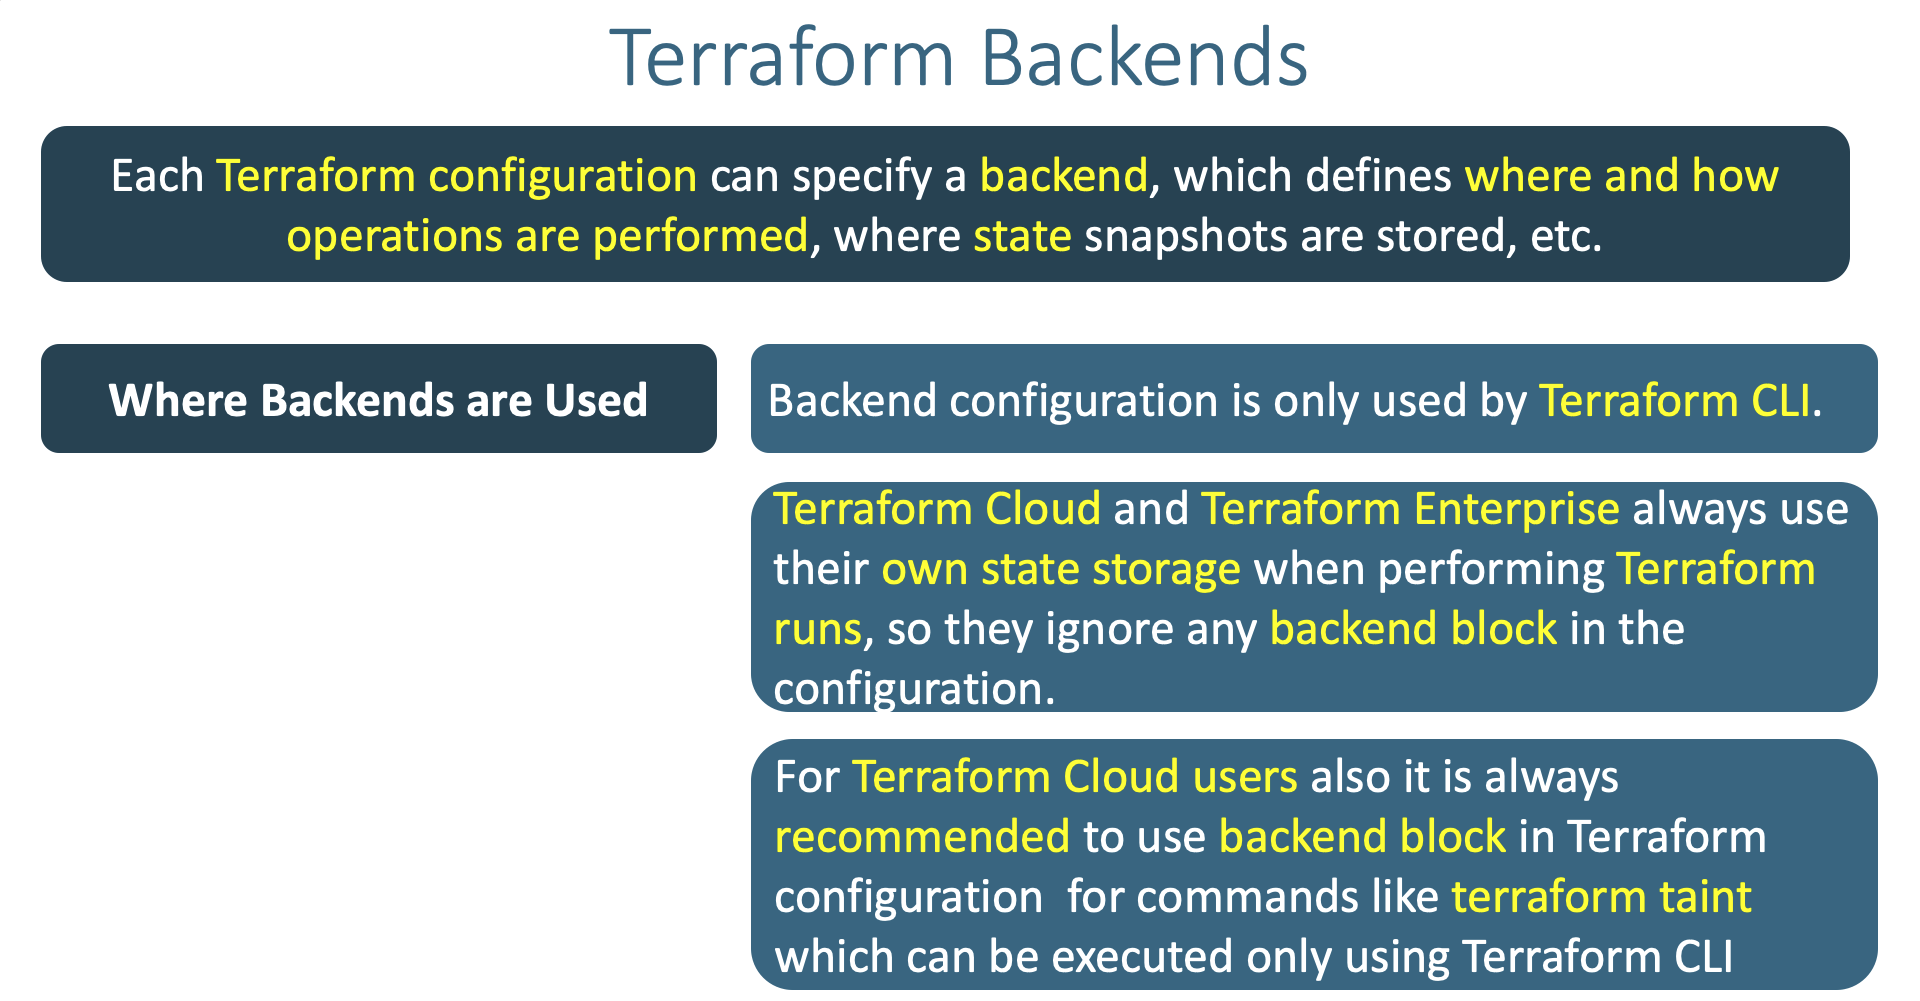
rm -rf .terraform*- Understand little bit more about Terraform Backends
- Where and when Terraform Backends are used ?
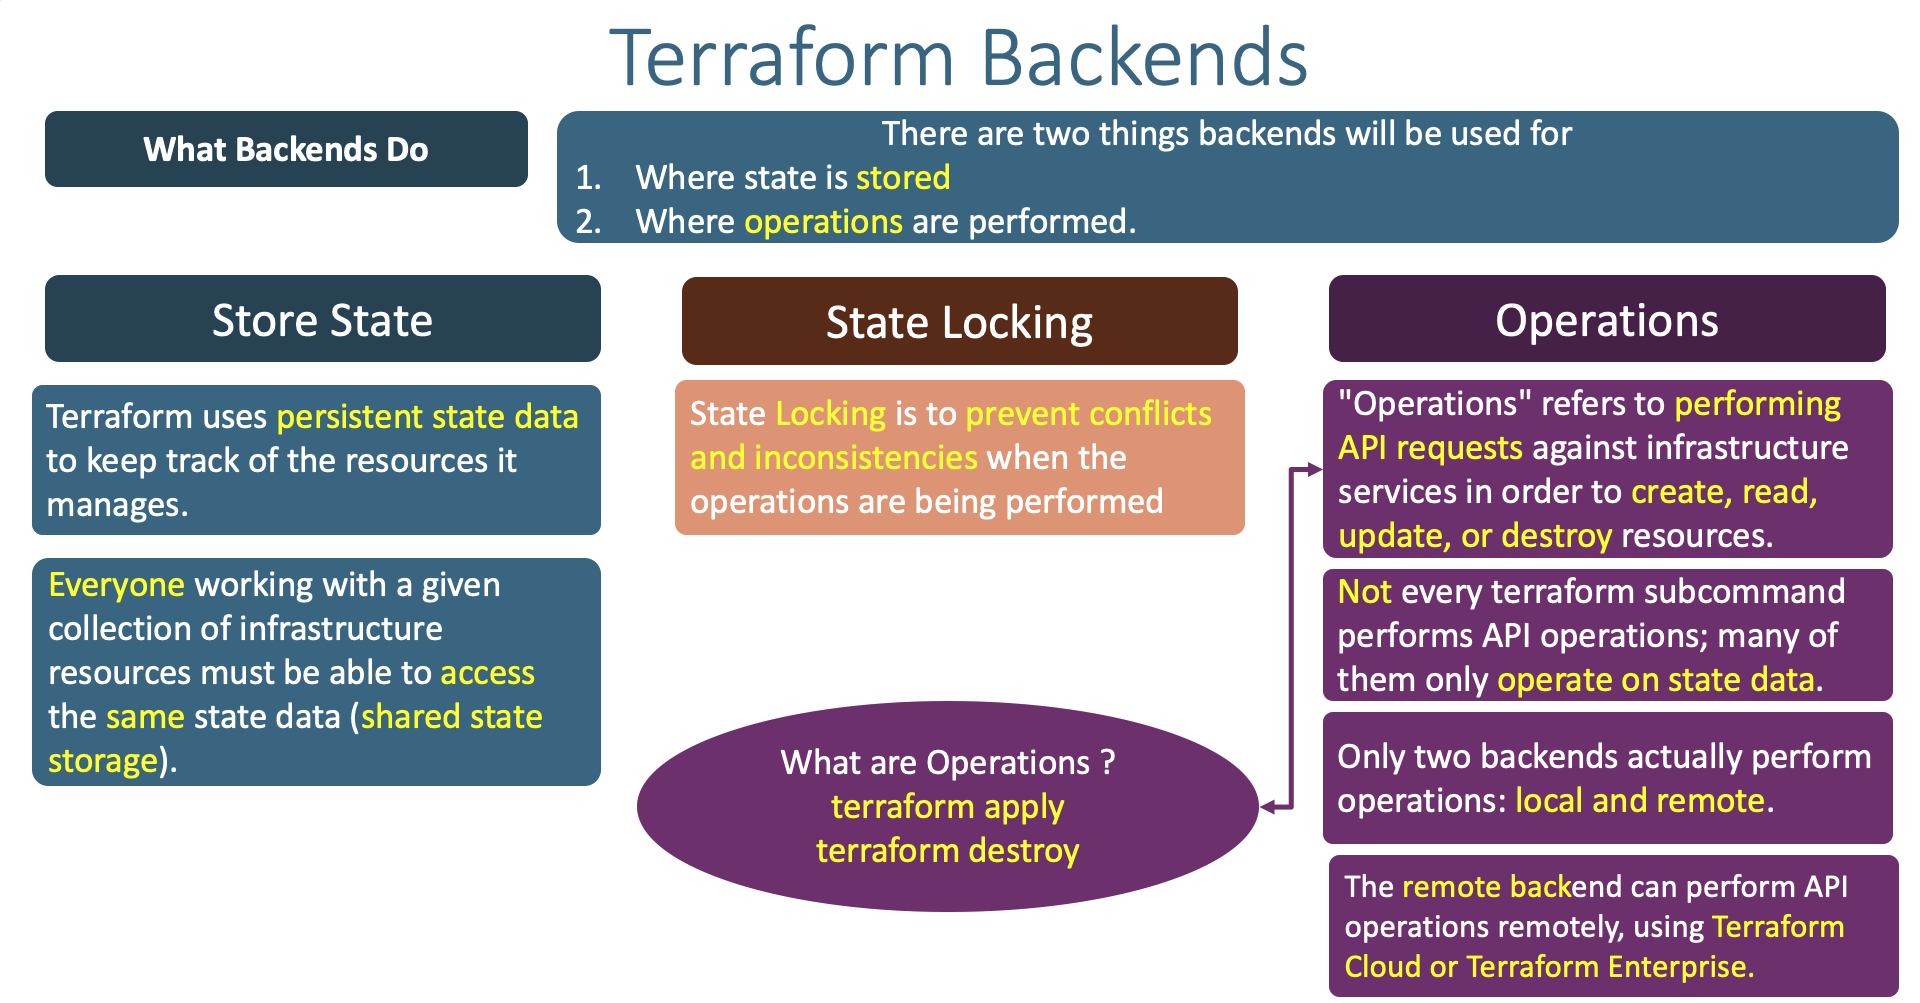
- What Terraform backends do ?
- How many types of Terraform backends exists as on today ?
