Examples demonstrating how to optimize caffe models with TensorRT and run inferencing on Jetson Nano/TX2.
- Running TensorRT Optimized GoogLeNet on Jetson Nano
- TensorRT MTCNN Face Detector
- Optimizing TensorRT MTCNN
The code in this repository was tested on both Jetson Nano DevKit and Jetson TX2. In order to run the demo programs below, first make sure you have the target Jetson Nano system with the proper version of image installed. Reference: Setting up Jetson Nano: The Basics.
More specifically, the target Jetson Nano/TX2 system should have TensorRT libraries installed. For example, TensorRT v5.0.6 was present on the tested Jetson Nano system.
$ ls /usr/lib/aarch64-linux-gnu/libnvinfer.so*
/usr/lib/aarch64-linux-gnu/libnvinfer.so
/usr/lib/aarch64-linux-gnu/libnvinfer.so.5
/usr/lib/aarch64-linux-gnu/libnvinfer.so.5.0.6
Furthermore, the demo programs require the 'cv2' (OpenCV) module in python3. You could refer to Installing OpenCV 3.4.6 on Jetson Nano about how to install opencv-3.4.6 on the Jetson system.
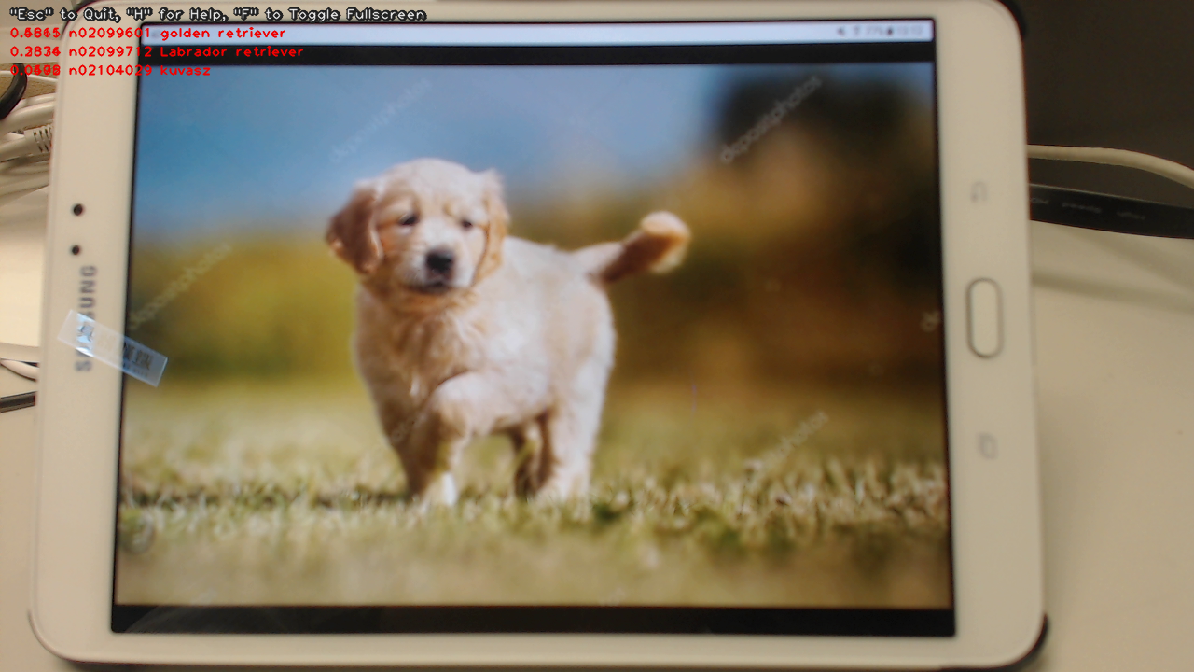
This demo illustrates how to convert a prototxt file and a caffemodel file into a tensorrt engine file, and to classify images with the optimized tensorrt engine.
Step-by-step:
-
Clone this repository.
$ cd ${HOME}/project
$ git clone https://github.com/jkjung-avt/tensorrt_demos
$ cd tensorrt_demos
-
Build the TensorRT engine from the trained googlenet (ILSVRC2012) model. Note that I downloaded the trained model files from BVLC caffe and have put a copy of all necessary files in this repository.
$ cd ${HOME}/project/tensorrt_demos/googlenet
$ make
$ ./create_engine
-
Build the Cython code.
$ cd ${HOME}/project/tensorrt_demos
$ make
-
Run the
trt_googlenet.pydemo program. For example, run the demo with a USB webcam as the input.$ cd ${HOME}/project/tensorrt_demos $ python3 trt_googlenet.py --usb --vid 0 --width 1280 --height 720
Here's a screenshot of the demo.
-
The demo program supports a number of different image inputs. You could do
python3 trt_googlenet.py --helpto read the help messages. Or more specifically, the following inputs could be specified:--file --filename test_video.mp4: a video file, e.g. mp4 or ts.--image --filename test_image.jpg: an image file, e.g. jpg or png.--usb --vid 0: USB webcam (/dev/video0).--rtsp --uri rtsp://admin:[email protected]/live.sdp: RTSP source, e.g. an IP cam.
This demo builds upon the previous example. It converts 3 sets of prototxt and caffemodel files into 3 tensorrt engines, namely the PNet, RNet and ONet. Then it combines the 3 engine files to implement MTCNN, a very good face detector.
Assuming this repository has been cloned at ${HOME}/project/tensorrt_demos, follow these steps:
-
Build the TensorRT engines from the trained MTCNN model. (Refer to mtcnn/README.md for more information about the prototxt and caffemodel files.)
$ cd ${HOME}/project/tensorrt_demos/mtcnn
$ make
$ ./create_engines
-
Build the Cython code if it has not been done yet. Refer to step 3 in Demo #1.
-
Run the
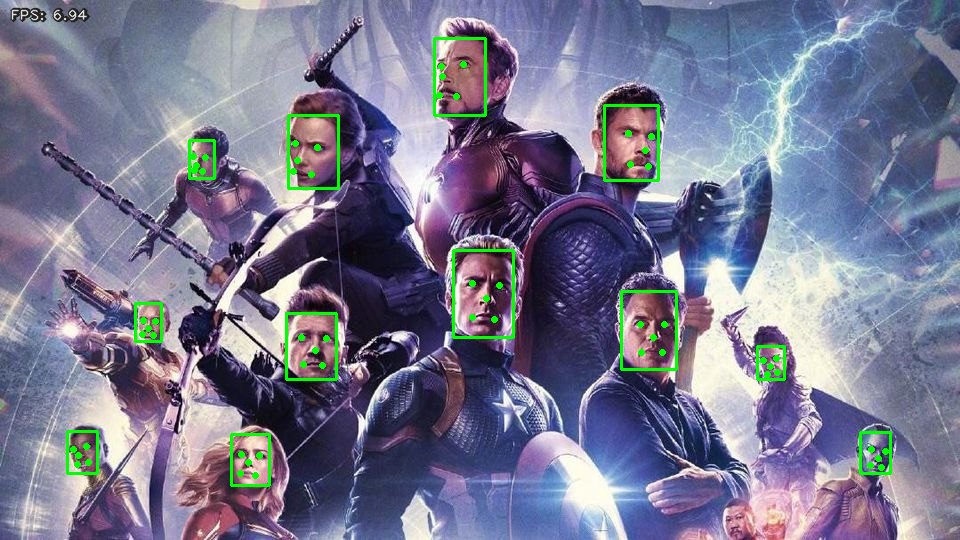
trt_mtcnn.pydemo program. For example, I just grabbed from the internet a poster of The Avengers for testing.$ cd ${HOME}/project/tensorrt_demos $ python3 trt_mtcnn.py --image --filename ${HOME}/Pictures/avengers.jpg
Here's the result.
-
The
trt_mtcnn.pydemo program could also take various image inputs. Refer to step 5 in Demo #1 again.

