Follow these steps to install and run MongoDB on a virtual machine running CentOS Linux.
[AZURE.WARNING] MongoDB security features, such as authentication and IP address binding, are not enabled by default. Security features should be enabled before deploying MongoDB to a production environment. See Security and Authentication for more information.
-
Configure the Package Management System (YUM) so that you can install MongoDB. Create a /etc/yum.repos.d/10gen.repo file to hold information about your repository and add the following:
[10gen] name=10gen Repository baseurl=http://downloads-distro.mongodb.org/repo/redhat/os/x86_64 gpgcheck=0 enabled=1 -
Save the repo file and then run the following command to update the local package database:
$ sudo yum update -
To install the package, run the following command to install the latest stable version of MongoDB and the associated tools:
$ sudo yum install mongo-10gen mongo-10gen-serverWait while MongoDB downloads and installs.
-
Create a data directory. By default MongoDB stores data in the /data/db directory, but you must create that directory. To create it, run:
 $ sudo mkdir -p /srv/datadrive/data
 $ sudo chown `id -u` /srv/datadrive/data
For more information on installing MongoDB on Linux, see Quickstart Unix.
-
To start the database, run:
$ mongod --dbpath /srv/datadrive/data --logpath /srv/datadrive/data/mongod.logAll log messages will be directed to the /srv/datadrive/data/mongod.log file as MongoDB server starts and preallocates journal files. It may take several minutes for MongoDB to preallocate the journal files and start listening for connections.
-
To start the MongoDB administrative shell, open a separate SSH or PuTTY window and run:
 $ mongo
 > db.foo.save ( { a:1 } )
 > db.foo.find()
 { _id : ..., a : 1 }
 > show dbs
 ...
 > show collections
 ...
 > help
The database is created by the insert.
-
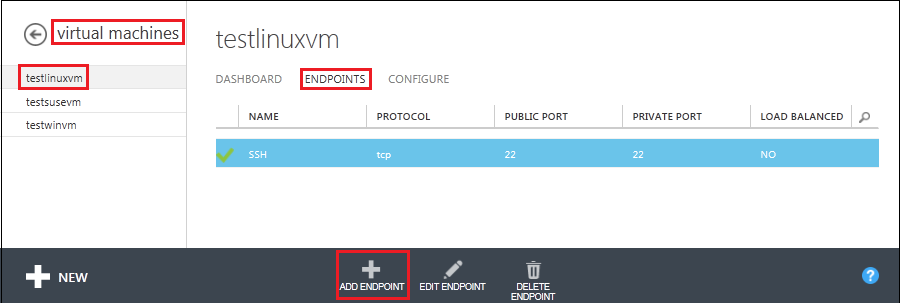
Once MongoDB is installed you must configure an endpoint so that MongoDB can be accessed remotely. In the Management Portal, click Virtual Machines, then click the name of your new virtual machine, then click Endpoints.
-
Click Add Endpoint at the bottom of the page.
-
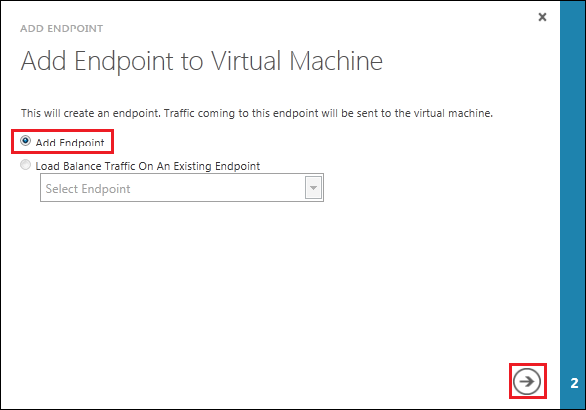
Add an endpoint with the following settings:
- Name: Mongo
- Protocol: TCP
- Public Port: 27017
- Private Port: 27017
This will allow MongoDB to be accessed remotely.

