| description | keywords | title |
|---|---|---|
Tutorial demonstrating the setup of an RethinkDB database for development |
docker, documentation, about, technology, kitematic, gui, rethink, tutorial |
Kitematic tutorial: Create a local RethinkDB database for development |
In this tutorial, you will:
- Create a RethinkDB Container for Development
- (Advanced) Clone a small Node.js application and write data into RethinkDB.
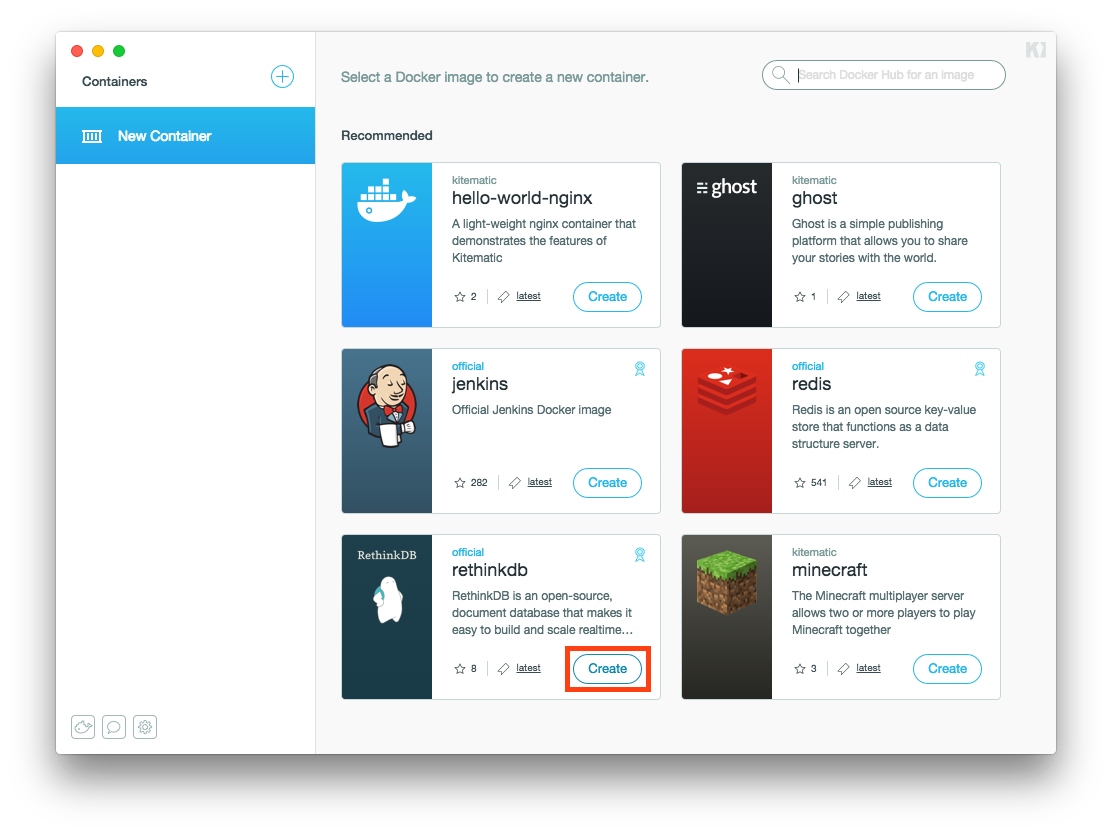
First, if you haven't yet done so, download and start Kitematic. Once open, the app should look like this:
Click on the Create button of the rethinkdb image listing in the recommended
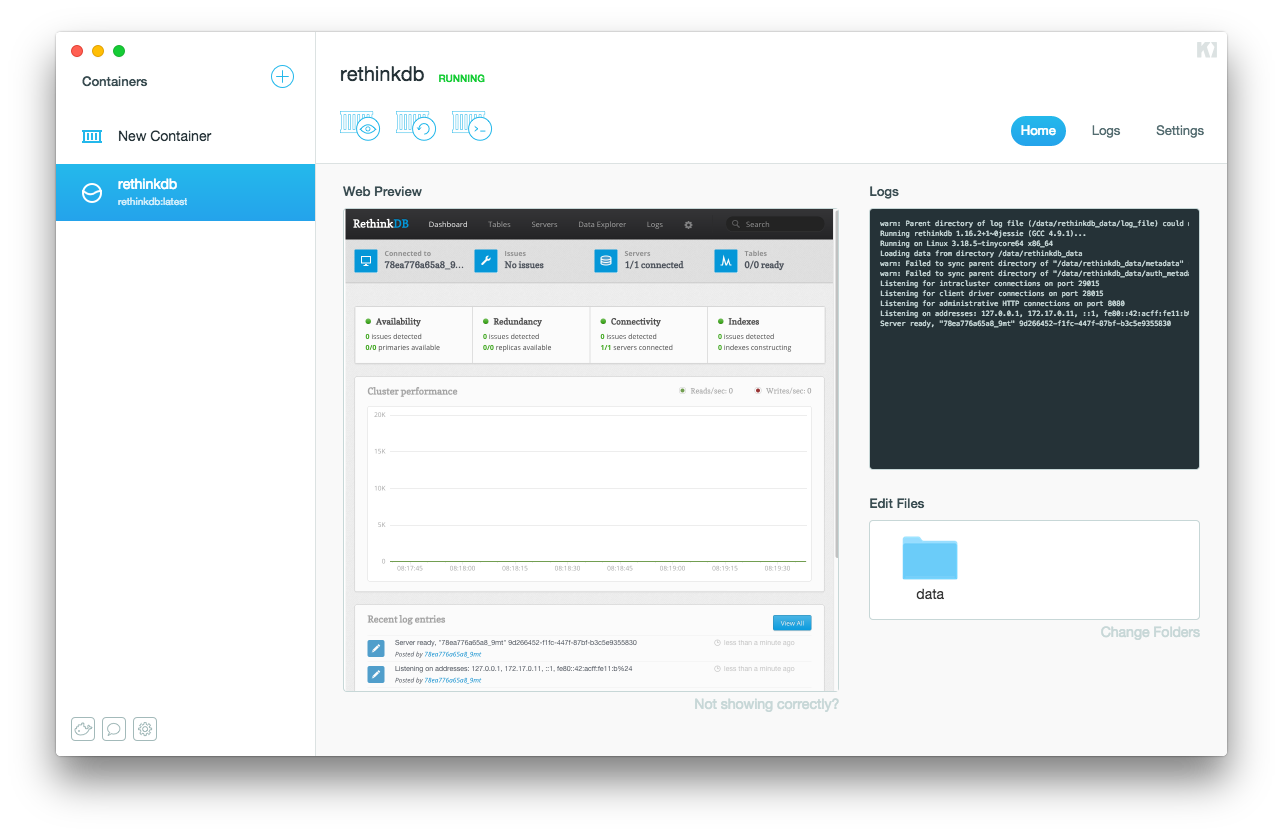
list as shown above. This will download & run a RethinkDB container within a few
minutes. Once it's done, you'll have a local RethinkDB database up and running.
Let's start using it to develop a node.js app. For now, let's figure out which
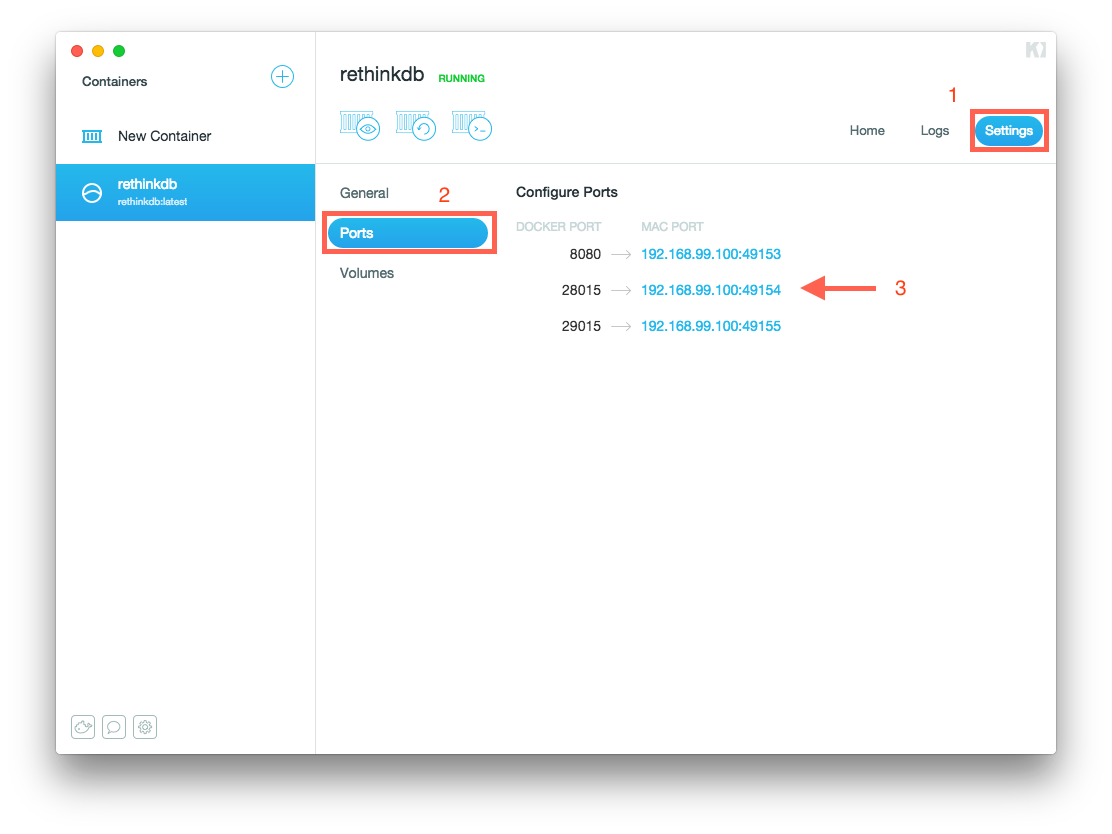
IP address and port RethinkDB is listening on. To find out, click the Settings
tab and then the Ports section:
You can see there that for RethinkDB port 28015, the container is listening on
host 192.168.99.100 and port 49154 (in this example - ports may be different
for you). This means you can now reach RethinkDB via a client driver at
192.168.99.100:49154. Again, this IP address may be different for you.
Now, you'll create the RethinkDB example chat application running on your local macOS system to test drive your new containerized database.
First, if you don't have it yet, download and install Node.js.
Note: this example needs Xcode installed. We'll replace it with something with fewer dependencies soon.
In your terminal, type:
 $ export RDB_HOST=192.168.99.100 # replace with IP from above step
 $ export RDB_PORT=49154 # replace with Port from above step
 $ git clone https://github.com/rethinkdb/rethinkdb-example-nodejs-chat
 $ cd rethinkdb-example-nodejs-chat
 $ npm install
 $ npm start
Now, point your browser to http://localhost:8000. Congratulations, you've
successfully used a RethinkDB container in Kitematic to build a real-time chat
app. Happy coding!


