This Starter enables you to build a basic application with PWA capabilities on Enonic XP Platform. It’s using modern tools like Webpack for the build process and Workbox for automatic generation of Service Worker file and dynamic response caching. Simple routing is powered by Enonic Router library.
1.Make sure you have Enonic XP of version 6.12 or later installed locally. If not, read how to install it here:
2.Set up environment variable XP_INSTALL that points to the XP installation folder:
set XP_INSTALL=/Users/ase/Downloads/enonic-xp-6.13.0-SNAPSHOT
3.Create a new folder for your application
4.Initialize the app based on this Starter kit by running the following command (for more info on project initialisation, read the documentation for init-project)
$XP_INSTALL/toolbox/toolbox.bat init-project -n com.company.myapp -r starter-pwa
|
Tip
|
Replace com.company.myapp with a unique name of your app.
|
5.You can now build the app by running the following from inside the app’s folder:
gradlew build deploy6.If the build completed without errors you will have a new jar file in the <$XP_INSTALL>/home/deploy folder.
We assume that XP service is running on localhost:8000 and your app is called com.company.myapp as in example above.
-
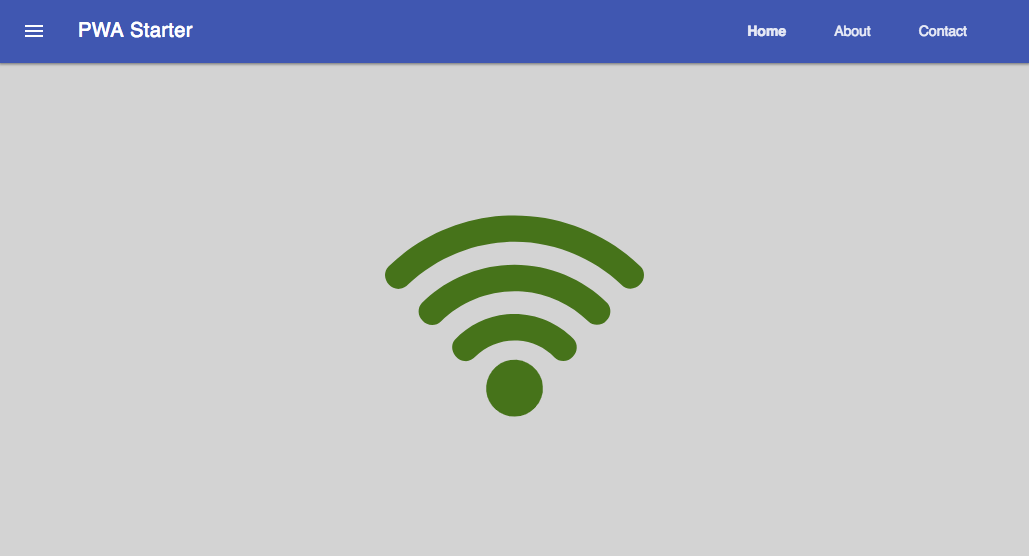
Open http://localhost:8080/app/com.company.myapp in your browser. You should see this:
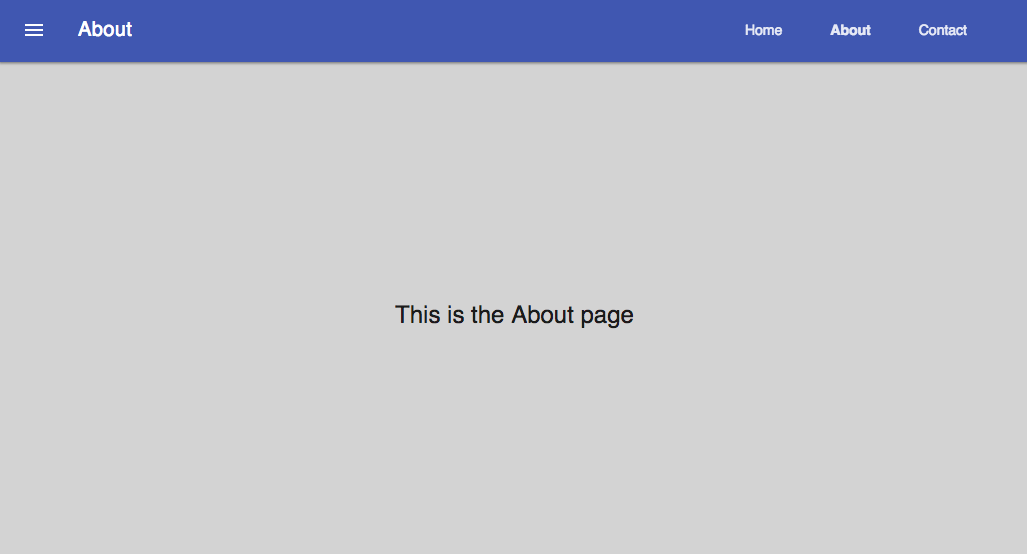
2.Click the "About" link in the header to open http://localhost:8080/app/com.company.myapp/about. You should see this:
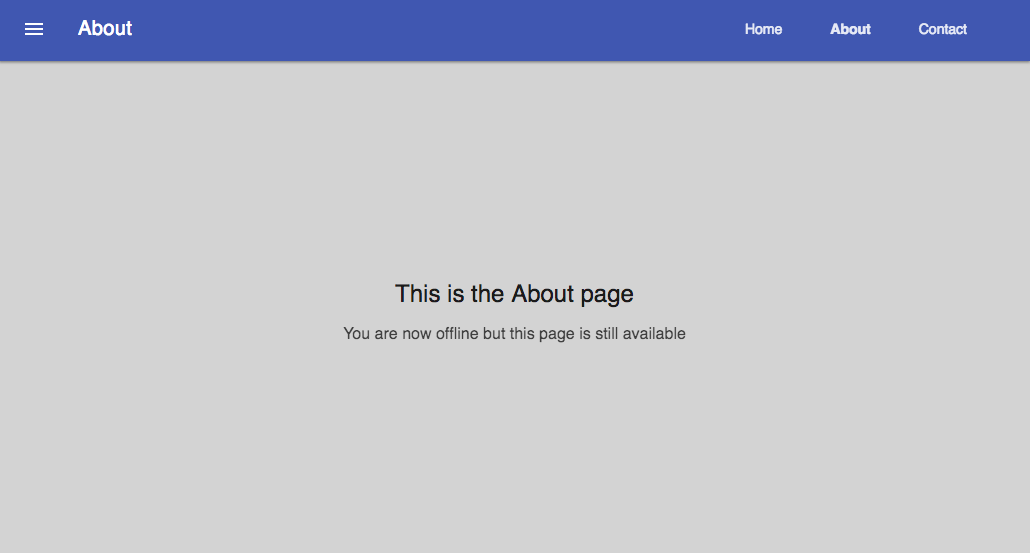
3.Now’s the fun part. Go offline (either by turning off the Wi-Fi or unplugging cable or checking off "Offline" in the Dev Tools). Content of the About page should now change like this:
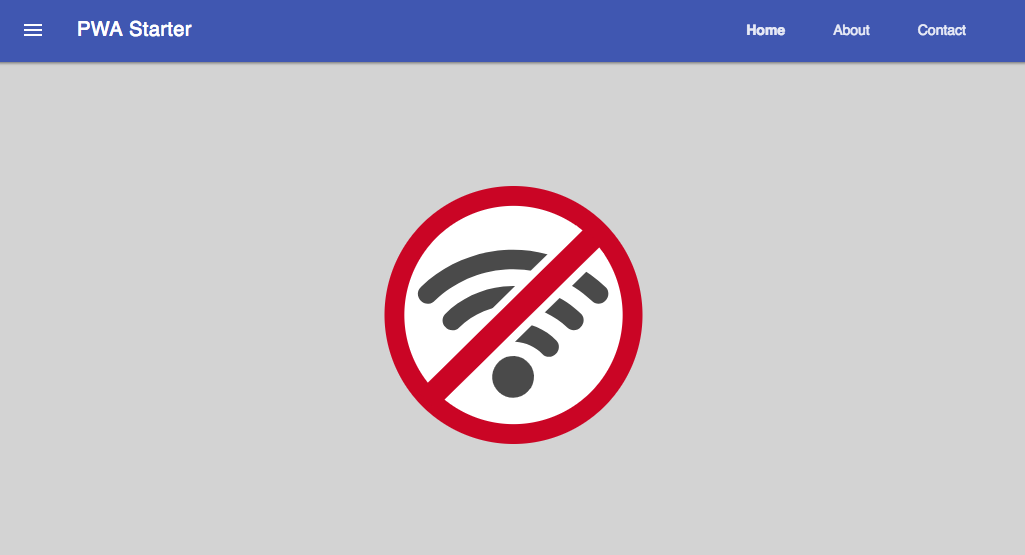
4.Go back to the main page. It should now look like this:
As you can see, the Starter can track its online/offline status and change content of its pages accordingly.
You are now ready to expand the application’s functionality, plug in any Front-end framework etc.
The Starter is using Webpack to build all LESS files into one CSS bundle (bundle.css) and all Javascript assets into one JS bundle
(bundle.js). The Workbox plugin is used by Webpack to automatically generate a template for the Service Worker (sw-template.js) based
on a predefined file (sw-template.js). Final Service Worker file will be rendered on-the-fly by Enonic Router lib by intercepting
a call to /sw.js file in the site root.
const path = require('path');
const extractTextPlugin = require('extract-text-webpack-plugin');
const workboxPlugin = require('workbox-webpack-plugin');

const paths = {
    assets: 'src/main/resources/assets/',
    buildAssets: 'build/resources/main/assets/',
    buildPwaLib: 'build/resources/main/lib/pwa/'
};

const assetsPath = path.join(__dirname, paths.assets);
const buildAssetsPath = path.join(__dirname, paths.buildAssets);
const buildPwaLibPath = path.join(__dirname, paths.buildPwaLib);

module.exports = {

    entry: path.join(assetsPath, 'js/main.js'),

    output: {
        path: buildAssetsPath,
        filename: 'precache/bundle.js'
    },

    resolve: {
        extensions: ['.js', '.less']
    },

    module: {
        rules: [
            {
                test: /.less$/,
                loader: extractTextPlugin.extract({
                    fallback: 'style-loader',
                    use: "css-loader!less-loader"
                })
            }
        ]
    },
    plugins: [
        new extractTextPlugin('precache/bundle.css'),
        new workboxPlugin({
            globDirectory: buildAssetsPath,
            globPatterns: ['precache/**\/*'],
            globIgnores: [],
            swSrc: path.join(assetsPath, 'js/sw-dev.js'),
            swDest: path.join(buildPwaLibPath, 'sw-template.js')
        })
    ]

};js/main.js is used as entry point for the Webpack builder, so make sure you add first level of dependencies to this file (using require).
For example, if js/main.js is using a LESS file called styles.less, add the following line to the main.js:
require('../css/styles.less');Same with JS-dependencies. For example, to include a file called about.js from the same js folder add this line to main.js:
require('../js/about.js');You can then require other LESS or JS files directly from about.js effectively building a chain of dependencies that Webpack will resolve during the build.
As mentioned before, the build process will bundle all LESS and JS assets into bundle.css and bundle.js files in the precache folder which can then
be referenced directly from the main.html page.
When the application is launched for the first time, Service Worker will attempt to precache the Application Shell - the minimum set of assets
required for the application to continue working while offline. As described above, two files - bundle.css and bundle.js - generated by the build
process will be precached by default. In addition, you may add any files to the assets/precache folder and they will automatically be added
to the list of precached assets. Typically that would be images, icons, font files, 3rd-party stylesheets and Javascript libraries etc.
importScripts('https://unpkg.com/[email protected]/build/importScripts/workbox-sw.prod.v2.0.1.js');

const workboxSW = new self.WorkboxSW({
    skipWaiting: true,
    clientsClaim: true
});

workboxSW.precache([]);
Empty square brackets in The last line is the placeholder which after the build will be filled with paths to actual assets from the
precache folder, something like this:
workboxSW.precache([
  {
    "url": "precache/bundle.css",
    "revision": "1b451da7e8b3ac2ba02b18e9bfa41fd3"
  },
  {
    "url": "precache/bundle.js",
    "revision": "610b07928b24eaf801d3d37b43256471"
  }
]);Sometimes you may need to cache assets outside of the precache folder. In this case you have to explicitly specify the assets that you
need to be cached (this can be a local asset or an external URL). Add a new line with a call to workboxSW.precache after the one with empty placeholder:
importScripts('https://unpkg.com/[email protected]/build/importScripts/workbox-sw.prod.v2.0.1.js');

const workboxSW = new self.WorkboxSW({
    skipWaiting: true,
    clientsClaim: true
});

workboxSW.precache([]);

workboxSW.precache([
    '{{baseUrl}}/manifest.json',
    'https://fonts.googleapis.com/icon?family=Material+Icons',
    'https://code.jquery.com/jquery-1.10.2.min.js'
]);
Application Manifest is a file in JSON format which turns the application into a PWA. Starter comes with its own manifest.json with hardcoded
title, color scheme, display settings and favicon. Feel free to change the predefined settings: the file is located directly in the /assets/ folder.
{
  "name": "PWA Starter for Enonic XP",
  "short_name": "PWA Starter",
  "theme_color": "#FFF",
  "background_color": "#FFF",
  "display": "standalone",
  "start_url": ".?source=web_app_manifest",
  "icons": [
    {
      "src": "precache/icons/icon.png",
      "sizes": "512x512",
      "type": "image/png"
    }
  ]
}Default favicon used by the Starter is called icon.png and located in precache/icons/ folder, so you can simply replace this icon with
your own of the same name. If you want to use a different icon file, add it to the same location and change main.html to point to the new icon. Don’t
forget to make same changes in manifest.json and browserconfig.xml.
    <link rel="apple-touch-icon" href="{{precacheUrl}}/icons/myicon.ico">
<link rel="icon" href="{{precacheUrl}}/icons/myicon.ico">This Starter is not a traditional site with plain HTML pages - everything is driven by a controller.
Just like resources/assets/js/main.js is an entry point of the Starter’s client-side bundle, resources/main.js is an entry point
and the main controller for the server-side execution. Setting it up is simple - just add handler of the GET request to main.js file and
return response in form of rendered template or a simple string:
exports.get = function (req) {
    return {
        body: 'We are live'
    }
};
If your application name is com.enonic.starter.pwa and Enonic web server is launched on localhost:8000 then
http://localhost:8080/app/com.enonic.starter.pwa/ will open the main page of your app.
If your application is not a single-page app, you are going to need some routing capabilities. The Starter is using Enonic Router library
which makes it incredibly simple to dynamically route a request to correct page template.
First, let’s change the default page to render a proper template instead of a simple string. Let’s say, we have a main.html template in the
/resources/pages/.
var mustacheLib = require('/lib/xp/mustache');
var router = require('/lib/router')();

router.get('/', function (req) {
    return {
        body: mustacheLib.render(resolve('/pages/main.html'), {})
    }
});

exports.get = function (req) {
    return router.dispatch(req);
};
Here we told the Router to respond to the "/" request (which is the app’s main page) with the rendered template from /pages/main.html.
Now let’s expand this to enable routing to other pages. Let’s say, we need two pages called "About" and "Contact" which should open via /about and
/contact URLs correspondingly.
var mustacheLib = require('/lib/xp/mustache');
var router = require('/lib/router')();

router.get('/', function (req) {
    return {
        body: mustacheLib.render(resolve('/pages/main.html'), {})
    }
});

router.get('/about', function (req) {
    return {
        body: mustacheLib.render(resolve('/pages/about.html'), {})
    }
});

router.get('/contact', function (req) {
    return {
        body: mustacheLib.render(resolve('/pages/contact.html'), {})
    }
});

exports.get = function (req) {
    return router.dispatch(req);
};
That’s it, we have just built a simple routing inside the main.js file. You can pass custom rendering parameters to each template inside the {} argument.
When you’re building a PWA you typically want a user to be able to open previously visited pages even when the application is offline. In this Starter we are using Workbox to dynamically cache URL requests for future use.
importScripts('https://unpkg.com/[email protected]/build/importScripts/workbox-sw.prod.v2.0.1.js');

const workboxSW = new self.WorkboxSW({
    skipWaiting: true,
    clientsClaim: true
});

workboxSW.router.registerRoute(
    '{{baseUrl}}/about',
    workboxSW.strategies.networkFirst()
);

workboxSW.router.registerRoute(
    '{{baseUrl}}/contact',
    workboxSW.strategies.networkFirst()
);

workboxSW.router.registerRoute(
    /^https:\/\/fonts\.gstatic\.com\//,
    workboxSW.strategies.cacheFirst()
);
Here we cache requests to the /about and /contact URLs mentioned above, as well as request to the 3rd-party font file on an external URL.
|
Note
|
Note that we are using networkFirst strategy for the pages where we first check for the fresh version from the network and fall back to the cached version if the network is down. Read more about possible caching strategies here. |


