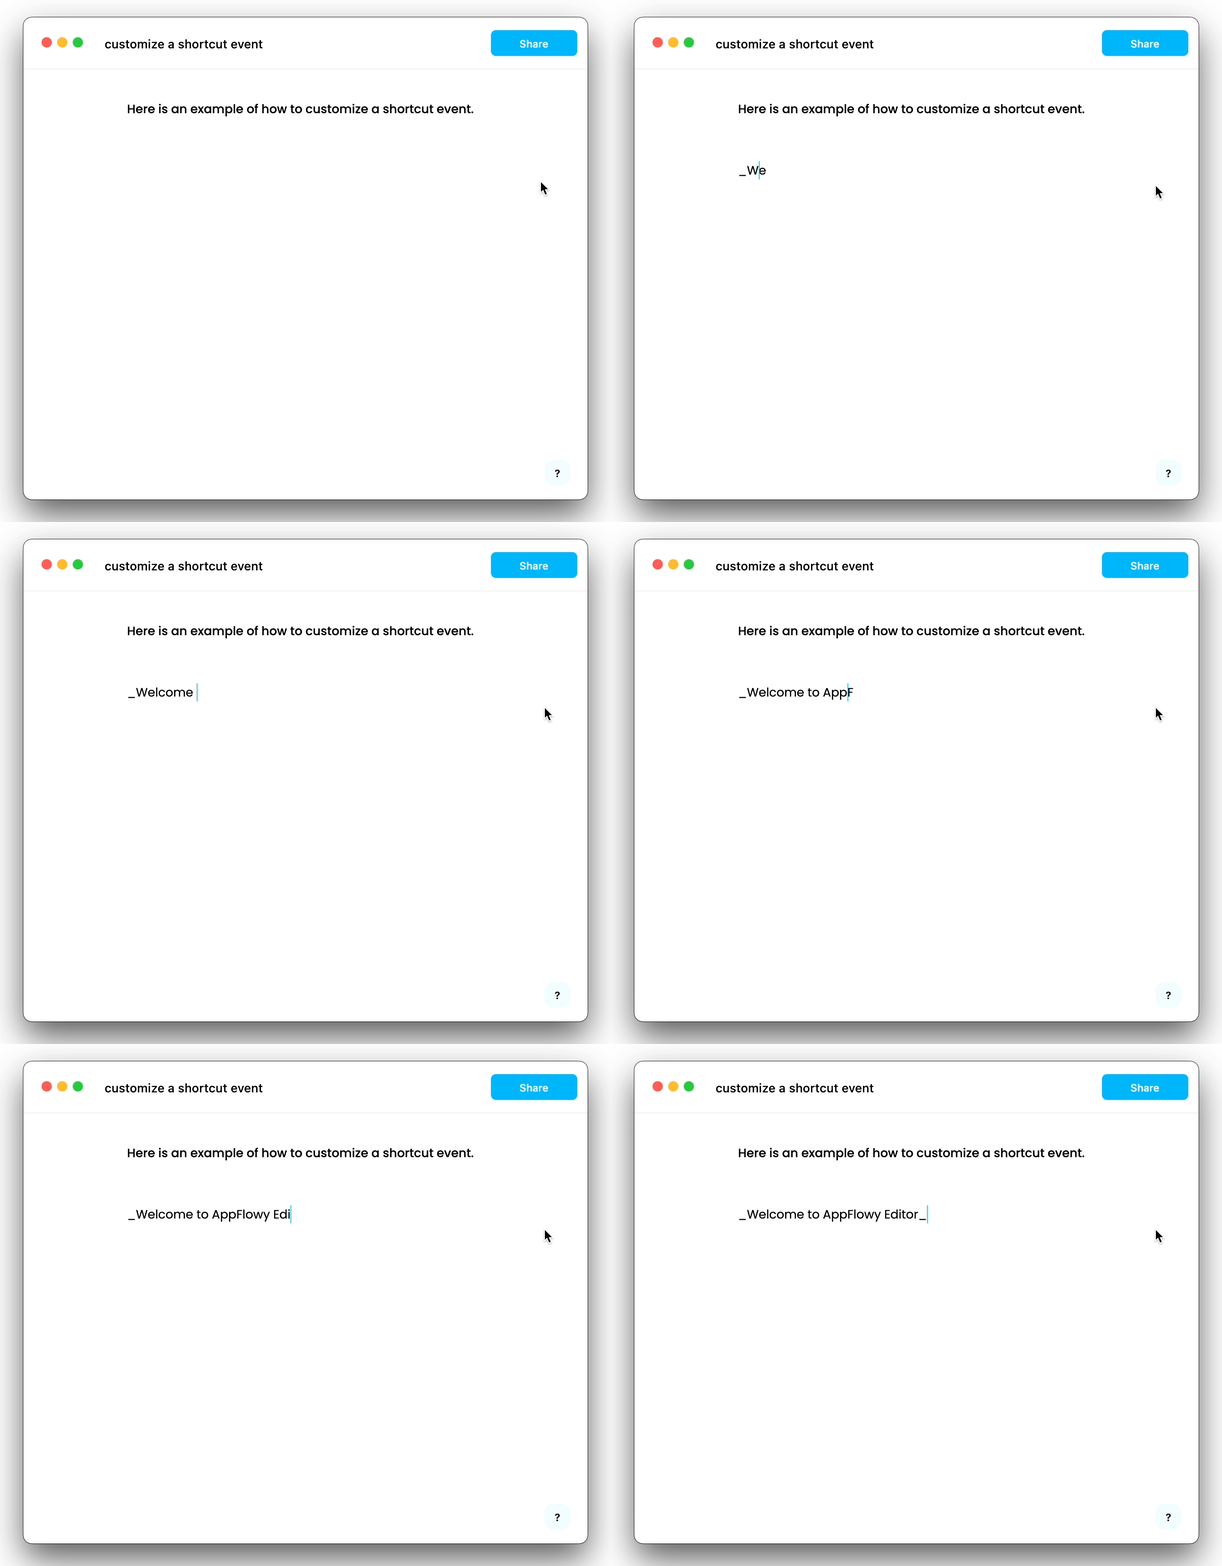
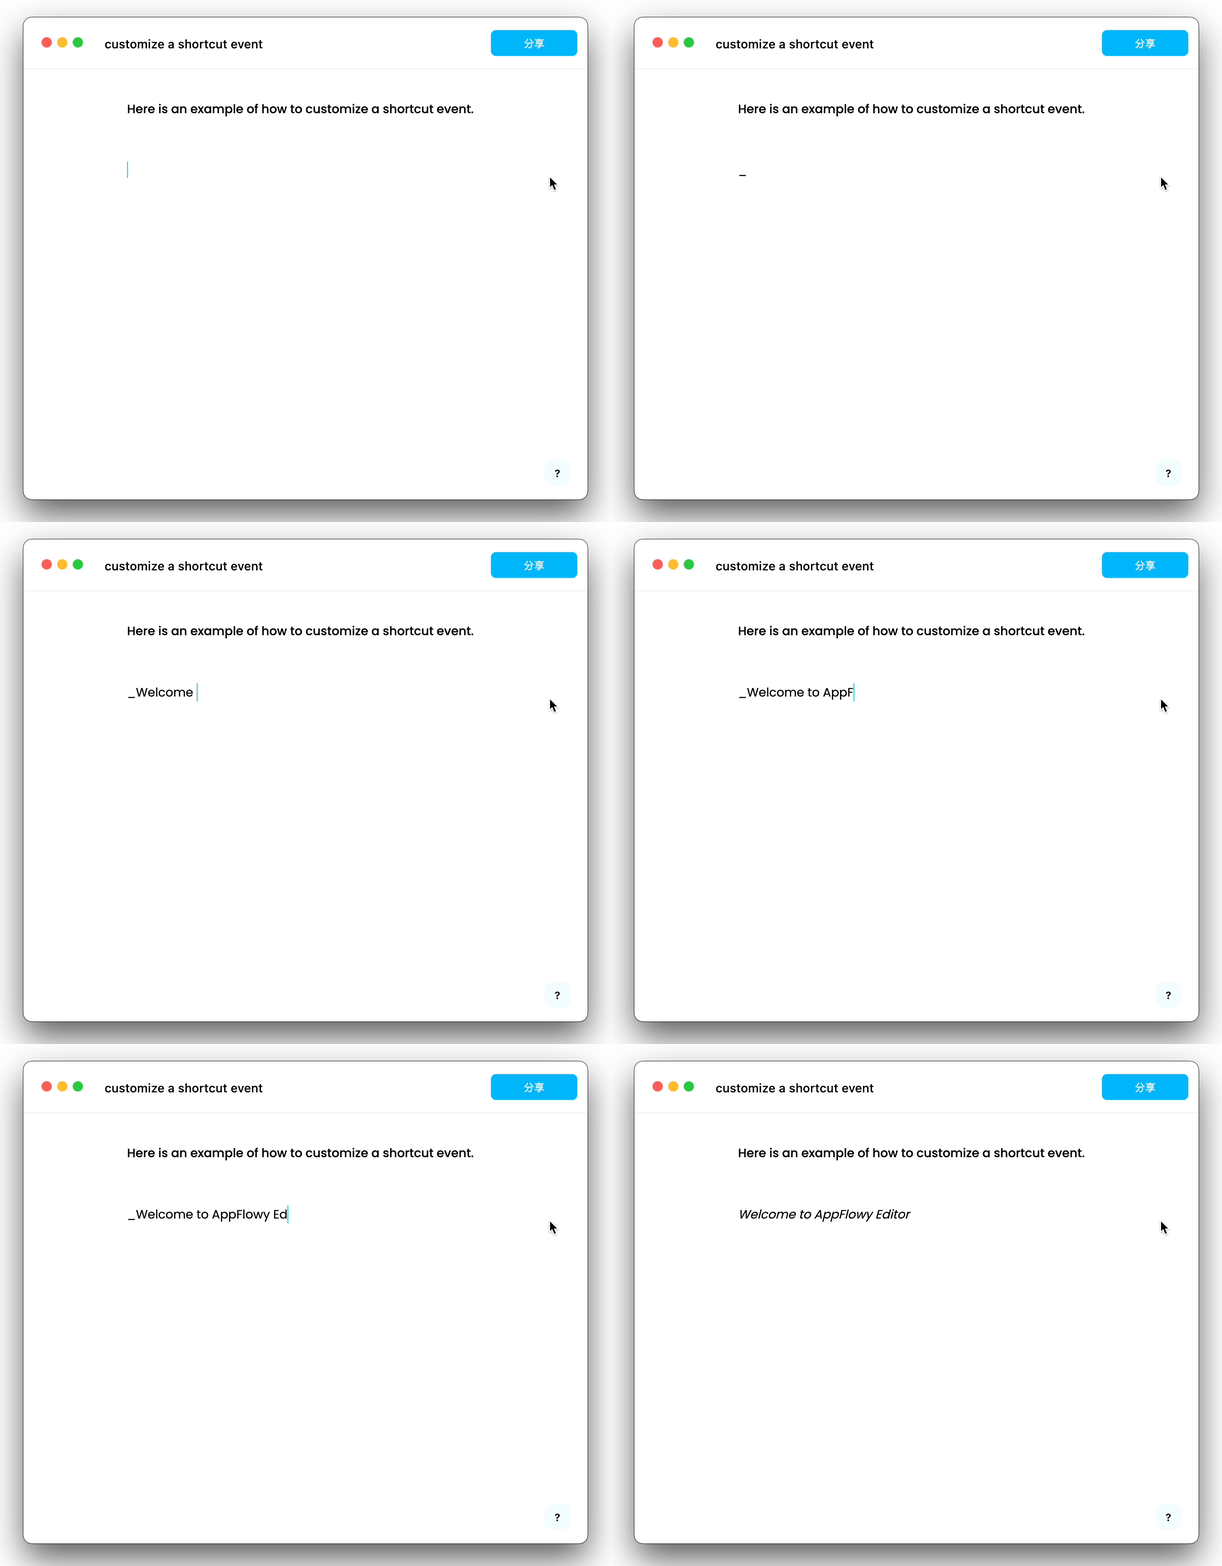
We will use a simple example to illustrate how to quickly add a shortcut event.
In this example, text that starts and ends with an underscore ( _ ) character will be rendered in italics for emphasis. So typing _xxx_ will automatically be converted into xxx.
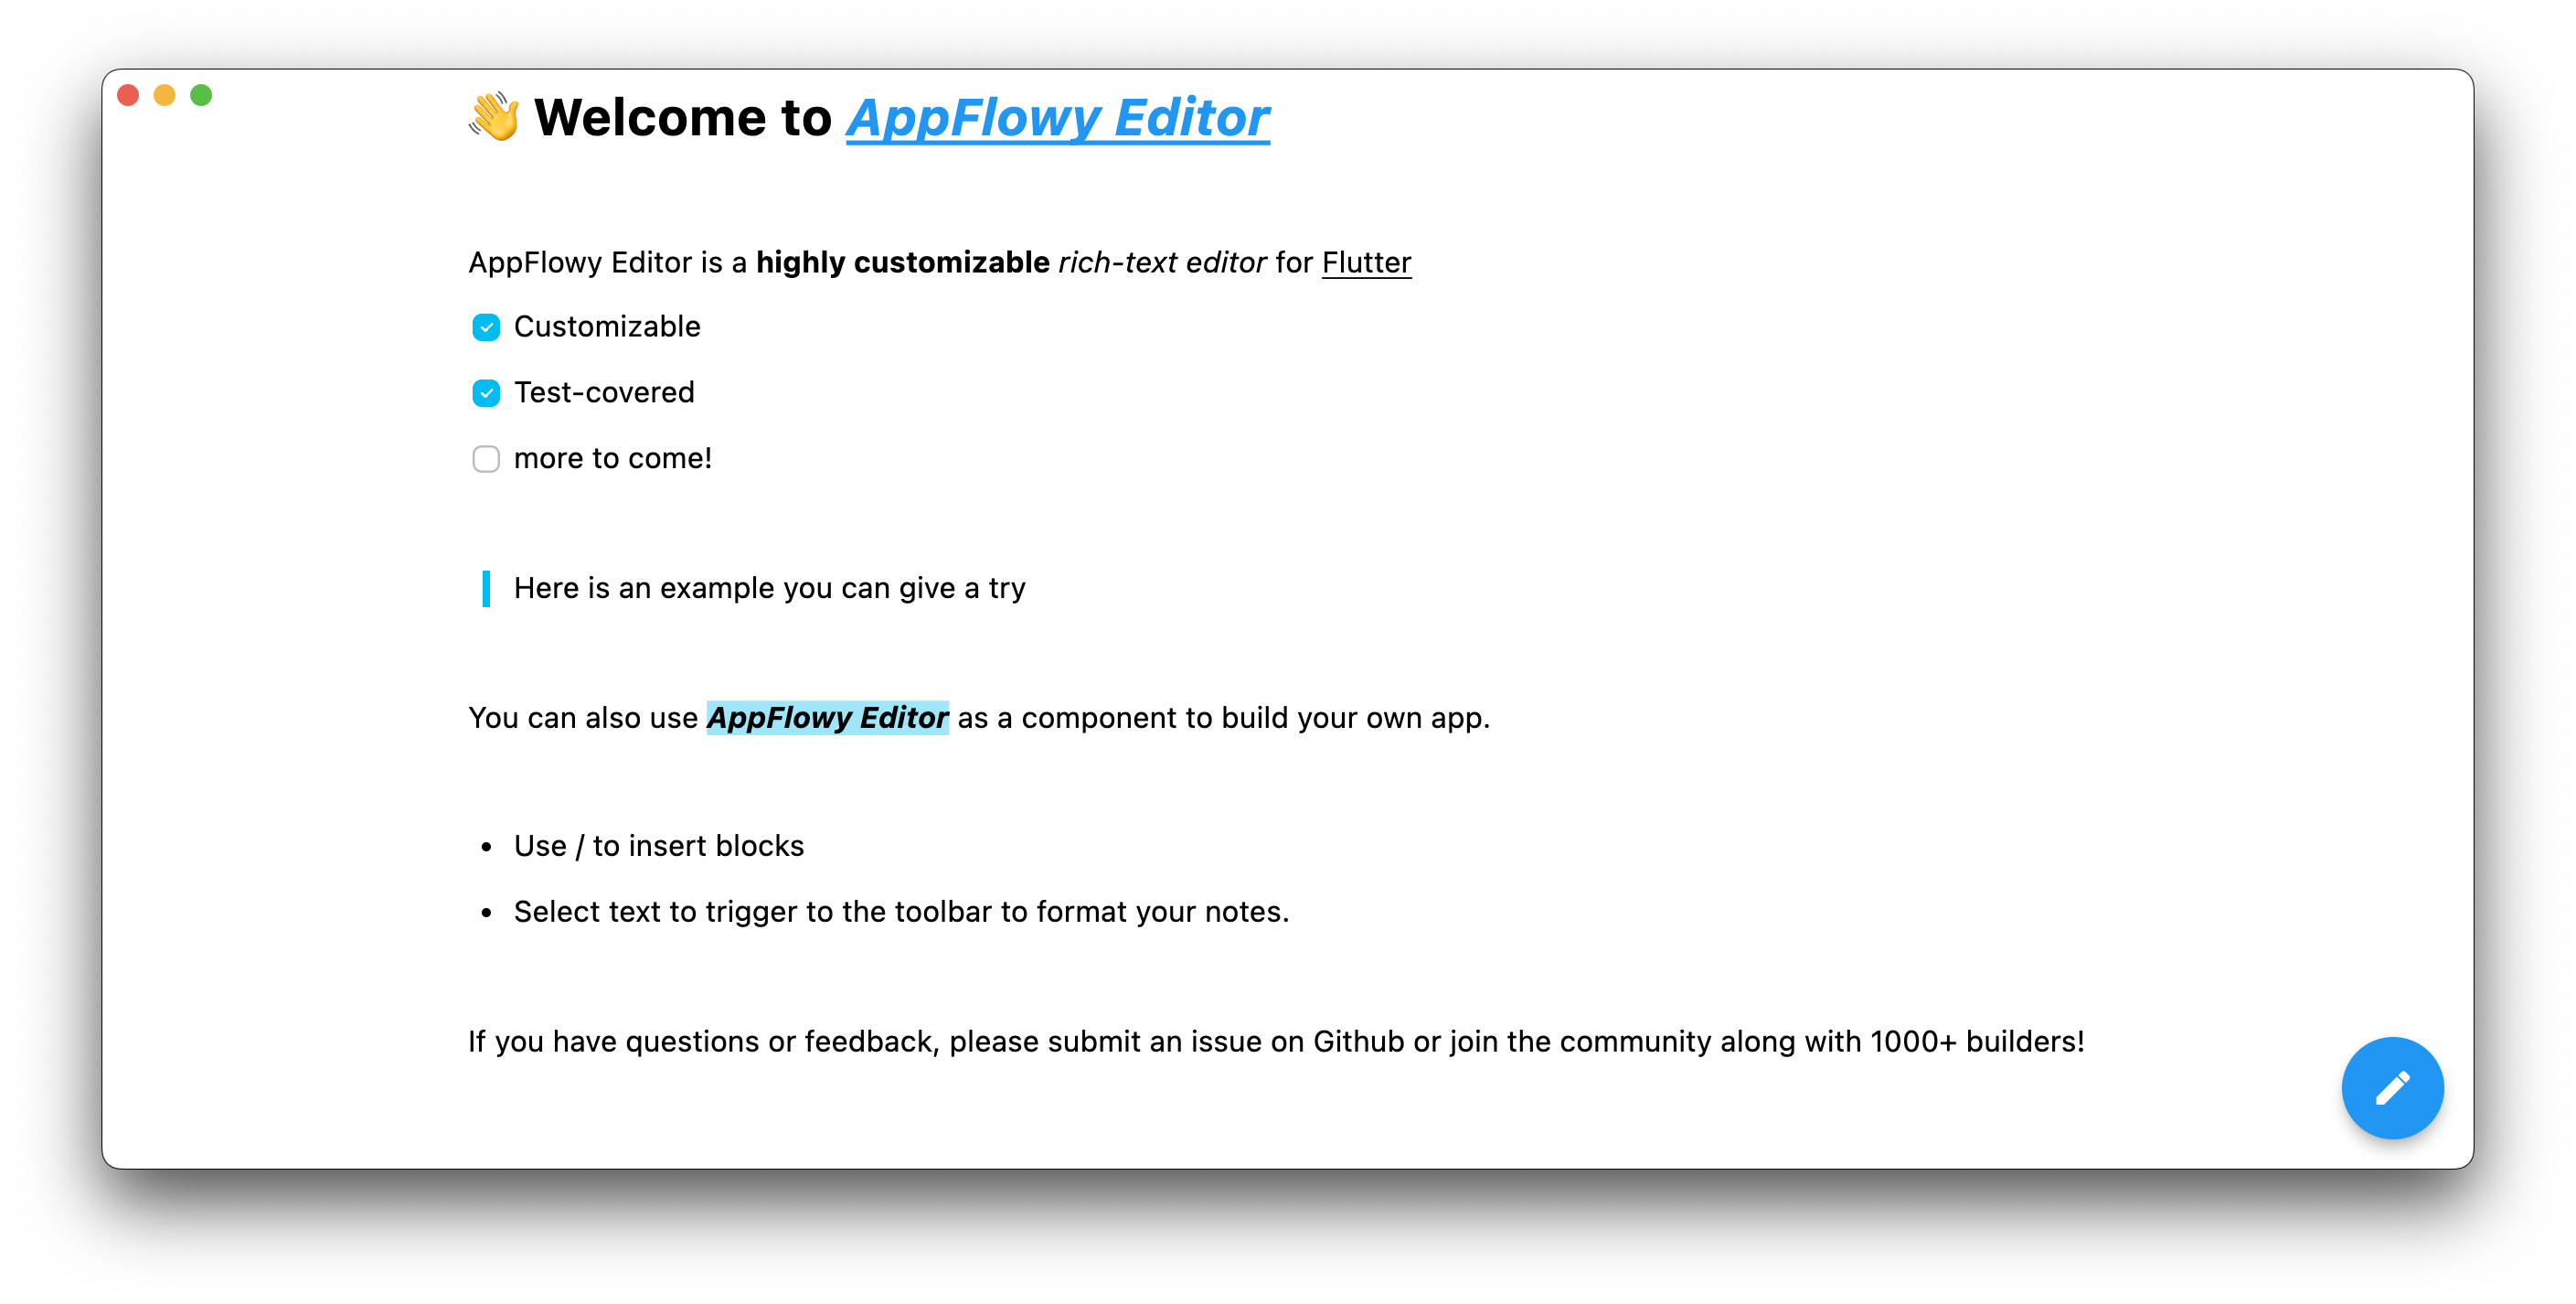
Let's start with a blank document:
import 'package:appflowy_editor/appflowy_editor.dart';
import 'package:flutter/material.dart';

class UnderScoreToItalic extends StatelessWidget {
  const UnderScoreToItalic({super.key});

  @override
  Widget build(BuildContext context) {
    return AppFlowyEditor.custom(
      editorState: EditorState.blank(withInitialText: true),
      blockComponentBuilders: standardBlockComponentBuilderMap,
      characterShortcutEvents: const [],
    );
  }
}
At this point, nothing magic will happen after typing _xxx_.
To implement our shortcut event we will create a CharacterShortcutEvent instance to handle an underscore input.
We need to define key and character in a CharacterShortcutEvent object to customize hotkeys. We recommend using the description of your event as a key. For example, if the underscore _ is defined to make text italic, the key can be 'Underscore to italic'.
import 'package:appflowy_editor/appflowy_editor.dart';
import 'package:flutter/material.dart';

// ...

CharacterShortcutEvent underscoreToItalicEvent = CharacterShortcutEvent(
  key: 'Underscore to italic',
  character: '_',
  handler: (editorState) async => handleFormatByWrappingWithSingleCharacter(
    editorState: editorState,
    character: '_',
    formatStyle: FormatStyleByWrappingWithSingleChar.italic,
  ),
);
Now our 'underscore handler' function is done and the only task left is to inject it into the AppFlowyEditor.
import 'package:appflowy_editor/appflowy_editor.dart';
import 'package:flutter/material.dart';

class UnderScoreToItalic extends StatelessWidget {
  const UnderScoreToItalic({super.key});

  @override
  Widget build(BuildContext context) {
    return AppFlowyEditor.custom(
      editorState: EditorState.blank(withInitialText: true),
      blockComponentBuilders: standardBlockComponentBuilderMap,
      characterShortcutEvents: [
        underScoreToItalicEvent,
      ],
    );
  }
}

CharacterShortcutEvent underScoreToItalicEvent = CharacterShortcutEvent(
  key: 'Underscore to italic',
  character: '_',
  handler: (editorState) async => handleFormatByWrappingWithSingleCharacter(
    editorState: editorState,
    character: '_',
    formatStyle: FormatStyleByWrappingWithSingleChar.italic,
  ),
);
Check out the complete code file of this example.
We will use a simple example to illustrate how to quickly customize a theme.
Let's start with a blank document:
@override
Widget build(BuildContext context) {
  return Scaffold(
    body: Container(
      alignment: Alignment.topCenter,
      child: AppFlowyEditor(
        editorState: EditorState.blank(),
      ),
    ),
  );
}
At this point, the editor looks like ...

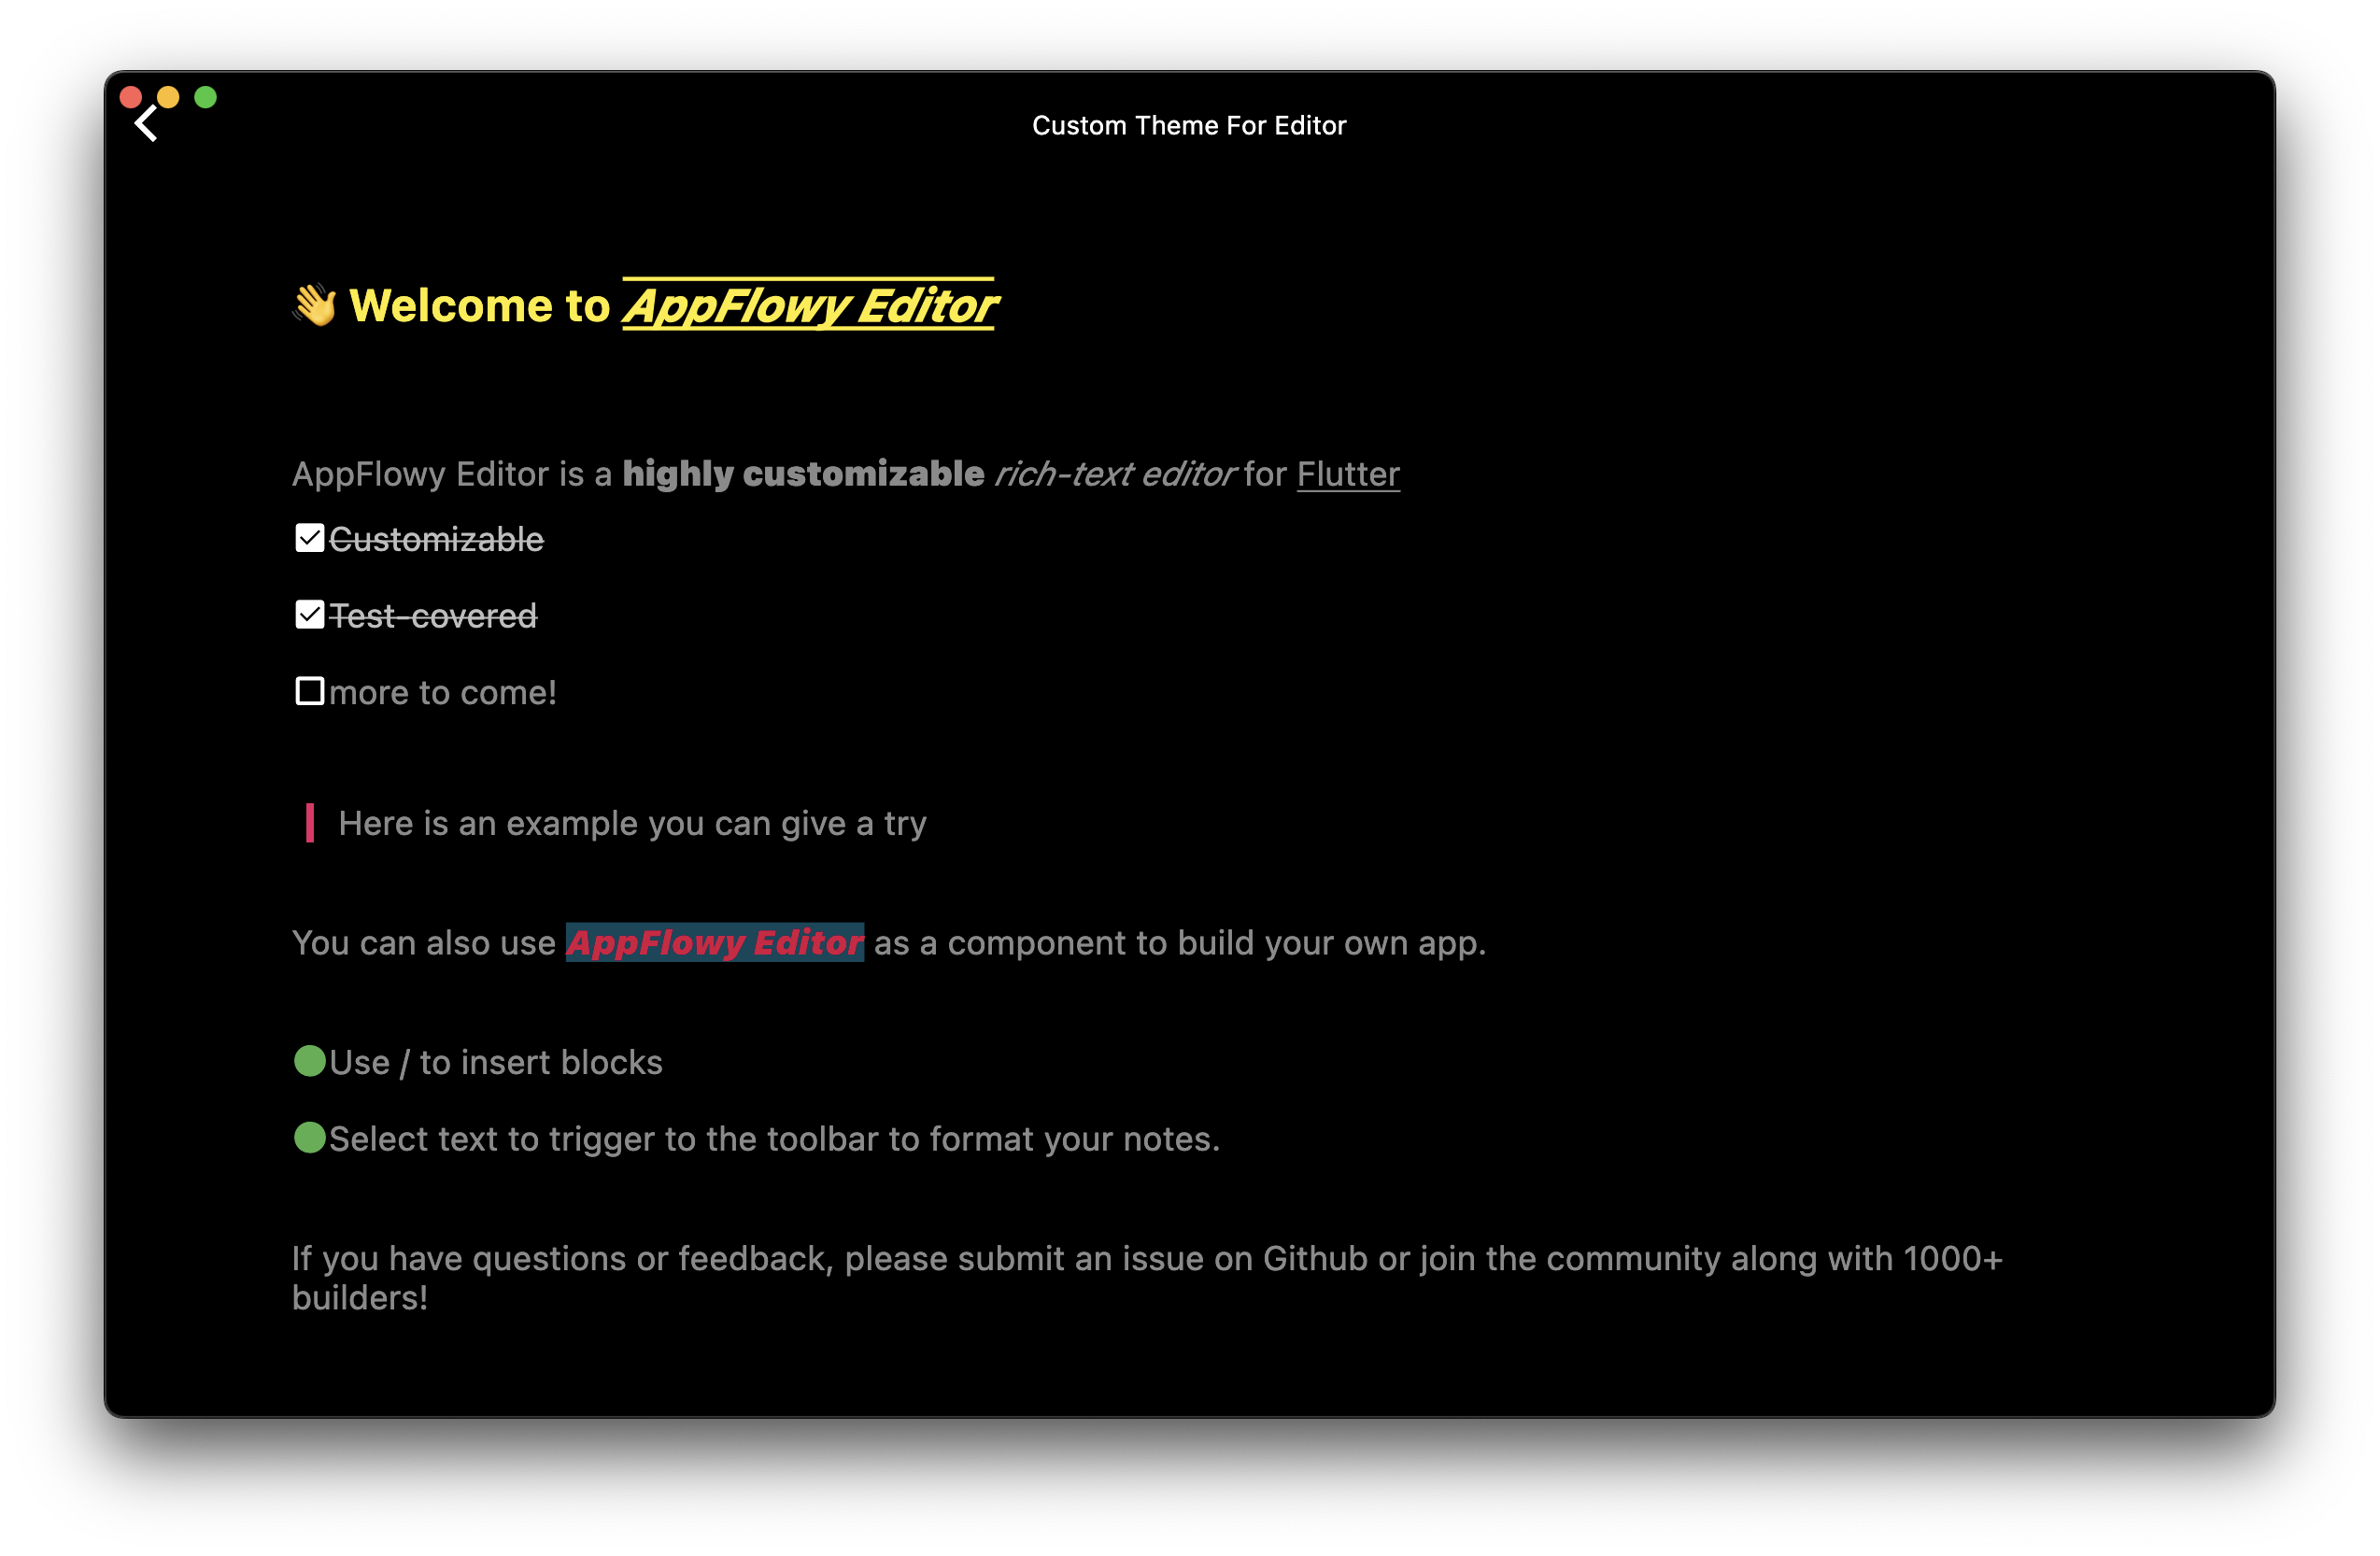
Next, we will customize the EditorStyle and the block style with BlockComponentConfiguration.
EditorStyle customizeEditorStyle() {
  return EditorStyle(
    padding: PlatformExtension.isDesktopOrWeb
        ? const EdgeInsets.only(left: 100, right: 100, top: 20)
        : const EdgeInsets.symmetric(horizontal: 20),
    cursorColor: Colors.green,
    selectionColor: Colors.green,
    textStyleConfiguration: TextStyleConfiguration(
      text: const TextStyle(
        fontSize: 18.0,
        color: Colors.white54,
      ),
      bold: const TextStyle(
        fontWeight: FontWeight.w900,
      ),
      href: TextStyle(
        color: Colors.amber,
        decoration: TextDecoration.combine(
          [
            TextDecoration.overline,
            TextDecoration.underline,
          ],
        ),
      ),
      code: const TextStyle(
        fontSize: 14.0,
        fontStyle: FontStyle.italic,
        color: Colors.blue,
        backgroundColor: Colors.black12,
      ),
    ),
    textSpanDecorator: (context, node, index, text, textSpan) {
      final attributes = text.attributes;
      final href = attributes?[AppFlowyRichTextKeys.href];
      if (href != null) {
        return TextSpan(
          text: text.text,
          style: textSpan.style,
          recognizer: TapGestureRecognizer()
            ..onTap = () {
              debugPrint('onTap: $href');
            },
        );
      }
      return textSpan;
    },
  );
}

Map<String, BlockComponentBuilder> customBuilder() {
  final configuration = BlockComponentConfiguration(
    padding: (node) {
      if (HeadingBlockKeys.type == node.type) {
        return const EdgeInsets.symmetric(vertical: 30);
      }
      return const EdgeInsets.symmetric(vertical: 10);
    },
    textStyle: (node) {
      if (HeadingBlockKeys.type == node.type) {
        return const TextStyle(color: Colors.yellow);
      }
      return const TextStyle();
    },
  );

  // customize heading block style
  return {
    ...standardBlockComponentBuilderMap,
    // heading block
    HeadingBlockKeys.type: HeadingBlockComponentBuilder(
      configuration: configuration,
    ),
    // todo-list block
    TodoListBlockKeys.type: TodoListBlockComponentBuilder(
      configuration: configuration,
      iconBuilder: (context, node) {
        final checked = node.attributes[TodoListBlockKeys.checked] as bool;
        return Icon(
          checked ? Icons.check_box : Icons.check_box_outline_blank,
          size: 20,
          color: Colors.white,
        );
      },
    ),
    // bulleted list block
    BulletedListBlockKeys.type: BulletedListBlockComponentBuilder(
      configuration: configuration,
      iconBuilder: (context, node) {
        return const Icon(
          Icons.circle,
          size: 20,
          color: Colors.green,
        );
      },
    ),
    // quote block
    QuoteBlockKeys.type: QuoteBlockComponentBuilder(
      configuration: configuration,
      iconBuilder: (context, node) {
        return const EditorSvg(
          width: 20,
          height: 20,
          padding: EdgeInsets.only(right: 5.0),
          name: 'quote',
          color: Colors.pink,
        );
      },
    ),
  };
}
Now our 'customize style' function is done and the only task left is to inject it into the AppFlowyEditor.
@override
Widget build(BuildContext context) {
  return Scaffold(
    body: Container(
      alignment: Alignment.topCenter,
      child: AppFlowyEditor(
        editorState: EditorState.blank(),
        editorStyle: customizeEditorStyle(),
        blockComponentBuilders: customBuilder(),
      ),
    ),
  );
}The text direction is LTR by default, but you can change it by wrapping AppFlowyEditor with Directionality.
In code snippet below we set the default direction to RTL.
@override
Widget build(BuildContext context) {
  return Scaffold(
    body: Directionality(
      textDirection: TextDirection.rtl,
      child: AppFlowyEditor(
        editorState: EditorState.blank(),
      ),
    ),
  );
}

