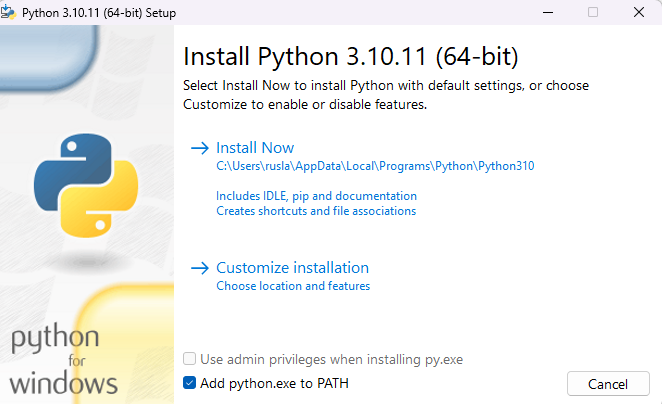
First we need to install python in our computer , in this demo I will use Python 3.10.11
https://www.python.org/ftp/python/3.10.11/python-3.10.11-amd64.exe
During the installation I should suggest add python.exe to PATH and install Now
With Python already installed, you should have pip already installed. Be sure to use a pip that corresponds with Python 3 by using pip3 or checking your pip executable with "pip --version".
A Python virtual environment allows one to use different versions of Python as well as isolate dependencies between projects. If you've never had several repos on your machine at once, you may never have felt this need but it's a good, Pythonic choice nonetheless. Future you will thank us both!
Let us create a folder called gpt and there we will store our virtual environment.
mkdir gpt
cd gpt
Supposed that you have a different version of Python installed in your system. To check use the following command to check:
py --list
And you want to create a new virtual environment for python 3.10 on a 'test_env' directory. Run the following command:
py -3.10 -m venv my_venvYou'll notice a new directory in your current working directory with the same name as your virtual environment.
Activate the virtual environment.
Windows:
cd C:\gpt
my_venv\Scripts\activate.bat
All other OSs: source
./my_venv/bin/activate
When the virtual environment is activated, your command prompt should change in some way, indicating the name of the virtual environment. This is how you'll know it's active. You can further verify this by executing "which pip" or "which python" to see that both binaries are located inside you virtual environment directory.
A virtual environment is only activate in your current terminal session. There is no need to deactivate it before closing your terminal.
However, if you need to deactivate it you can do so by executing "deactivate", a script that only exists when a virtual environment is activated.
Note: Be sure to deactivate a virtual environment before deleting its directory.
We are goigng to install Jupyter Lab.
Let us open our command prompt and type
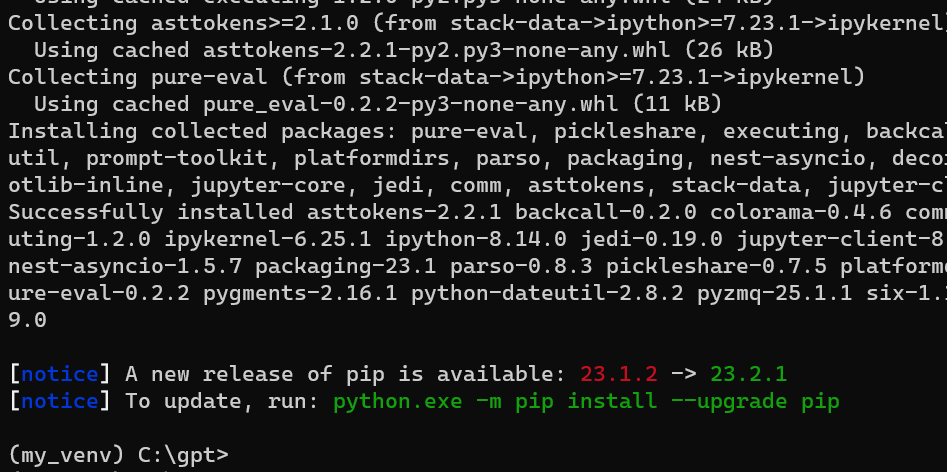
python.exe -m pip install --upgrade pip
pip install jupyterlab
For more information visit the official Jupyter Lab site.
A Jupyter "kernel" is simply a reference to a particular Python interpreter instance. You can create a kernel from any Python interpreter on your machine, including those inside of virtual environments and then choose it as your kernel for any notebook. In this way, you can customize the environments of different notebooks benefiting from the same isolation virtual environments offer during normal development.
Once we are in our environment we proceed to install ipykernel
pip install ipykernel
then
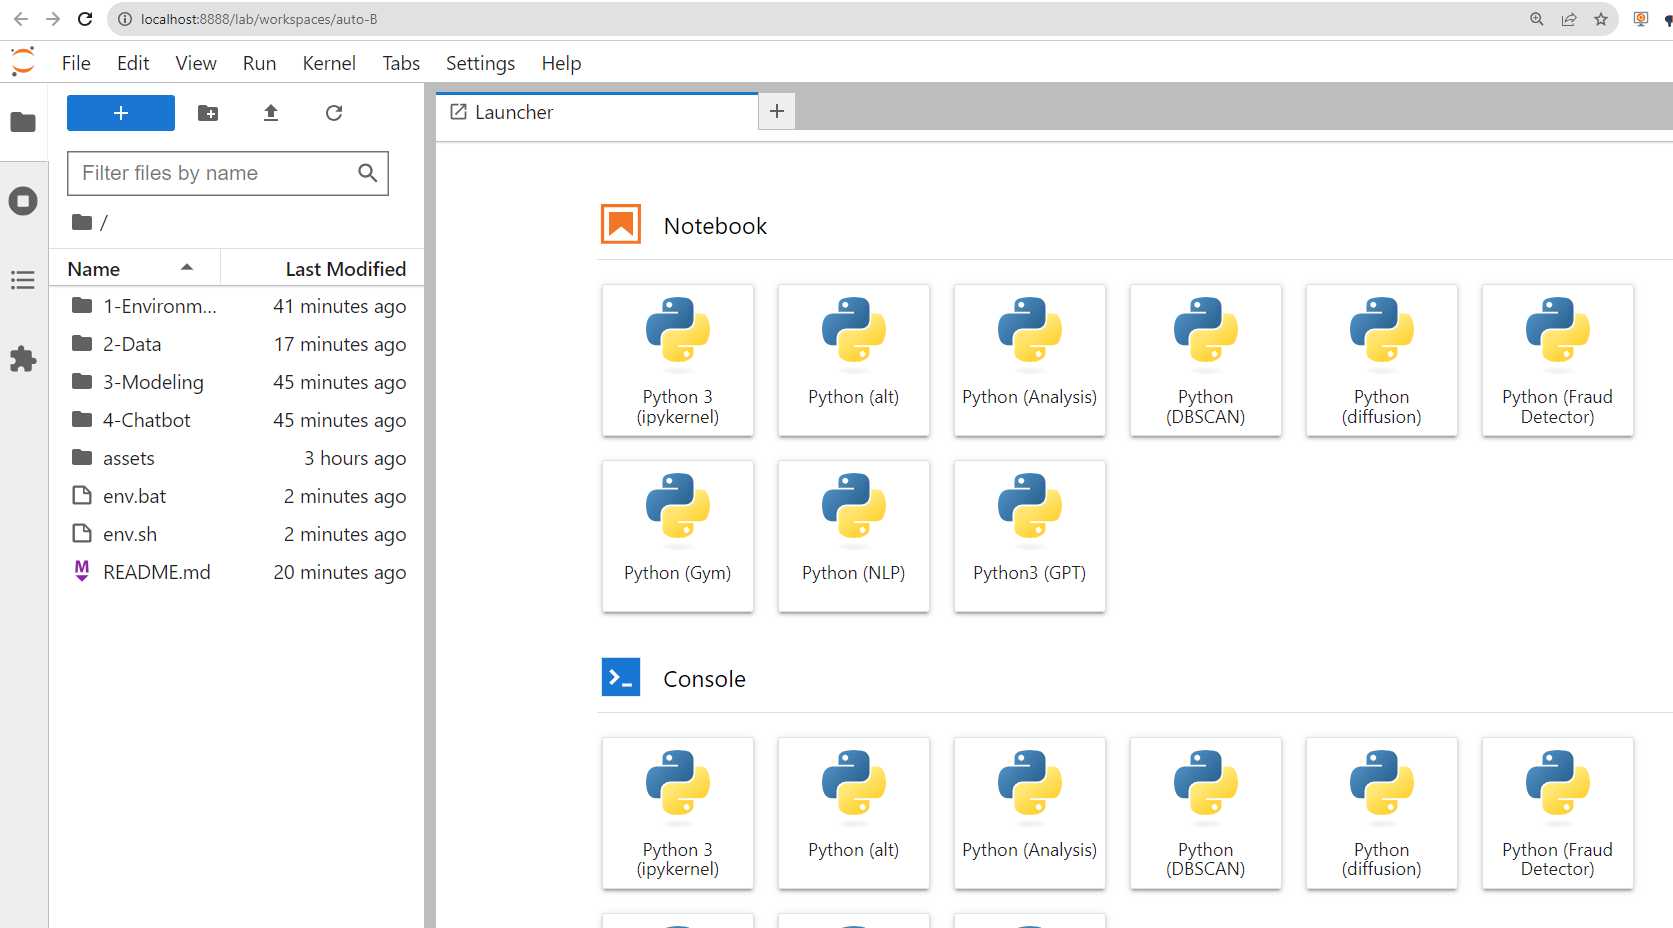
python -m ipykernel install --user --name gpt --display-name "Python3 (GPT)"
With your virtual environment created and the ability to run a Jupyter Notebook in that environment.
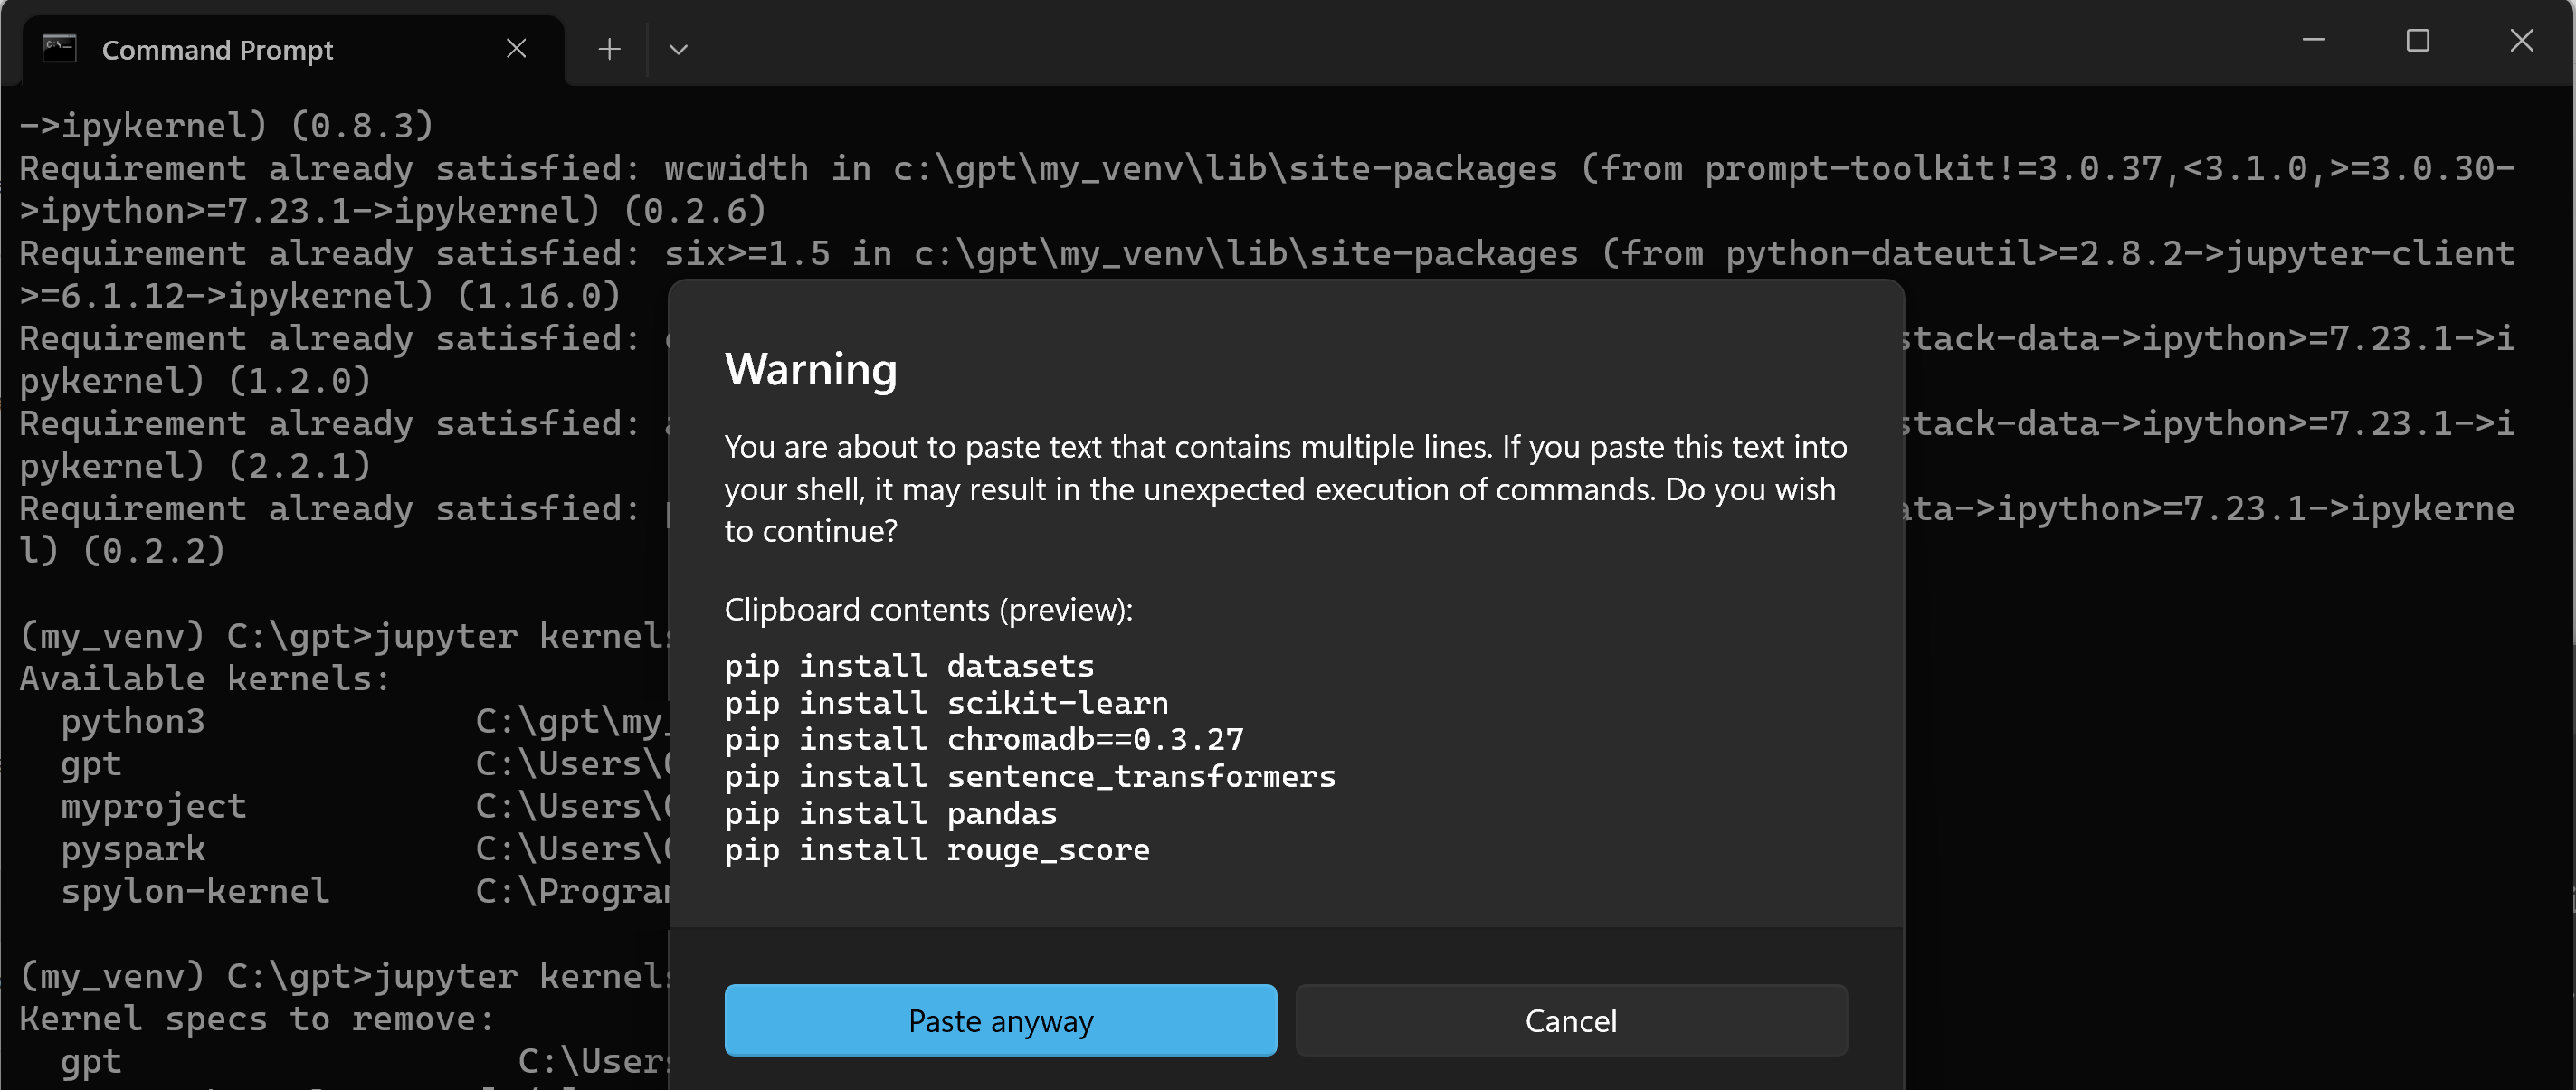
You can copy the following code block and paste it on your terminal where you are in your enviroment.
pip install datasets
pip install scikit-learn
pip install chromadb==0.3.27
pip install sentence_transformers
pip install pandas
pip install rouge_score
pip install nltk
pip install "ibm-watson-machine-learning>=1.0.312"
pip install ipywidgets widgetsnbextension pandas-profiling
pip install mlxtend
pip install sentence-transformers
pip install tiktoken
pip install openai
If we are in Linux we can add the followig condition after each line | tail -n 1 to surpress logs.
If we have a computer with GPUs we can install p
pip install torch==1.12.1+cu113 torchvision==0.13.1+cu113 torchaudio==0.12.1 --extra-index-url https://download.pytorch.org/whl/cu113
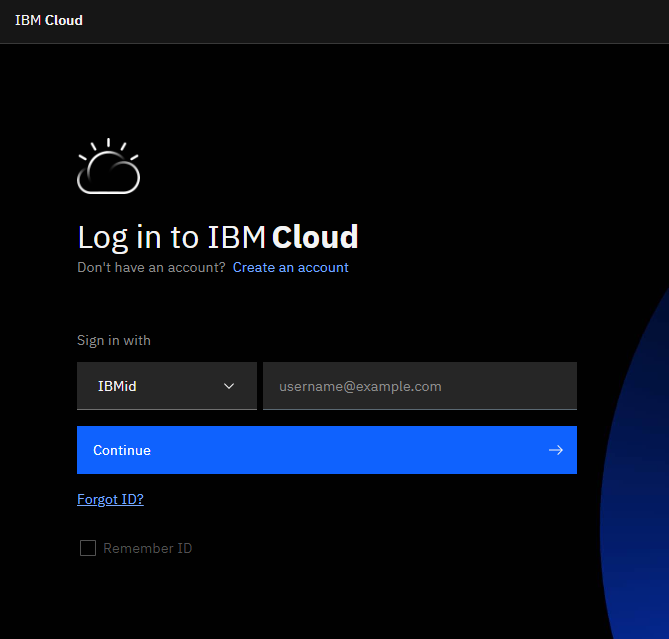
Before run the notebook, we require load our IBM cloud services.
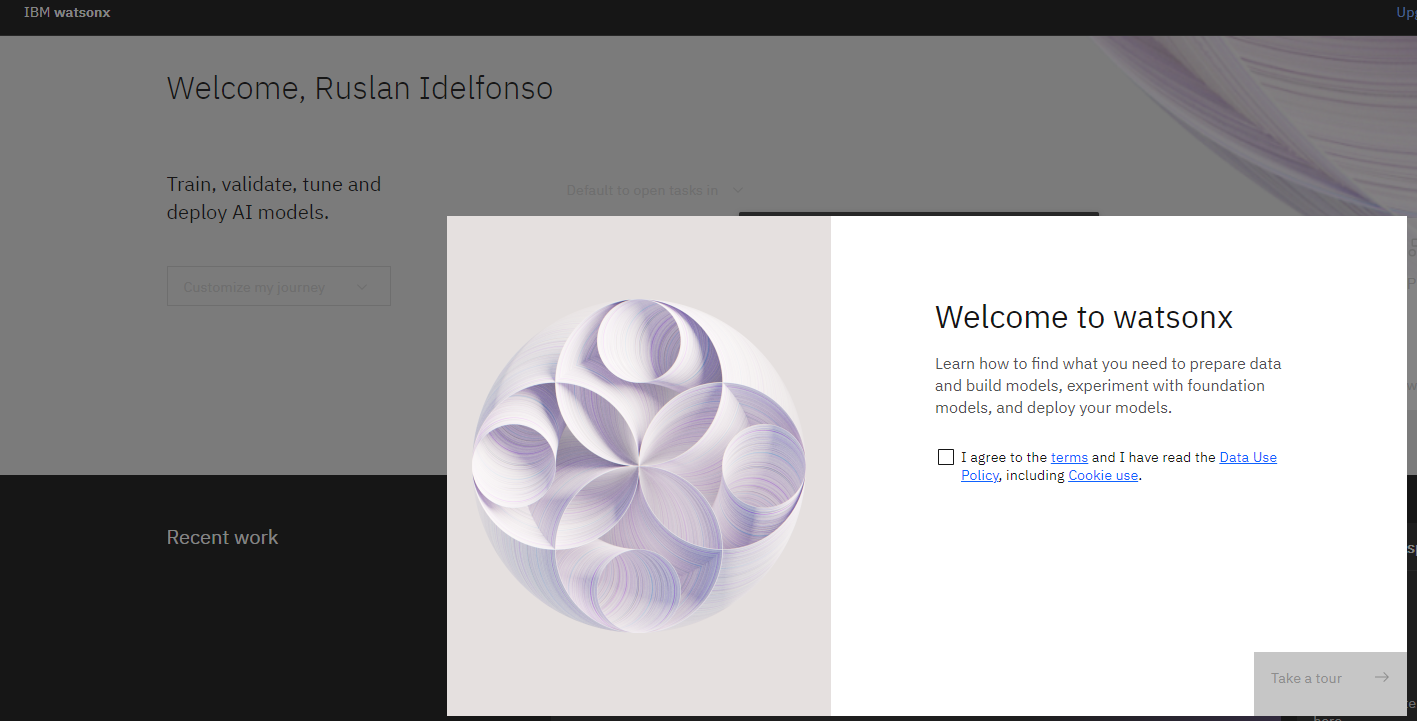
after you have logged, create a WatsonX instance
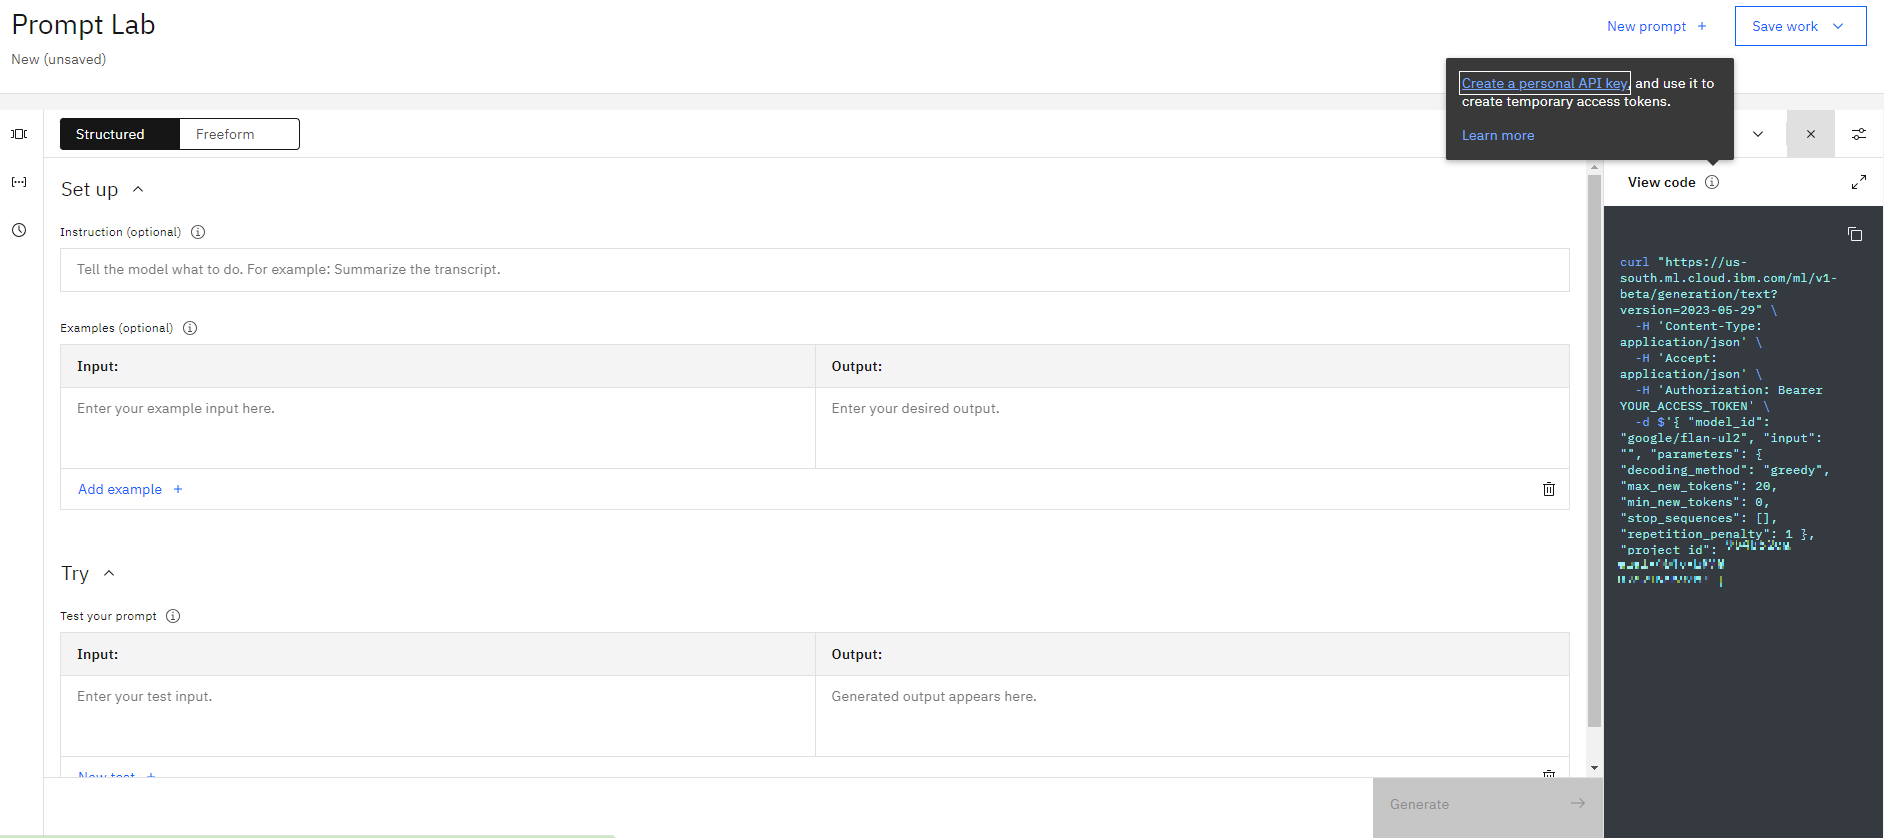
Then open a simple Prompt Lab
Then click View Code and then click on Create personal API key
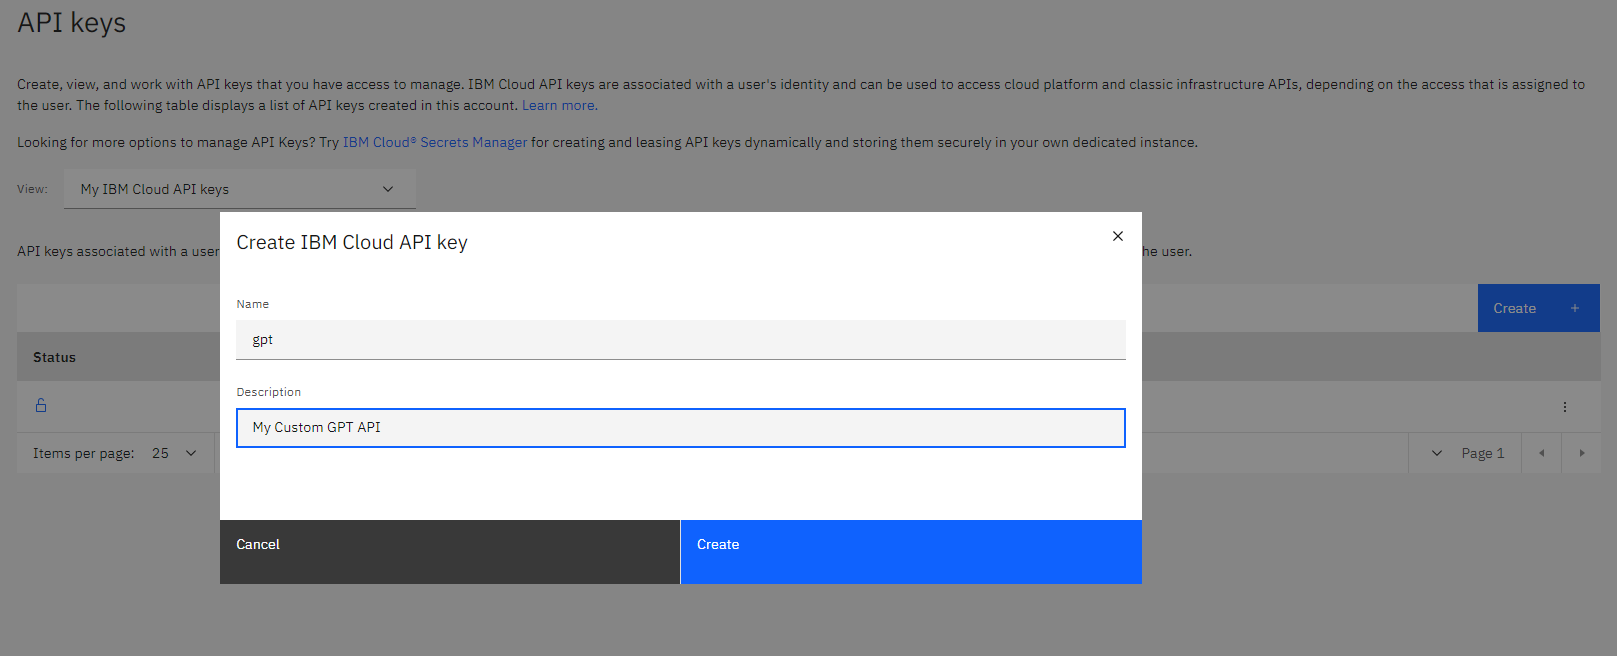
then we create our custom GPT API, I call it gpt and I give an small description
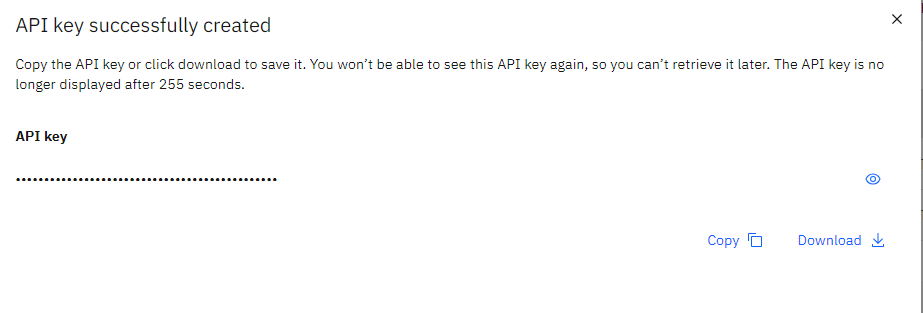
I copy the API key for future use
Once we have created our enviroments we need to load it during the the Stages: 2-Data creation 3-Modeling
For windows let us create .bat file called env.bat
C:\gpt\my_venv\Scripts\activate
then to load you simply type
enb.bat
For unix systems create .sh file called env.sh
gpt/my_venv/bin/activate
you type
sh env.sh
then type
jupyter lab
Now we are ready to start working. Let us go to the Next step 2-Data.
