
- AWS Account
- GitHub account
- Terraform, Maven, JDK installed locally
- IDE (VS Code, IntelliJ, etc)
- Create a repo in GitHub and name it as
terraform-aws-vprofile. Keeping the repository public since we will not be storing our credential in the repository, but if we are to store our credentials, then we go for the private repository.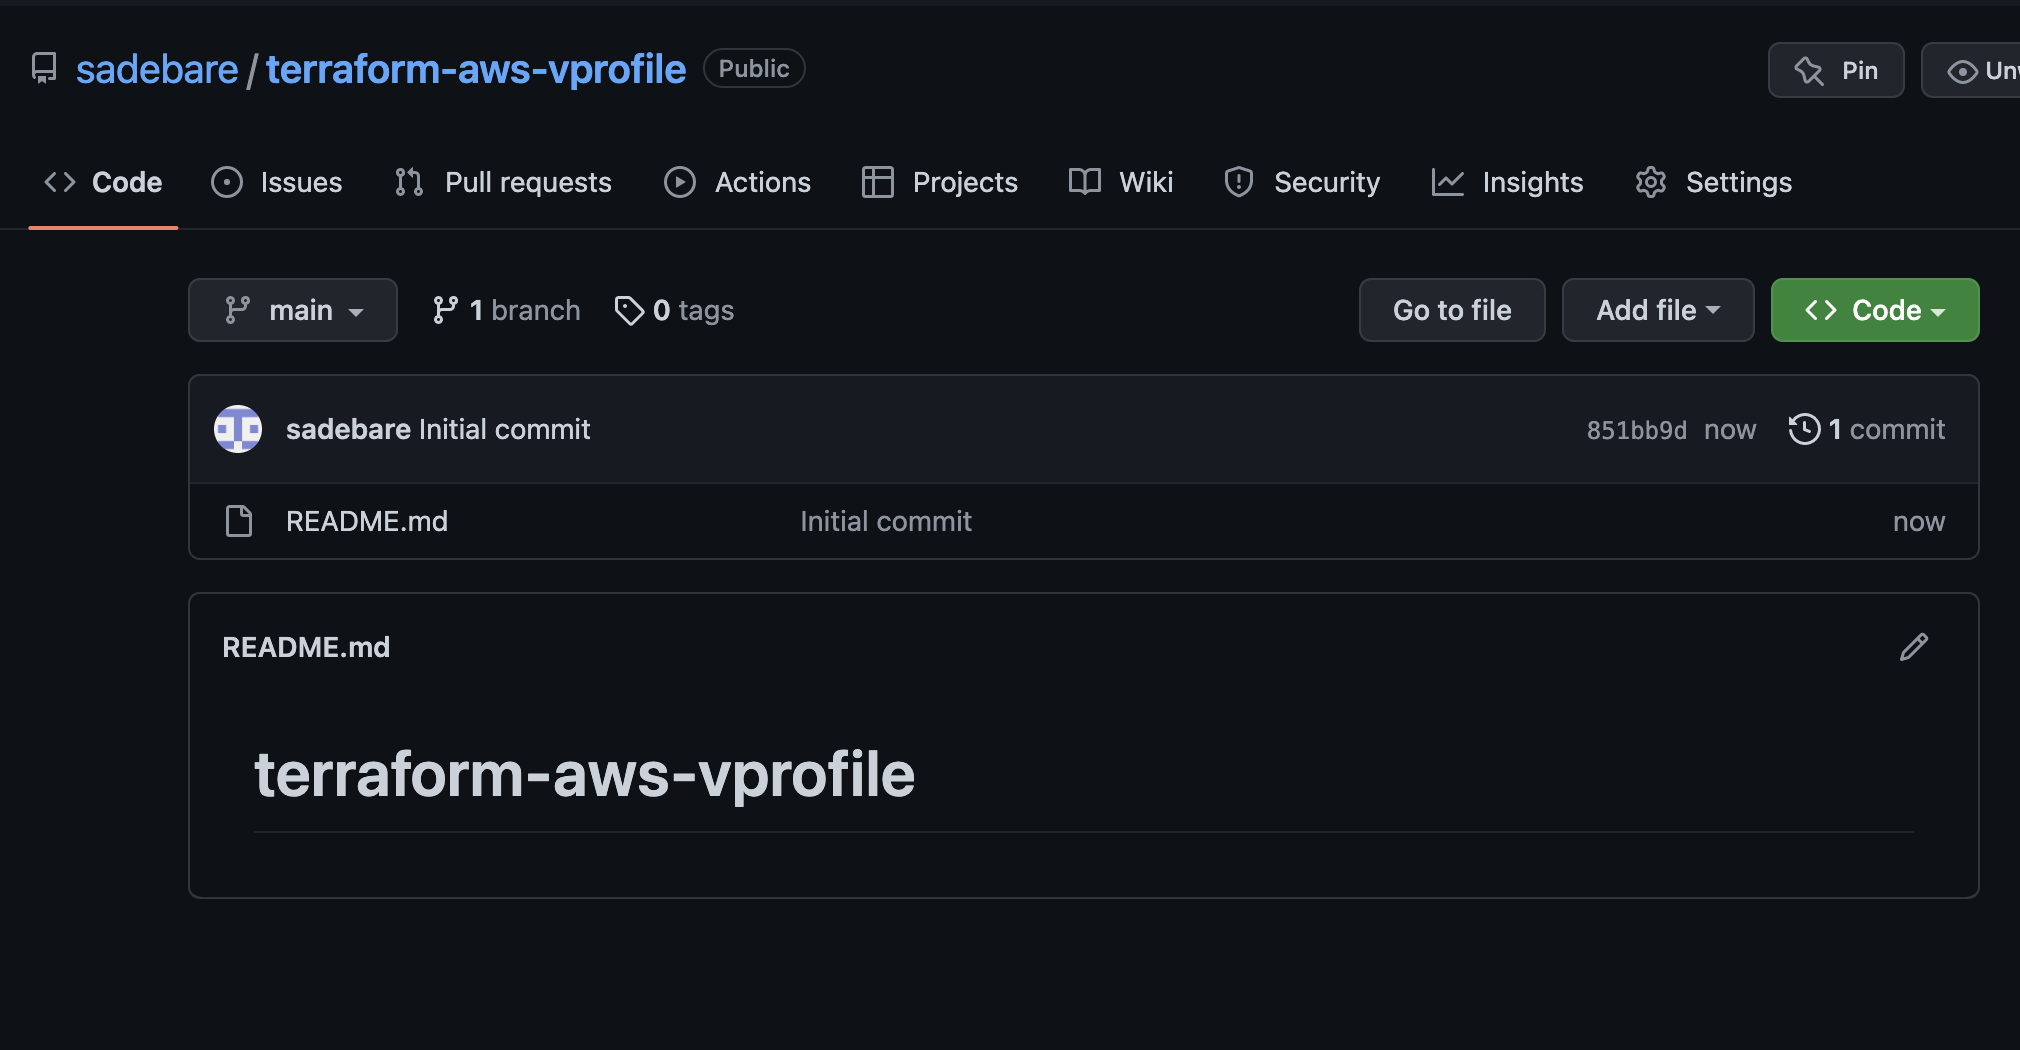

- We will clone the repository to the IDE that we will be using. I will be using VsCode for this project.
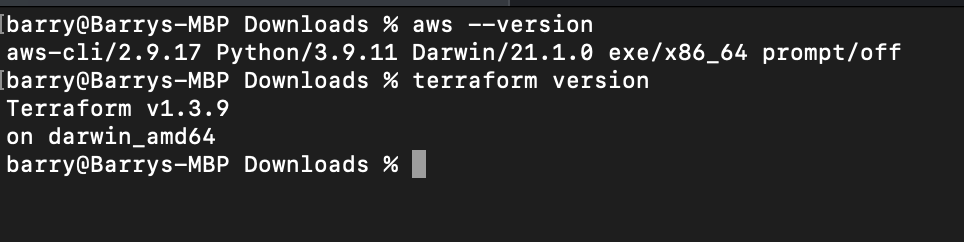
- We need to install Terraform and awscli locally for this project. You can follow documentation to do so.
- Once both are installed, check their version from terminal/powershell.
- You need to create an IAM user with Programmatic Access keys. Download credentials. configure aws from cli:
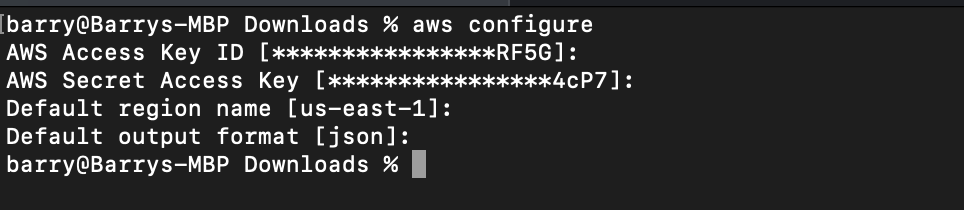


-
Let's create an s3 bucket to store the state in AWS. I will create bucket with awscli command:
aws s3 mb s3://vprofile-terraform-state-rd --region=us-east-1 aws s3 ls -
Create backend-s3.tf file under terraform-aws-vprofile repo with below content:
terraform { backend "s3" { bucket = "vprofile-terraform-state-rd" # replace with your s3 bucketname key = "backend" region = "us-east-1" } } -
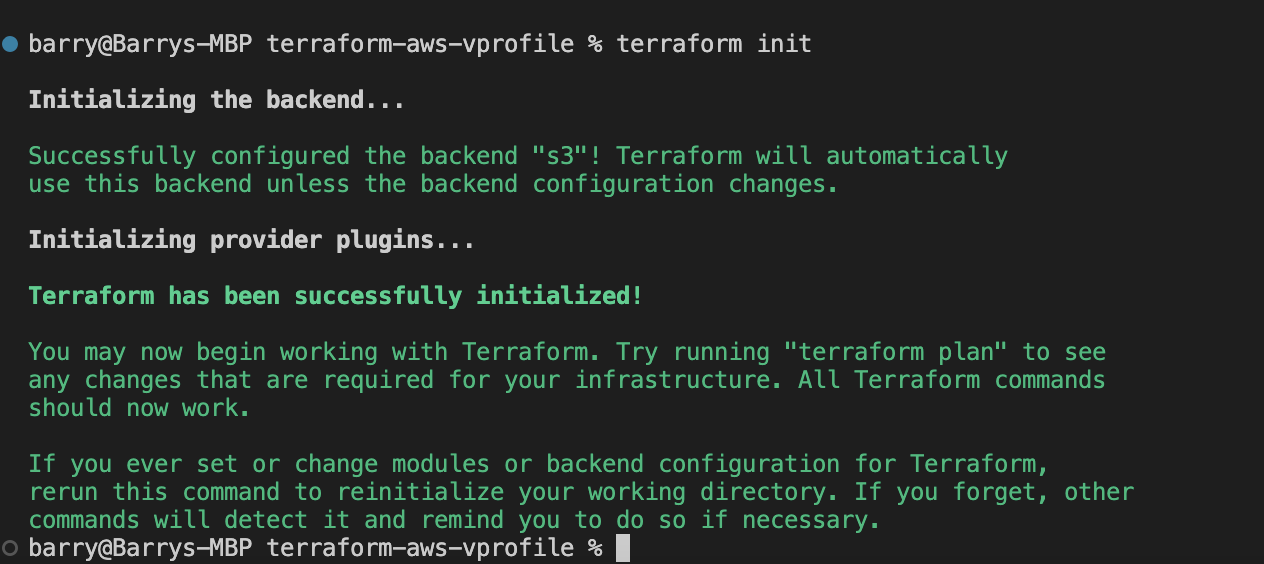
Go to project directory and run terraform init to initialize backend.

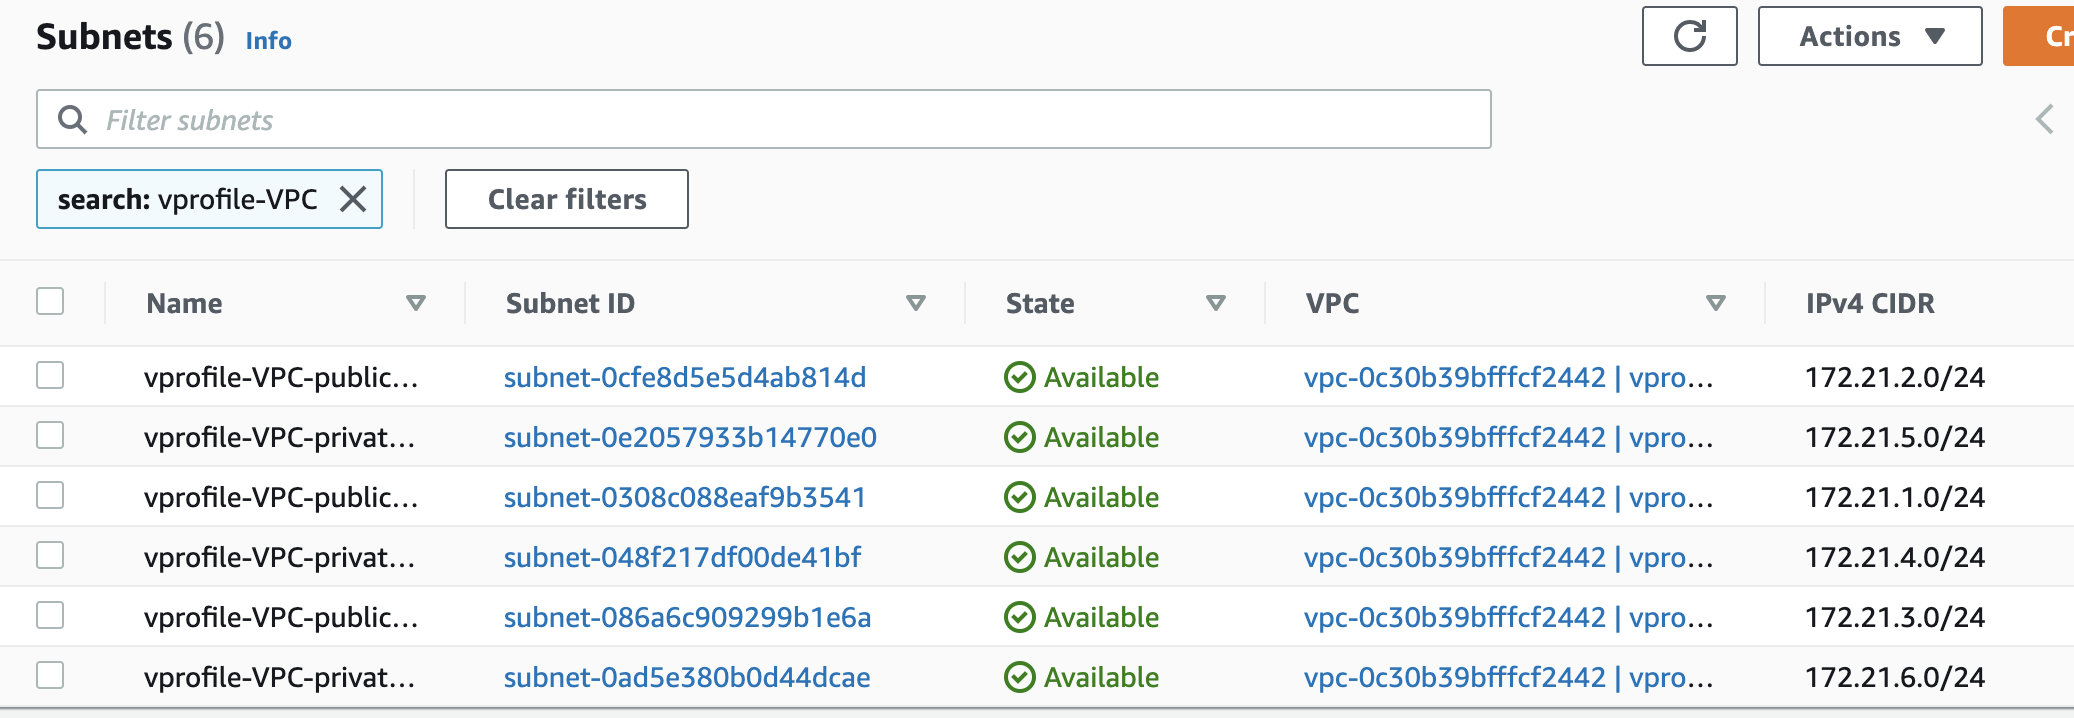
- We will create a HA infrastructure for our vprofile project. We will create a VPC with 3 Public subnets and 3 Private subnets. We will create Elasticache, ActiveMQ and RDS-MySQL services for our application. To be able to create a reusable code, we will use variables in our Terraform code.
- Create
vars.tffile andproviders.tffile as in given under terraform-files directory.
-
We will create an SSH key with name of
vprofilekeyas we mentioned invars.tffile. Go toterraform-aws-vprofiledirectory, run below command: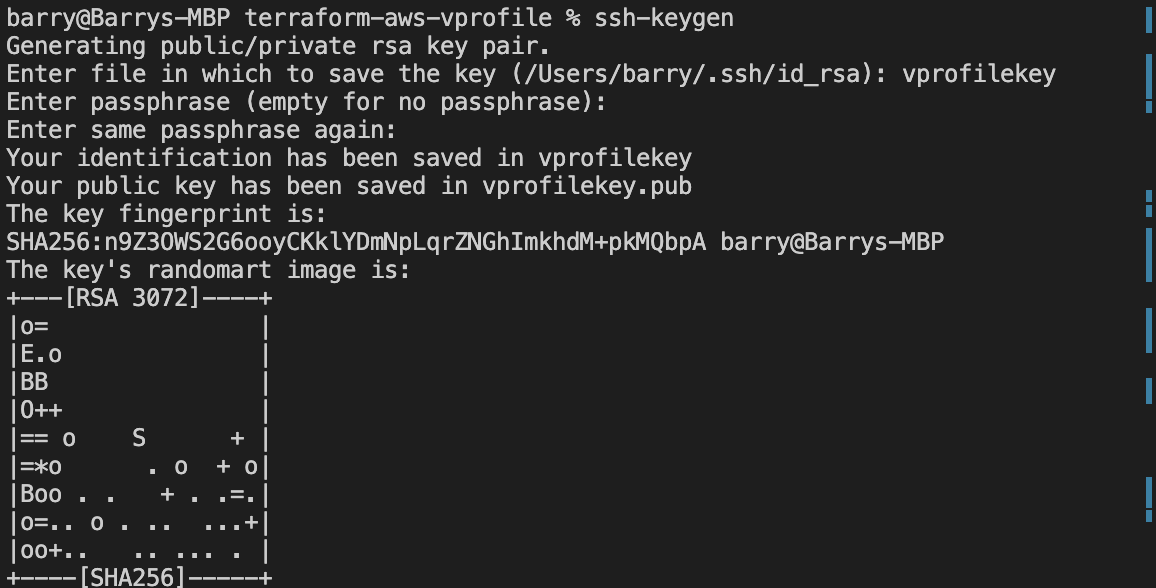
-
Now we can create
keypairs.tffile with below content. We will use file function to get the content from path instead of copy-pasting whole content.resource "aws_key_pair" "vprofilekey" { key_name = "vprofilekey" public_key = file(var.PUB_KEY_PATH) } -
We can commit/push files to GitHub except private/public key files for safety purpose.
-
Run below commands from working local directory:
terraform init terraform validate terraform fmt terraform plan terraform apply -
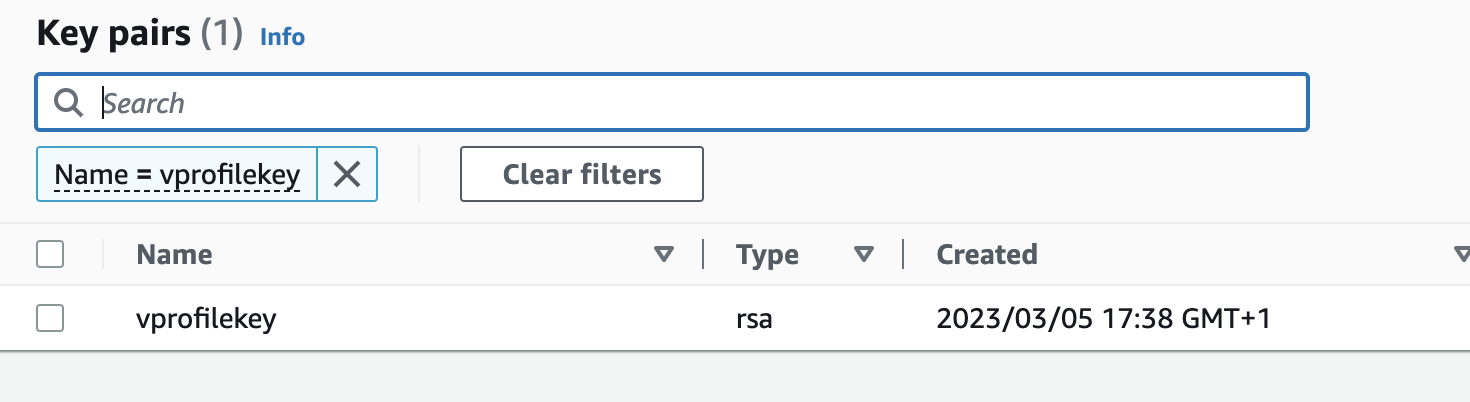
Our first resource keypair is created with terraform.


-
One easier way to create resources with terraform is using modules. we can find modules in terraform registry. We will use official VPC module from AWS.
-
Create
vpc.tffile similar to given file underterraform-filesdirectory. -
We will commit/push this file to remote repo.
-
Since we added a new module, first we need to run:
terraform init
terraform validate
terraform fmt
terraform plan
terraform apply

- Subnet created

-
We need to create SecGrp for below services:
- Beanstalk Load Balancer
- Bastion Host
- Beanstalk instances
- Backend services (Active MQ - Elasticache - RDS)
-
Create secgrp.tf file similar to given file under
terraform-filesdirectory. -
We will commit/push this file to remote repo and run the ffg command to create resource group
terraform validate
terraform fmt
terraform plan
terraform apply
-
Create
backend-services.tffile similar to given file under terraform-files directory. -
We will commit/push this file to remote repository.
-
Create
bean-app.tfandbean-env.tffiles similar to given file under terraform-files directory. -
We will commit/push this file to remote repo and run the ffg command to create beanstalk group
terraform validate
terraform fmt
terraform plan
terraform apply
-
We will create a Bastion host then connect to RDS instance through this instance and initialize the Database.
-
We will use templatefile function to initialize RDS. You may checkout more about this function from documentation
-
We need to get RDS-endpoint as a environment variable after it is created and replace it in template file to be able to connect to mysql database.
-
Create
templatesdirectory in project, under the same directory create a file named asdb-deploy.tftplsdawith below content:sudo apt update sudo apt install git mysql-client -y git clone -b vp-rem https://github.com/devopshydclub/vprofile-project.git mysql -h ${rds-endpoint} -u ${dbuser} --password=${dbpass} accounts < /home/ubuntu/vprofile-project/src/main/resources/db_backup.sql -
Create
bastion-host.tffile similar to given file underterraform-filesdirectory. -
We will commit/push this file to remote repository to create a shell command in the rds instance
terraform validate
terraform fmt
terraform plan
terraform apply
-
Clone repository to from bewlo repository, we need to do some updates in application.properties file.
git clone https://github.com/sadebare/vprofile-project.git
We will update below parts in that file. Replace db01 -> RDS endpoint Replace mc01 -> elasticache Endpoint Replace rmq01 -> Actice MQ AMQP endpoint(only take url after //) and port rabbitmq.username=rabbit rabbitmq.password=<replace_with_pwd_you_give_in_tf_vars>
  #JDBC Configutation for Database Connection
  jdbc.driverClassName=com.mysql.jdbc.Driver
  jdbc.url=jdbc:mysql://db01:3306/accounts?useUnicode=true&characterEncoding=UTF-8&

  #Memcached Configuration For Active and StandBy Host
  #For Active Host
  memcached.active.host=mc01
  memcached.active.port=11211
  #For StandBy Host
  memcached.standBy.host=127.0.0.2
  memcached.standBy.port=11211

  #RabbitMq Configuration
  rabbitmq.address=rmq01
  rabbitmq.port=5672
  rabbitmq.username=test
  rabbitmq.password=test
- Save and exit, then go to project directory where pom.xml exists and run mvn install to generate our artifact.
- Once our artifact is ready, we will upload it to Beanstalk manually.
- Go to Beanstalk from AWS Console, click on application you created by terraform. Upload and Deploy
-
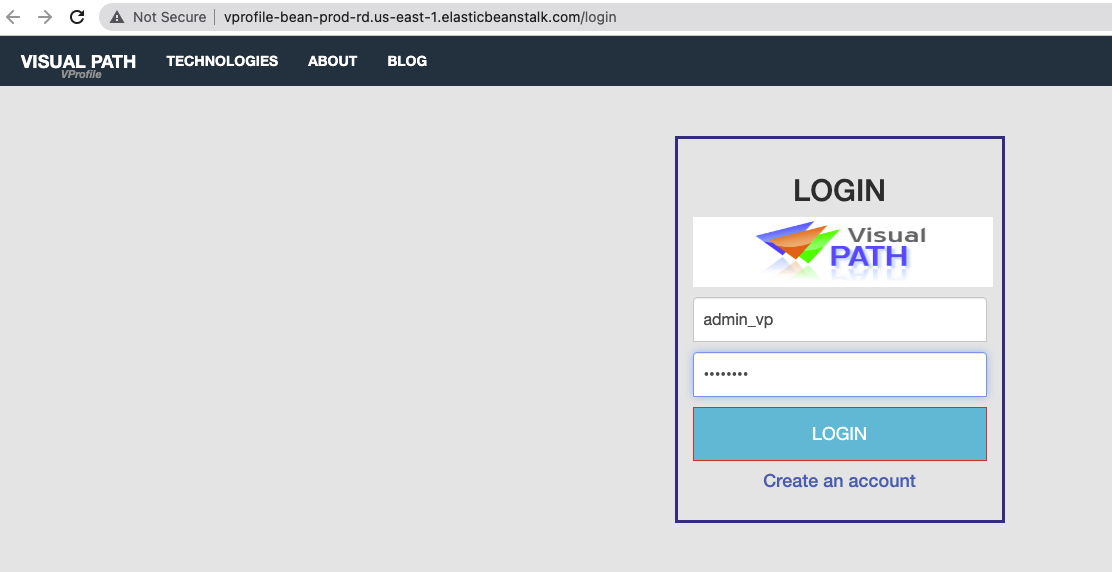
We can validate our application now from browser, click on url given in Benstalk page
-
You can run below command to clean-up your AWS account.
terraform destroy -auto-approve
