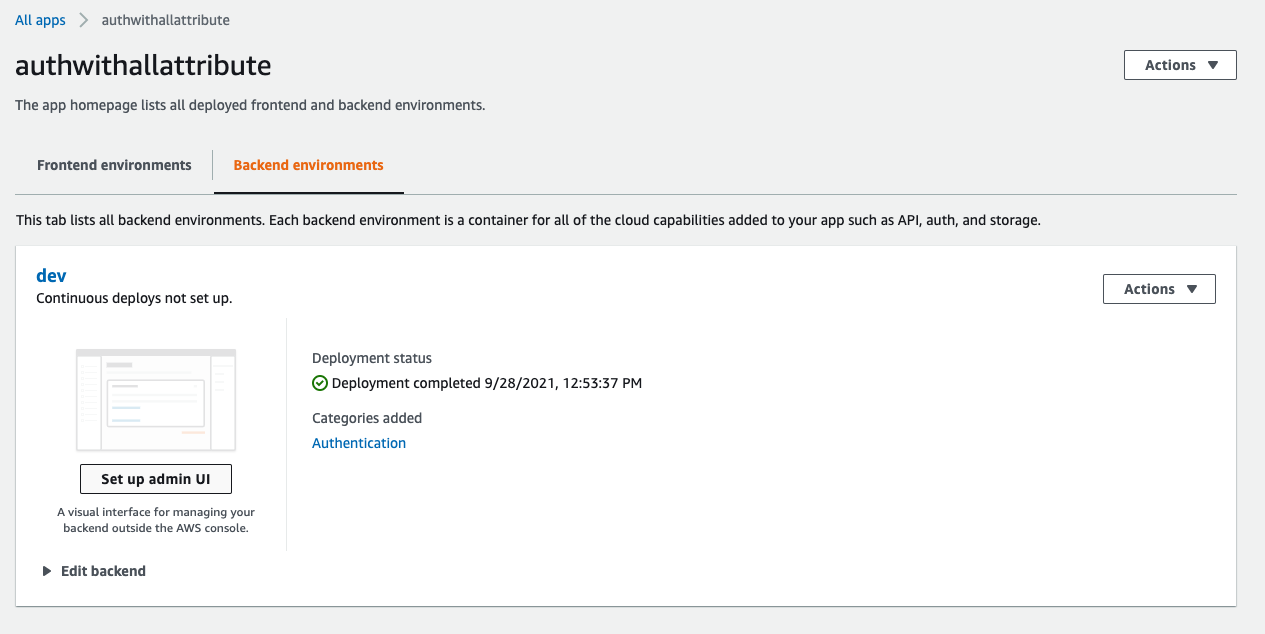
This folder contains a list of pre-built Amplify backends for use with manual & automated testing.
These environments rely on @aws-amplify/cli@latest (v6.4.0+) to work.
For manual and end-to-end testing, example applications will use a particular backend environment by pulling the aws-exports.js file from the environments/{BACKEND_ENVIRONMENT}/src directory. To use an existing backend environment, please use the following instructions.
- You will need an AWS account and the Amplify CLI installed and configured to use your AWS profile. Follow the "Amplify Getting Started: Prerequisites" tutorial to set up your AWS account and configure the Amplify CLI tool. Note: Only follow the "Prerequisites" tutorial. Do not move on to the "Set up fullstack project" tutorial.
- In a terminal,
cdinto the environment you want to use for testing your changes and initialize the environment using your own AWS account withamplify init. For example:cd environments/auth-with-email && amplify init
- You will be asked a couple of questions by the
amplifyinteractive prompt. ForEnter a name for the environmentandChoose your default editor, you can answer them as you prefer. - For
Select the authentication method you want to use, selectAWS profileand choose the profile you configured in step 1.
- You will be asked a couple of questions by the
- Run the following command to push up the local environment configuration to the environment you just initialized in your AWS account:
amplify push
- Answer
Yesto the promptAre you sure you want to continue?. This command may take several minutes to complete.
- Answer
- Run the following command to open the Amplify Admin UI to see your environment:
amplify console
- Answer
Amplify admin UIto the promptWhich site do you want to open?. Your environment is now configured for local testing. Note: Following the above steps may generate some changes in the environment's directory. You are safe togit checkoutthose changes.
- Answer
The internal Amplify team uses shared backend environments which are also used for our automated end-to-end testing. The following steps will walk you through pulling the environments locally:
-
Ensure you have the Amplify CLI tool installed as well as the internal
isengardclitool installed. -
In a new terminal window, use
isengardclito assume the sharedaws-amplify-uiaccount and manually set your region tous-east-1:isengardcli assume aws-amplify-ui --region us-east-1
This will configure a local AWS profile which uses temporary access keys from our shared
aws-amplify-uiaccount that can be used for accessing our shared environments. -
In the root directory of the project, pull all environments with the following yarn script:
yarn environments pull
Note – you must be running
@aws-amplify/[email protected]or newer for zero-config support.If you want to pull a single environment, you can call
yarn pullin that specific environment's directory:cd environments/auth-with-email && yarn pull
All of the environments should now be pulled down and each of their aws-exports.js files available for testing locally.
Note: Following the above steps may generate some changes in the environments' directories. You are safe to git checkout those changes.
When an existing backend doesn't match your needs (or requires changes), you can create a new backend via the Amplify Admin or the Amplify CLI.
-
Open https://console.aws.amazon.com/amplify/home?region=us-east-1#/ and click "All apps":
-
Under "New app", click "Create app backend":
-
Enter a descriptive name for this environment (e.g.
auth-with-username) and click "Confirm deployment": -
Click "Open Admin UI":
-
Enable your backend categories.
For auth-with-username, we clicked "Enable authentication":
-
Configure your category or categories:
For auth-with-username, we added the
Usernamelogin mechanism: -
Click "Save and deploy" then wait a few minutes:
-
Finally, you'll have "Local setup instructions" in the top-right:
amplify pull --appId dbffpda9986p --envName staging
-
Next, in your terminal create a folder for this environment:
cd environments

# Change change this next line to match your app name
mkdir auth-with-username
cd $_
-
Run the
amplify pull ...command from Admin UI:amplify pull --appId dbffpda9986p --envName staging --yes
(Passing
--yeswill skipamplify initprops and select defaults automatically)
🎉 You now have a local amplify & src/aws-exports.js environment!
After creating a new backend environment for local development, it can be useful to commit the configuration for future use in testing or collaboration.
-
First, create a
README.mdthat describes what makes this backend unique (example) -
Create a
package.jsonfile for the environment with ayarn pullscript that uses the pull command from step 8 above:// environments/auth-with-username/package.json { "private": true, "name": "my-custom-environment", "version": "0.0.1", "scripts": { "pull": "amplify pull --appId dbffpda9986p --envName staging" } }
If your backend was created with the Amplify CLI, you'll need to enable Admin UI for it:
-
Stage all changes in the new environment as you normally would and commit the changes:
# Within environments/my-custom-environment:
git add .

# This will add `amplify`, `src`, and `.gitignore` generated by `amplify pull`
git commit -m "Add my-custom-environment backend"


