👩🏻🏫 Summary
This guide explains why and how to preview Pulsar content locally with detailed steps and various examples.
TOC
It is required to preview your changes locally and attach the preview screenshots in your PR description. It brings many benefits, including but not limited to:
-
You can test your writings
It’s a way to check whether you use the correct Pulsar Documentation Writing Syntax and debug issues. You must ensure docs can be compiled and published correctly.
-
You can get your PR merged more quickly.
Reviewers know your changes clearly and can speed up the review process.
Pulsar documentation is built using Docusaurus. To preview your changes as you edit the files, you can run a local development server that serves your website and reflect the latest changes.
To verify docs are built correctly before submitting a contribution, you should set up your local environment to build and display the docs locally.
-
Node >= 16.14
-
Yarn >= 1.5
-
Although you can use Linux, macOS, or Windows to build locally the Pulsar documentation, macOS is the preferred build environment as it offers the most complete support for documentation building.
Follow these steps to build the doc (markdown) preview on your local machine.
-
Go to the correct repo.
cd pulsar/site2/website -
Run the following command to preview changes.
-
Preview master changes
If you update master docs, use the following command.
sh start.sh -
Preview historical changes
If you update versioned docs, use the following command.
It may take a few more minutes to complete the process.
sh start.sh <version-number> <version-number>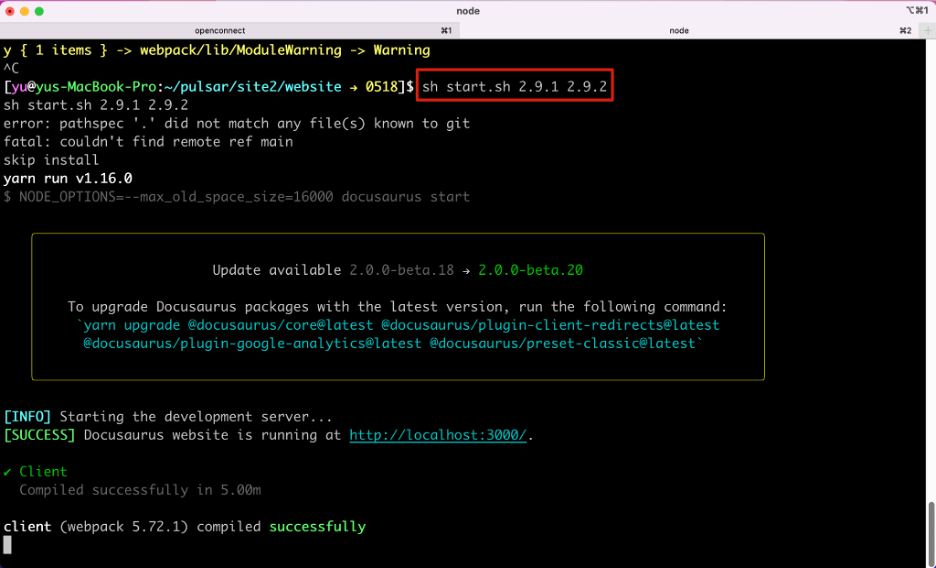

-
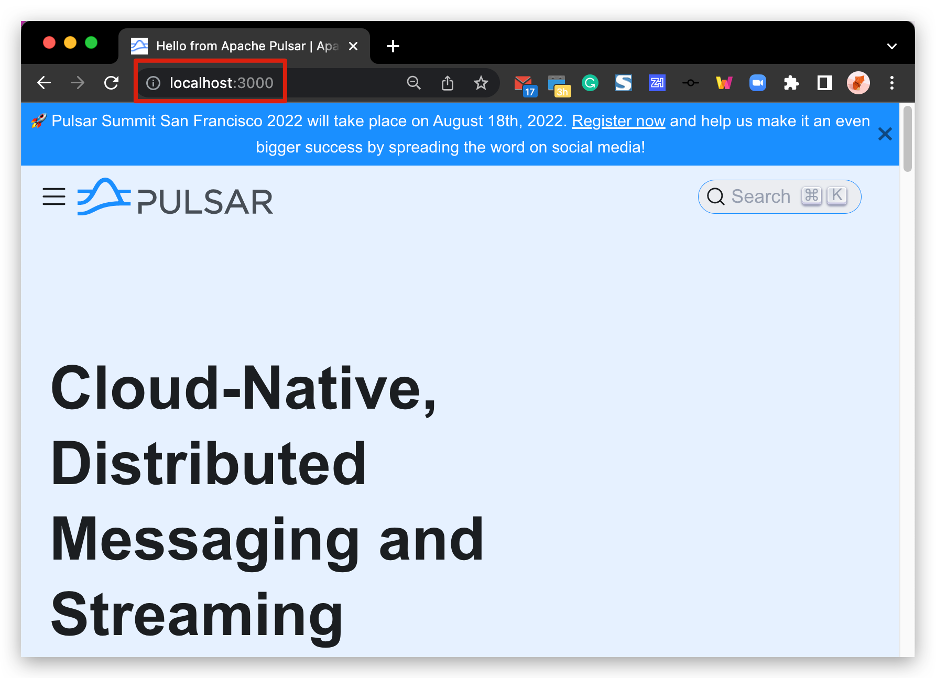
By default, a browser window will open at http://localhost:3000 to show the changes.

Follow these steps to build the doc (Java API) preview on your local machine on the master branch.
-
Go to the correct repo.
cd pulsar/site2/tools -
Run the following command to generate the
.htmlfiles.sh javadoc-gen.sh -
Open the target
.htmlfile to preview the updates.For example, if you change the ConsumerBuilder.java for Pulsar Java docs, you can navigate to the
generated-site/api/client/{version}/org/apache/pulsar/client/api/directory and open theConsumerBuilder.htmlfile to preview the updates.
Pulsar website changes refer to all the changes made to the Pulsar website, including but not limited to the following pages:
- Release Notes page ✅
- Ecosystem page ✅
- Case studies page ✅
- …
- (except docs ❌)
Follow these steps to build the website preview on your local machine.
-
Go to the correct repo.
cd pulsar-site/site2/website-next
2️. Run the following command to preview changes.
-
Preview master changes
If you submit changes to master, use the following command.
./preview.sh -
Preview historical changes
./preview.sh <version-number> <version-number> …❗️ Note
-
Use a space between
<version-number> <version-number>. -
If you want to preview multiple version changes, append
<version-number>with blanks.
For example,
./preview.sh 2.9.1 2.9.2 2.9.3. -
If you want to stop the preview, use one of the following methods.
-
Method 1: Switch to your command-line interface and press Control+C.
-
Method 2: Switch to your browser and close the preview page.
- For the old Pulsar website, using
yarn startcan preview all (master + historical) changes. However, to speed up the build process, for the new Pulsar website, using./preview.shonly preview master changes.
For more guides on how to make contributions to Pulsar docs, see Pulsar Documentation Contribution Overview.