You signed in with another tab or window. Reload to refresh your session.You signed out in another tab or window. Reload to refresh your session.You switched accounts on another tab or window. Reload to refresh your session.Dismiss alert
# This is a basic workflow to help you get started with Actionsname: CI# Controls when the action will run. Triggers the workflow on push or pull request# events but only for the master branchon:push:branches: [ master ]# A workflow run is made up of one or more jobs that can run sequentially or in paralleljobs:# This workflow contains a single job called "build"build:# The type of runner that the job will run onruns-on: ubuntu-latest# Steps represent a sequence of tasks that will be executed as part of the jobsteps:# Checks-out your repository under $GITHUB_WORKSPACE, so your job can access it- name: Checkout 🛎️uses: actions/checkout@v2- name: setup nodeuses: actions/setup-node@v1with:node-version: '10.x'- name: Cache dependenciesuses: actions/cache@v1with:path: ~/.npmkey: ${{ runner.os }}-node-${{ hashFiles('**/package-lock.json') }}restore-keys: |${{ runner.os }}-node-- name: installrun: npm ci- name: testrun: npm test- name: generaterun: npm run generate- name: Deploy 🚀uses: JamesIves/[email protected]with:GITHUB_TOKEN: ${{ secrets.GITHUB_TOKEN }}BRANCH: gh-pages # The branch the action should deploy to.FOLDER: dist # The folder the action should deploy.CLEAN: true # Automatically remove deleted files from the deploy branch
# This is a basic workflow to help you get started with Actionsname: CI# Controls when the action will run. Triggers the workflow on push or pull request# events but only for the master branchon:push:branches: [ master ]issues:types: [opened, edited]# A workflow run is made up of one or more jobs that can run sequentially or in paralleljobs:# This workflow contains a single job called "build"build:# The type of runner that the job will run onruns-on: ubuntu-latest# Steps represent a sequence of tasks that will be executed as part of the jobsteps:# Checks-out your repository under $GITHUB_WORKSPACE, so your job can access it- name: Checkout 🛎️uses: actions/checkout@v2- name: setup nodeuses: actions/setup-node@v1with:node-version: '10.x'- name: Cache dependenciesuses: actions/cache@v1with:path: ~/.npmkey: ${{ runner.os }}-node-${{ hashFiles('**/package-lock.json') }}restore-keys: |${{ runner.os }}-node-- name: installrun: npm ci- name: testrun: npm test- name: generaterun: npm run generate- name: Deploy 🚀uses: JamesIves/[email protected]with:GITHUB_TOKEN: ${{ secrets.GITHUB_TOKEN }}BRANCH: gh-pages # The branch the action should deploy to.FOLDER: dist # The folder the action should deploy.CLEAN: true # Automatically remove deleted files from the deploy branch
title: Githubとnuxt.jsだけでJAMStackを体感してみる
tags: GitHub GitHubActions nuxt.js
author: utautattaro
slide: false
概要
JAMStackというものがはやっているらしいので入門したいのですが、調べれば調べるほど、microCMSやNetrify, Contentfulなど新しいツールやライブラリを利用した記事が多いため、(自分にとっては)慣れ親しんだGithub(pages,issue,actions)とnuxt.jsだけでJAMStackなページを構築して体系的にJAMStackを学んでみよう!なエントリです
作ったもの
Githubで完結するブログシステムを作りました。
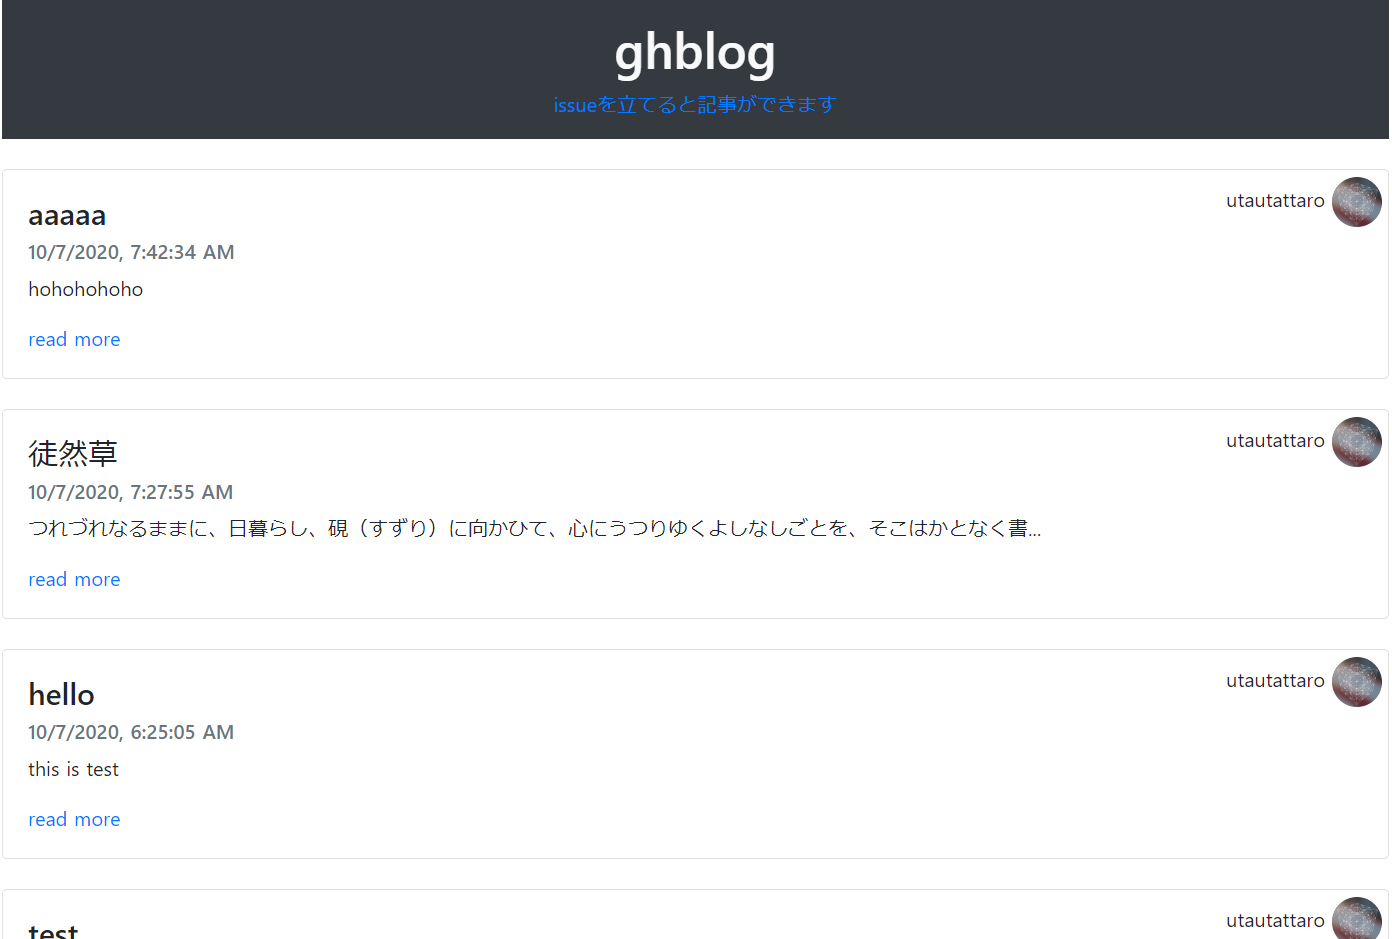
https://utautattaro.github.io/ghblog/
指定のリポジトリでissueを立てると自動的にページにコンテンツが投稿される仕組みです。
※適当にissueを追加して動作を確認してみてください!
そもそもJAMStackとは
AWSでJAMstackことはじめ(基礎知識編)から参照
つまるところユーザーが見るコンテンツは従来のようにクライアントサーバー間でアクセス時にやり取りするのではなく、事前にCI/CDでビルドして静的にホストしておこうぜという感じです。静的サイトとしてホストされるのでパフォーマンス的にもSEO的にもばっちりとのこと。
JAMStackを構成するうえで必要な要素としては以下のようです
1.Static Site Generator
2.CI/CD
3.静的ホスティング
4.APIs
最近ではこれらに特化したツールが数多く登場していますが、今回は導入をなるべく低く、無料で可能な範囲で行うためにそれぞれ
1.nuxt.js
2.Github Actions
3.Github Pages
4.GIthub Issue
で構築してみました
開発
リポジトリの作成
create-nuxt-app
個人的にBootStrapが好きなのでBootStrapを選択しています。
Issueを参照する際にaxiosが必要なのでこの場でインストールします。Rendering mode, Deploy targetはそれぞれSSR、Staticを選択します
アプリケーションができたらgit initしておきましょう
コンテンツの作成
今回はシンプルにIssueのタイトルとボディのみ使います。markdownが使えますが、いったんplantextのみ対応します。
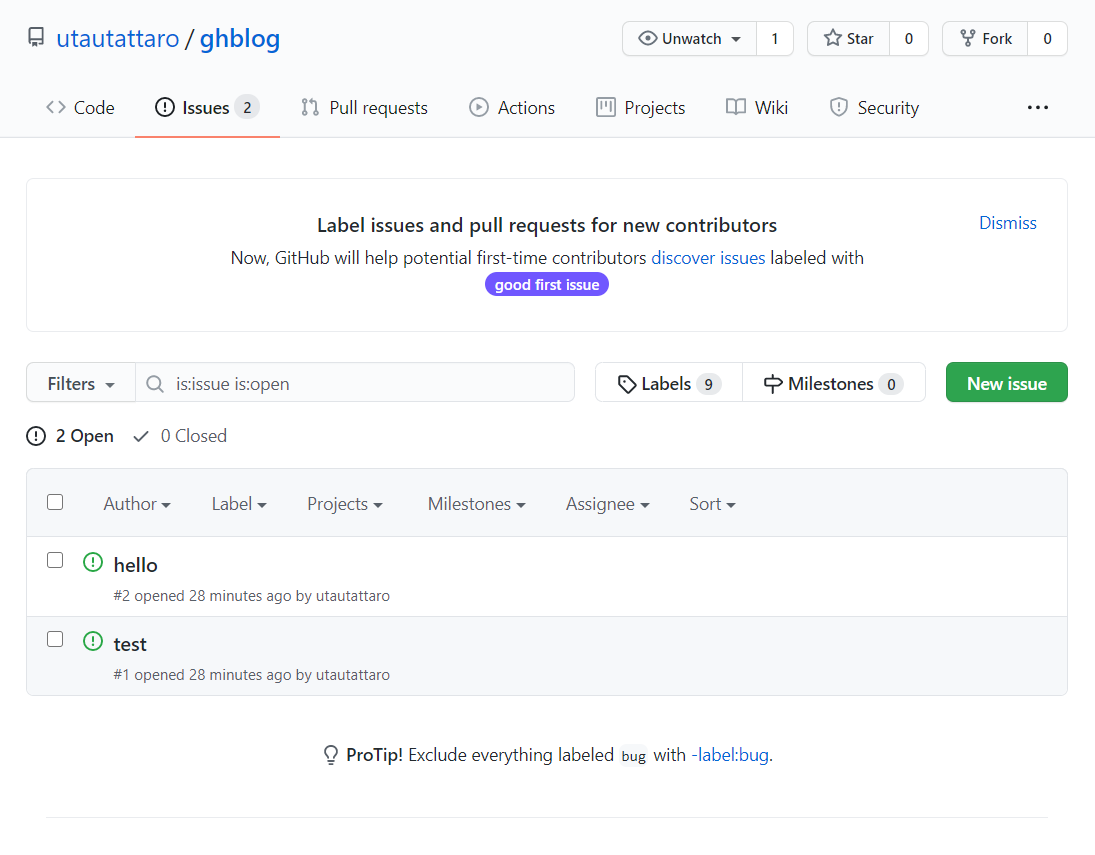
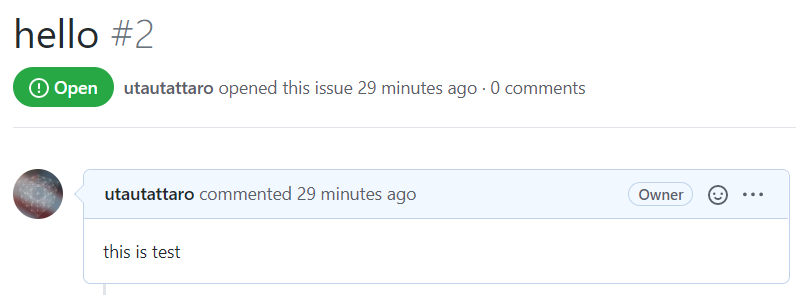
このように適当なIssueを二つほど立てておきます
CI/CDの準備
Actionsのタブに飛んでworkflowファイルを作成します
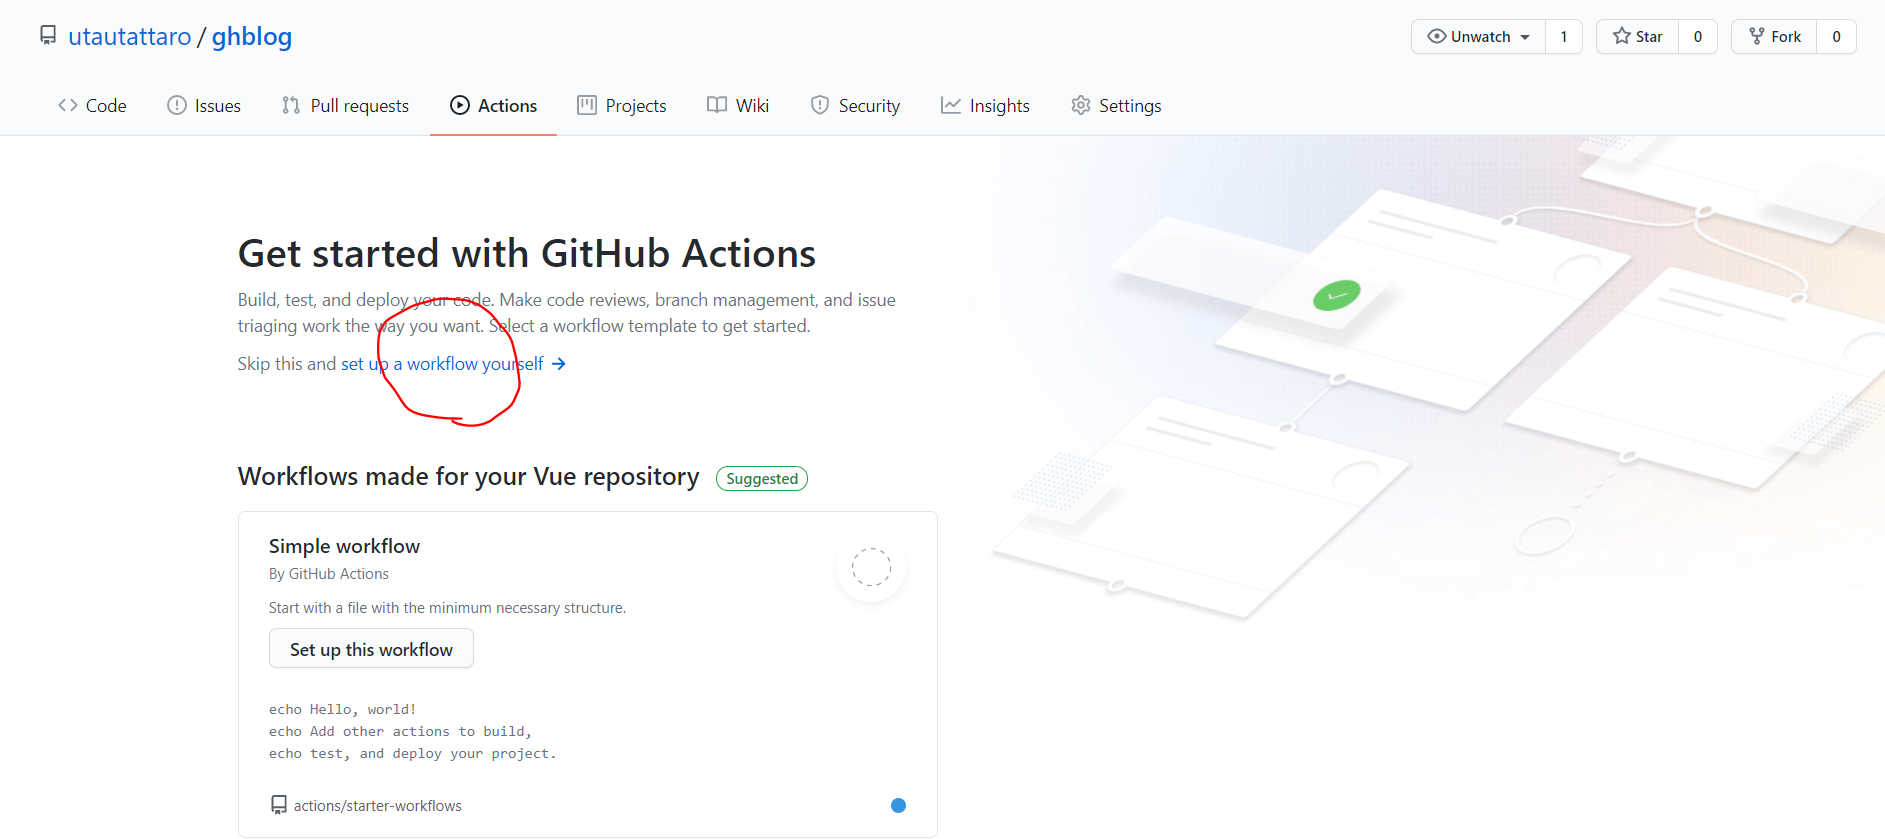
今回はGithub Pagesにデプロイしたいのでgithub-pages-deploy-actionを利用します
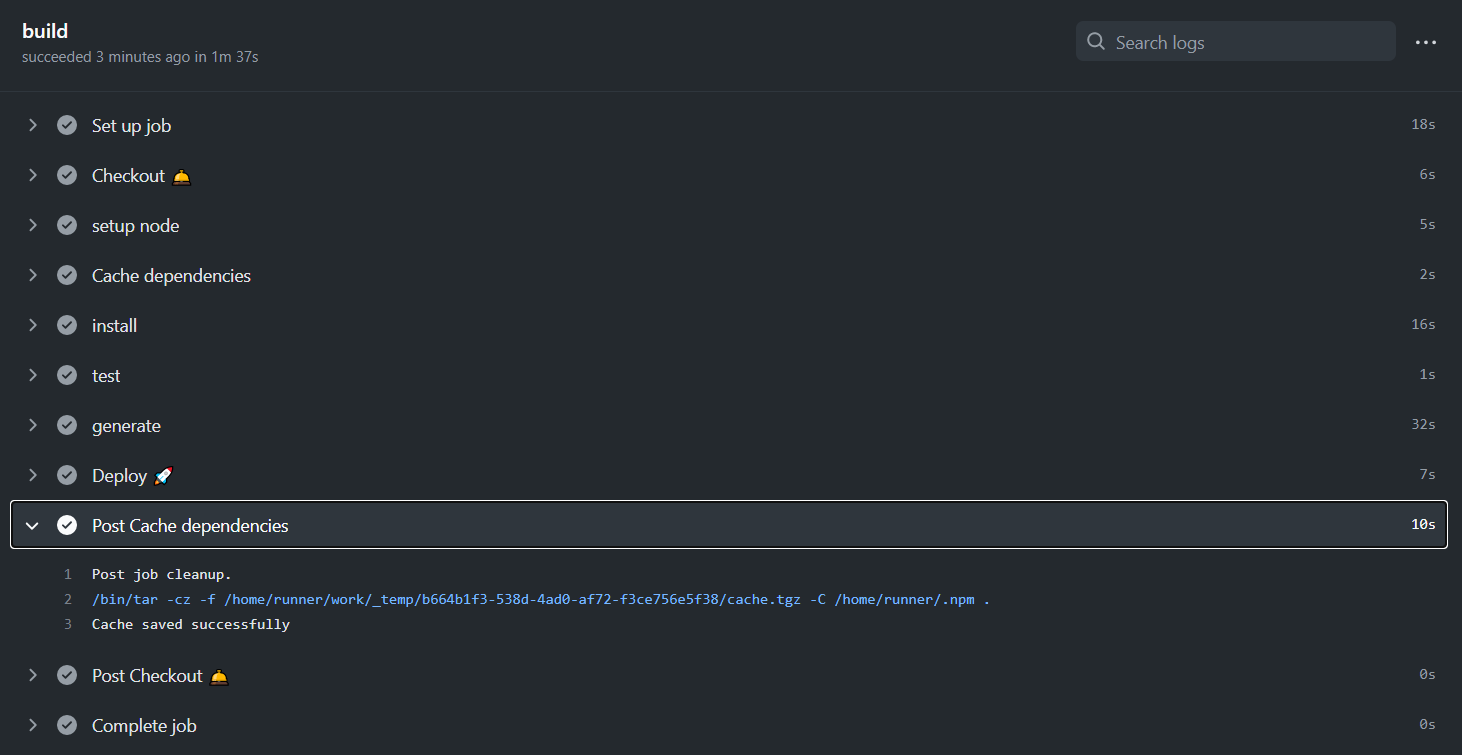
push後、CIが動いていることが確認できたらOKです
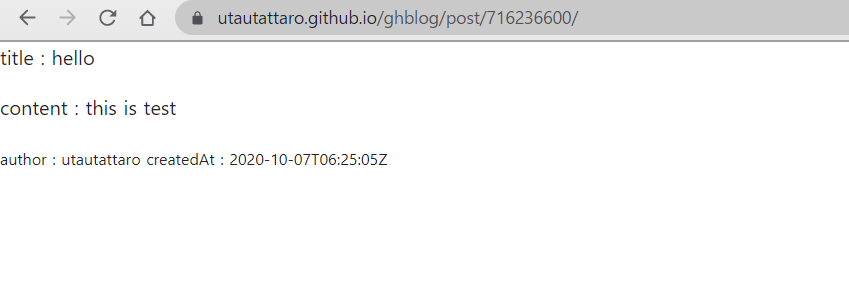
正しくビルドとデプロイができていれば、Github PagesのURLにこのように表示されているはずです
記事ページ作成
Issueから受け取ったデータを表示するための.vueファイルを作成します
configにIssueからのAPIを動的ルーティングに流し込む処理を追加します
プッシュすると記事のページが正しく表示されていることが確認できました
トップページ作成
トップページはaxiosでIssueの一覧を持ってきて表示する仕組みにしてしまいました。なので厳密にはJAMStackではないのですがまあトップページだけなので良しとします。
いい感じにトップページができました
長文のbodyがあった場合は50文字で切られる仕様にしてみました
記事ページ整形
記事ページをいい感じに整形しました。またトップへ戻るボタンを作成しました。このとき、nuxt.jsのvue-routerではルートがリポジトリのページのさらに上の階層に行ってしまうため、to="/ghblog/"のようにしています
Issue投稿をトリガにする
ここまで出来たらIssueの投稿をトリガにしてCIを走らせるようにすればJAMStackブログとして独り立ちできます。
適当なIssueを追加すると


Github Actionsが動いて
公開されました!
まとめ
Githubとnuxt.jsだけで最小構成のJAMStackが実現できました。ひとまず最小の範囲でどんなもんかが理解できました。もっと作りこめば自前のブログシステムとして運用したり、掲示板みたいなものつくれたり、Issueの共有システム作ったり、Github有償の方はprivateリポジトリでこれをやればプライベートブログとして使えたりしそうでなかなか汎用的なんじゃないかと思います。
また、gatsbyなんかを使うと様々なデータソースに対応できたり、contentfulを使うとRESTじゃなくてGraphQLでコンテンツデリバリーできたりといろいろ便利になるそうです。ひとまず概要は理解できたので、一つずつ挑戦していきたいと思います。
The text was updated successfully, but these errors were encountered: