| slug | sidebar_position | title | breadcrumbs |
|---|---|---|---|
/ |
1 |
Getting Started |
false |
Getting started with balenaSound is as simple as deploying it to a balenaCloud fleet; no additional configuration is required (unless you're using a DAC HAT). We've outlined the installation steps below. If you want a step-by-step tutorial on how to get balenaSound up and running, feel free to check these blog posts:
- Turn your old speakers or Hi-Fi into Bluetooth, Airplay2 and Spotify receivers with a Raspberry Pi and this step-by-step guide
- Build your own multi-room audio system with Bluetooth, Airplay2, and Spotify using Raspberry Pis
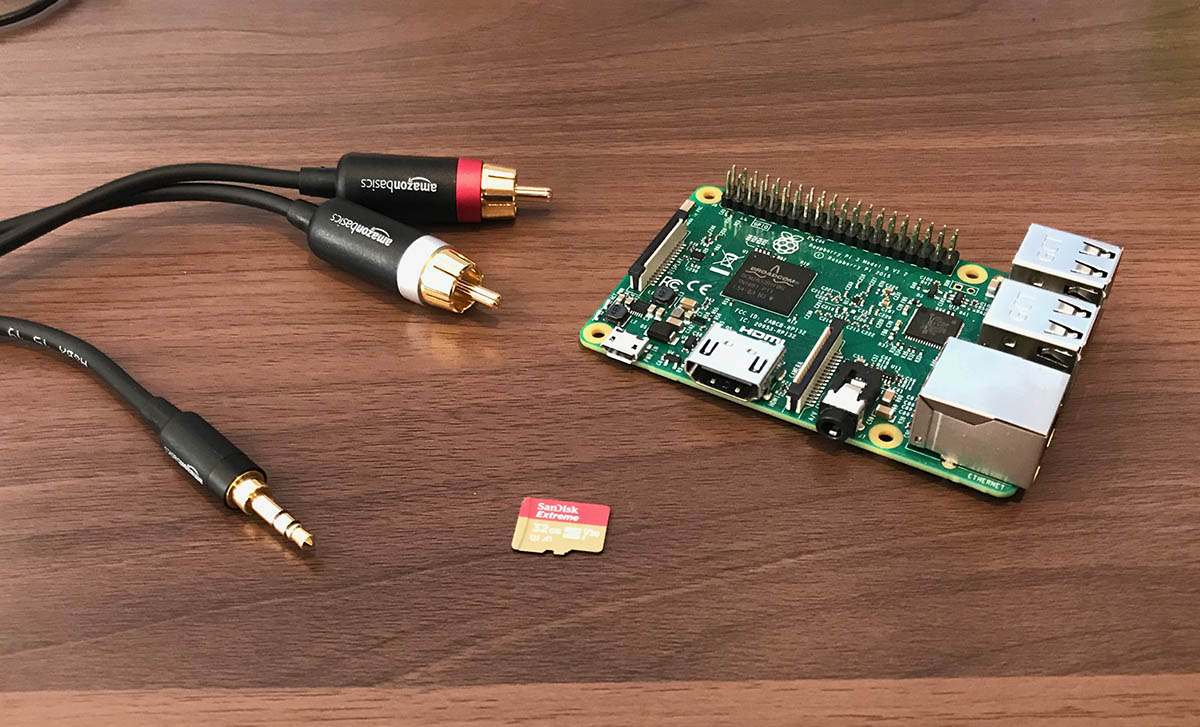
- Any device from our supported devices list. For the best experience, we recommend using a Raspberry Pi 3B+ or 4B.
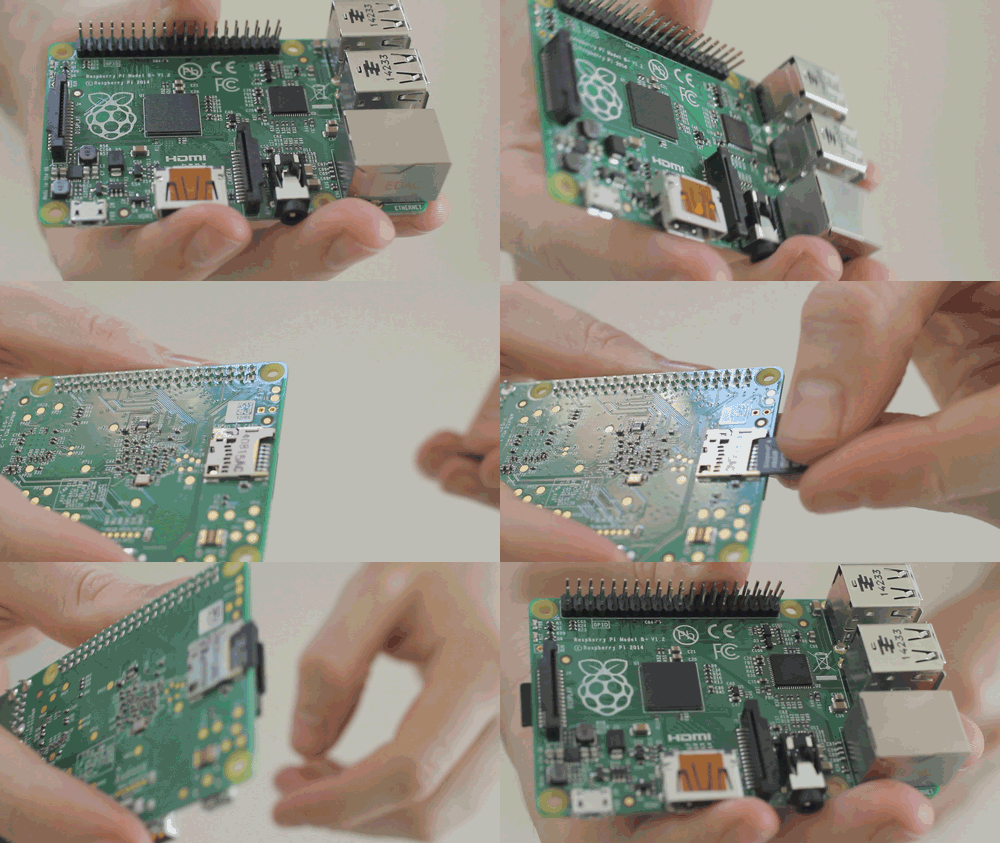
- An SD Card! We recommend the Sandisk Extreme Pro series. 8GB should be plenty enough for this project.
- Power supply
- 3.5mm audio cable to the input on your speakers/Hi-Fi (usually 3.5mm or RCA). Alternatively you can use the HDMI port to get digital audio out.
- Software to flash an SD card (balenaEtcher)
- A free balenaCloud account
- (optional) A download of this project
- (optional) The balena CLI tools
One-click deploy is the easiest way to get started with balenaSound as it allows you to deploy and configure the app with a single click and without the need of installing additional tools. Check out the CLI deploy instructions below if you are interested in an advanced alternative that enables you to achieve more complex deployments.
Click this button to go straight to balenaCloud fleet creation, where balenaSound app will be pre-loaded:
Once your fleet has been created you'll need to add a device to it:
- Add a device to the fleet by clicking the
add devicebutton - Download the OS and flash it to your SD card with balenaEtcher
- Power up your device and check it's online in the dashboard!
The balenaSound app will start downloading as soon as your device appears in the dashboard.
This is the traditional and more advanced approach for deploying apps to balena powered devices. Installing and setting up the balena CLI is definitely more involved than using the Deploy with balena button, but it allows for more flexibility and customization when choosing what and when to deploy.
For example, if you don't plan on using the Spotify integration, you can edit the docker-compose.yml file and remove the Spotify service before deploying the app.
- Sign up for or login to the balenaCloud dashboard
- Create a fleet, selecting the correct device type. If you are using a Raspberry Pi (any model) we recommend setting the type as
Raspberry Pi (v1 / Zero / Zero W)as your fleet will then be compatible with all Raspberry Pi versions. - Add a device to the fleet, enabling you to download the OS
- Flash the downloaded OS to your SD card with balenaEtcher
- Power up your device and check it's online in the dashboard
- Install the balena CLI tools
- Login with
balena login - Download this app and from the project directory run
balena push <fleetName>where<fleetName>is the name you gave your balenaCloud fleet in the first step.
To deploy bug fixes or new features to your balenaSound application, the process is the same as a deployment:
- Install the balena CLI tools
- Login with
balena login - Download this project and from the project directory run
balena push <appName>where<appName>is the name you gave your balenaCloud application during the provision step above.
Note: If you receive the message "Application is ambiguous" during the push, then you will need to specify your balenaCloud username along with the
<appName>, ie.balena push <username>/<appName>
To update your application via one-click deploy just click the Deploy with balena button below. Make sure you select your already existing balenaSound application so you don't create a new one!
If you are running into issues getting your balenaSound app running, please try the following:
- Check the support and troubleshooting guide for common issues and how to resolve them.
- Post in the balenaSound forum for help from our growing community.
- Create an issue on the balenaSound GitHub project if you find your issue may be a problem with balenaSound.


