For more information about disks in Azure virtual machines, see About Virtual Machine Disks in Azure.
##How to: Attach an empty disk Attaching an empty disk is the simpler way to add a data disk, because Azure creates the .vhd file for you and stores it in the storage account.
-
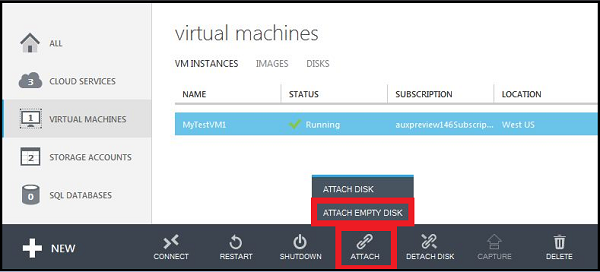
Click Virtual Machines, and then select the appropriate virtual machine.
-
On the command bar, click Attach, and then select Attach Empty Disk.
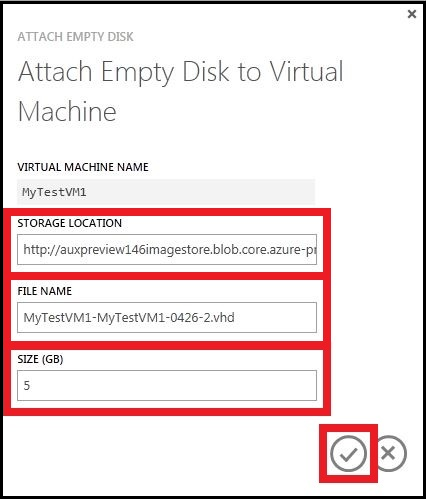
The Attach Empty Disk dialog box appears.
-
In File Name, either accept the automatically generated name or type a descriptive name. The data disk that is created from the .vhd file will always use the automatically generated name.
-
In Size, enter the size of the data disk.
-
Click the check mark to attach the empty data disk.
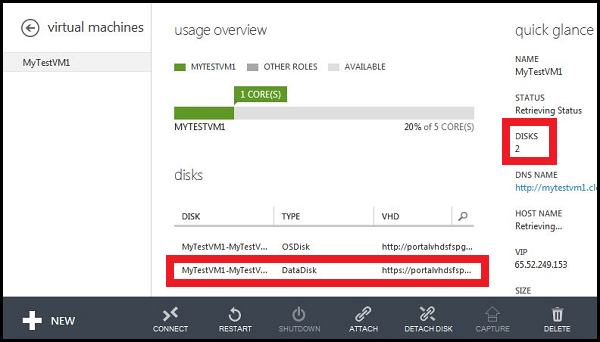
You will now see the data disk listed on the dashboard of the virtual machine.
##How to: Attach an existing disk
Attaching an existing disk requires that you have a .vhd available in a storage account. Use the Add-AzureVhd cmdlet to upload the .vhd file to the storage account. After you've created and uploaded the .vhd file, you can attach it to a virtual machine.
-
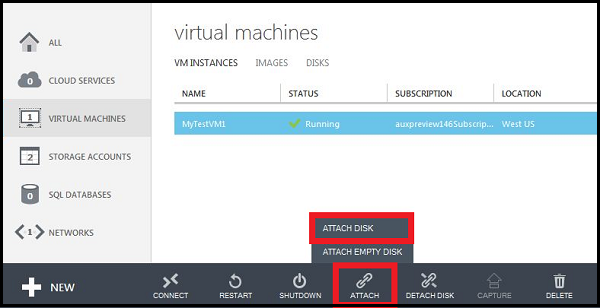
Click Virtual Machines, and then select the appropriate virtual machine.
-
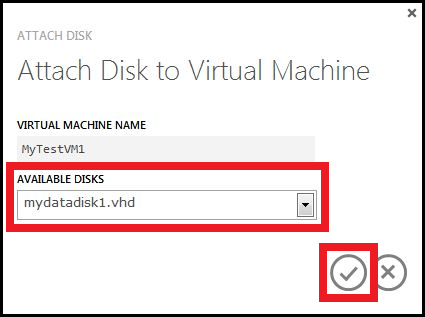
On the command bar, click Attach, and then select Attach Disk.
The Attach Disk dialog box appears.
-
Select the data disk that you want to attach to the virtual machine.
-
Click the check mark to attach the data disk to the virtual machine.
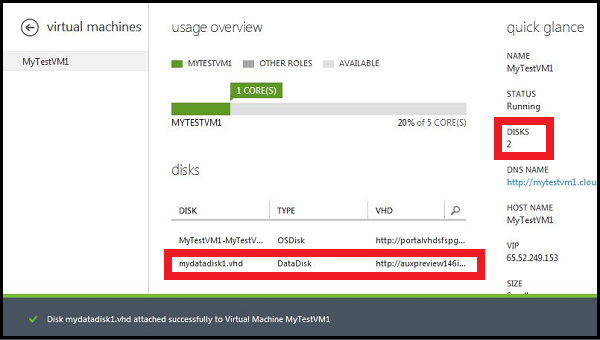
You will now see the data disk listed on the dashboard of the virtual machine.
[WACOM.NOTE] After you add a data disk, you'll need to log on to the virtual machine and initialize the disk so the virtual machine can use the disk for storage.
