A version of Damien Walsh's leptonic server program for the Raspberry Pi that uses VSYNC and an ISR running in user-space on the Pi to sync the Lepton's VoSPI data.
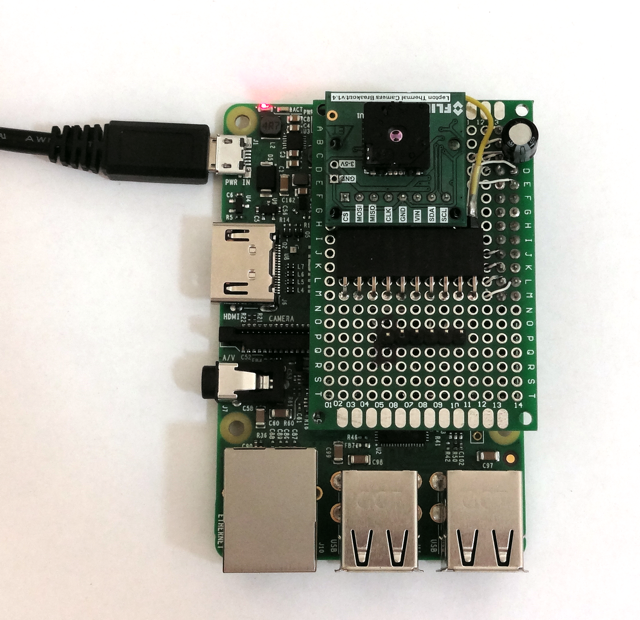
Connect the Lepton module's power, I2C, SPI and VSYNC output to the Pi as follows.
| Pi Header Pin | Function | Lepton Module |
|---|---|---|
| 1 | 3V3 | VIN |
| 3 | SDA | SDA |
| 5 | SCL | SCL |
| 6 | GND | GND |
| 7 | VSYNC | GPIO3 |
| 19 | MOSI | MOSI |
| 21 | MISO | MISO |
| 23 | SCLK | SCLK |
| 24 | CS0 | CS |
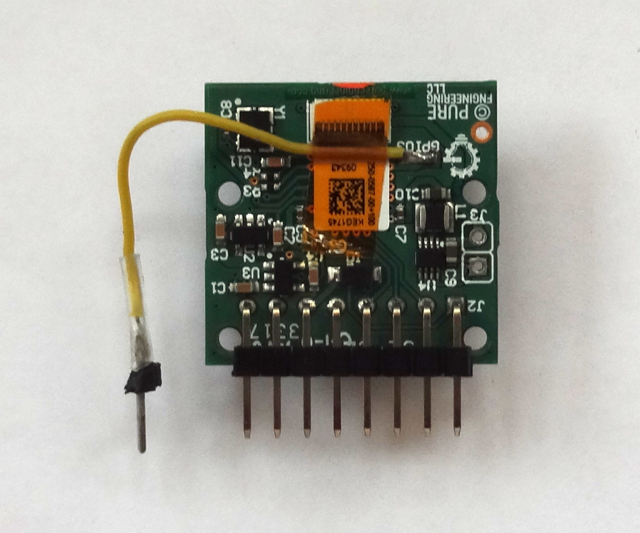
VSYNC can be found on the back of the Lepton module.
Download and install Damien's version of leptonic including the dependencies he lists. In addition, install the PIGPIO C library and enable I2C on your Pi if necessary using raspi-config. PIGPIO is used for low-latency user-space interrupt handling. Download and unpack leptonic-vsync.
cd leptonic-vsync
make
sudo ./bin/leptonic /dev/i2c-1 /dev/spidev0.0
You should see the leptonic server start up with output like the following.
pi@raspberrypi:~/leptonic-vsync $ sudo ./bin/leptonic /dev/i2c-1 /dev/spidev0.0
08:10:14 INFO  src/leptonic.c:223: preallocating space for segments...
08:10:14 INFO  src/leptonic.c:232: Creating get_frames_from_device thread
08:10:14 INFO  src/leptonic.c:238: Creating send_frames_to_socket thread
08:10:14 INFO  src/leptonic.c:80: opening I2C device... /dev/i2c-1
08:10:14 INFO  src/leptonic.c:87: opening SPI device... /dev/spidev0.0
08:10:14 INFO  src/leptonic.c:106: aquiring VoSPI synchronisation
Then start the frontend code in the original leptonic frontend directory.
npm start
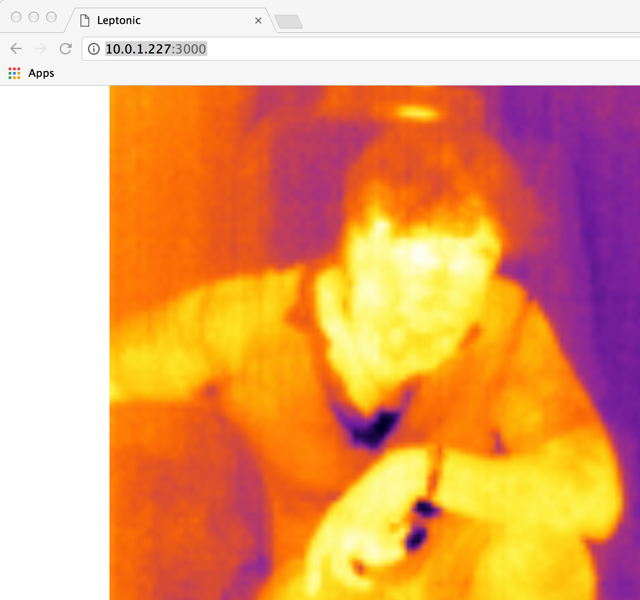
You should be able to view the output from the camera on a web browser using the Pi's address at port 3000 as with Damien's original code.
Uncomment out the call to cci_set_agc_enable_state in leptonic.c to enable AGC. This results in a slightly better image utilizing the Lepton's built-in AGC functionality.


