This document covers basic needs to work with KubeBlocks codebase.
- Developing KubeBlocks
There are two options for getting an environment up and running for KubeBlocks development.
To build KubeBlocks on your own host, needs to install the following tools:
- Go (Golang)
- Make
Download and install Go 1.20 or later.
KubeBlocks uses make for a variety of build and test actions, and needs to be installed as appropriate for your platform:
- Linux
- Install the
build-essentialpackage:sudo apt-get install build-essential
- Install the
- macOS
- Ensure that build tools are installed:
xcode-select --install
- When completed, you should see
makeand other command line developer tools in/usr/bin.
- Ensure that build tools are installed:
When go and make are installed, you can clone the KubeBlocks repository, and build KubeBlocks binaries with the make tool.
- To build for your current local environment:
make all
- To cross-compile for a different platform, use the
GOOSandGOARCHenvironmental variables:make all GOOS=windows GOARCH=amd64
If you are using Visual Studio Code, you can connect to a development container configured for KubeBlocks development. With development container, you don't need to manually install all of the tools and frameworks needed.
- Install VSCode Dev Containers extension
- Open the
KubeBlocksproject folder in VSCode- VSCode will detect the presence of a dev container definition in the repo and will prompt you to reopen the project in a container:
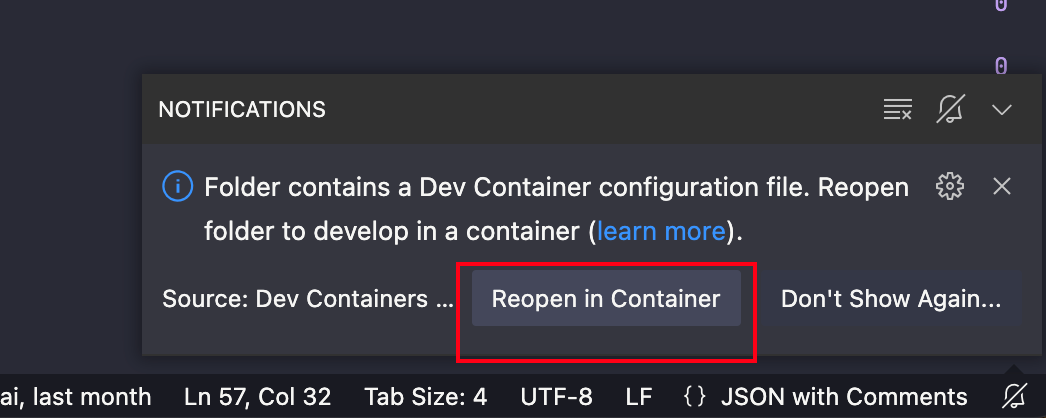
- Alternatively, you can open the command palette and use the Remote-Containers: Reopen in Container command:

- VSCode will pull image and start dev container automatically, once the container is loaded, open an integrated terminal in VS Code and you're ready to develop
KubeBlocksin a containerized environment.
- VSCode will detect the presence of a dev container definition in the repo and will prompt you to reopen the project in a container:
- And you can run
make allto buildKubeBlocksin the dev container.
The devcontainer.json uses the latest image from ApeCloud Docker hub, you can customize image to suit your need.
- Edit the docker/Dockerfile-dev dev container image definition, you can change the
[Option]configuration or install additional tools.# Copy library scripts to execute COPY library-scripts/*.sh library-scripts/*.env /tmp/library-scripts/ # [Option] Install zsh ARG INSTALL_ZSH="true" # [Optional] Uncomment the next line to use go get to install anything else you need # RUN go get -x <your-dependency-or-tool> # [Optional] Uncomment this section to install additional OS packages. # RUN apt-get update && export DEBIAN_FRONTEND=noninteractive \ # && apt-get -y install --no-install-recommends <your-package-list-here> # [Optional] Uncomment this line to install global node packages. # RUN su vscode -c "source /usr/local/share/nvm/nvm.sh && npm install -g <your-package-here>" 2>&
- Build a new image using updated
Dockerfile, and replace the"image"property in devcontainer.json.{ // Update to your dev container image "image": "docker.io/apecloud/kubeblocks-dev:latest", } - Rebuild and reopen the workspace in the dev container via the command palette and the
Remote-Containers: Rebuild and Reopenin Container command. - When you are satisfied with your changes, you can optionally publish your container image to your own registry to speed up rebuilding the container when you only want to make changes to the
devcontainer.jsonconfiguration in the future. For a docker image nameddocker.io/xxxx/kubeblocks-dev:make build-dev-image DEV_CONTAINER_IMAGE_NAME=docker.io/xxxx/kubeblocks-dev
If you want to reuse an existing Kubernetes config, such as your EKS cluster or local Minikube cluster, you can configure the devcontainer.json copy those settings into the dev container. This requires:
- Enabling the
SYNC_LOCALHOST_KUBECONFIGenvironment variable - Bind mounting the locations of your Kubernetes and Minikube config paths to
/home/kubeblocks/.kube-localhostand/home/kubeblocks/.minikube-localhostrespectively.- You don't need to bind the Minikube path if you're not using it.
"containerEnv": {
    // Uncomment to overwrite devcontainer .kube/config and .minikube certs with the localhost versions
    // each time the devcontainer starts, if the respective .kube-localhost/config and .minikube-localhost
    // folders respectively are bind mounted to the devcontainer.
    "SYNC_LOCALHOST_KUBECONFIG": "true",
},

...

"mounts": [
// Uncomment to clone local .kube/config into devcontainer
"type=bind,source=${env:HOME}${env:USERPROFILE}/.kube,target=/home/kubeblocks/.kube-localhost",

// Uncomment to additionally clone minikube certs into devcontainer for use with .kube/config
"type=bind,source=${env:HOME}${env:USERPROFILE}/.minikube,target=/home/kubeblocks/.minikube-localhost"

]
⚠ The
SYNC_LOCALHOST_KUBECONFIGoption only supports providing the dev container with the snapshot configuration from the host and does not support updating the host Kubernetes configuration from the dev container directly.
To run KubeBlocks, you needs Docker and a Kubernetes 1.24.1+ cluster for development.
- Install Docker
For Linux, you'll have to configure docker to run without
sudofor the KubeBlocks build scripts to work. Follow the instructions to manage Docker as a non-root user. - Create your Docker Hub account if you don't already have one.
- Kubernetes cluster
You can use cloud Kubernetes service, such as
EKSGKEAKS, or use local Kubernetes cluster, such asMinikubek3d. - For development purposes, you will also want to follow the optional steps to install Helm 3.x.
KubeBlocks is using kubebuilder as the operator framework, before your start to code, suggest to read kubebuilder books.
KubeBlocks includes a Makefile in the root of the repo. This serves as a high-level interface for common commands. Running make help will produce a list of make targets with descriptions. These targets will be referenced throughout this document.
kbcli is a cobra-based command line interface for KubeBlocks which support to the basic interaction commands such as install/uninstall/upgrade KubeBlocks and all kinds of actions for KubeBlocks
The kbcli repository: https://github.com/apecloud/kbcli
First, read the Go (Golang) coding guidelines again, looking for any style violations. It's easier to remember a style rule once you've violated it.
Run our suite of linters:
make lintThis is not a fast command. On my machine, at the time of writing, it takes about a full minute to run. You can instead run
KubeBlocks uses make for a variety of test actions.
Setting up a local control plane and test all packages:
make testTest specific packages:
# Directory `controllers` contains many packages, it will build and run each package individually.
make test TEST_PACKAGES=./controllers/...

# Test single package
make test-delve TEST_PACKAGES=./controllers/apps/...make test-current-ctxInstead of setting up a local control plane, this command will point to the control plane of an existing cluster by $HOME/.kube/config.
make test cover-reportThis command will test all packages and generate a coverage report file cover.html, and open by your default browser automatically.
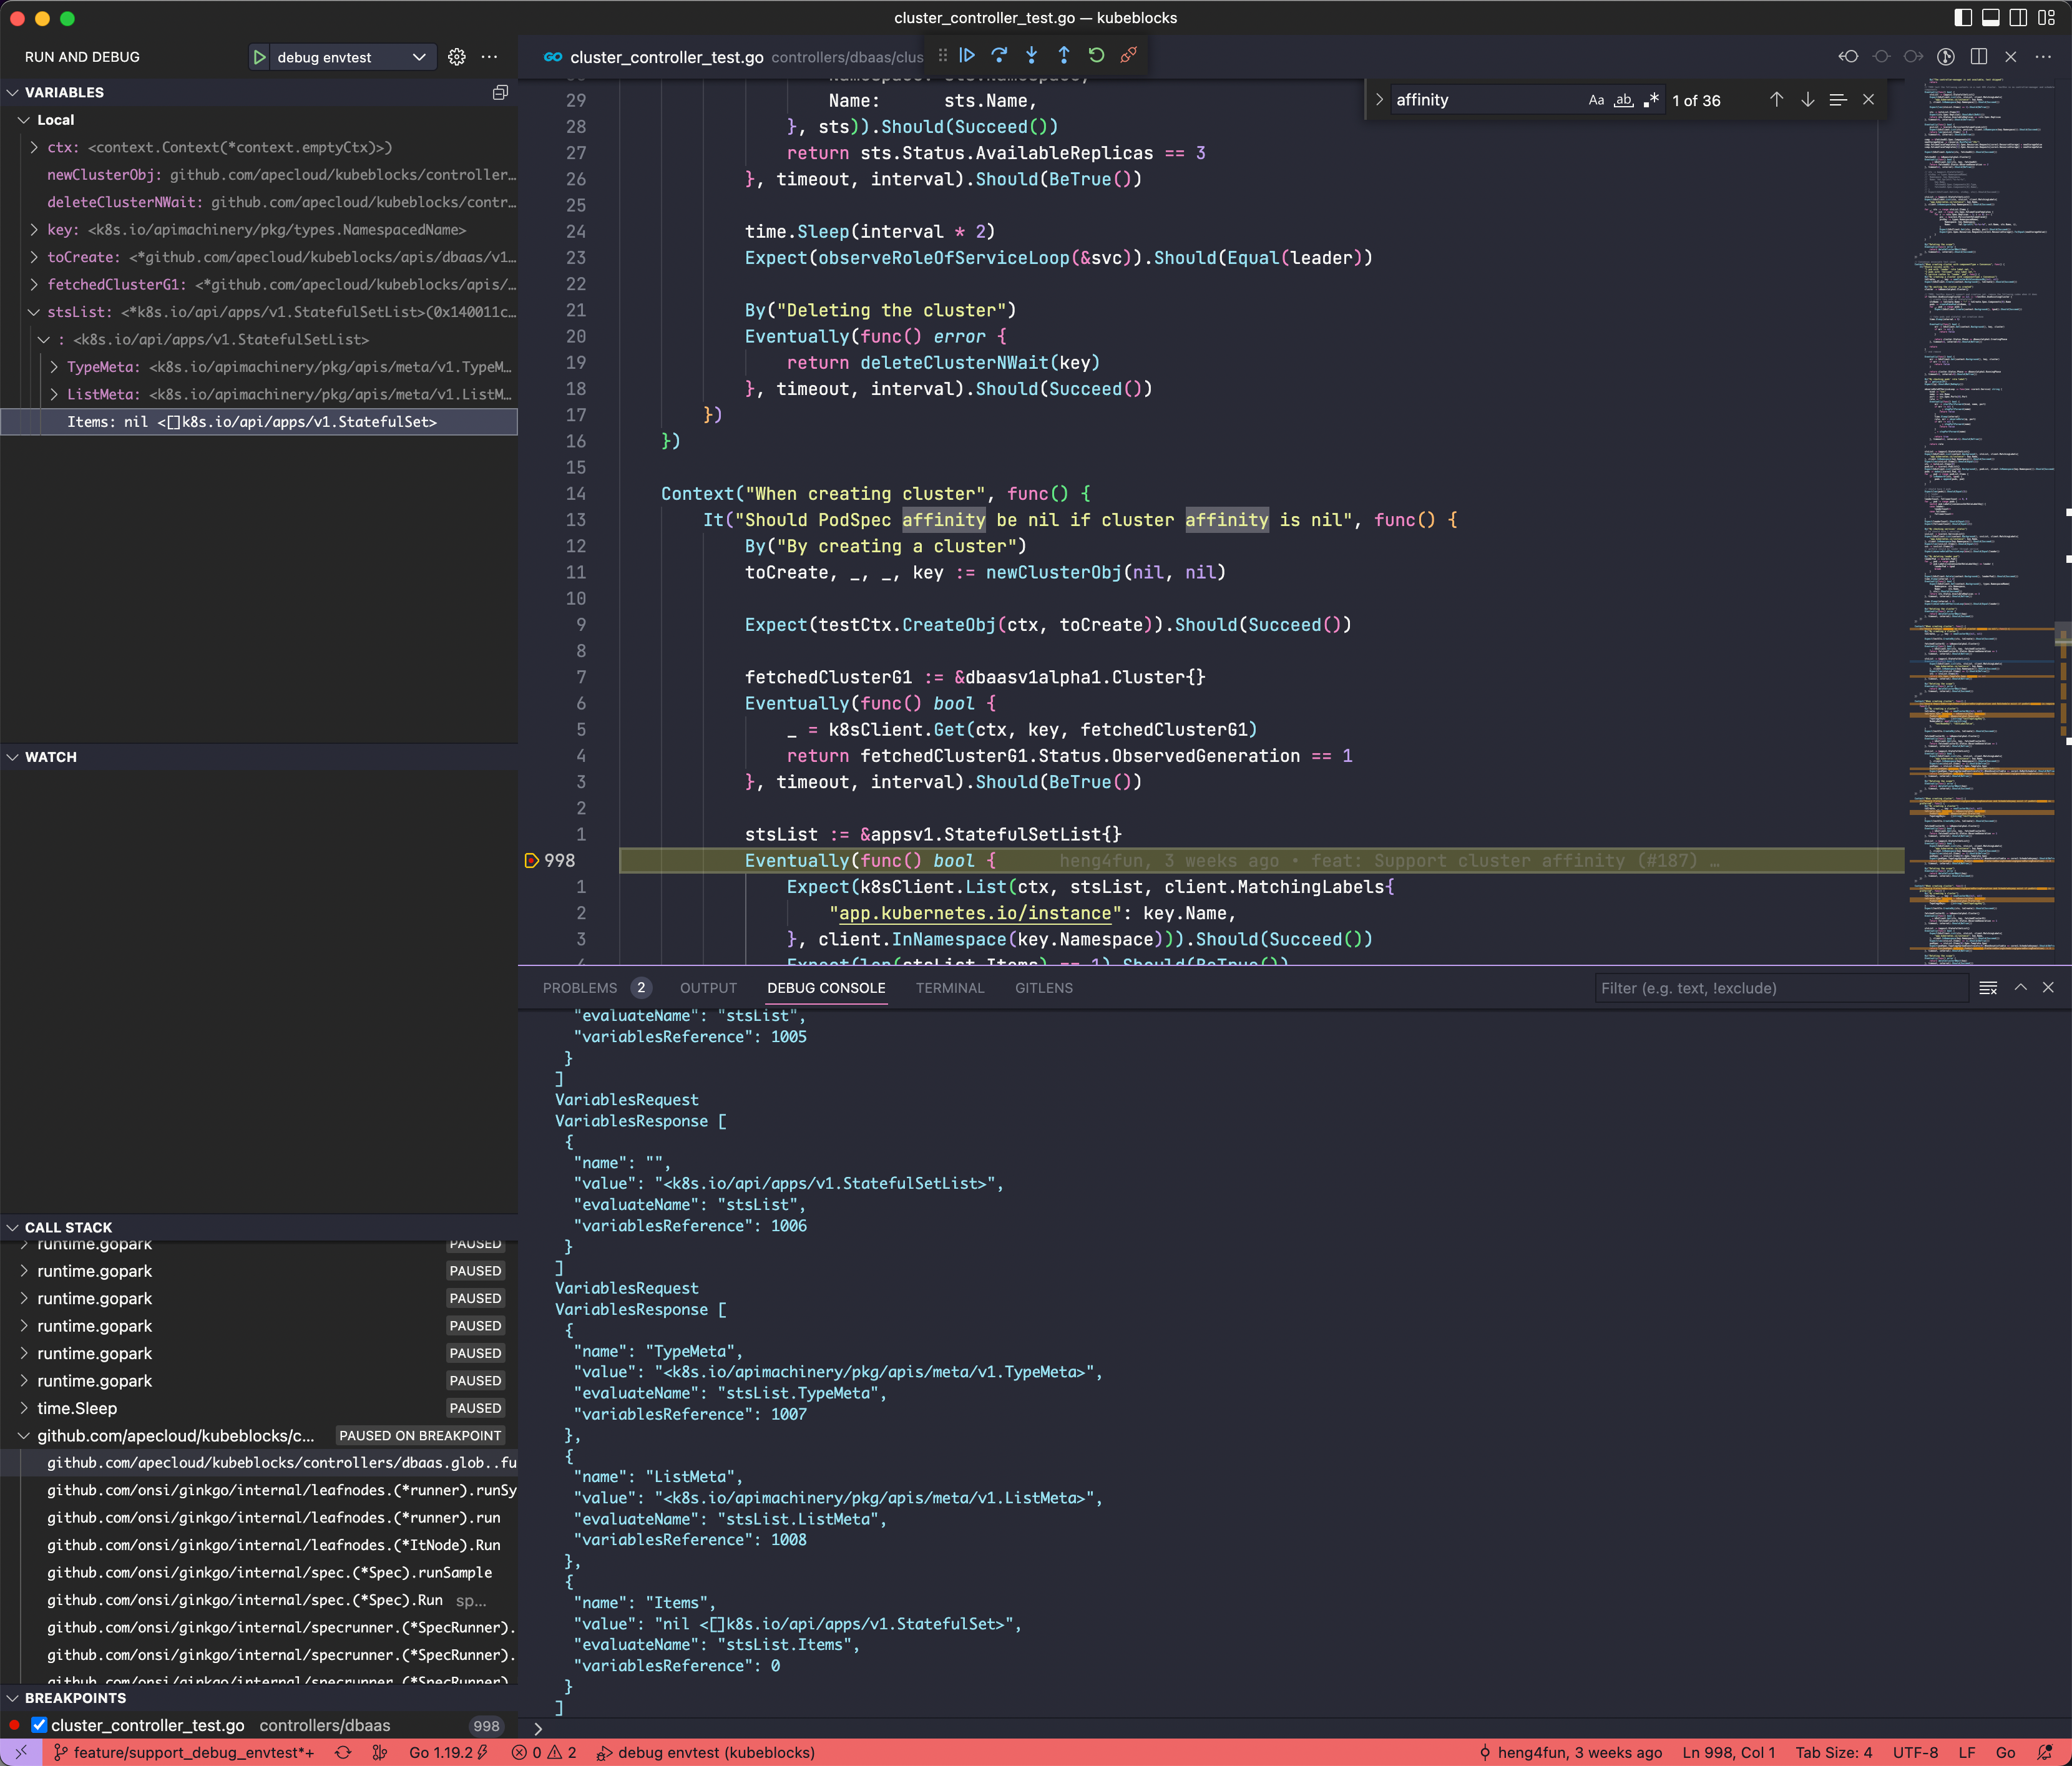
We can use Delve for Go debugging.
- Follow the General install instructions.
Make sure
PATHcontainers$GOPATH/binwhich will allow you to run Go binary executables without specifying the absolute path. - If you are using MacOS, you can install vid HomeBrew with the following command :
brew install delve
- Check your installation
dlv version
You can start a delve debug server for running and debugging specific package or envtest.
make run-delve GO_PACKAGE=./cmd/manager/main.go make run-delve GO_PACKAGE=./cmd/cli/main.go ARGUMENTS='cluster create test-cluster --termination-policy=Halt'make test-delve TEST_PACKAGES=./controllers/apps/...Unlike
go testsupports multiple packages,Delveneeds a single executable to work, it only supports single package.
You can change debug server port for make run-delve and make test-delve.
make run-delve DEBUG_PORT=2347After bug server started, it will show the listen address:
API server listening at: [::]:2347Delve support lots of code editors (editor plugins for Delve), you can choose your favorite editor to connect with the listen address for debugging.
This section introduces how to start debugging with the Delve CLI, Goland and VSCode. Please refer to the Delve or editors documentation for more details.
$ dlv connect 127.0.0.1:2345
Type 'help' for list of commands.
(dlv) break cluster_controller.go:303
(dlv) continue
(dlv) next
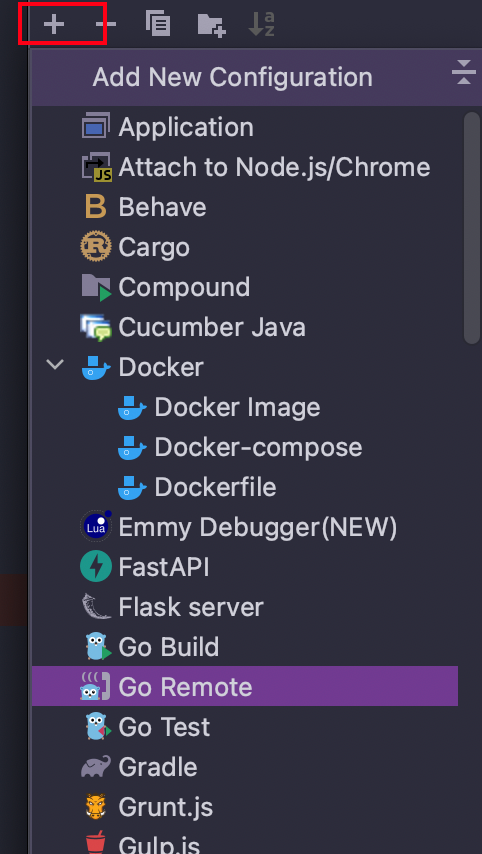
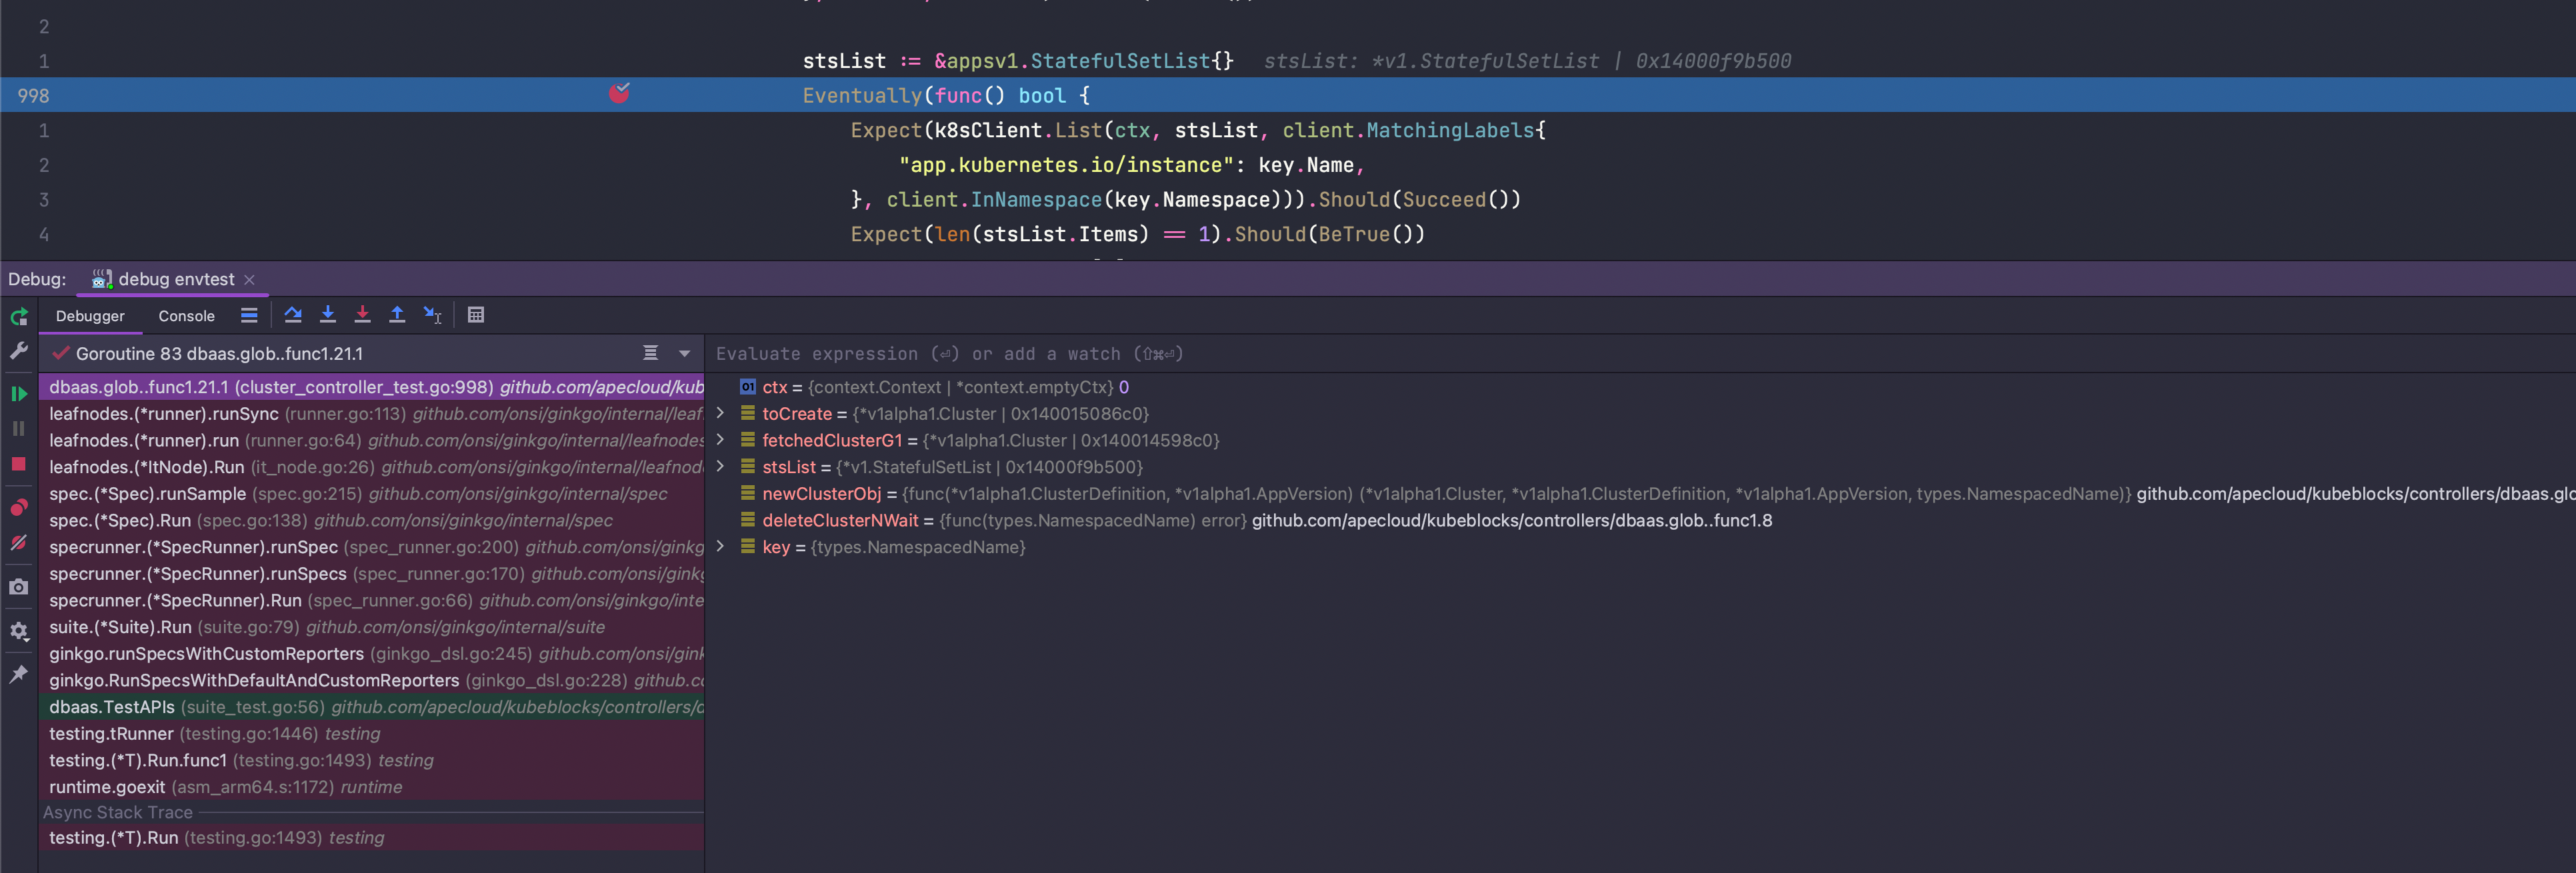
(dlv) ......Click Run — Edit configurations, add new debug configuration, select "Go Remote":
Add debug server listen address to Host and Port
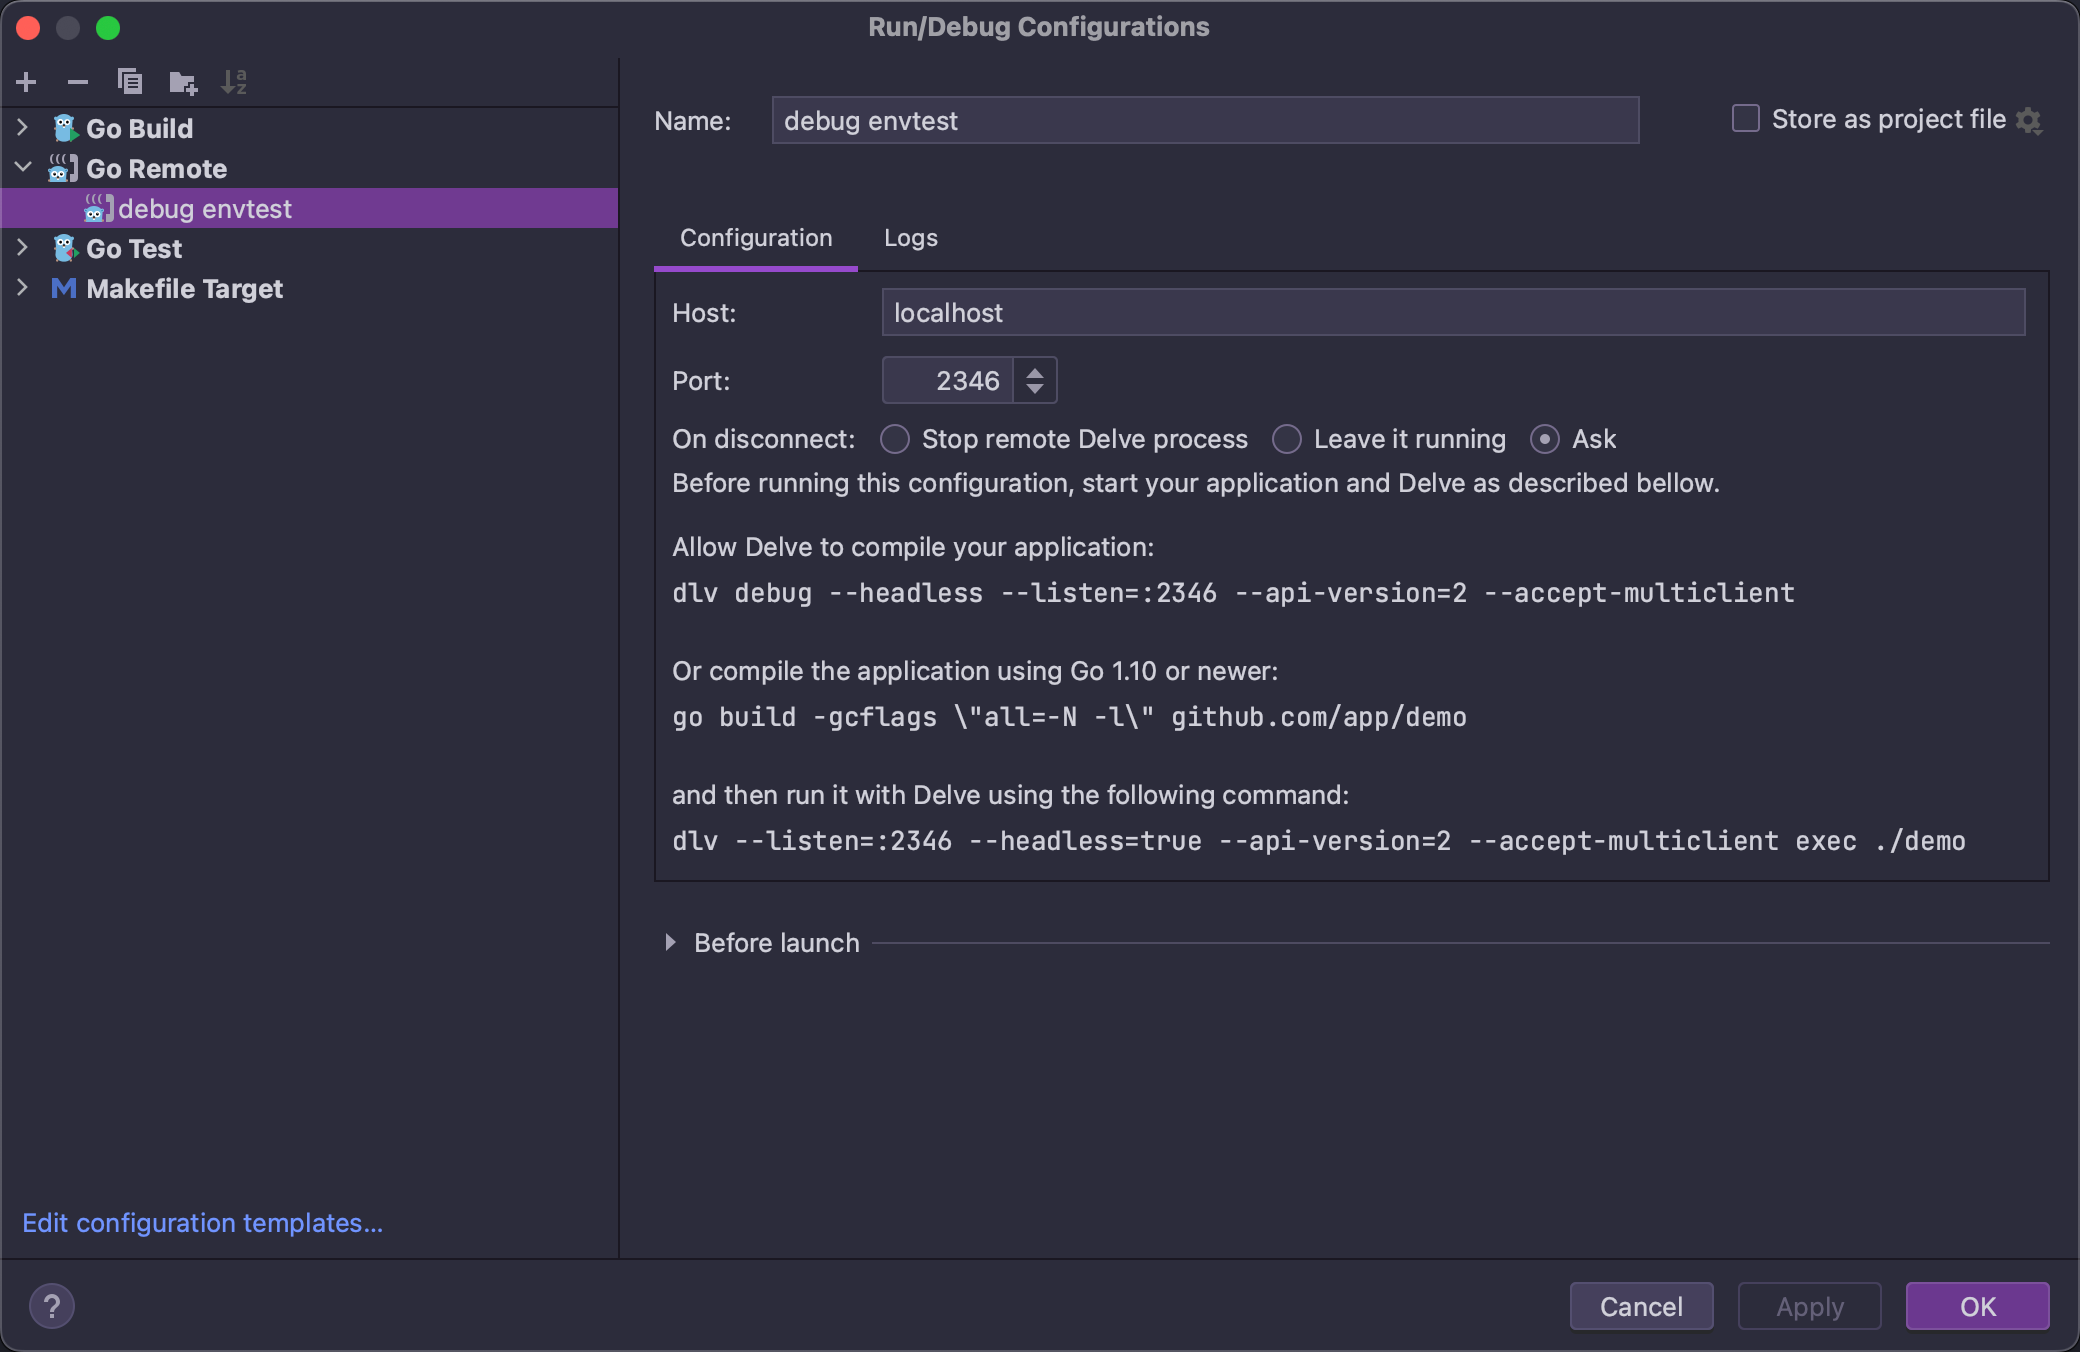
And then set breakpoints, and run debug.
Create/modify .vscode/launch.json file for connecting debug server:
{
    "version": "0.2.0",
    "configurations": [
        {
            "name": "debug envtest",
            "type": "go",
            "request": "attach",
            "mode": "remote",
            "remotePath": "",
            "port": 2346,
            "host": "127.0.0.1",
            "showLog": true,
            "trace": "log",
            "logOutput": "rpc"
        }
    ]
}