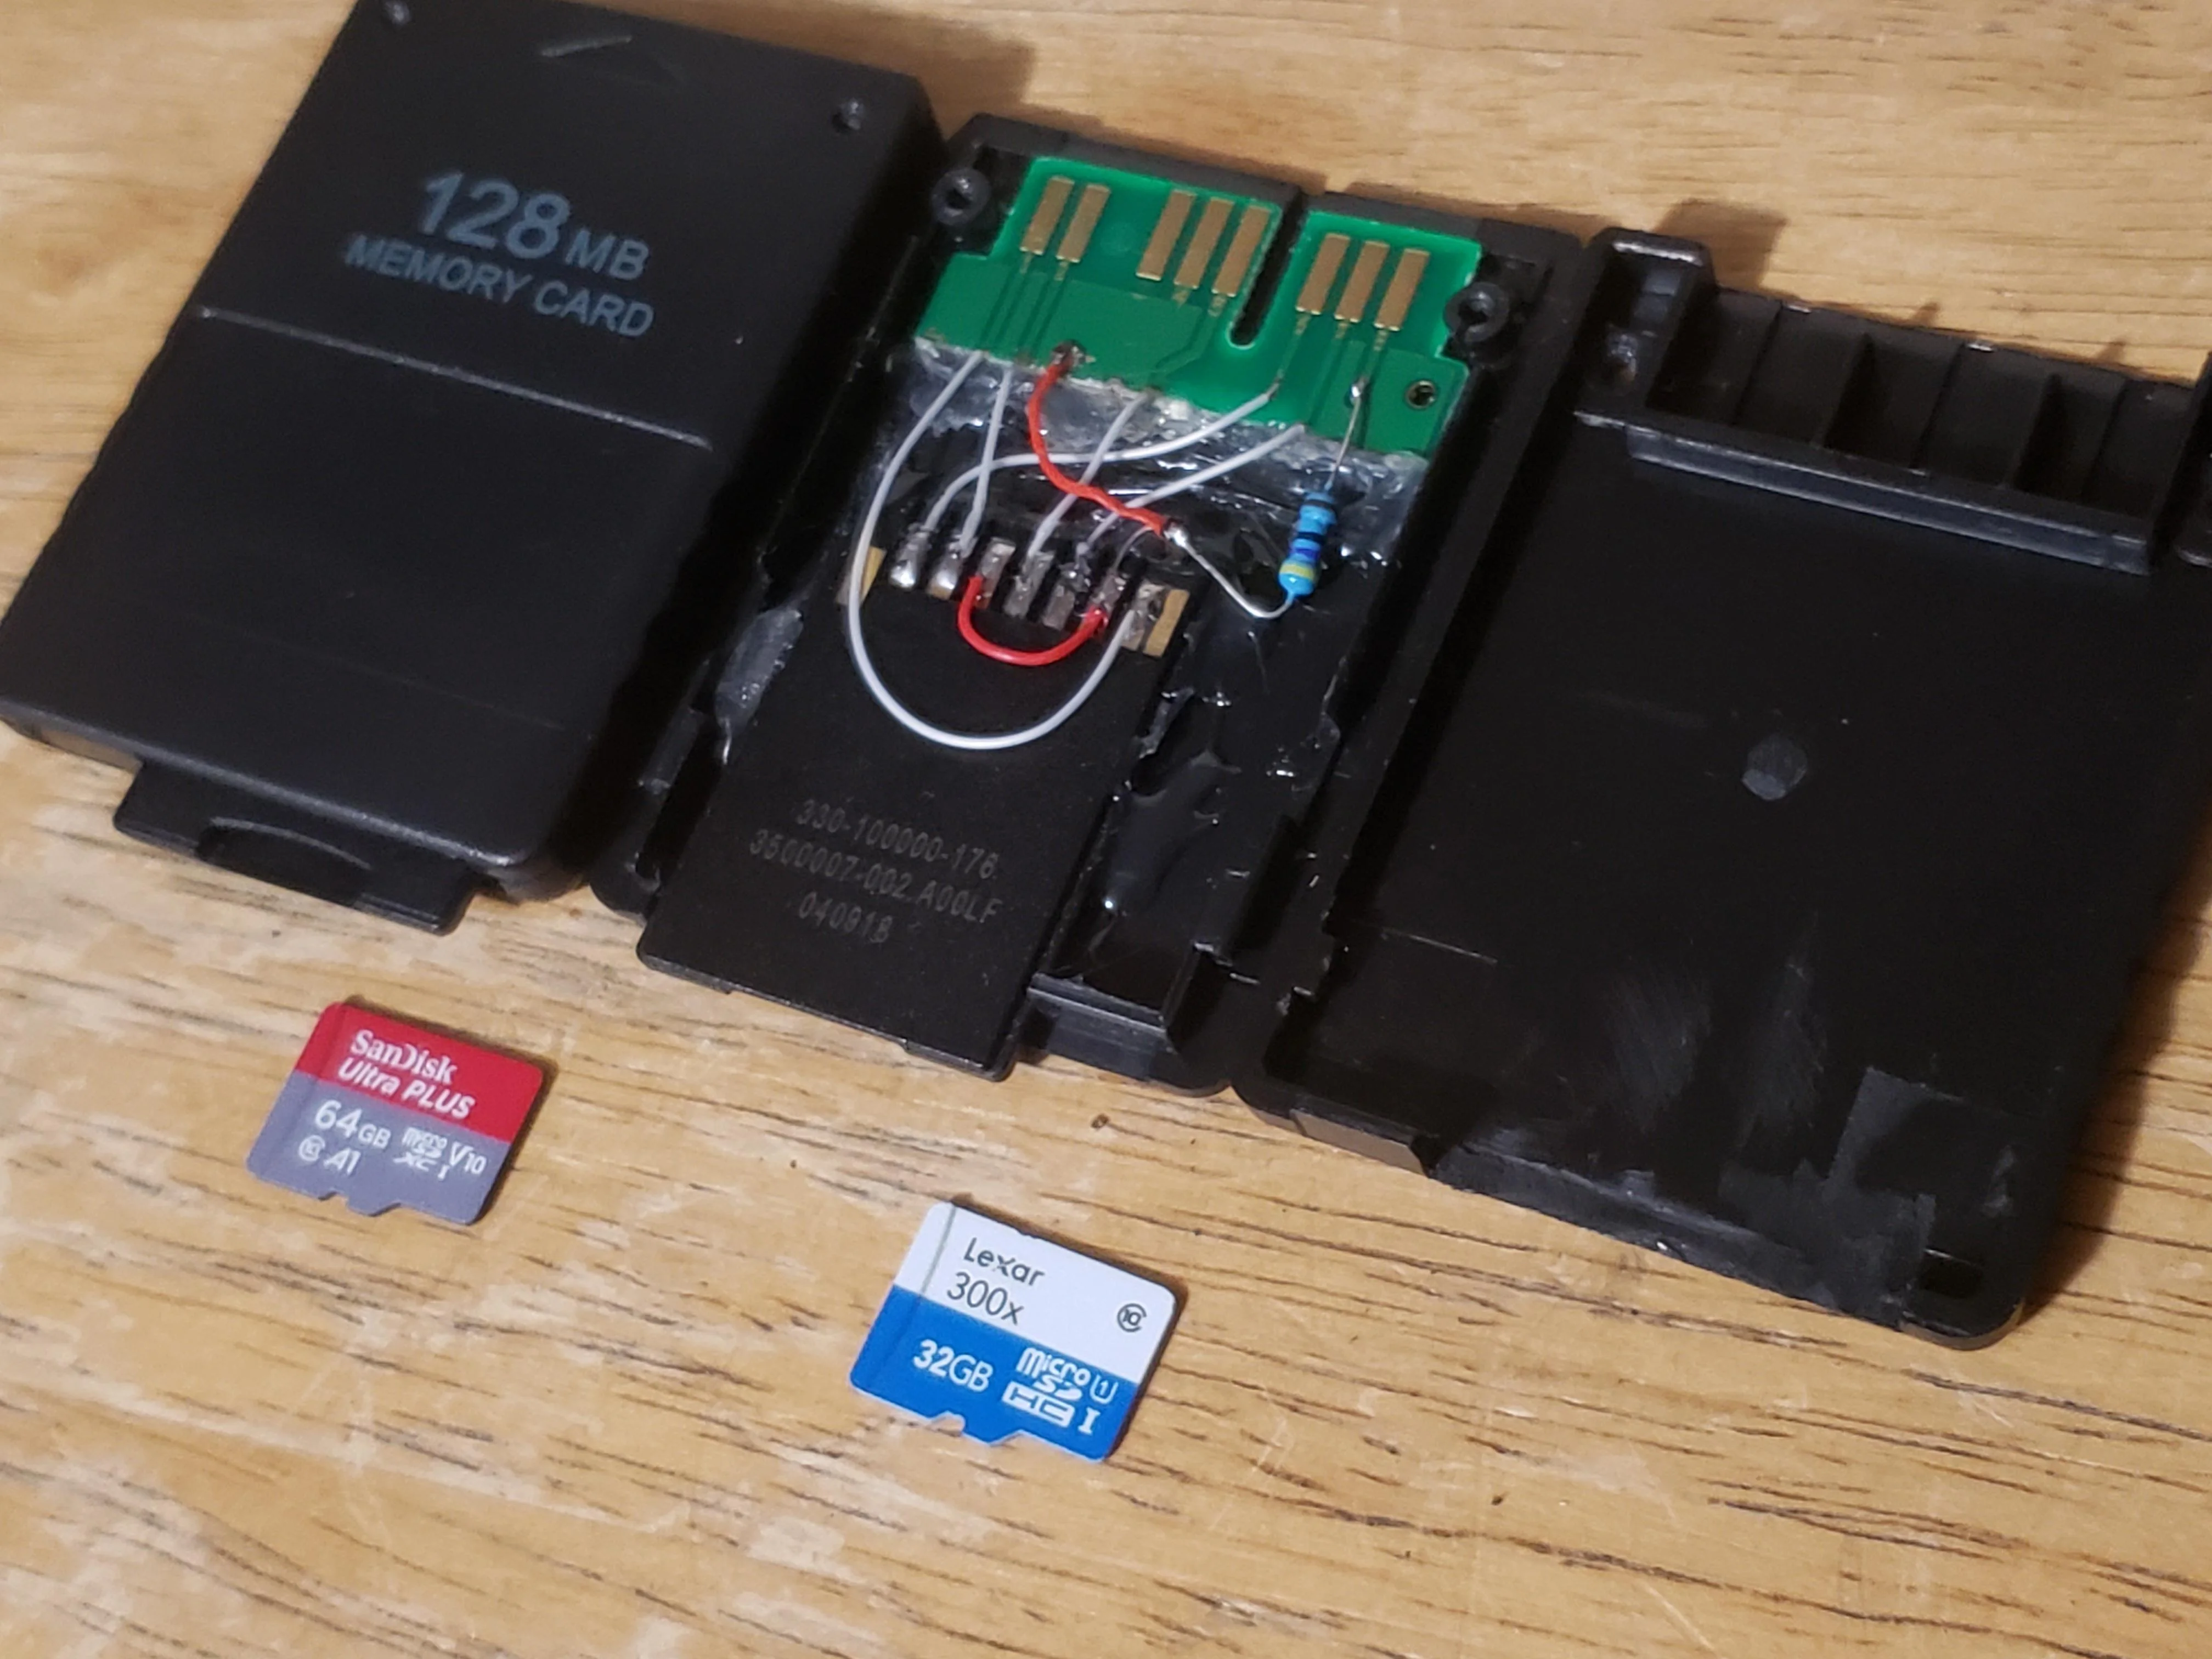
- Martin Korth of the NO$PSX - documented Memory Card protocol.
- Andrew J McCubbin - documented PS1 SPI interface.
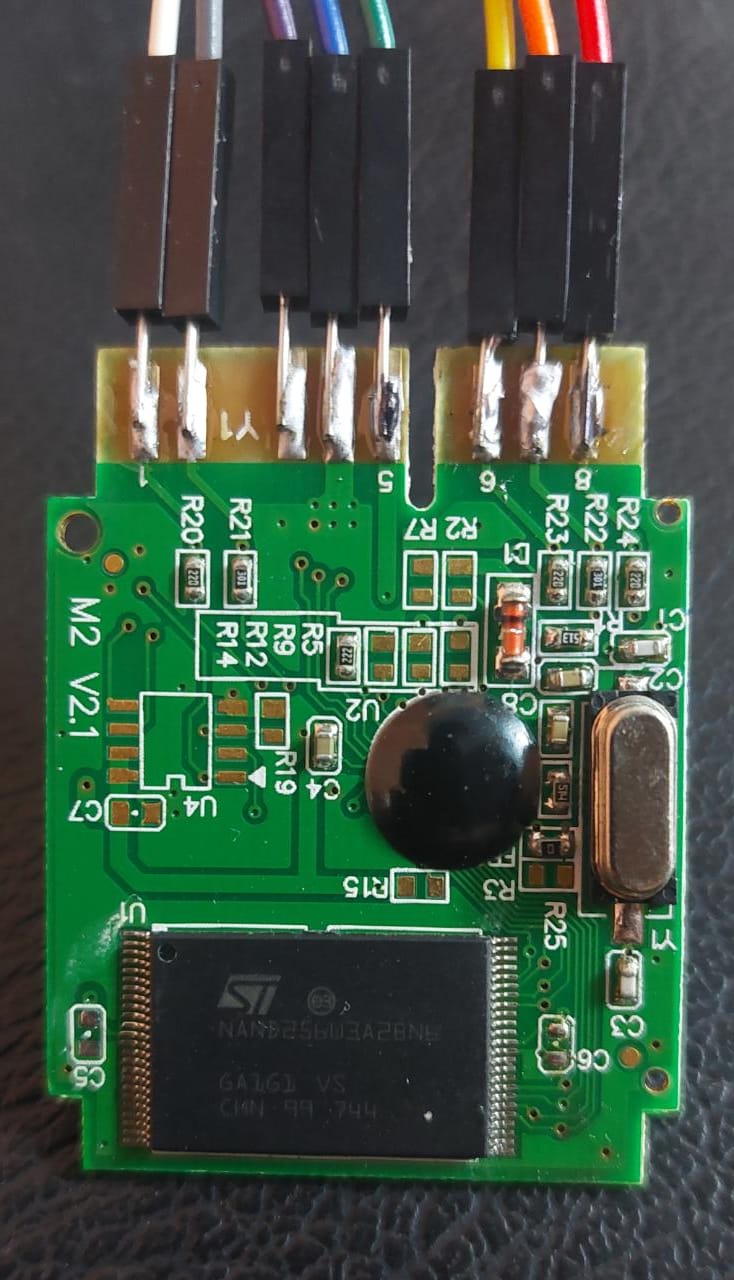
- DATA - Pin 12 on Arduino
- CMND - Pin 11 on Arduino
- 7.6V - External 7.6V power (only required for 3rd party cards and knockoffs)
- GND - GND Pin on Arduino
- 3.6V - 5V pin with a voltage divider to 3.6V
- ATT - Pin 10 on Arduino
- CLK - Pin 13 on Arduino
- ACK - Pin 2 on Arduino
To read saves from the Memory Card to your PC use MemcardRex if you are using Windows.
For other operating systems use a provided Python script.
If you are writing your own application the protocol is as follows:
Communication is done at 38400 bps.
To check if the MemCARDuino is connected to the selected COM port send GETID command.
Device should respond with IDENTIFIER.
Optionally you can send a GETVER to get the version of the firmware.
To Read a 128byte frame send a MCR command with MSB byte and LSB byte of the frame you want to read.
MemCARDduino will respond with 128 byte frame data, [MSB xor LSB xor Data] and Memory Card status byte.
To Write a frame send a MCW command with MSB byte and LSB byte, 128 byte data and [MSB xor LSB xor Data].
MemCARDduino will respond with Memory Card status byte.
Read a frame from the card and verify the returned status byte.
If it's 0x47 then card is connected. If it's 0xFF card is not connected.
The python script is designed to raw copy the Memory Card data to PC and vice versa.
Note: As ususal, use at your own risk, it might not work out of the box.
memcarduino.py -p,--port <serial port> , -r,--read <output file> OR -w,--write <input file> OR -f,--format , [-c,--capacity <capacity>] , [-b,--bitrate <bitrate:bps>]

<serial port> accepts COM port names, or for linux, file references (/dev/tty[...] or others)
<output file> read from memory card and save to file
<input file> read from file and write to memory card (accepts both windows and linux file URI's)
<capacyty> sets memory card capacity [blocks] *1 block = 128 B* (default 1024 blocks)
<bitrate> sets bitrate on serial port (default 38400 bps)
This requires a serial port (/dev/ttyACM0 for Arduino uno's, /dev/ttyUSBX for others, COMX for Windows, and various for macOS) it also requires a specific output file. Changing the baudrate isn't recommended, but is available anyway (it does mean changing the Arduino code manually...)
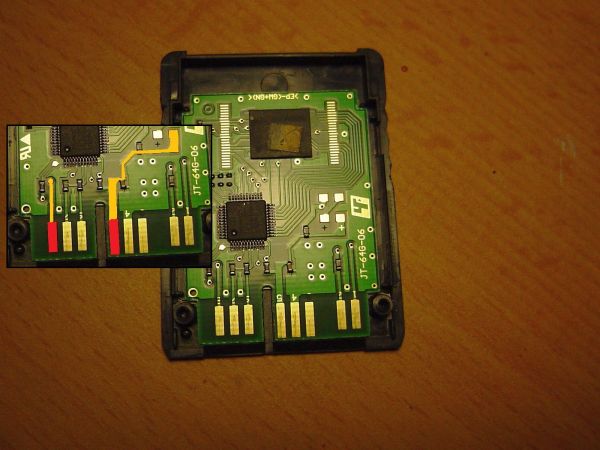
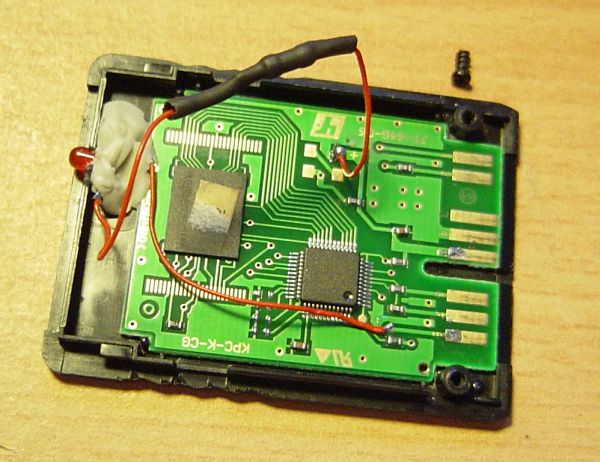
- The (+) LED connected to (5) 3.5V
- The (-) LED connected to (9) ACK
- Read/Write individual saves
- Add a man page for the script
- Refine comments, readme and script
