ZenML is built for ML practitioners who are ramping up their ML workflows towards production. We built ZenML because we could not find an easy framework that translates the patterns observed in the research phase with Jupyter notebooks into a production-ready ML environment. Here is what's hard to replicate in production:
- It's hard to version data, code, configuration, and models.
- It's difficult to reproduce experiments across environments.
- There is no gold-standard to organize ML code and manage technical debt as complexity grows.
- It's a struggle to establish a reliable link between training and deployment.
- It's arduous to track metadata and artifacts that are produced.
ZenML is not here to replace the great tools that solve the individual problems above. Rather, it uses them as integrations to expose a coherent, simple path to getting any ML model in production.
ZenML is an extensible, open-source MLOps framework for creating production-ready Machine Learning pipelines - in a simple way.
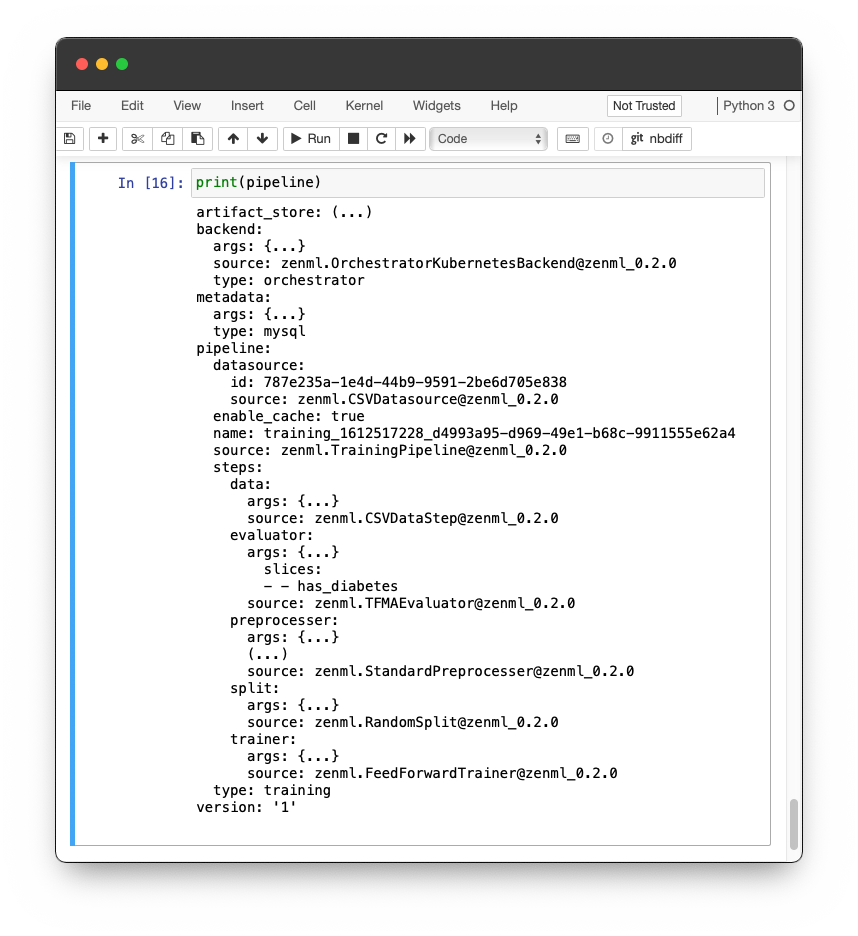
A user of ZenML is asked to break down their ML development into individual Steps, each representing an individual task in the ML development process. A sequence of steps put together is a Pipeline. Each pipeline contains a Datasource, which represents a snapshot of a versioned dataset in time. Lastly, every pipeline (and indeed almost every step) can run in Backends, that specify how and where a step is executed.
By developing in pipelines, ML practitioners give themselves a platform to transition from research to production from the very beginning, and are also helped in the research phase by the powerful automations introduced by ZenML.
The quickest way to get started is to create a simple pipeline. The dataset used here is the Pima Indians Diabetes Dataset (originally from the National Institute of Diabetes and Digestive and Kidney Diseases)
ZenML is available for easy installation into your environment via PyPI:
pip install zenmlAlternatively, if you’re feeling brave, feel free to install the bleeding edge: NOTE: Do so on your own risk, no guarantees given!
pip install git+https://github.com/maiot-io/zenml.git@main --upgradezenml initfrom zenml.core.datasources.csv_datasource import CSVDatasource
from zenml.core.pipelines.training_pipeline import TrainingPipeline
from zenml.core.steps.evaluator.tfma_evaluator import TFMAEvaluator
from zenml.core.steps.split.random_split import RandomSplit
from zenml.core.steps.preprocesser.standard_preprocesser.standard_preprocesser import StandardPreprocesser
from zenml.core.steps.trainer.tensorflow_trainers.tf_ff_trainer import FeedForwardTrainer
training_pipeline = TrainingPipeline(name='Quickstart')
# Add a datasource. This will automatically track and version it.
ds = CSVDatasource(name='Pima Indians Diabetes Dataset',
path='gs://zenml_quickstart/diabetes.csv')
training_pipeline.add_datasource(ds)
# Add a random 70/30 train-eval split
training_pipeline.add_split(RandomSplit(split_map={'train': 0.7, 'eval': 0.3}))
# StandardPreprocesser() has sane defaults for normal preprocessing methods
training_pipeline.add_preprocesser(
StandardPreprocesser(
features=['times_pregnant', 'pgc', 'dbp', 'tst', 'insulin', 'bmi',
'pedigree', 'age'],
labels=['has_diabetes'],
overwrite={'has_diabetes': {
'transform': [{'method': 'no_transform', 'parameters': {}}]}}
))
# Add a trainer
training_pipeline.add_trainer(FeedForwardTrainer(
loss='binary_crossentropy',
last_activation='sigmoid',
output_units=1,
metrics=['accuracy'],
epochs=20))
# Add an evaluator
training_pipeline.add_evaluator(
TFMAEvaluator(slices=[['has_diabetes']],
metrics={'has_diabetes': ['binary_crossentropy',
'binary_accuracy']}))
# Run the pipeline locally
training_pipeline.run()While the above is great to get a quick flavor of ZenML, a more practical way to start is to follow our guide to convert your legacy codebase into ZenML code here.
Once code is organized into a ZenML pipeline, you can supercharge your ML development through powerful integrations. Some of the benefits you get are:
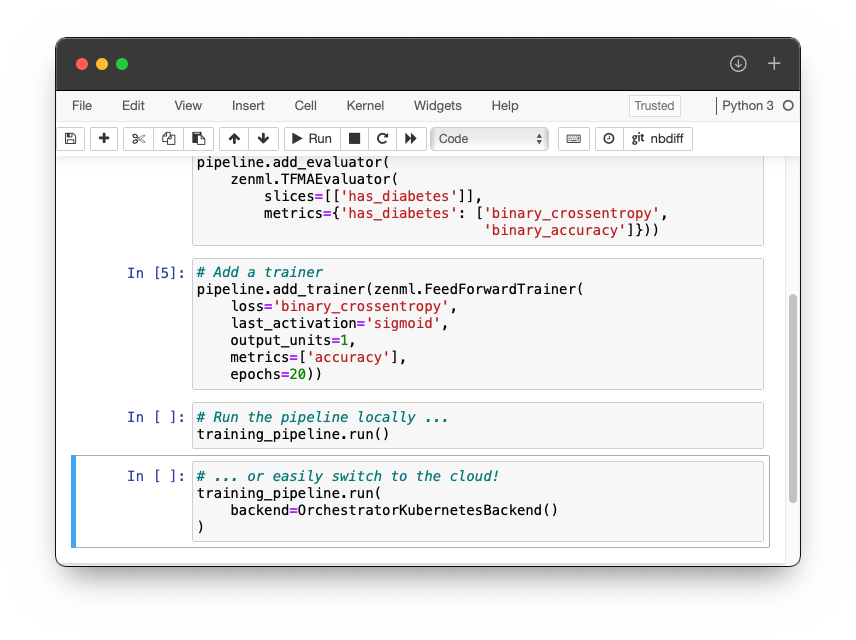
Switching from local experiments to cloud-based pipelines doesn't need to be complex.
ZenML makes sure for every pipeline you can trust that:
✅ Code is versioned
✅ Data is versioned
✅ Models are versioned
✅ Configurations are versioned

# See the schema of your data
training_pipeline.view_schema()# See statistics of train and eval
training_pipeline.view_statistics()# Creates a notebook for evaluation
training_pipeline.evaluate()repo.compare_training_pipelines()Leverage distributed compute powered by Apache Beam:
training_pipeline.add_preprocesser(
    StandardPreprocesser(...).with_backend(
      ProcessingDataFlowBackend(
        project=GCP_PROJECT,
        num_workers=10,
    ))
)Easily train on spot instances to save 80% cost.
training_pipeline.run(
  OrchestratorGCPBackend(
    preemptible=True,  # reduce costs by using preemptible instances
    machine_type='n1-standard-4',
    gpu='nvidia-tesla-k80',
    gpu_count=1,
    ...
  )
  ...
)Automatically deploy each model with powerful Deployment integrations like Cortex.
training_pipeline.add_deployment(
    CortexDeployer(
        api_spec=api_spec,
        predictor=PythonPredictor,
    )
)
The best part is that ZenML is extensible easily, and can be molded to your use-case. You can create your own custom logic or create a PR and contribute to the ZenML community, so that everyone can benefit.
Our community is the backbone of making ZenML a success! We are currently actively maintaining two main channels for community discussions:
We would love to receive your contributions! Check our Contributing Guide for more details on how to contribute best.
ZenML is distributed under the terms of the Apache License Version 2.0. A complete version of the license is available in the LICENSE.md in this repository.
Any contribution made to this project will be licensed under the Apache License Version 2.0.
ZenML is built on the shoulders of giants: We leverage, and would like to give credit to, existing open-source libraries like TFX. The goal of our framework is neither to replace these libraries, nor to diminish their usage. ZenML is simply an opinionated, higher level interface with the focus being purely on easy-of-use and coherent intuitive design. You can read more about why we actually started building ZenML at our blog.


