Run the following commands in the Terminal:
wget http://download.microweberapi.com/cpanel/microweber-cpanel.rpm
yum install microweber-cpanel.rpm
- Get the plugin source code from microweber-dev/cpanel-plugin.
- Place the files in
/usr/local/cpanel/microweber. - Run the following script:
/usr/local/cpanel/microweber/install/installer.sh
wget http://download.microweberapi.com/cpanel/microweber-cpanel.rpm
rpm -Uvh microweber-cpanel.rpm
- Run the following script:
/usr/local/cpanel/microweber/install/uninstall.sh
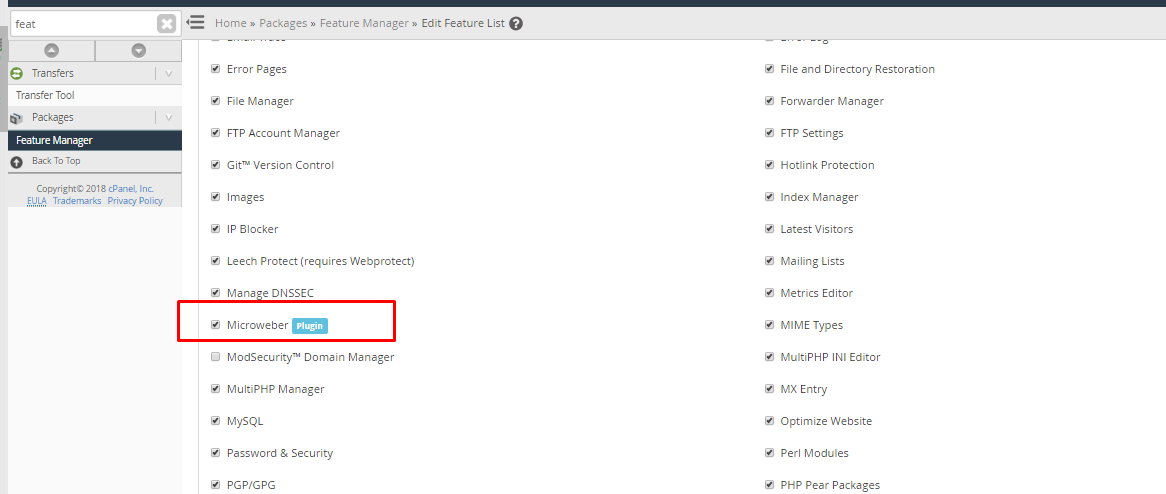
Select the feature list, click on "edit" button and add the Microweber feature
Make sure you have the required php extensions enabled.
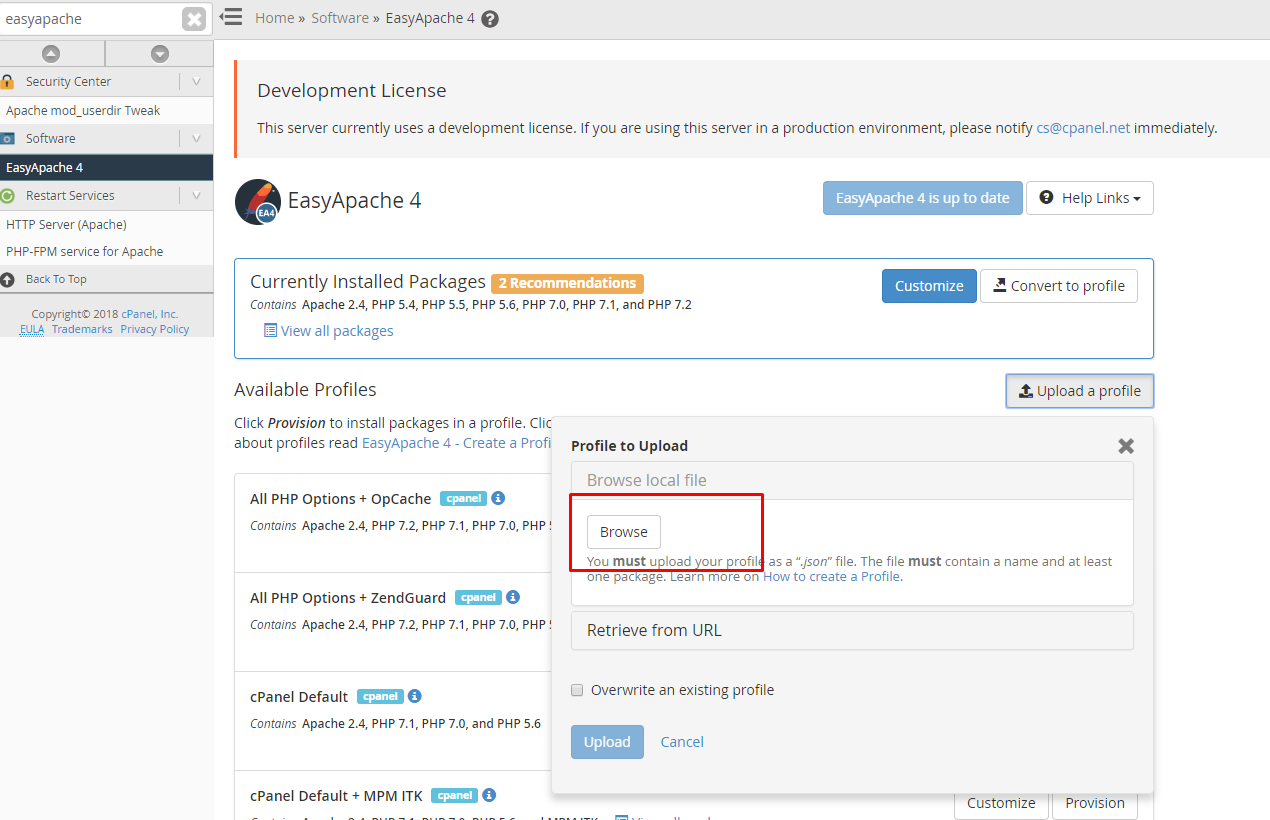
You need mb_string and iconv and other extesions ebabled. You can import the EasyApache4 Profile from this file easyapache_profile.json
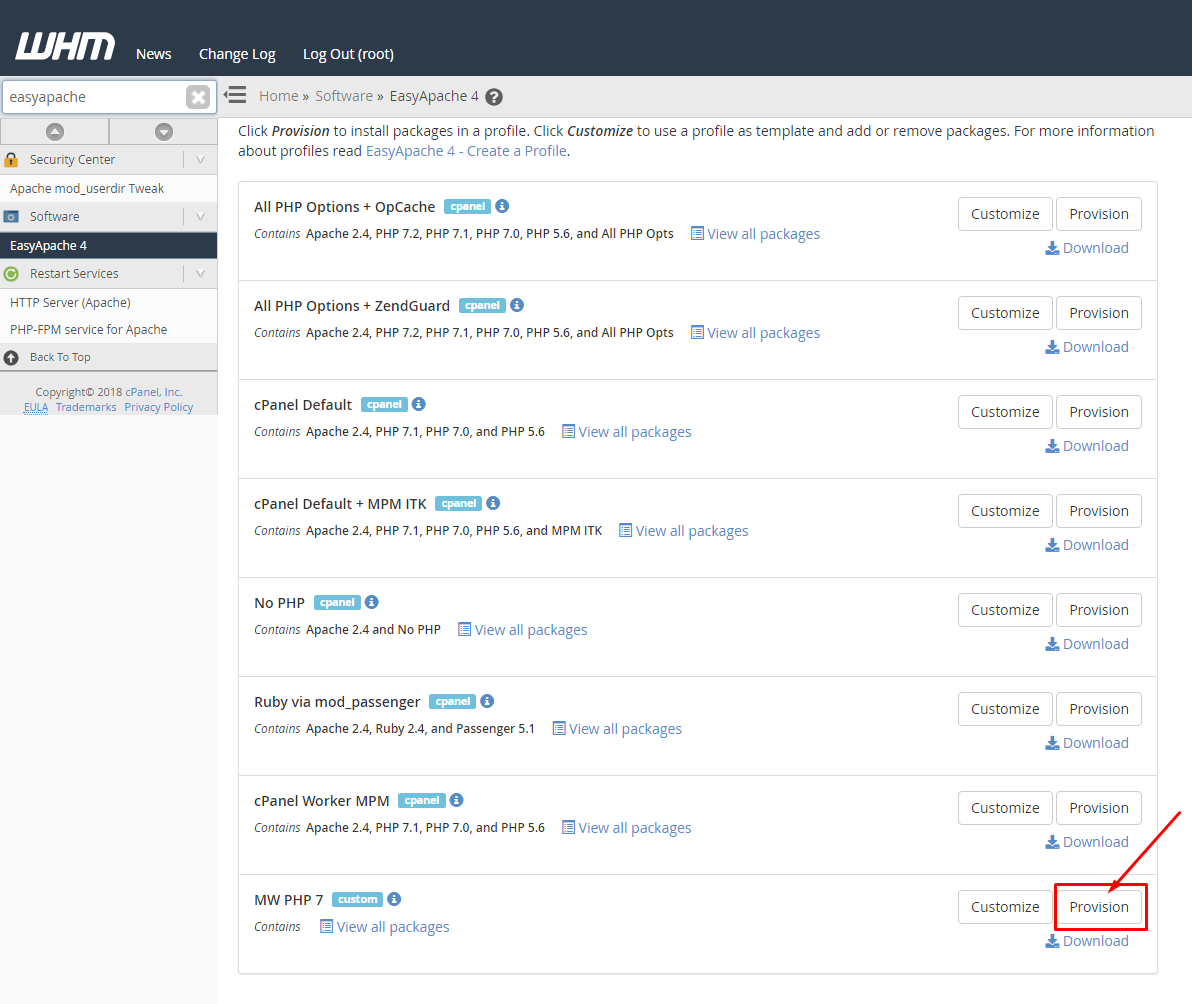
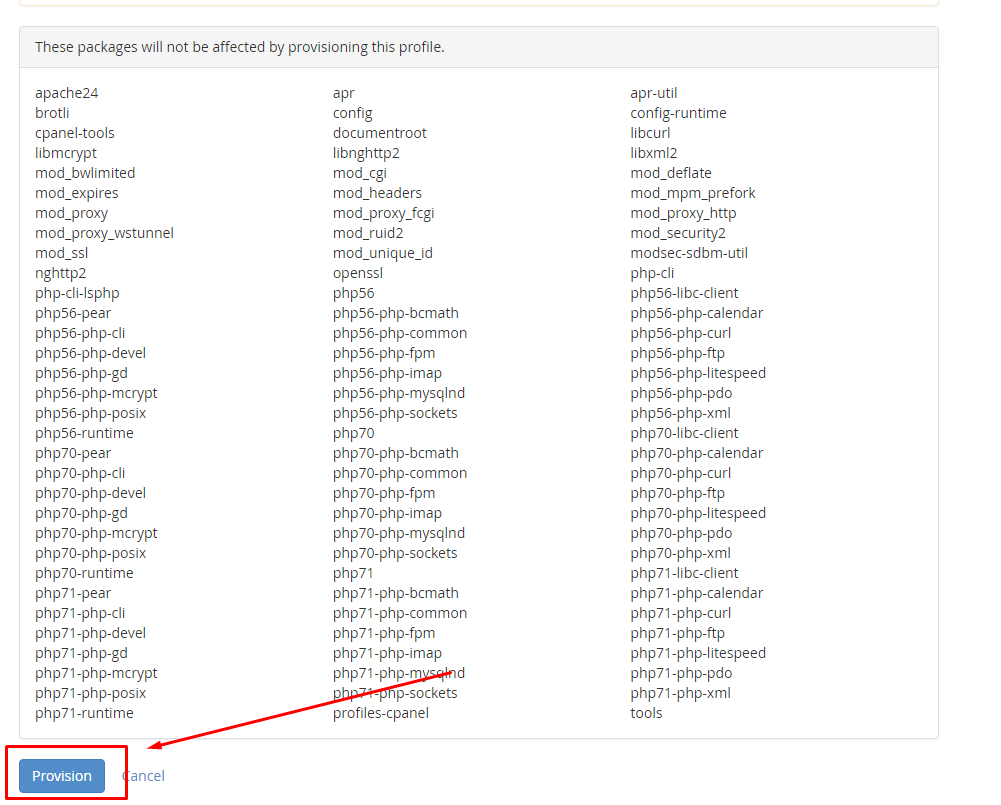
Then you have to provision the EasyApache Profile.
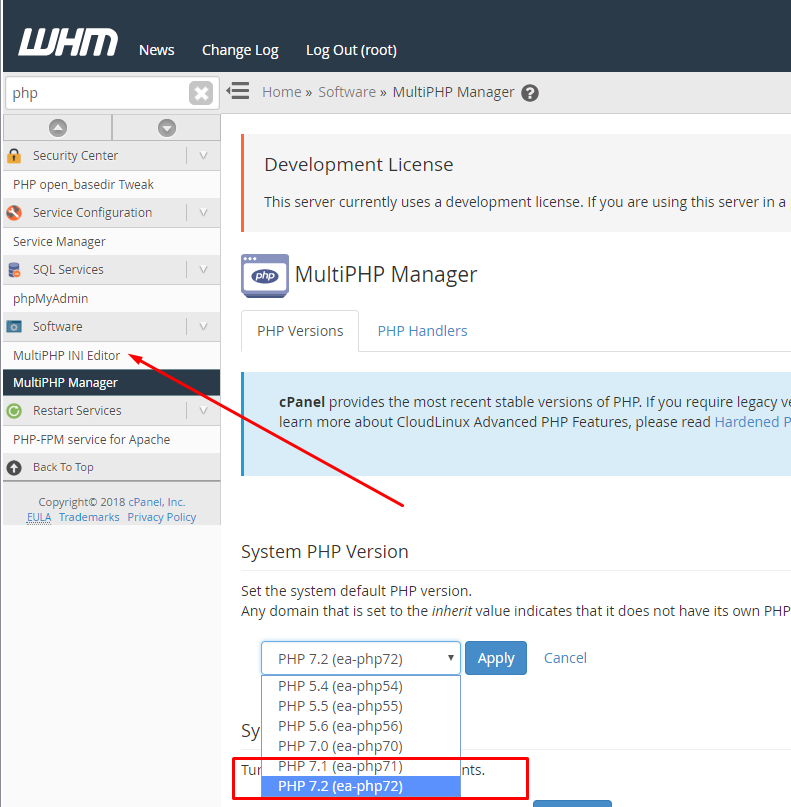
Also please try to use PHP 7+, so the future versions of Microweber will work.
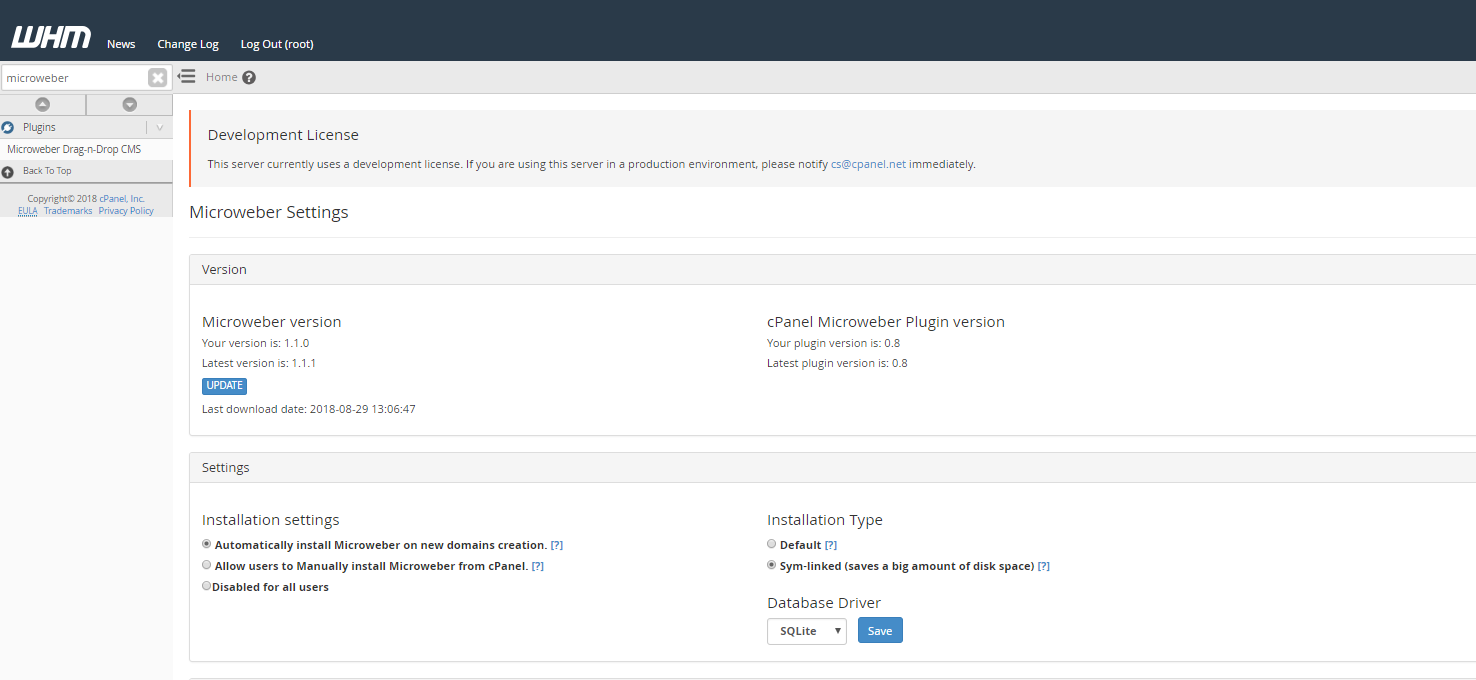
- Login to WHM, search for "Microweber" and open the plugin settings page.
- Add the "Microweber" feature to plans you wish to have Microweber installed with them.
- Login to cPanel and open the plugin under "Software". From that page Microweber can be manually installed to any of the user's domains.
- If you select "Automatically install Microweber on new domains creation" , this will install the system when you create new user.
- If you select "Allow users to Manually install Microweber from cPanel" , this will allow the users to install manually when they login in their panel
- If you select "Disabled for all users" this will disable the system for all users
If you use Symlink configuration you can save a lot of disk space and use single code-base for all websites
Make sure your check on And set Symlink Protection to "Off" under "Apache Configuration > Global Configuration"
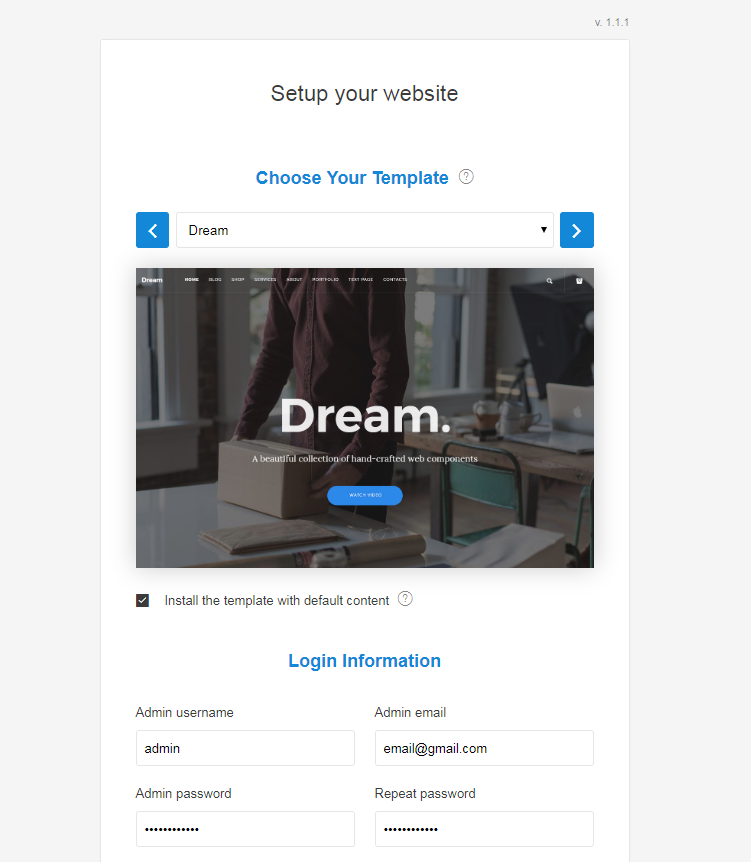
Now if you make new domain with a plan that has the "microweber" feature, you will see a website created automatically.
