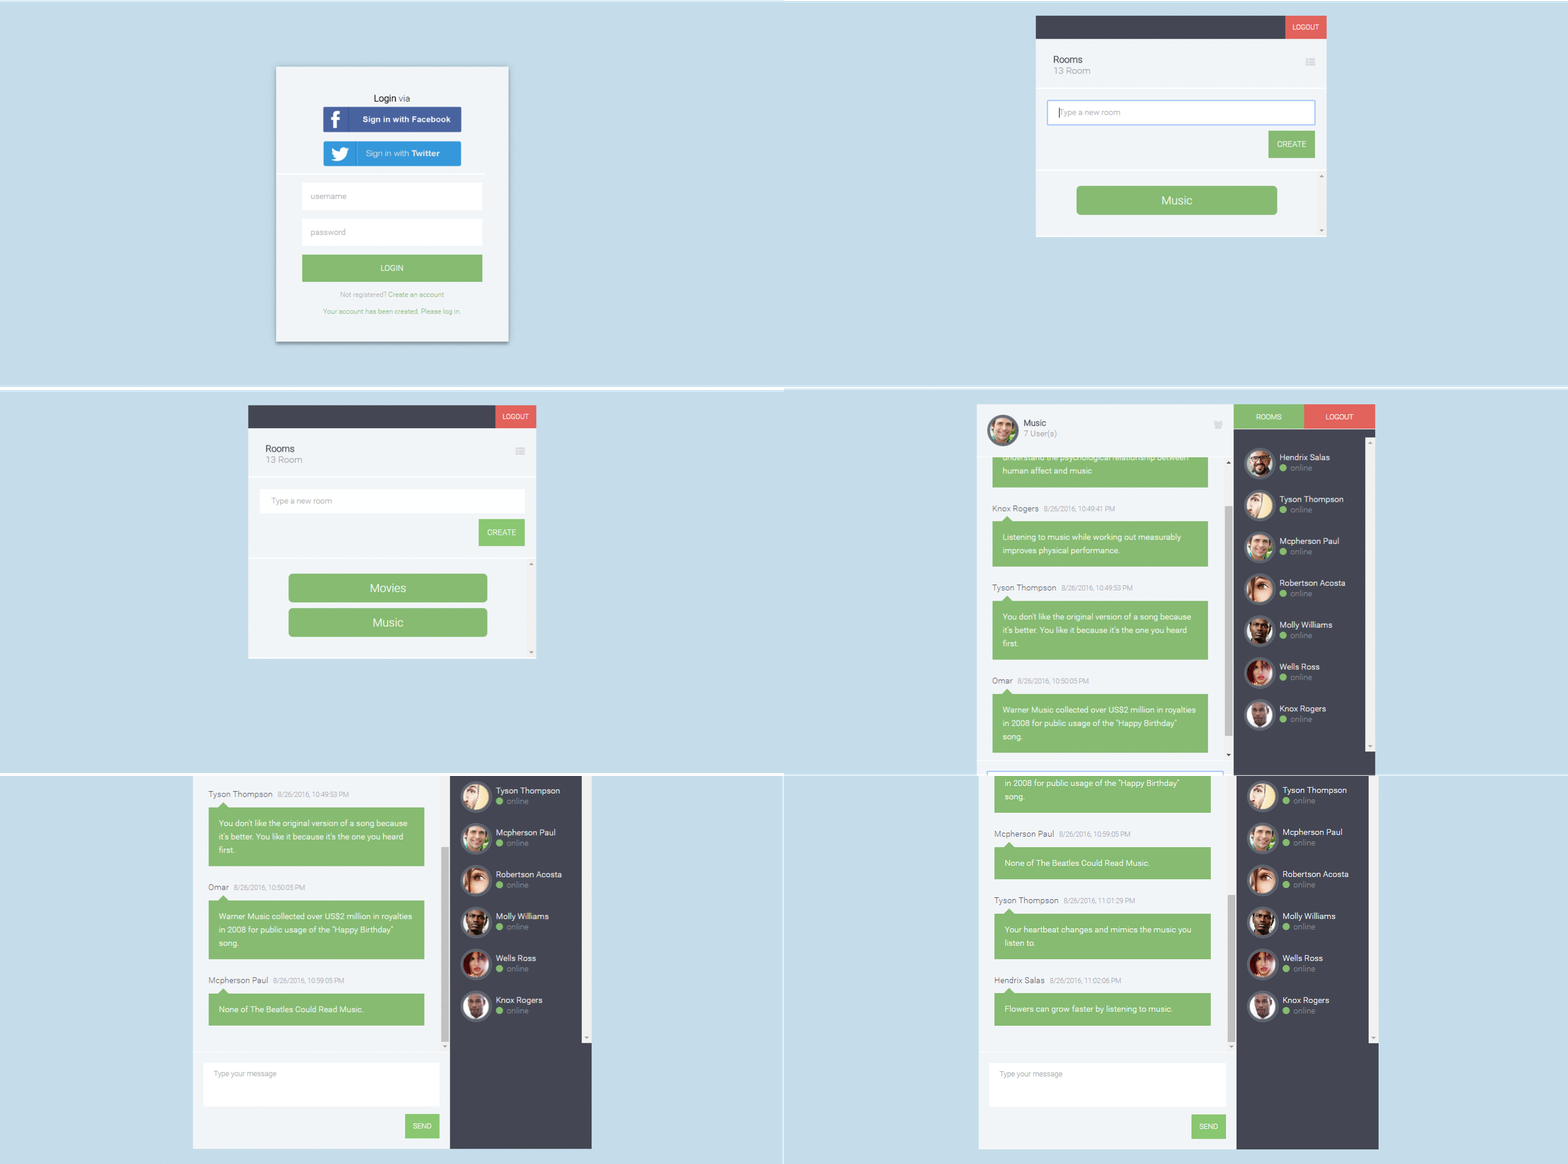
A Real Time Chat Application built using Node.js, Express, Mongoose, Socket.io, Passport, & Redis.
Check Demo
- Uses Express as the application Framework.
- Manages Sessions using express-session package.
- Authenticates via username and password using Passport.
- Passwords are hashed using bcrypt-nodejs package.
- Social Authentication via Facebook and Twitter using Passport.
- Real-time communication between a client and a server using Socket.io.
- Uses MongoDB, Mongoose and MongoLab(mLab) for storing and querying data.
- Stores session in a MongoDB using connect-mongo; a MongoDB-based session store.
- Uses Redis as an Adapter for Socket.io.
- Logging Errors and Exceptions using Winston.
Make sure you have Node.js and npm installed.
-
Clone or Download the repository
$ git clone https://github.com/OmarElGabry/chat.io.git $ cd chat.io -
Install Dependencies
$ npm install -
Edit configuration file in app/config/config.json with your credentials(see Setup Configurations).
-
Download and Install Redis.
-
Running Redis Server(as Admin)
$ redis-server -
Start the application
$ npm start
Your app should now be running on localhost:3000.
Make sure you have the Heroku Toolbelt installed.
-
Create a new Heroku application, and push your chat application to a Git remote repository
$ heroku create
$ git push heroku master
or
-
Now, you need to set up configuration variables on Heroku.
- Go to Settings -> Reveal Config Vars.
- Add configuration variables. All needed variables are inside app/config/index.js.
Typically, these are the configuration variables you need to assign:
{ dbURI, sessionSecret, facebookClientID, facebookClientSecret, twitterConsumerKey, twitterConsumerSecret }(see Setup Configurations).
-
One last step is to add Redis as an Add-on on Heroku.
- Go to Resources -> Add-ons
- Select Heroku Redis
You need to setup a billing account even if the add-on is free.
-
Open your chat application in the browser
$ heroku open
The configurations on production will be assigned from Environment Variables on Heroku, while the development configurations reside inside app/config/config.json file.
You need to create a database on MongoLab, then create a database user, get the MongoDB URI, and assign it to dbURI.
You need to register a new application on both Facebook and Twitter to get your tokens by which users can grant access to your application, and login using their social accounts.
- Go to Facebook Developers
- Add new app, and fill the required information.
- Get your
App ID,App Secret. - Go to Add Product -> Facebook Login -> Valid OAuth redirect URIs
- Add Valid Callback URIs
- Go to App Review -> Make your application public.
Now, you can assign the App ID to facebookClientID, and App Secret to facebookClientSecret.
- Go to Twitter Apps
- Create new app, and fill the required information.
- Add Website & Callback URL
- Get your
Consumer Key,Consumer Secret.
Now, you can assign the Consumer Key to twitterConsumerKey, and Consumer Secret to twitterConsumerSecret.
-
It can point back to your localhost; http://localhost:3000/auth/facebook/callback
-
When deploy to Heroku, you will have something look like this; http://my-chat-app.herokuapp.com/auth/facebook/callback
The session needs a random string to make sure the session id in the browser is random. That random string is used to encrypt the session id in the browser, Why? To prevent session id guessing.
Mongoose is used to interact with a MongoDB that's hosted by MongoLab.
There are two schemas; users and rooms.
Each user has a username, passowrd, social Id, and picture. If the user is logged via username and password, then social Id has to be null, and the if logged in via a social account, then the password will be null.
Each room has a title, and array of connections. Each item in the connections array represents a user connected through a unique socket; object composed of {userId + socketId}. Both of them together are unique.
Each model wraps Mongoose Model object, overrides and provides some methods. There are two models; User and Room.
Session in Express applications are best managed using express-session package. Session data are stored locally on your computer, while it's stored in the database on the production environment. Session data will be deleted upon logging out.
User can login using either a username and password, or login via a social account. User authentication is done using Passport. Passport has extensive, and step-by-step documentation on how to implement each way of authentication.
Having an active connection opened between the client and the server so client can send and receive data. This allows real-time communication using TCP sockets. This is made possible by Socket.io.
The client starts by connecting to the server through a socket(maybe also assigned to a specific namespace). Once connections is successful, client and server can emit and listen to events.
There are two namespaces used; /rooms and /chatroom.
And It doesn't go without saying, you need to monitor your application. Winston can log and catch Uncaught Exceptions. All logs are displayed in the console, and saved in debug.log file.
On Heroku, you can monitor the logs by clicking on More -> View Logs on the top left of your application dashboard.
I've written this script in my free time during my studies. If you find it useful, please support the project by spreading the word.
Contribute by creating new issues, sending pull requests on Github or you can send an email at: [email protected]
Built under MIT license.


