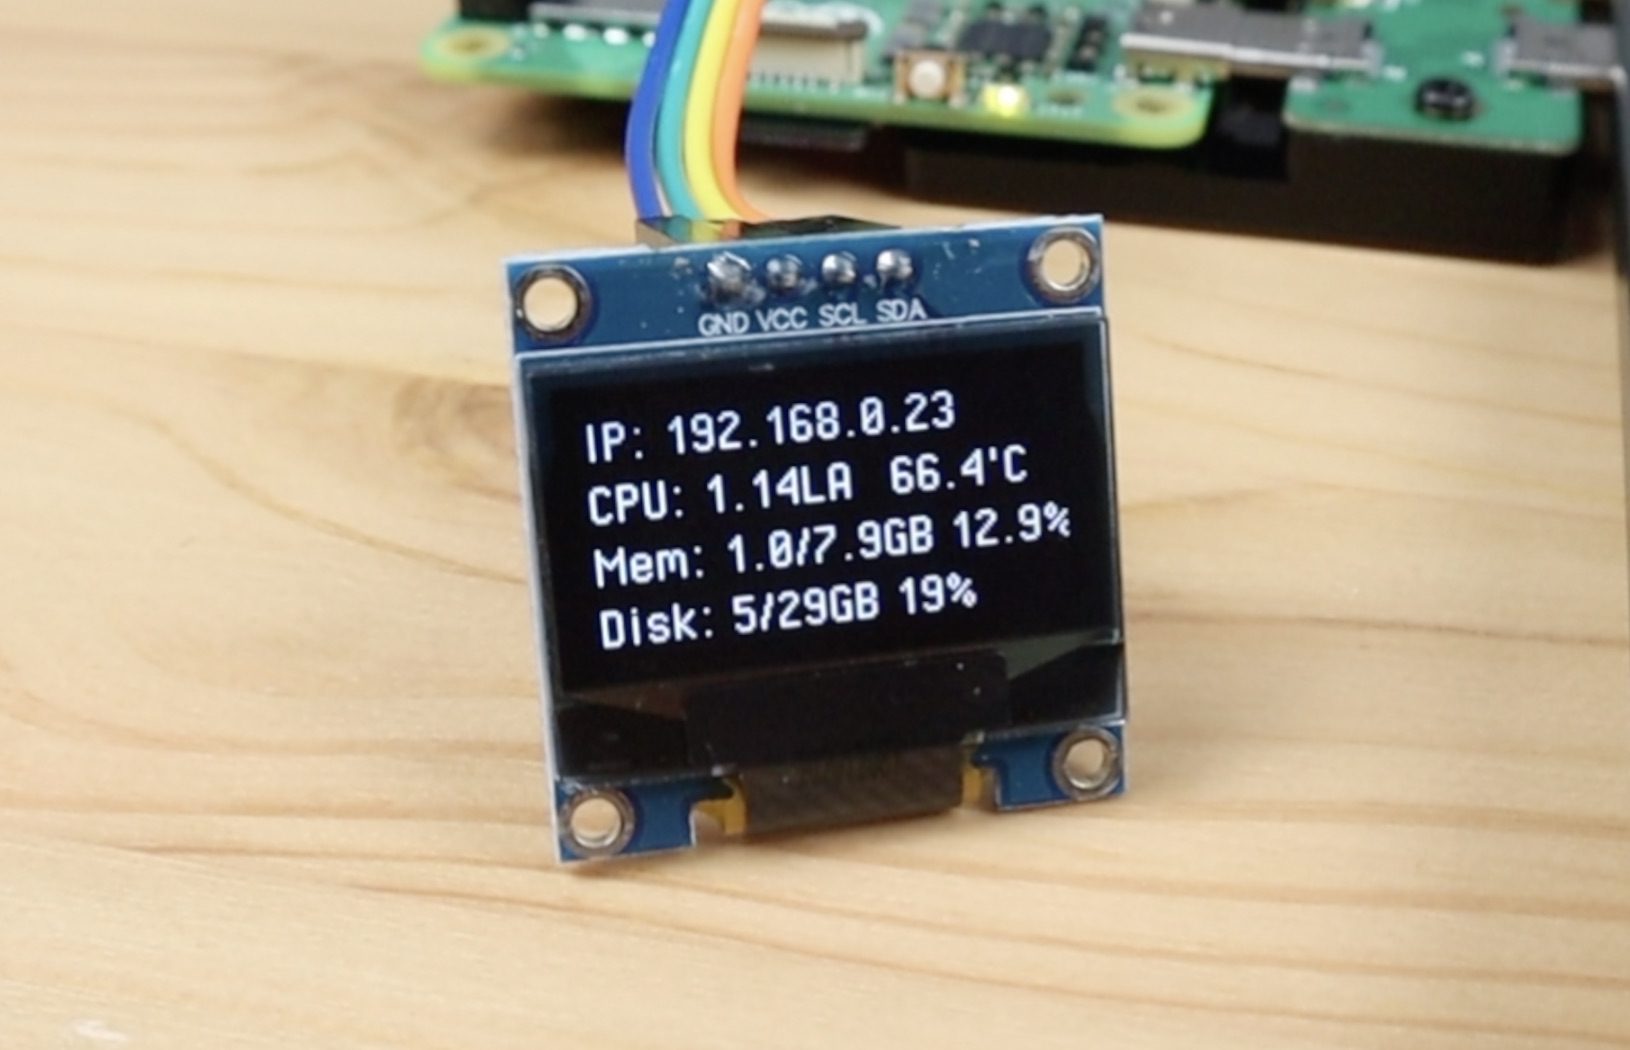
OLED Stats Display Script For A Raspberry Pi Running Raspberry Pi OS Bookworm. The installation process and script has been tested on a Pi 3, 4 and 5.
Full setup instructions available on my blog - https://www.the-diy-life.com/add-an-oled-stats-display-to-raspberry-pi-os-bookworm/ Or my Youtube Channel - https://youtu.be/pdaDvPCdAlY
The script is pre-configured for 128x64 I2C OLED Display, but can easily be modified to run on a 128x32 I2C OLED Display
| stats.py | monitor.py |
|---|---|
 |
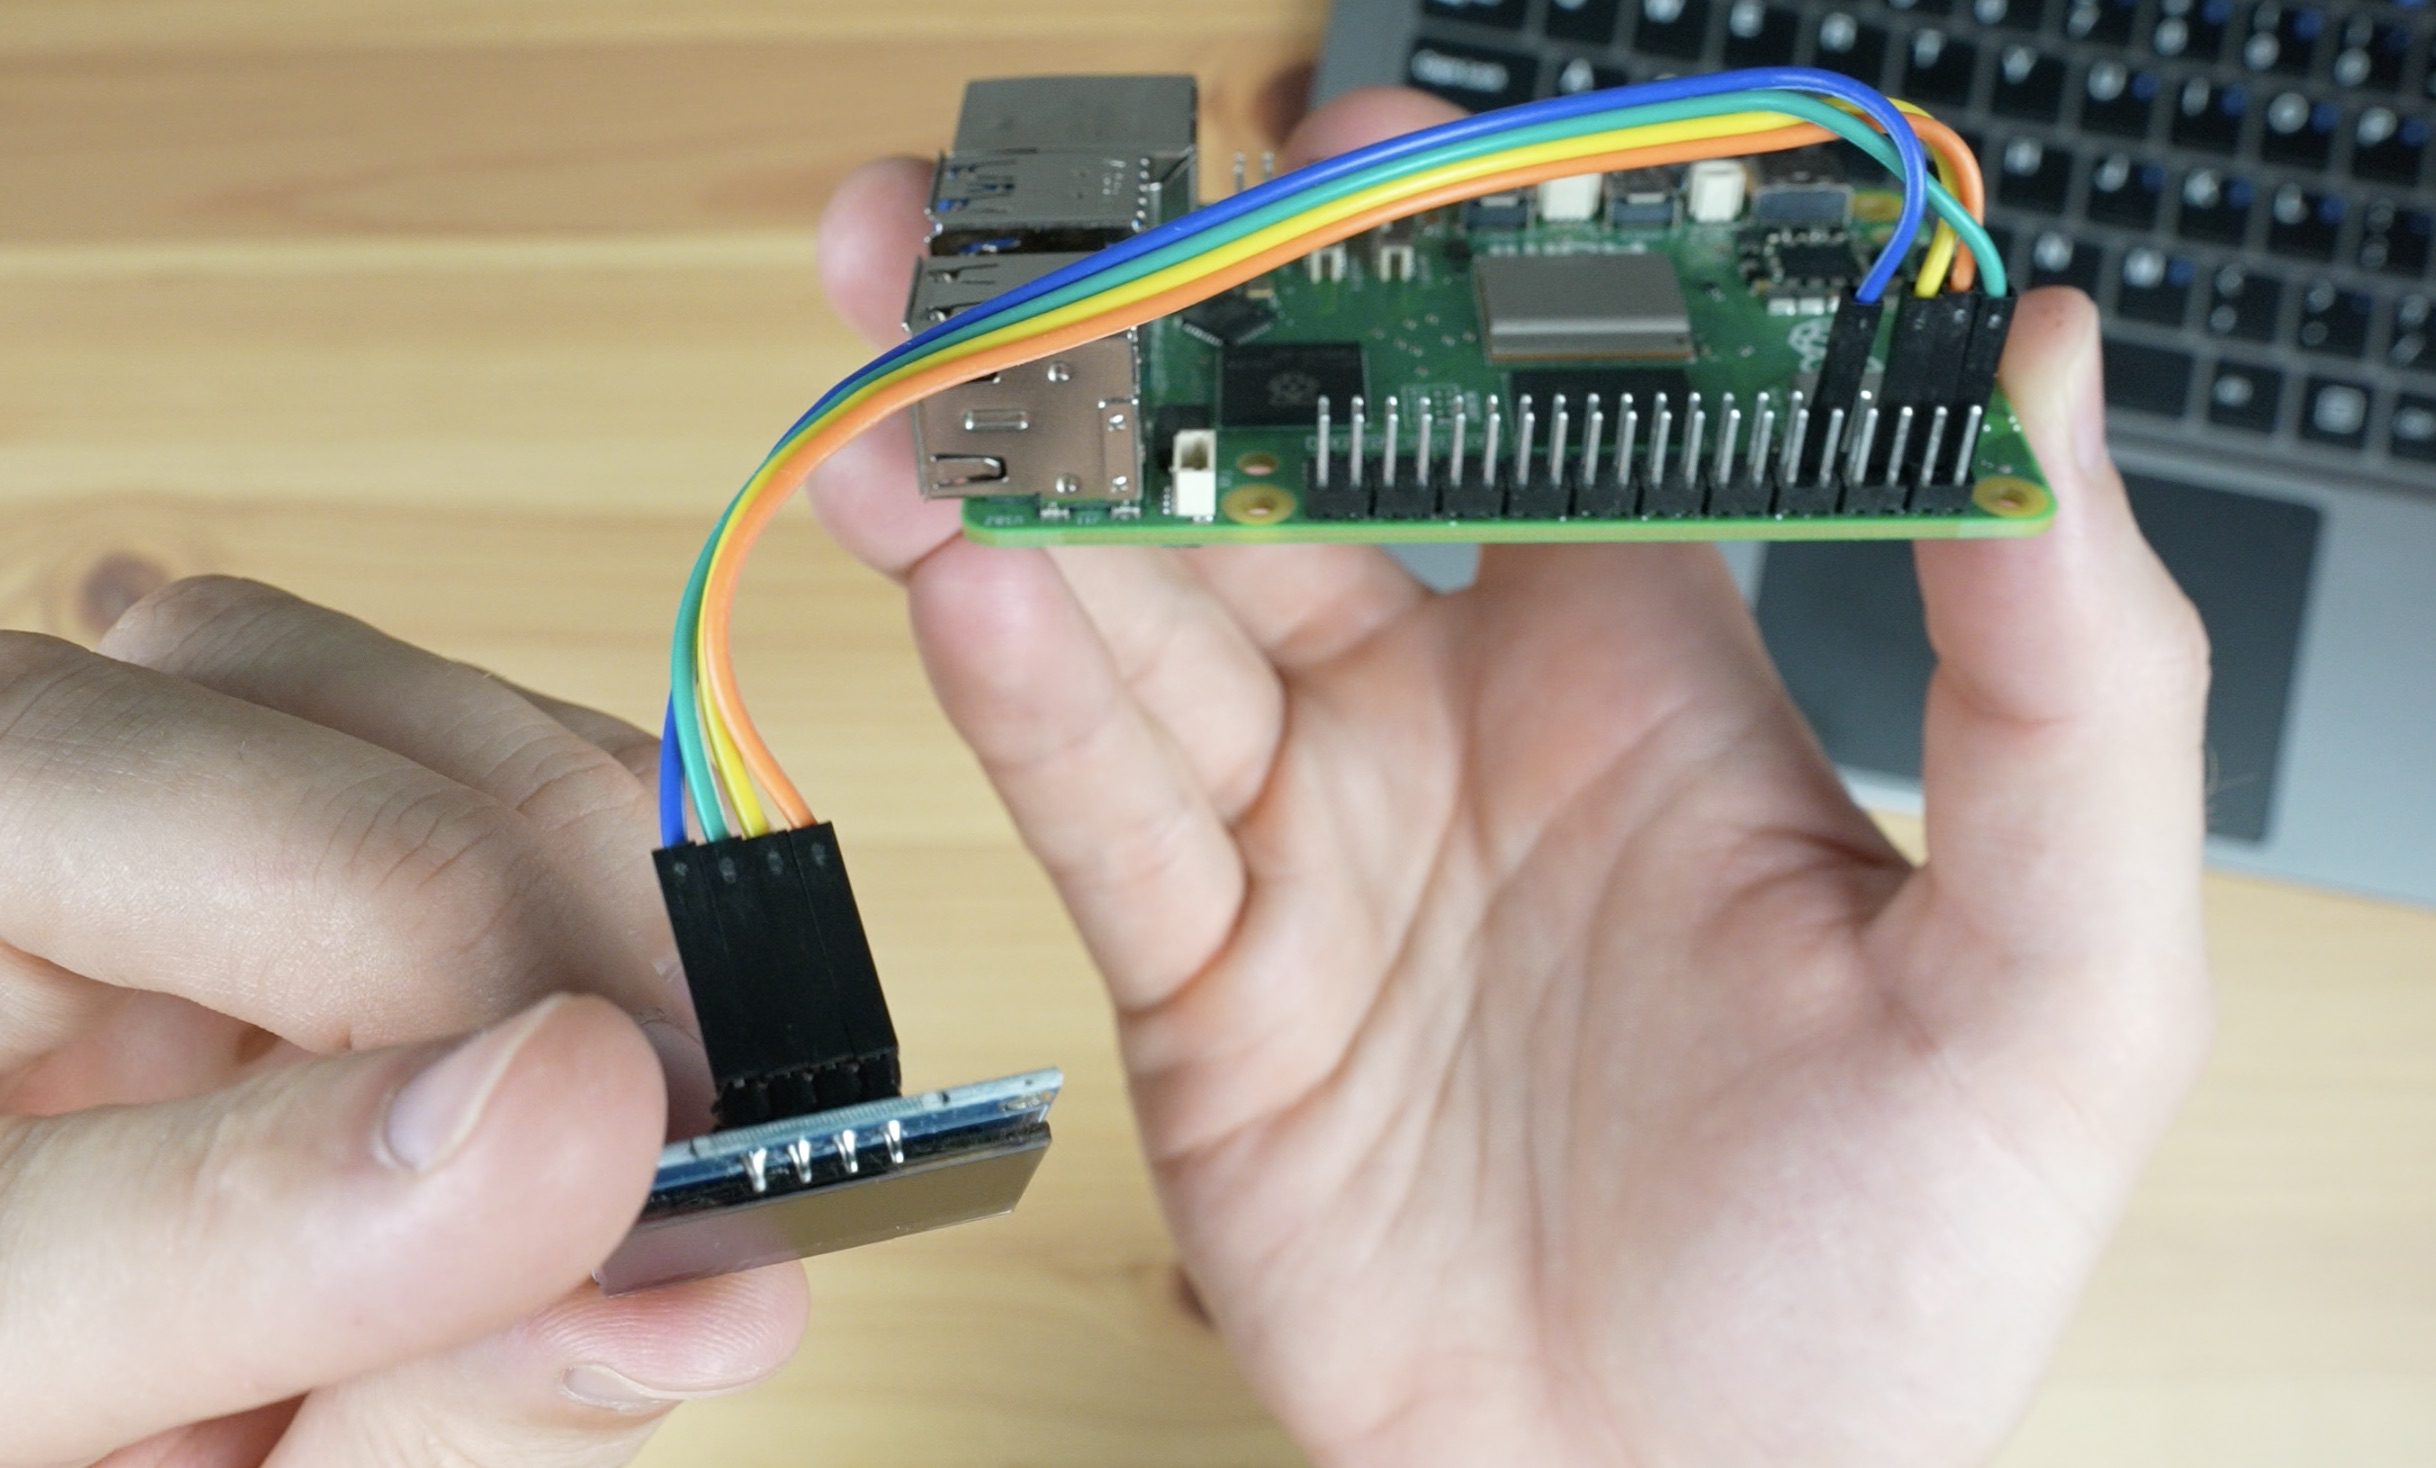
- Connect GND, VCC(3.3v), SCL, & SDA ports of the display according to the picture shown below:
- Upgrade your Raspberry Pi firmware and reboot:
sudo apt-get updatesudo apt-get -y upgradesudo reboot- Install python3-pip & upgrade setuptools
sudo apt-get install python3-pipsudo apt install --upgrade python3-setuptools- Next, we need to create a virtual environment called stats_env. This is required as of the release of OS Bookworm. On completion, you should see (stats_env) at the start of your current terminal line
sudo apt install python3-venvpython3 -m venv stats_env --system-site-packagessource stats_env/bin/activate- Next, we will install the Adafruit Blinka library using the following commands. Confirm "Y" when prompted to reboot at the end of the installation.
cd ~pip3 install --upgrade adafruit-python-shellwget https://raw.githubusercontent.com/adafruit/Raspberry-Pi-Installer-Scripts/master/raspi-blinka.pysudo -E env PATH=$PATH python3 raspi-blinka.py- Check the
I2Cstatus using the below command. You should see a table with the address 3c showing up - this is the address of the OLED display.
sudo i2cdetect -y 1 0 1 2 3 4 5 6 7 8 9 a b c d e f
00: -- -- -- -- -- -- -- --
10: -- -- -- -- -- -- -- -- -- -- -- -- -- -- -- --
20: -- -- -- -- -- -- -- -- -- -- -- -- -- -- -- --
30: -- -- -- -- -- -- -- -- -- -- -- -- 3c -- -- --
40: -- -- -- -- -- -- -- -- -- -- -- -- -- -- -- --
50: -- -- -- -- -- -- -- -- -- -- -- -- -- -- -- --
60: -- -- -- -- -- -- -- -- -- -- -- -- -- -- -- --
70: -- -- -- -- -- -- -- --If no address shows up, check your display connections to the Pi and that the I2C interface has been activated. Use the below command to open up configuration options, then select "3 Interfacing Options", then select "I5 I2C", "Yes" to enable the interface, "Ok" and then "Finish"
sudo raspi-config- Next, we need to install the CircuitPython libraries specific to the display. Start by re-entering the created virtual environment and then enter the below commands to install the libraries
source stats_env/bin/activatepip3 install --upgrade adafruit_blinkapip3 install adafruit-circuitpython-ssd1306sudo apt-get install python3-pil- Now we need to exit the virtual environment and download the Python script from our GitHub repository
deactivatesudo apt-get install gitgit clone https://github.com/mklements/OLED_Stats.git- Now re-enter the virtual environment to run the stats script
source stats_env/bin/activatecd OLED_Stats- There are two options for scripts to run. A text-based one called stats.py and another one that has icons called monitor.py. Depending on which one you prefer, enter one of the below two commands
python3 stats.pyOR
python3 monitor.py- The script should now be running and your display showing your Pi's IP address and stats, but if you close the terminal window then it'll stop being updated. To get the script to run automatically on start-up and continue to update itself, we need to make an executable file. You'll need to open a new terminal window for the below steps.
Remember to change your username ("pi" below) if you're not using a default username
curl -OL https://raw.githubusercontent.com/mklements/OLED_Stats/main/OLED_displaysudo chmod +x /home/pi/OLED_displayThe OLED_display script runs the stats.py file by default. To change this to the monitor.py file, you'll need to open it up in a text or code editor and change the target filename from stats.py to monitor.py.
Now we need to tell the Pi to run this file on startup. We do this by opening up crontab using the below command and then adding a line at the bottom of the text file. If it's your first time opening up crontab, it'll prompt you to select an editor - enter 1 to open it up in nano.
crontab -eAdd this to the bottom:
Remember to change your username ("pi" below) if you're not using a default username
@reboot /home/pi/OLED_display &
If your display shows jumbled pixels/symbols instead of actual text - you may have a display which supports the SH1106 driver instead of more common SSD1306 driver. This script ONLY works for SSD1306 displays. If you have this issue, follow this guide instead: https://www.youtube.com/watch?v=LdOKXUDw2NY
