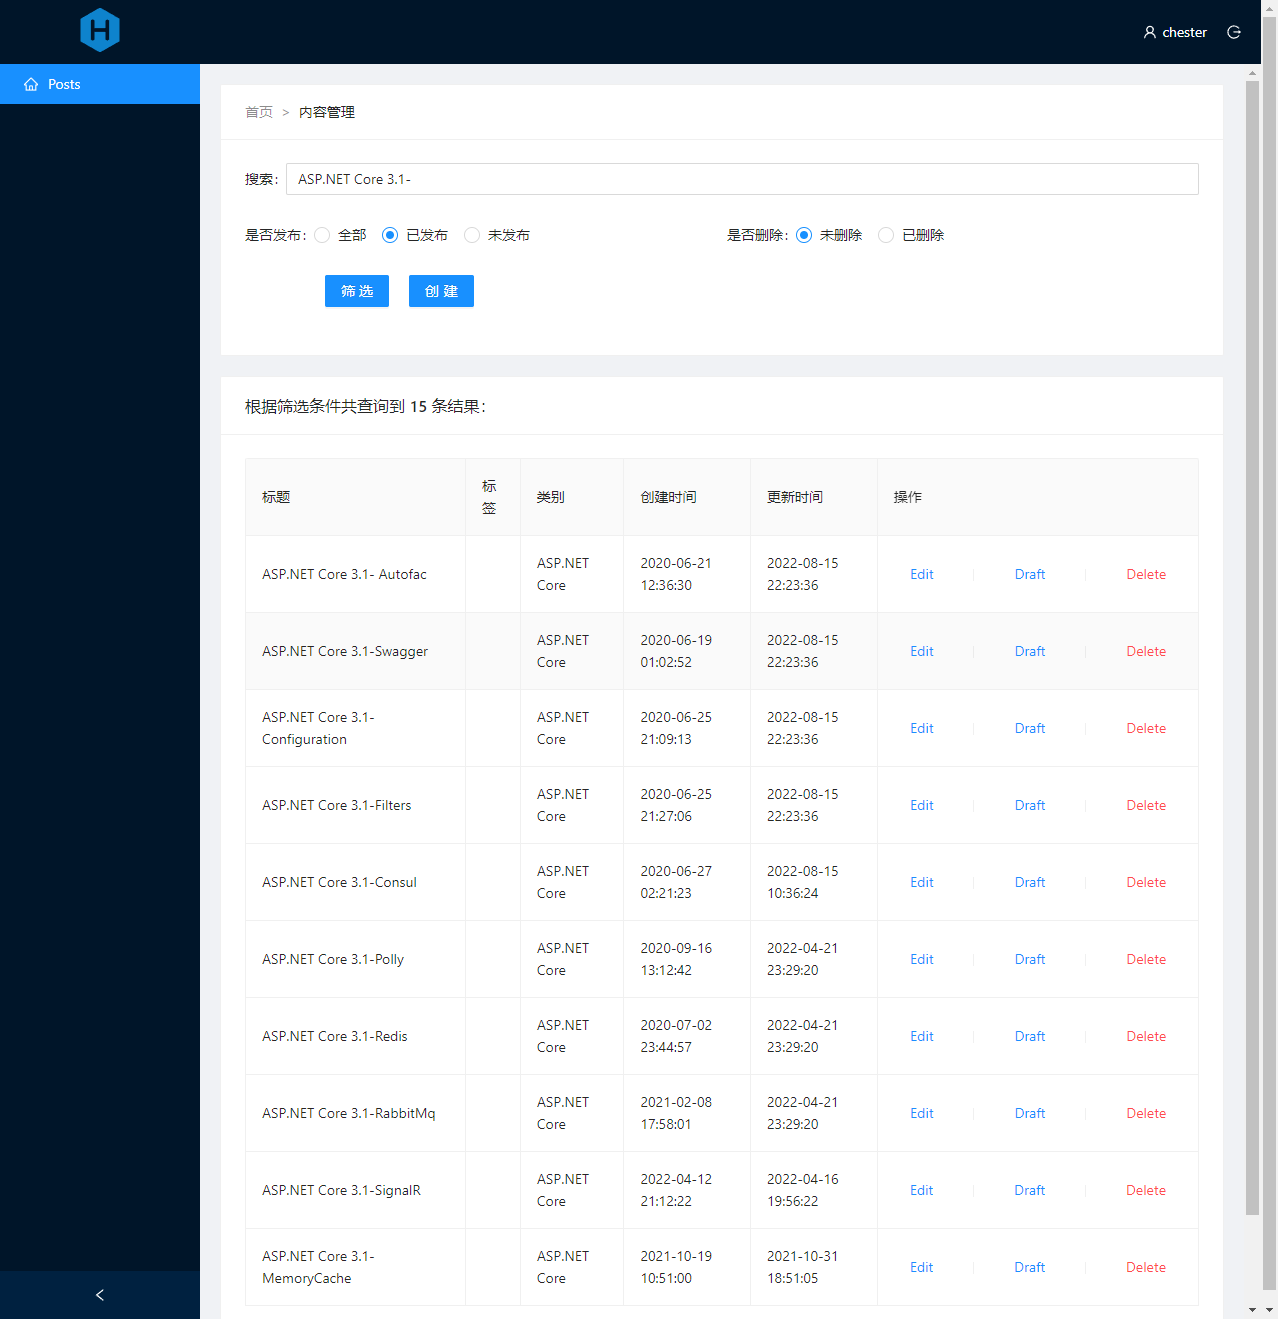
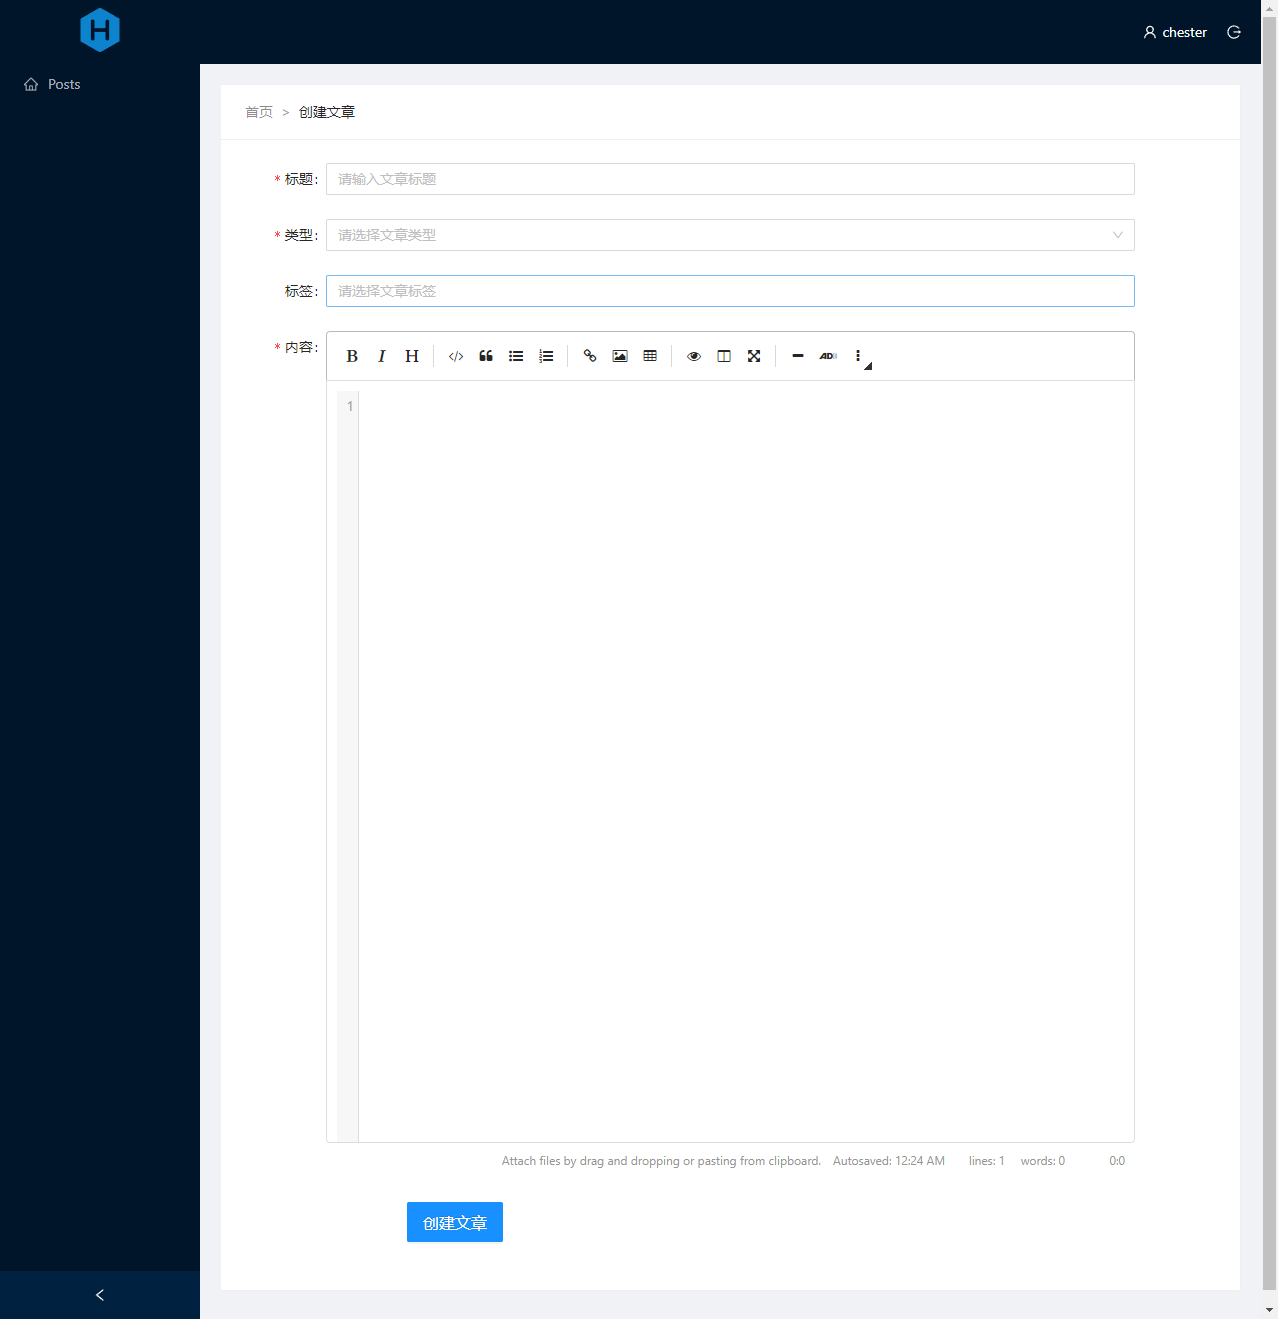
An admin UI for the Hexo blog engine. Based off of the Ant-React Interface.
Use version 1.x of this plugin only support Hexo version 5.x
This plugin was originally designed as a local editor -- you run hexo locally, use hexo-admin to author posts, and then use hexo generate or hexo deploy to send the generated static HTML files up to github pages or some other static server.
However, hexo-admin can be run on your live blog, as long as you're using a non-static hosting service such as Heroku, DigitalOcean, AliCloud etc. Static hosting services such as Github pages and Surge.sh does not support running hexo-admin from your live site.
If you're using Hexo admin from your live blog, you should definitely set up a password (see below) -- otherwise anyone will be able to edit your content.
You can use PM2 to host serivce.
npm install -g hexo
cd ~/
hexo init my-blog
cd my-blog
npm installnpm install --save hexo-admin-modern
hexo server -d
open http://localhost:4000/admin/The UI should be pretty discoverable -- let me know if you can't find something.
If you're using Hexo admin on your live server, you want some password protection. To enable this, you just add a few config variables to your hexo _config.yml:
admin:
  username: myfavoritename
  password_hash: be121740bf988b2225a313fa1f107ca1
  secret: a secret something
The password_hash is the bcrypt hash of your password. The secret is used to make the cookies secure, so it's a good idea to have it be long and complicated.
Generate your password config:
A utility in Hexo admin's Settings can hash your password and generate the admin section for you.
- Start Hexo and go to
Create new accountpage.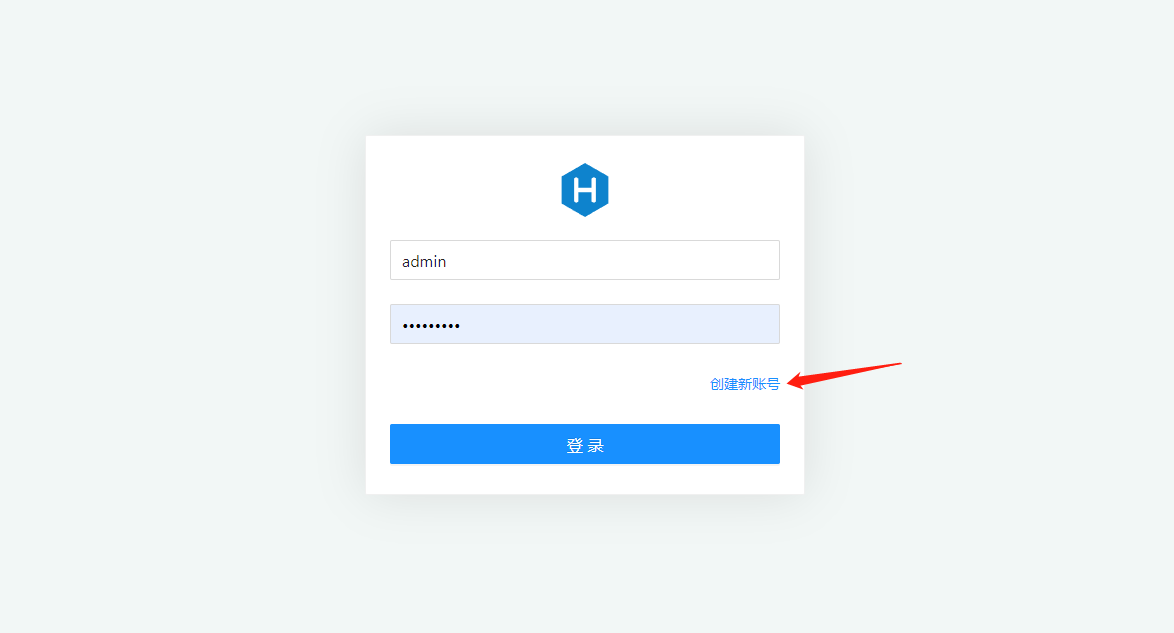
- Fill out your information. Copy the generated YAML into your
_config.yml.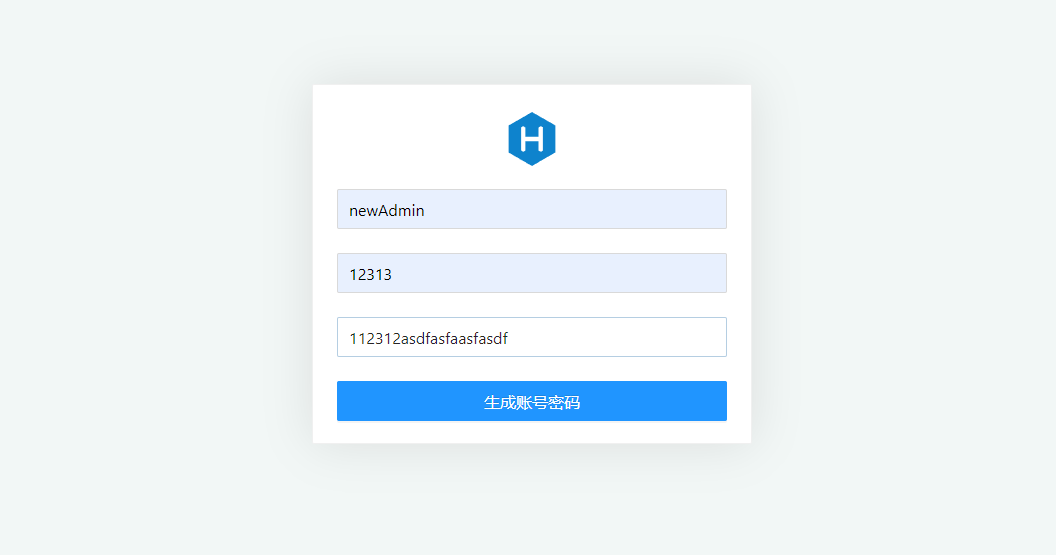
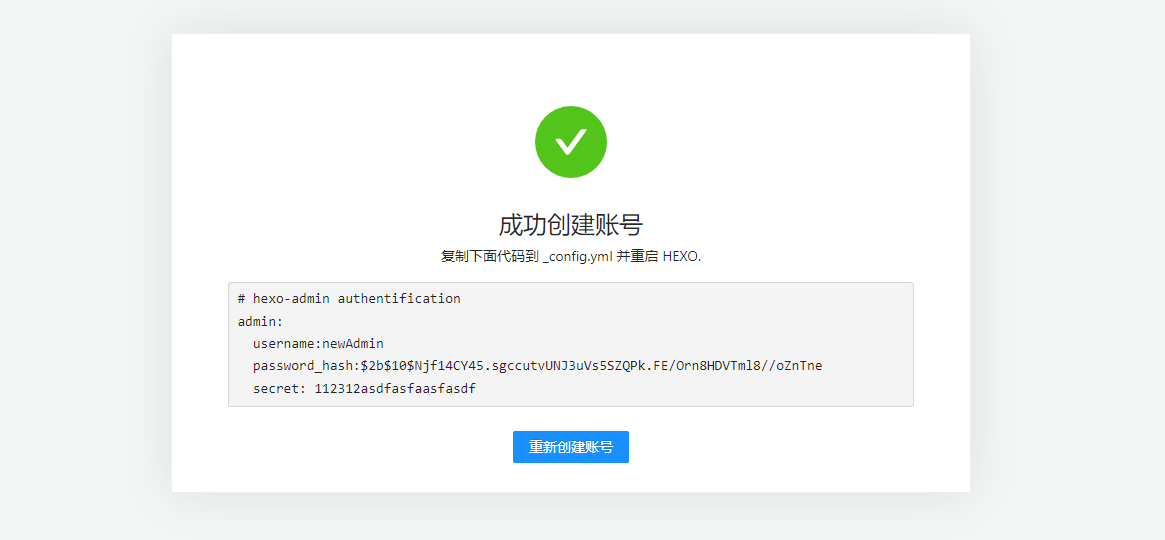
Once that's in place, start up your hexo server and going to /admin/ will require you to enter your password.
To add and edit your own post metadata with the admin interface, add the metadata variable and your custom variables to your hexo _config.yml:
metadata:
  author_id: defaultAuthorId
  language:
You can provide default values that will be used to initialize the metadata of a new post. These can be either primitives or arrays.
- let me know how it can be improved in the github issues
- fork and pull-request
Built with ❤ by ChesterZengJian using React, Ant Design of React, and Less.
Thanks to Jared Forsyth(@jaredforsyth) for Hexo-Admin, this project is a reference to it.
