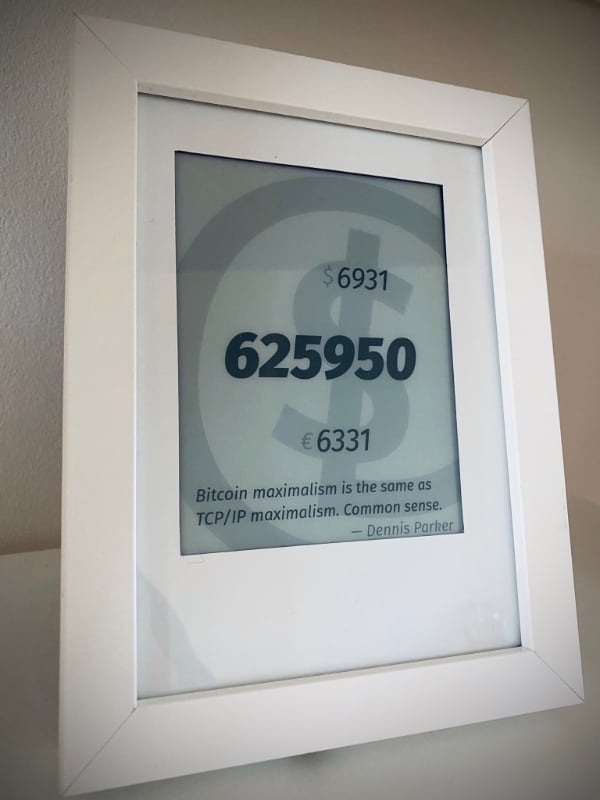
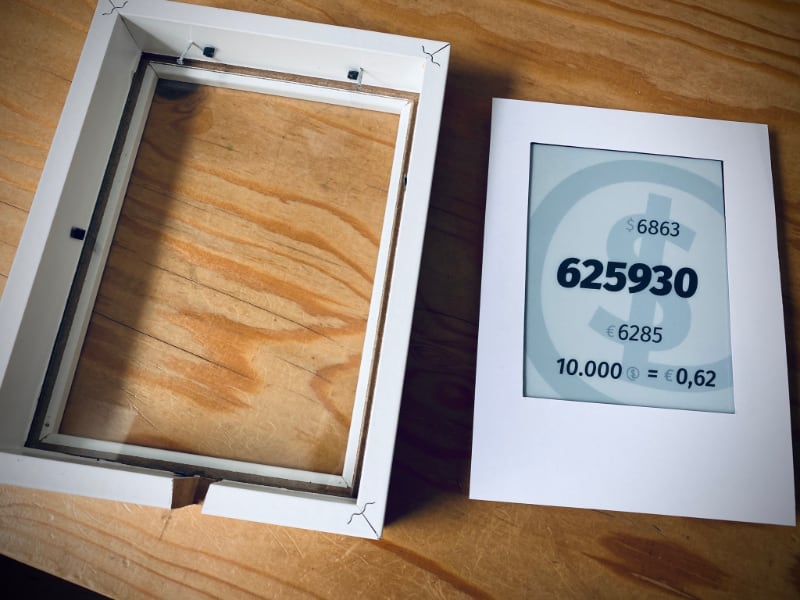
My Bitcoin Status Display made with a jailbroken Kindle. Original idea and setup taken from @naltatis' kindle-display.
This is a two part setup: The hacked Kindle pulls a screenshot that is taken from the webpage the server displays. The server updates this screenshot in regular intervals and the Kindle also updates regularly.
+------+   update X minutes    +------+
|      |  ------------------>  |      |
|      |         wifi          |      |
|      |  <------------------  |      |
+------+    greyscale image    +------+
 kindle                         server
The code in this repository is my personal setup which pulls in data from my own network.
I recommend you fork this repository and modify the ./data.sh and visual representation to fit your needs.
- Node.js (assembles the data and runs the webserver)
- firefox-esr (takes the screenshot of the webpage)
- pngcrush (converts the screenshot to a greyscale image)
- curl (to fetch the JSON data)
- jq (to process the JSON data)
- jo (to generate the JSON data file)
- cron (schedule update task)
- torsocks (optional, if you want to force Tor connections)
# Clone the repository
git clone [email protected]:username/kindle-display.git

# Go to the server directory
cd kindle-display/server

# Copy sample env file and adapt the settings
cp .env.sample .env

# Install the dependencies
npm install

# Start the server
npm start

# Update data and create the screenshot
./cron.sh

# Preview the greyscale in your browser
open http://localhost:3030/display.png
Once everything works, deploy the server app and setup a cronjob to trigger the cron.sh script regularly:
SHELL=/bin/bash
PATH=/bin:/usr/bin:/usr/local/bin
*/5 * * * * /PATH_TO_INSTALL_DIRECTORY/kindle-display/server/cron.sh > /dev/null 2>&1
This example runs every five minutes and references the relevant paths. Adapt the cronjob to your needs.
-
(optional):
Reset to Factory Defaults(helps to start clean) -
Connect to WiFi (only compatible with 2.4GHz hotspots, not 5GHz)
-
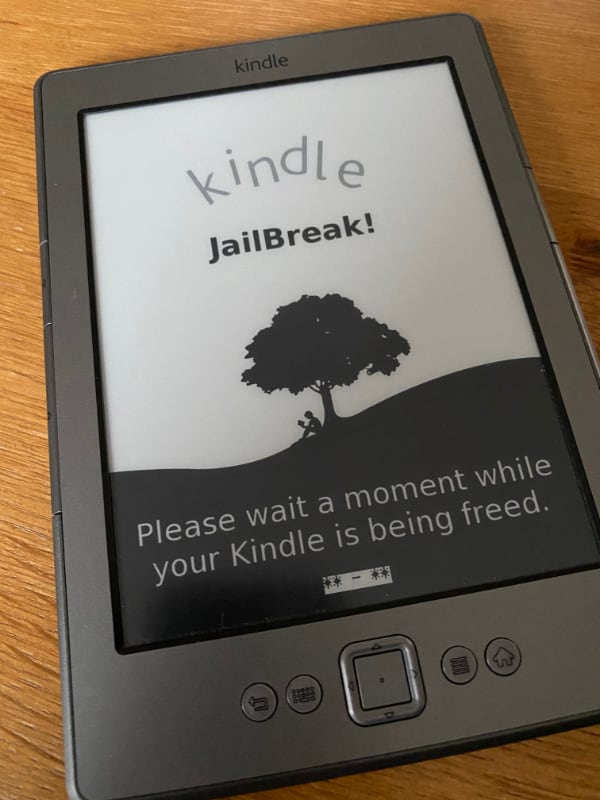
Jailbreak You need to jailbreak your Kindle using the packages from the mobileread forum.
- Plug in the Kindle and copy the data.tar.gz & ENABLE_DIAGS files plus the diagnostic_logs folders to the Kindle's USB drive's root
- Safely remove the USB cable and restart the Kindle (Menu -> Settings -> Menu -> Restart)
- Once the device restarts into diagnostics mode, select "D) Exit, Reboot or Disable Diags" (using the 5-way keypad)
- Select "R) Reboot System" and "Q) To continue" (following on-screen instructions, when it tells you to use 'FW Left' to select an option, it means left on the 5-way keypad)
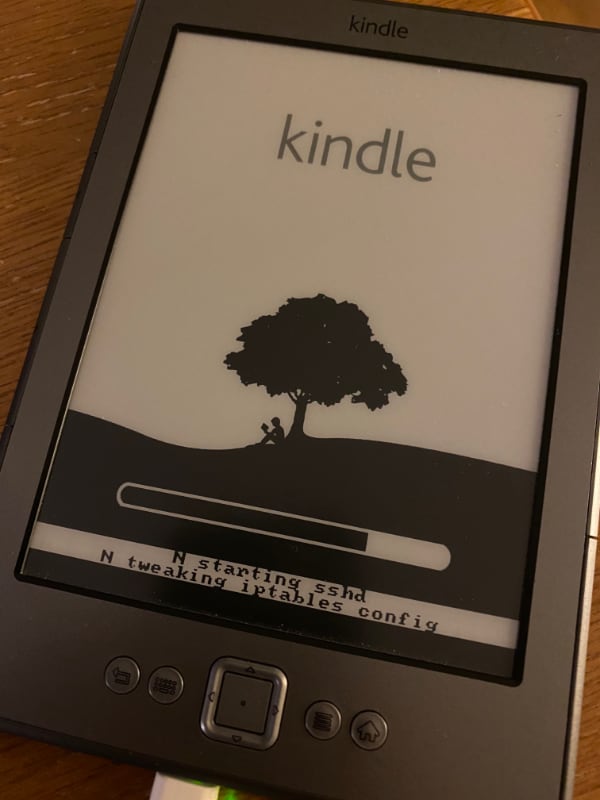
- Wait about 20 seconds: you should see the Jailbreak screen for a while, and the device should then restart normally
- After the Kindle restarts, you should see a new book titled "You are Jailbroken", if you see this, the jailbreak has been successful.
-
Next copy the content of the following packages to the Kindle one-by-one and open
Settings->Update Your Kindle- USBNetwork
- MKK
- KUAL
Some hints via openoms and grnqrtr, also see the mobileread forum.
Unmount and eject your Kindle. Also unplug it, as some devices behave strangely when toggling usbnet/usbms while plugged in.
Toggle USBnetwork ON in the launcher and plug in the cable again.
Kill any automation or configure your Kindle to do so.
You'll need to be in debug mode to run private commands. So, on the Home screen, bring up the search bar (by hitting [DEL] on devices with a keyboard, or the keyboard key on a K4, for example), and enter (or the middle button):
;debugOn

# now can enable usbnet
~usbNetwork
If succeded the battery symbol on the top right will show charging despite (not yet) connected and will not go into Mass Storage mode when connected.
sudo ip link set up dev usb0 (It may already be up)
sudo ip address add 192.168.15.201 peer 192.168.15.244 dev usb
Connect the Kindle via USB
sudo dmesg | grep usb0

# example output
> [367478.835928] cdc_subset 1-2:1.1 enp0s20u2i1: renamed from usb0

# Use the devicce name from the previous output
sudo ifconfig enp0s20u2i1 192.168.15.201

# Log in to the Kindle
ssh [email protected]
# there is no password, just press enterOpen the raw paste-to-install.sh edit the SERVER and paste it to the kindle terminal. If the picture appeared on the Kindle the config is done.
The SERVER (BASE=) can be edited in the update.sh on the Kindle root directory any time when connected with USB.
# Make the Kindle file system writable
mntroot rw

# Create the mnt/base-us scripts according to the files in the kindle directory
nano /mnt/base-us/RUNME.sh

# Set the BASE according to your local network setup to address the server
nano /mnt/base-us/update.sh

# Create a cronjob to run the update script in regular intervals
#
# For instance:
# */5 6-22 * * * /mnt/us/update.sh
# 0 23,0,5 * * * /mnt/us/update.sh
nano /etc/crontab/root

# Execute the init script and trigger an the first render
sh /mnt/base-us/RUNME.shnaltatis
Matthew Petroff
hahabird


