- Introduction
- Provided Files
- Instructions to create a portrait
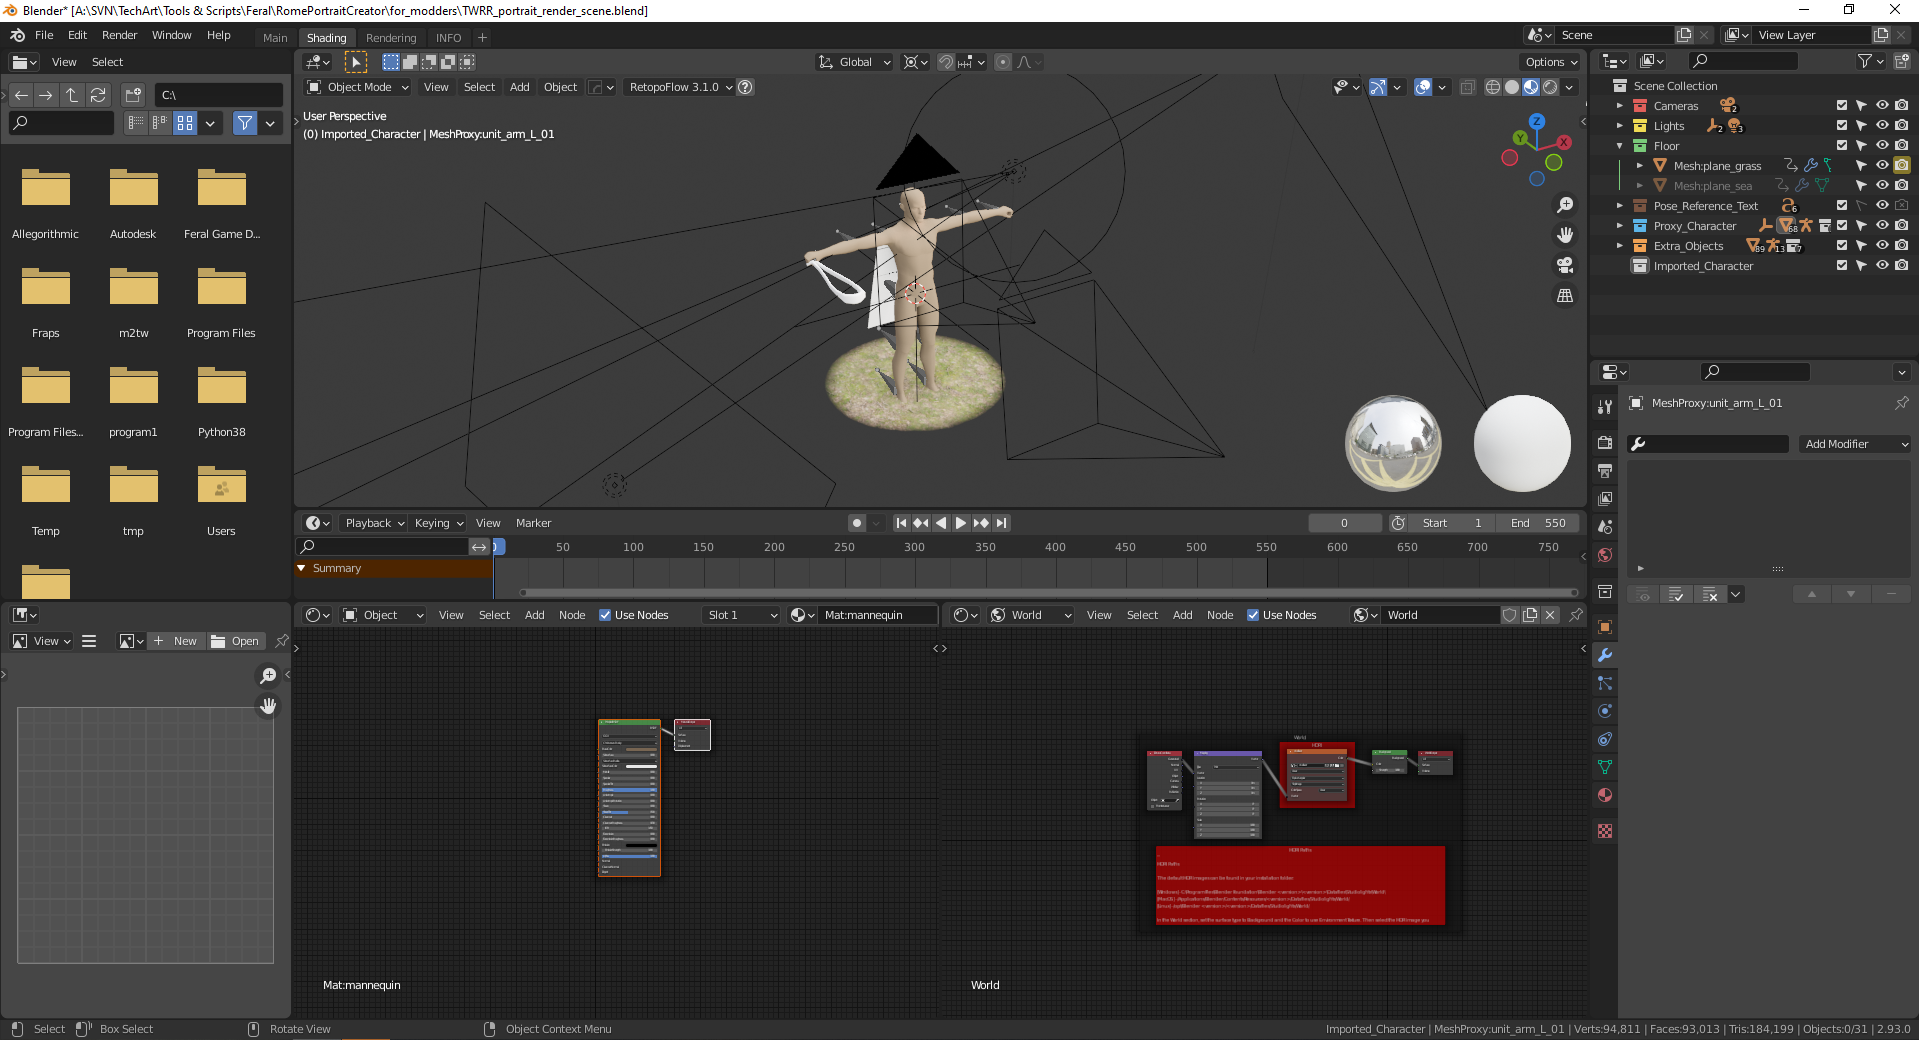
- Blender Scene Breakdown
- TWRR: Units card info - Modders spreadsheet
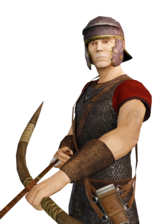
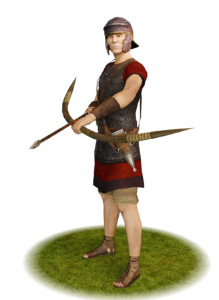
This document reviews the Blender file provided to the modding community for the use of creating render portraits for Total War: Rome Remastered. These are used to create both the unit cards and for the larger unit info images.
| Unit Card | Unit Info |
|---|---|
 |
 |
NOTE: This is not a tutorial, simply just instructions and tips to render out an image used for portraits.
You can find the blender project root folder here:
- TWRR_portrait_render_scene.blend
- This is a base blender scene that can be used for unit renders
- This scene was created using version 2.93.0.
- Supporting files
-
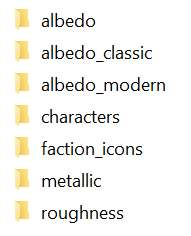
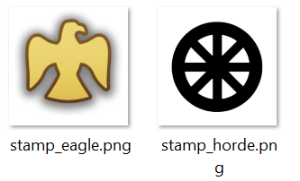
icons A directory containing the icons which are baked into selected portraits. These can be simply added on top of the portrait after the render.
-
textures
-
polyhaven
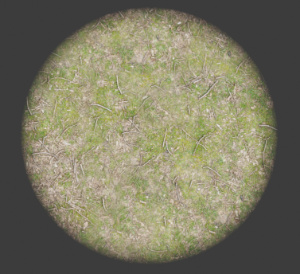
- Contains the grass texture used for the floor plane. This is a free texture from polyhaven and is set up as a preset example for modders.

- Contains the grass texture used for the floor plane. This is a free texture from polyhaven and is set up as a preset example for modders.
-
TTWR
-
-
TWRR: Units card info - Modders spreadsheet
- A spreadsheet containing information about each portrait used in the game.
-
If in the blender scene the textures appear to be missing (as shown in the example below).
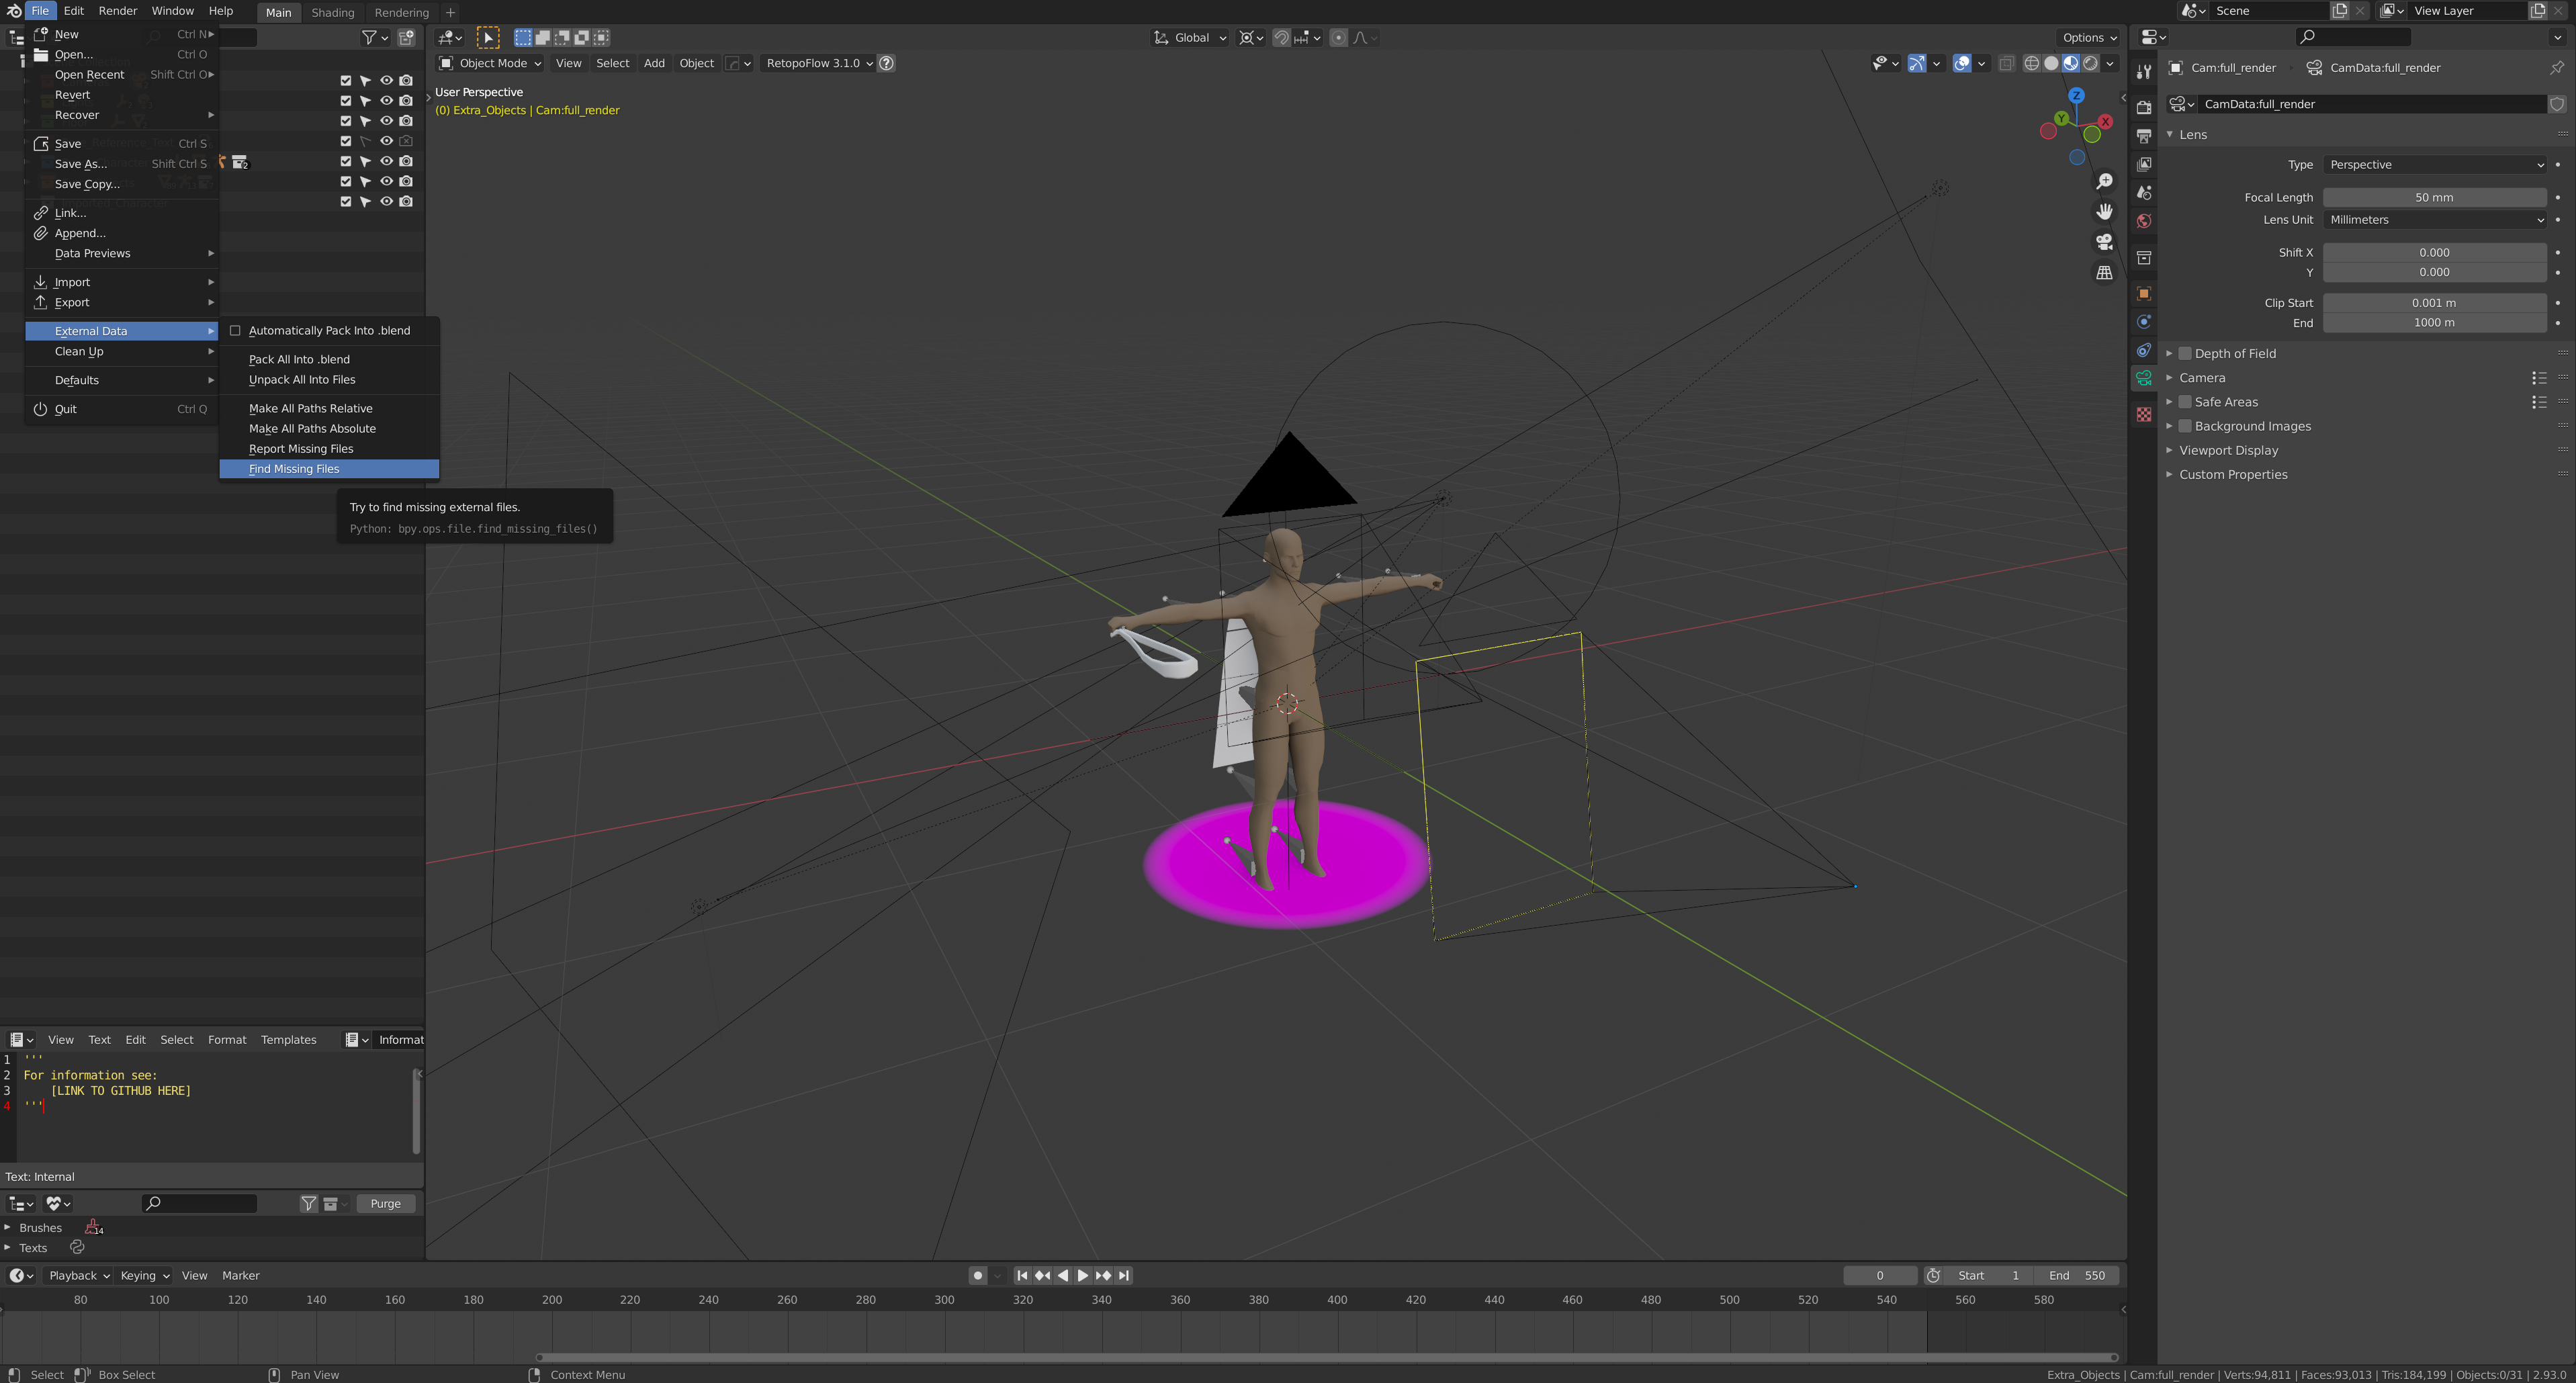
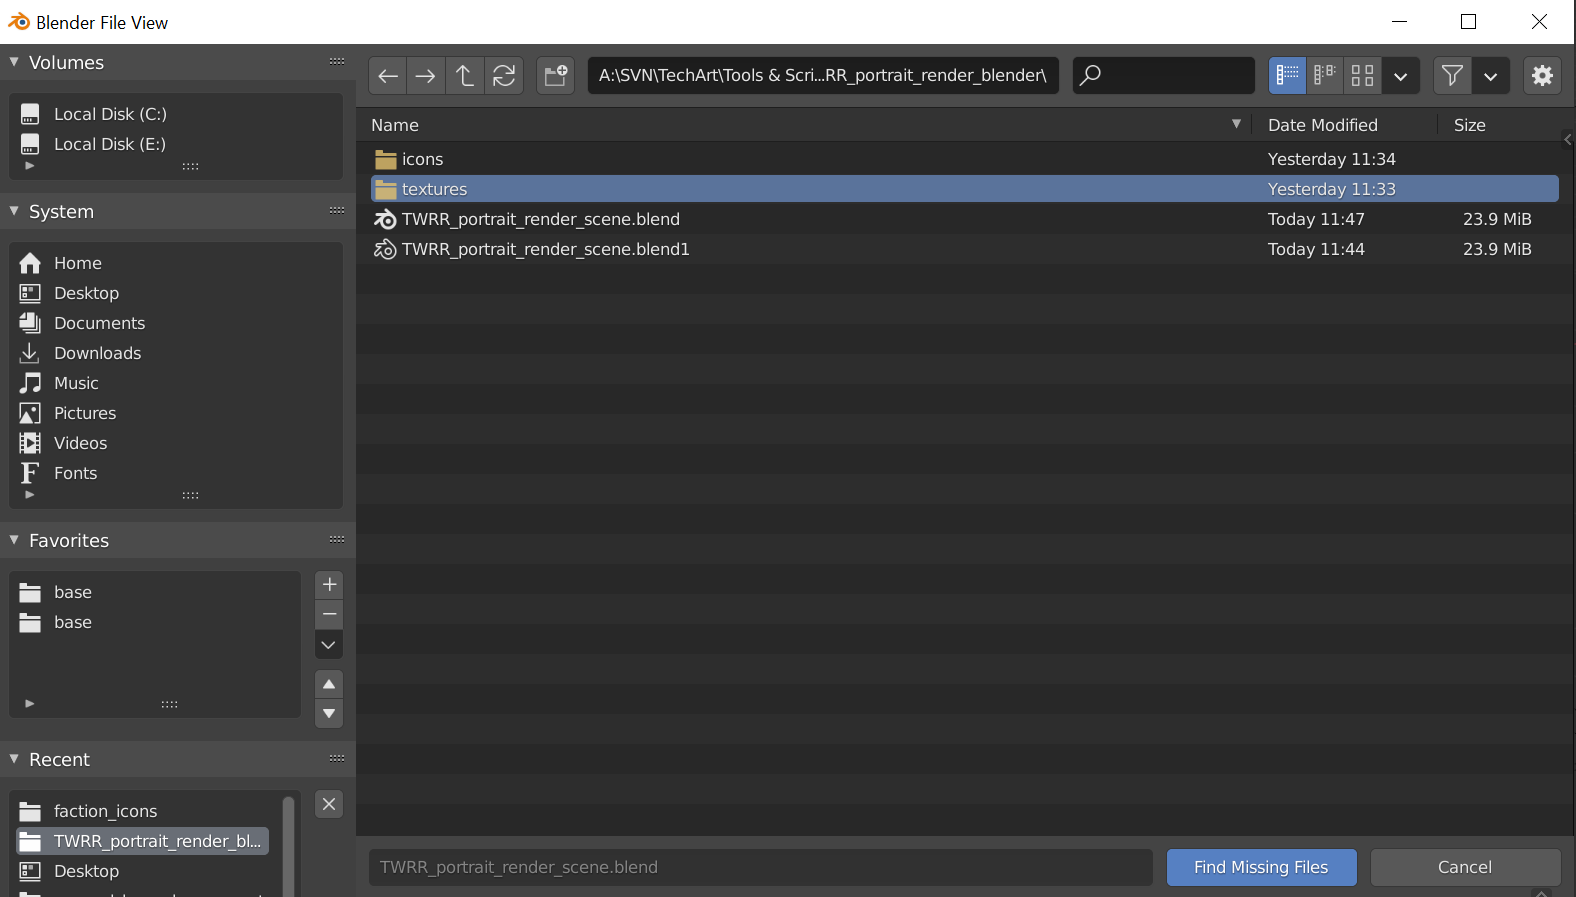
Go to File / External Data / Find Missing Files / (navigate to the provided textures directory and hit Find Missing Files.
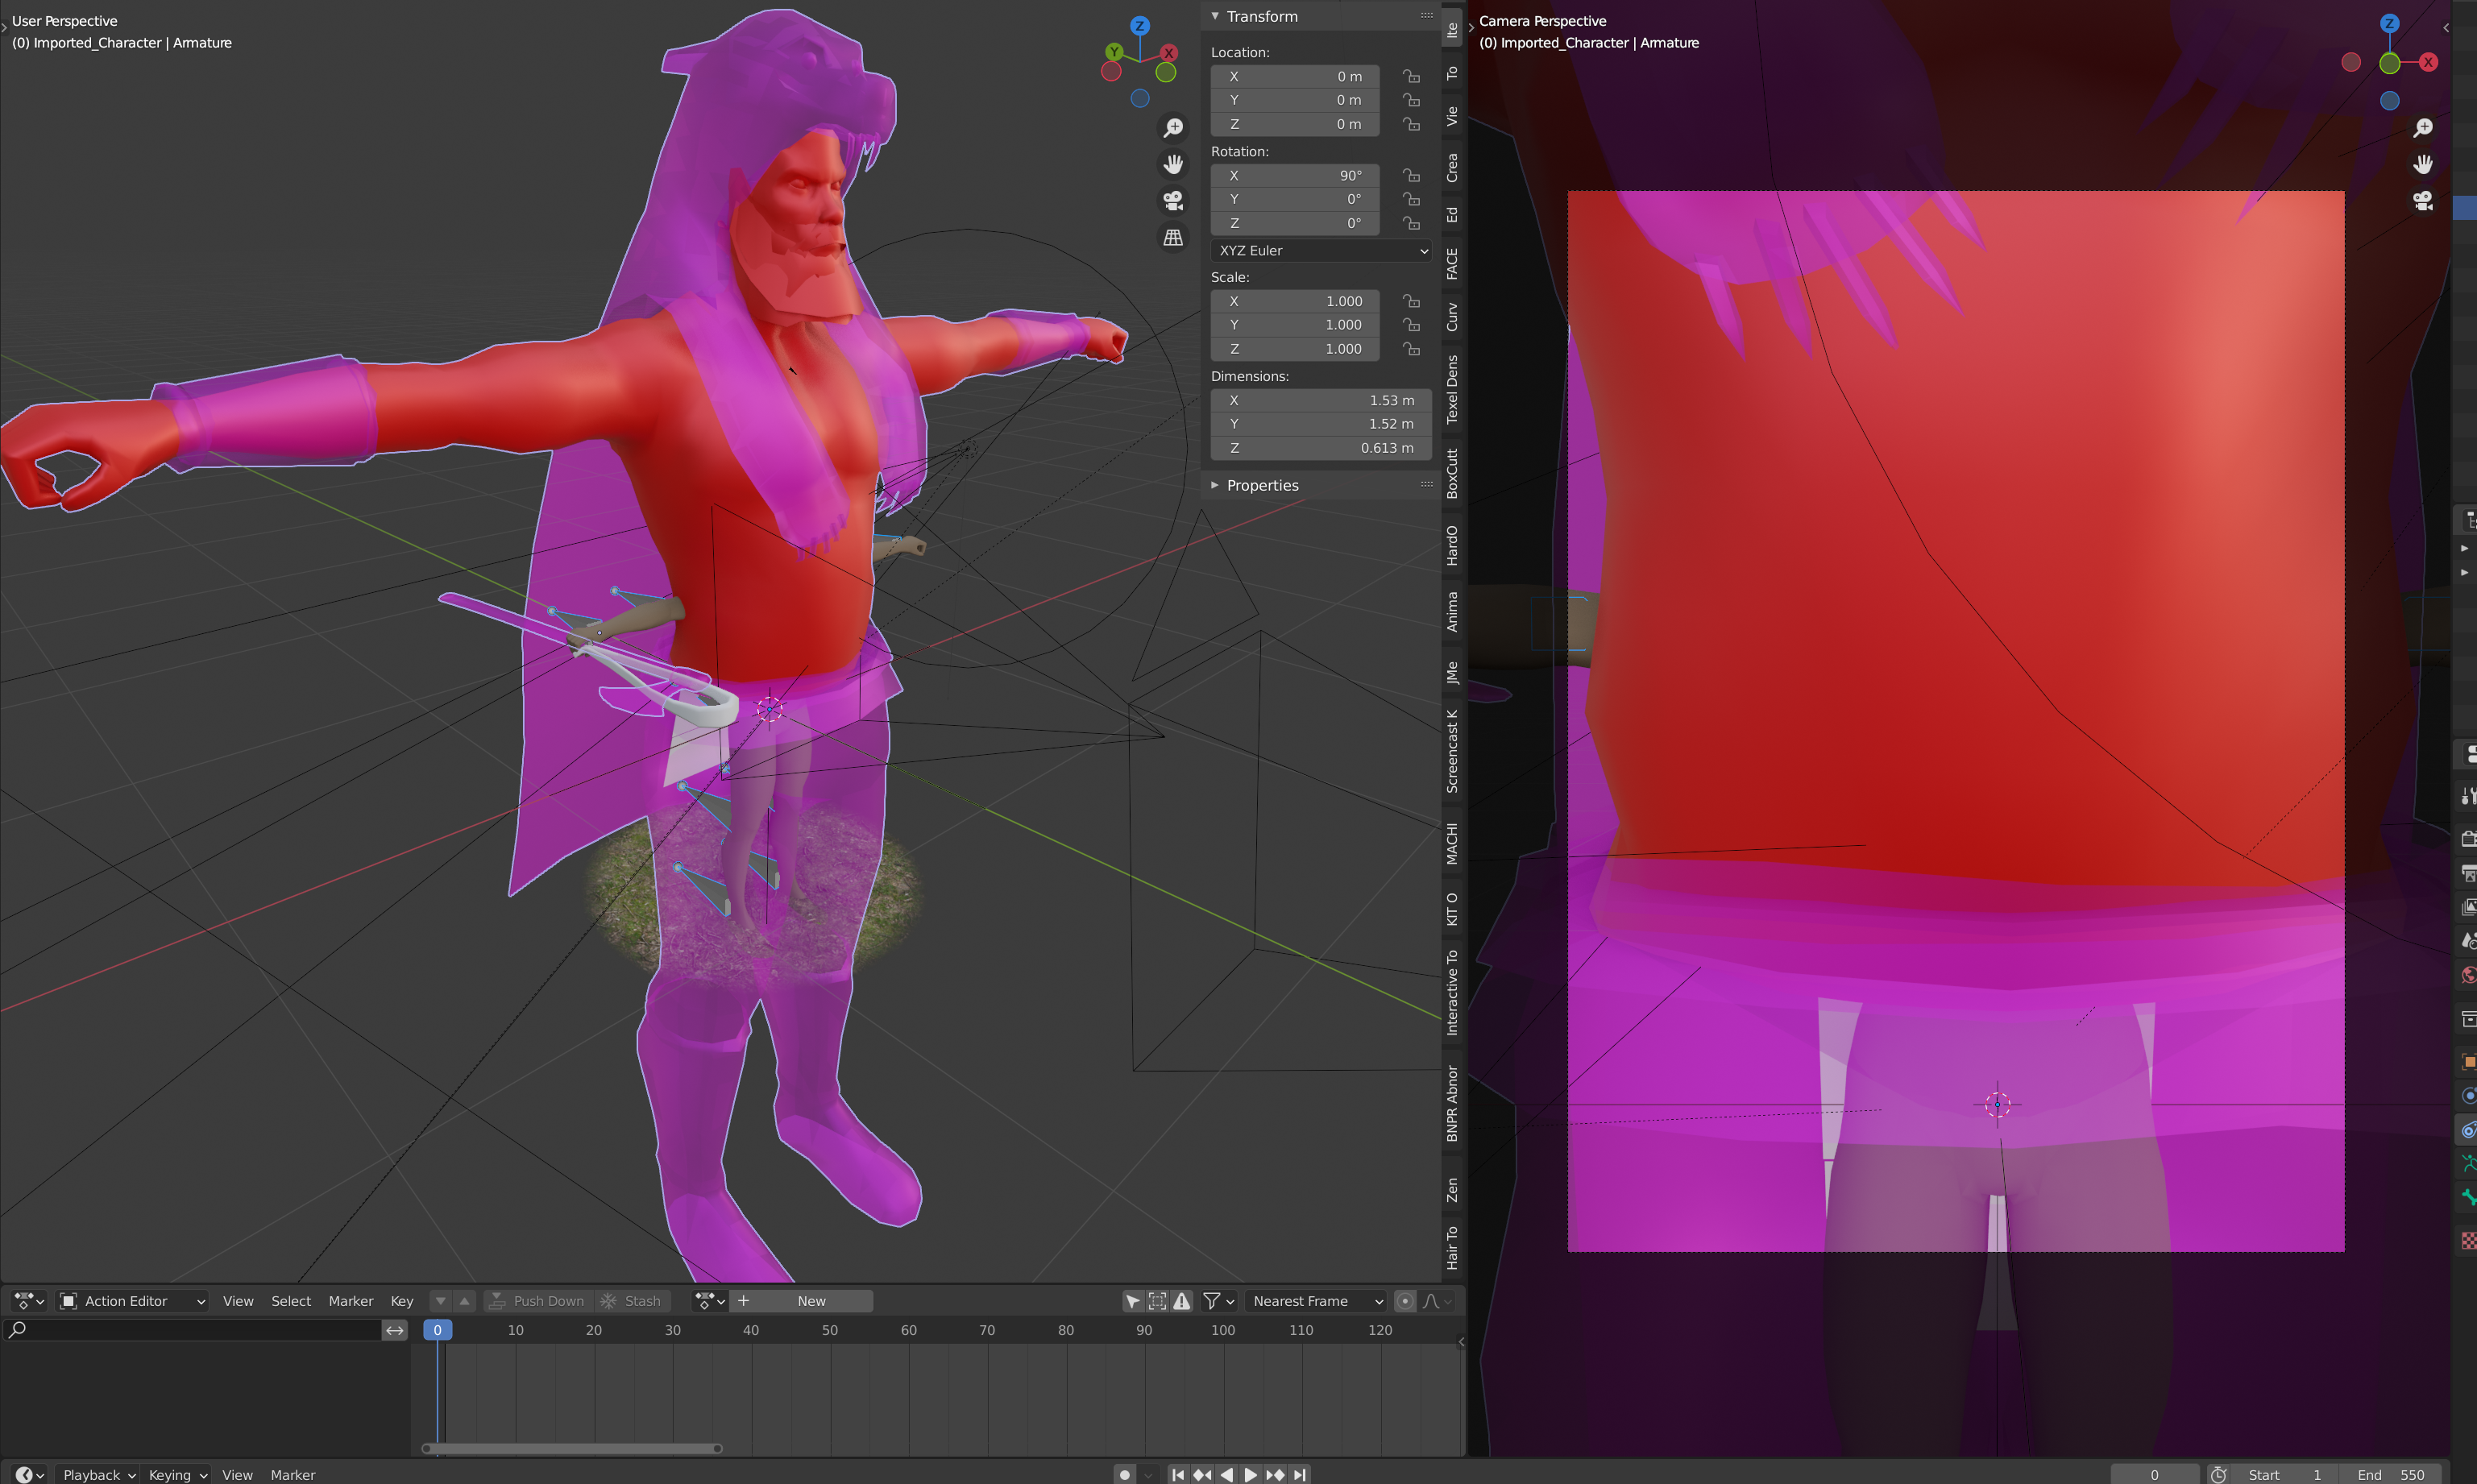
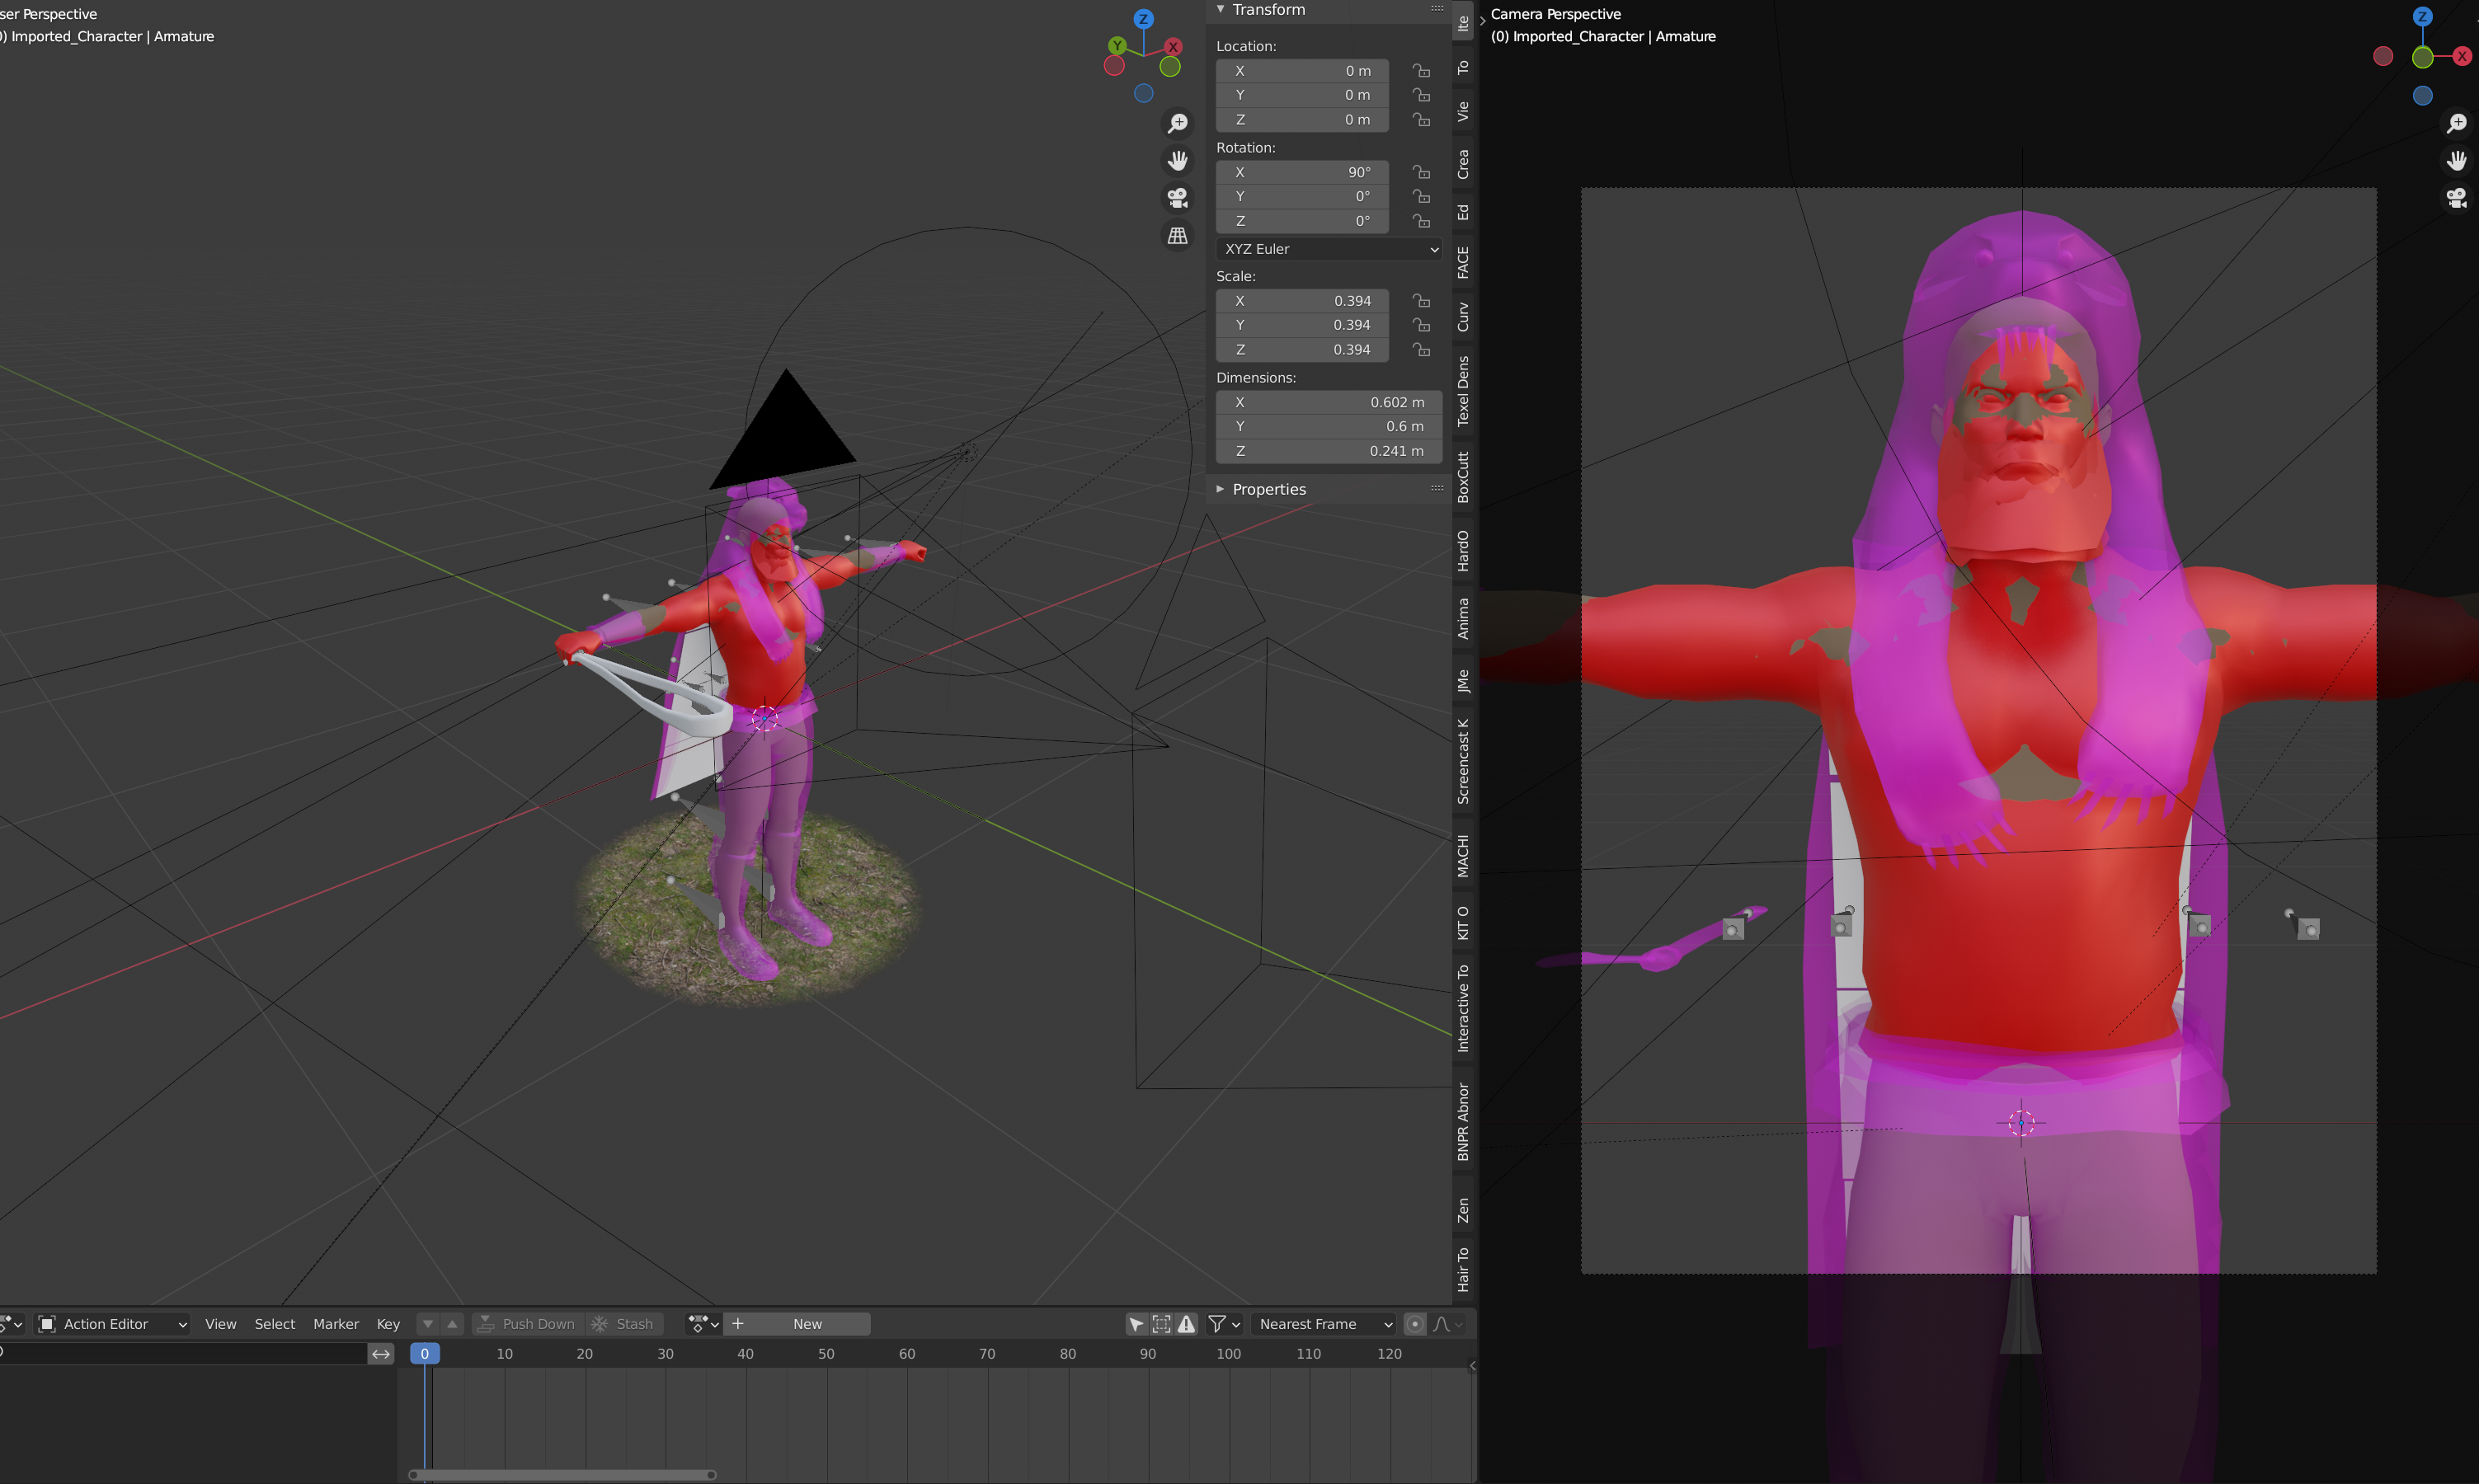
Import the unit file. If you are using a unit from TWRR you may notice the unit is very small and the scale needs fixing. Firstly scale the skeleton, which should be automatically selected after the import.
IMPORTANT The scale is 0.010 this should be 1.000 Be sure the scale XYZ
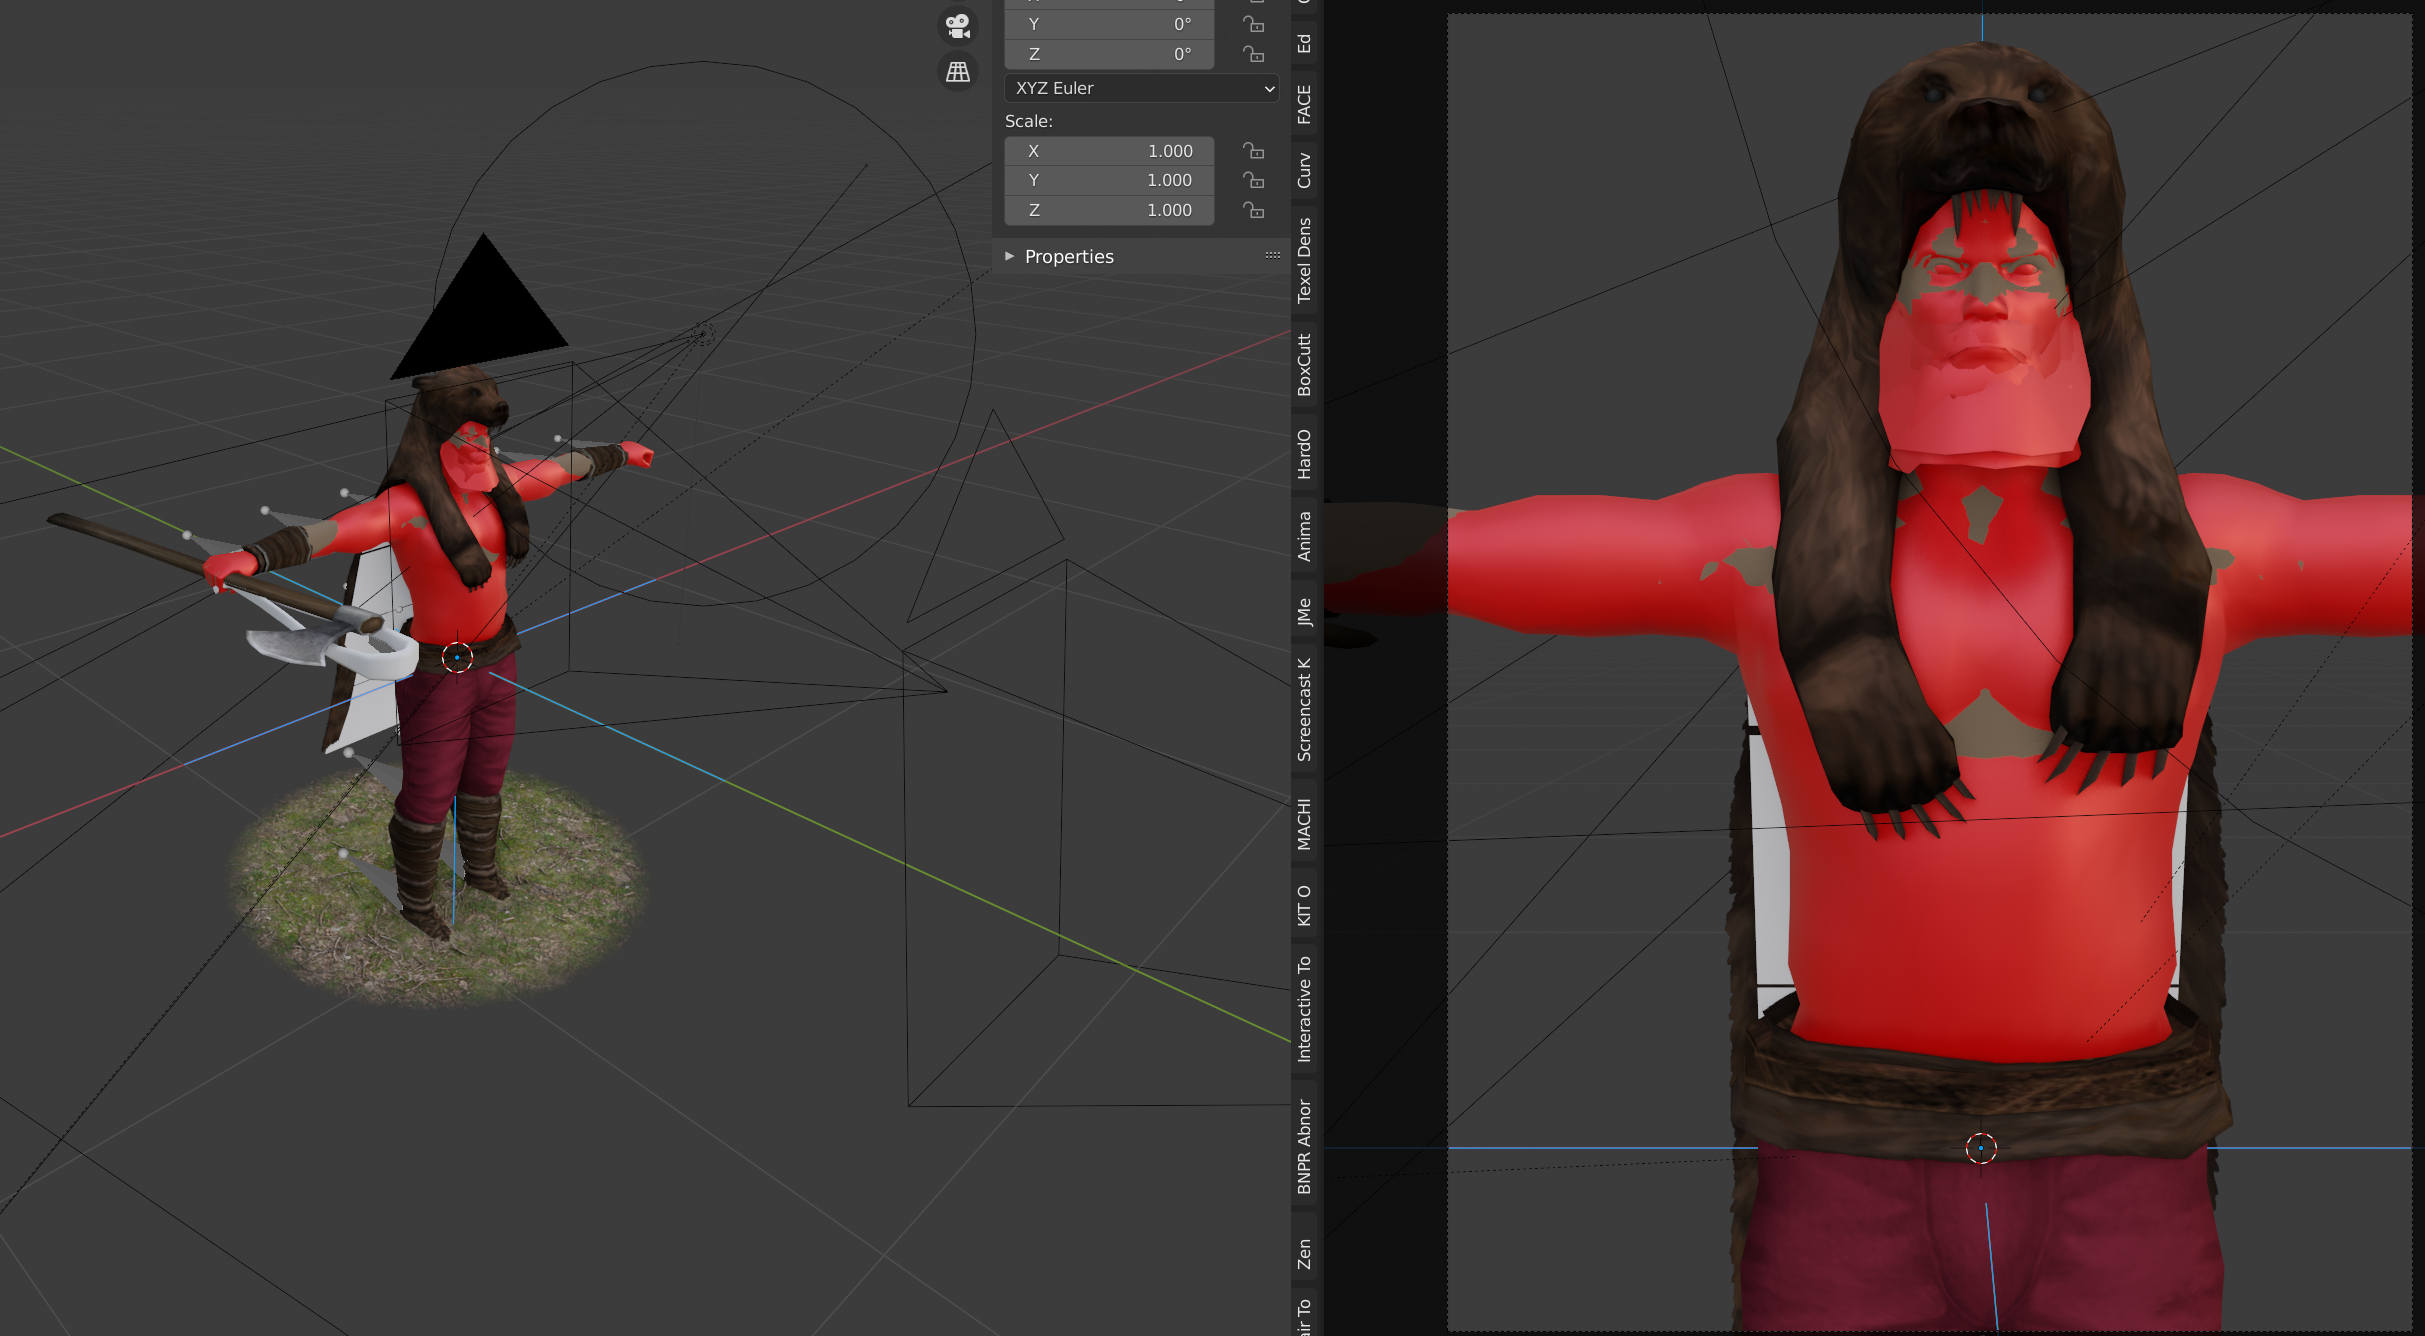
Secondly, you will notice the geometry is now too big, this is due to unit conversion (inches and meters). The scale is 1.000 this should be 0.3937
NOTE: Be sure the scale XYZ - This is only for the skinned mesh, does not include held props
This should fix the unit scale. Then set up your materials using the appropriate textures (skipped skin textures for this example).
This will work if the skeleton is set up the same way as the TWRR unit skeleton (this includes slingers).
ie: the Armature bone names & the Skinned Geometry vertex groups are consistently named. If a vertex name does not match a bone name, the skinning will not work.
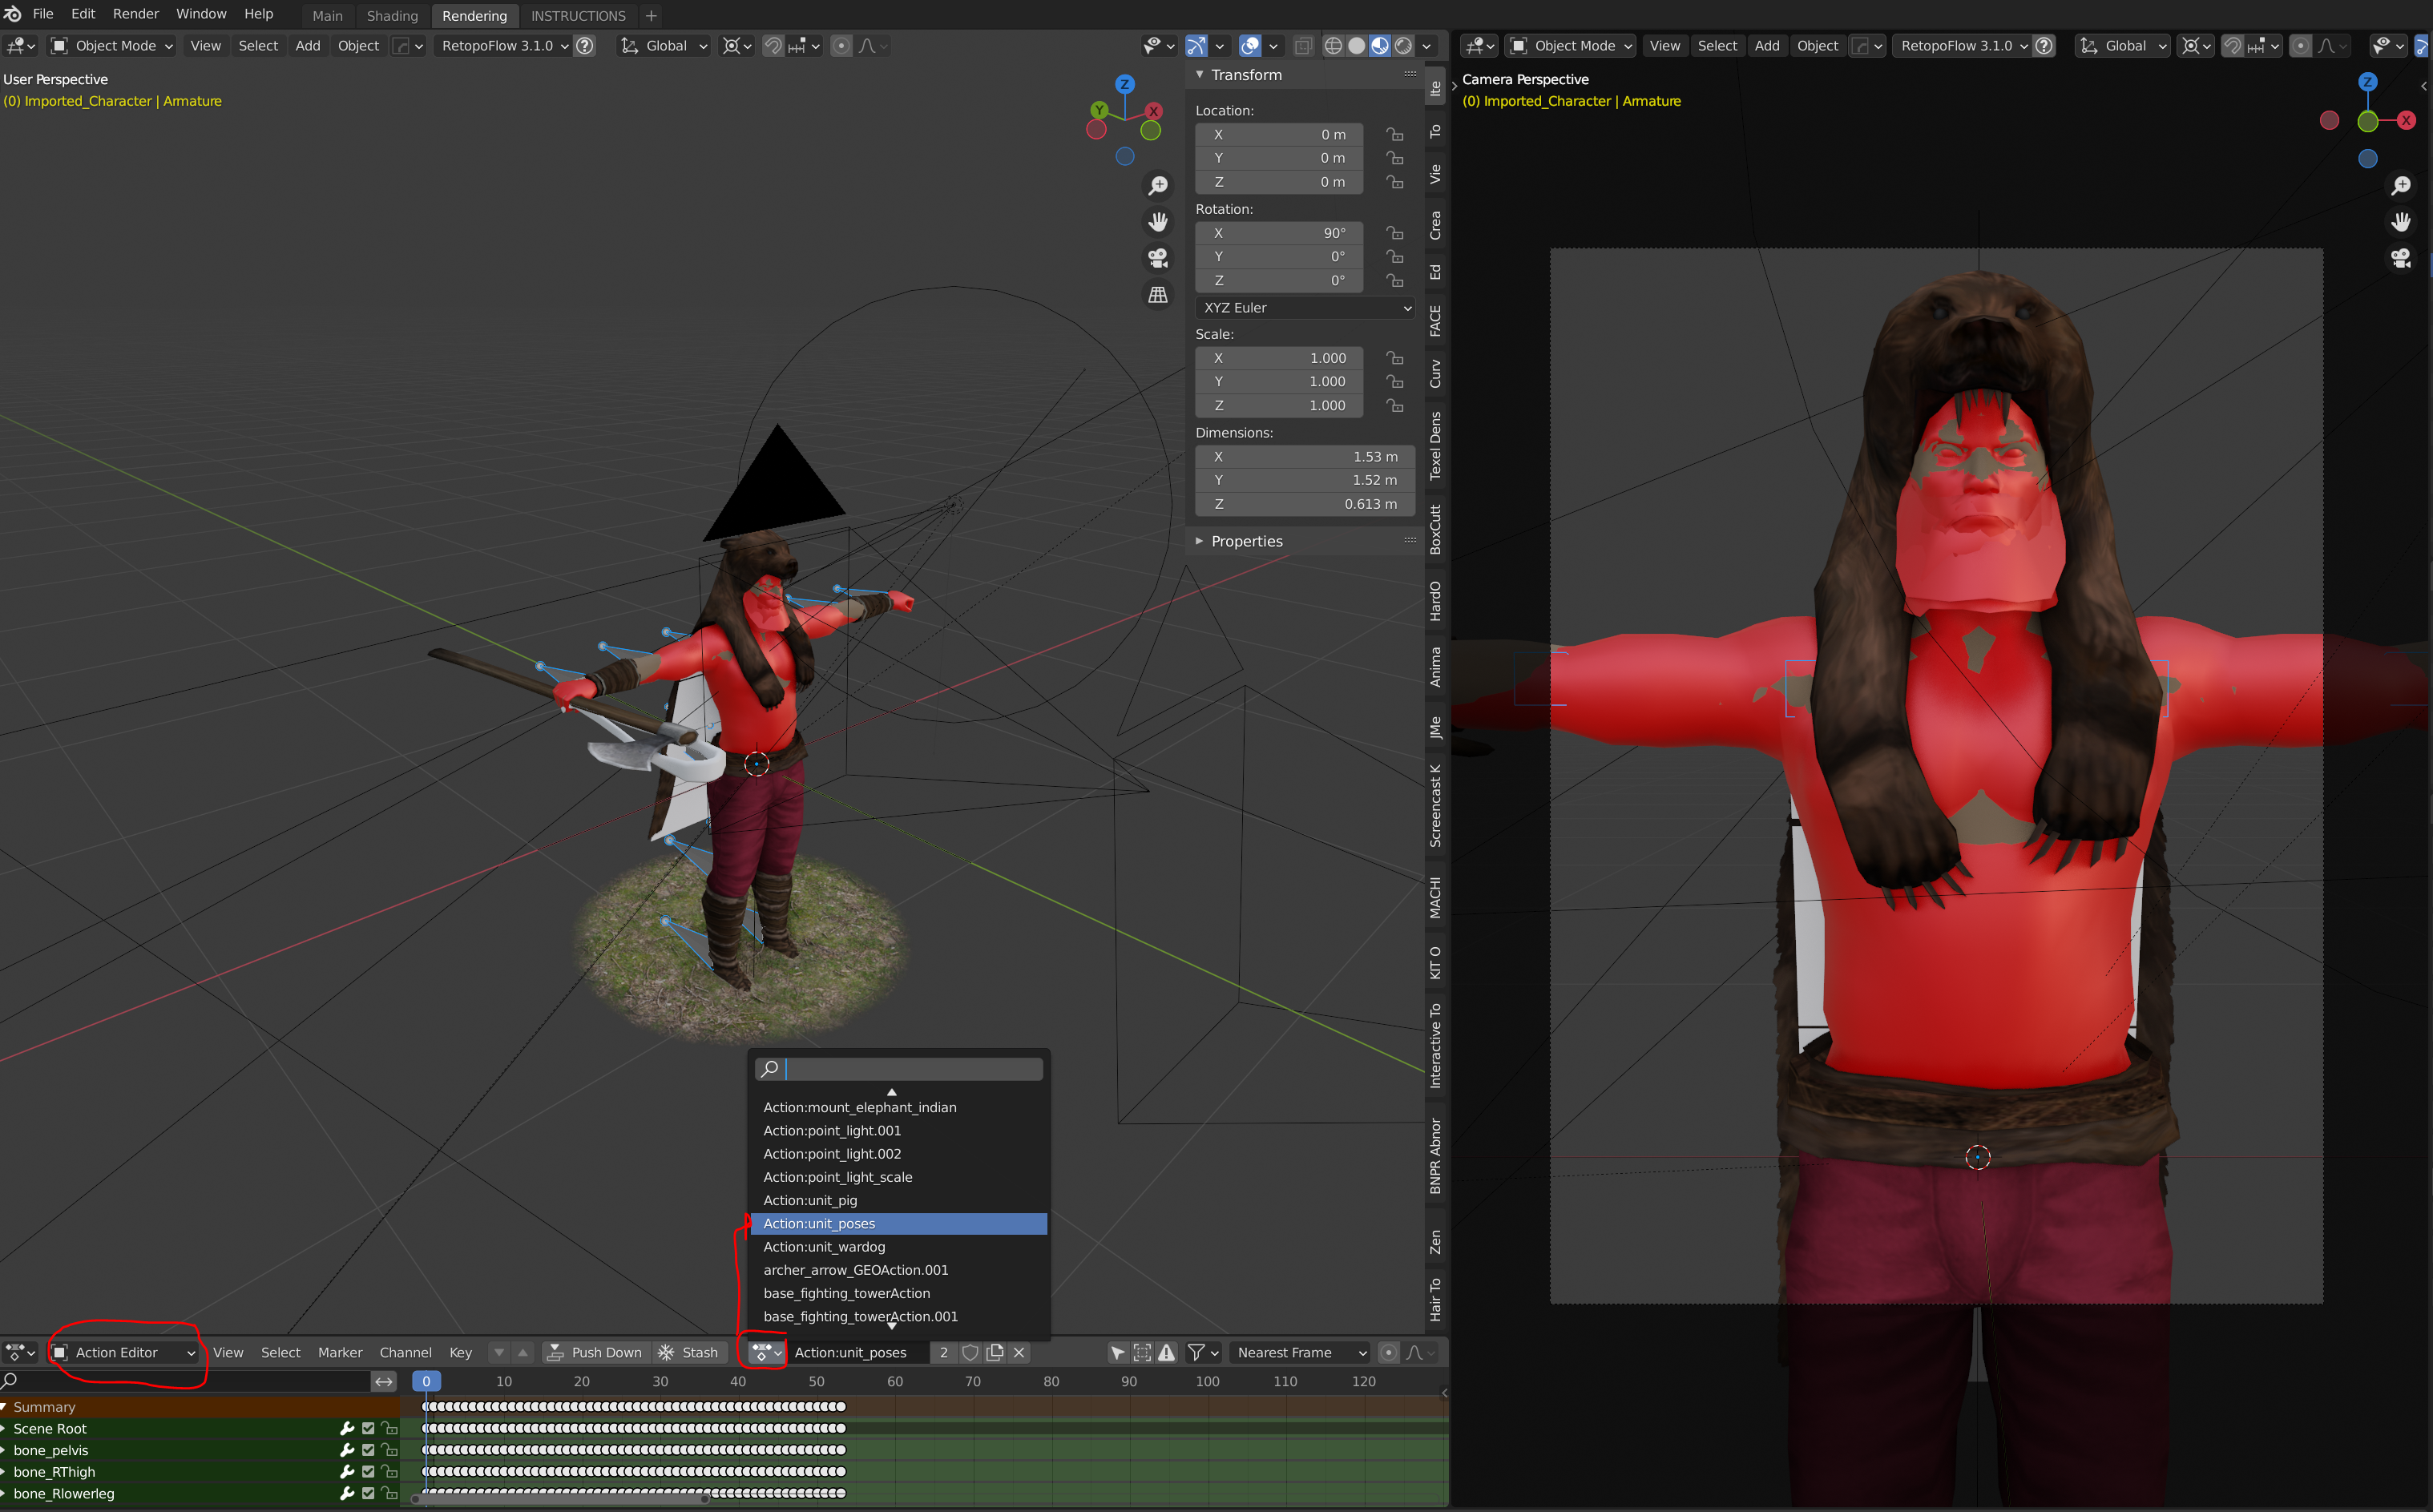
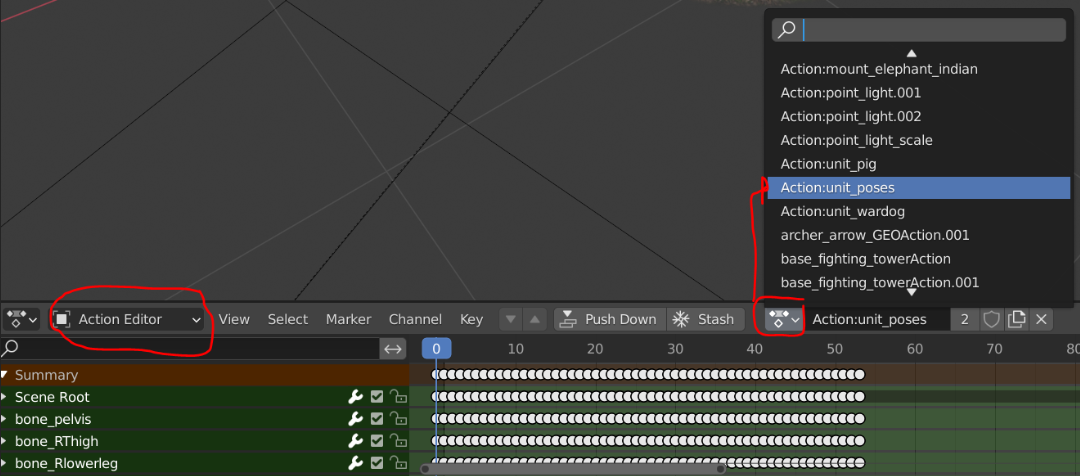
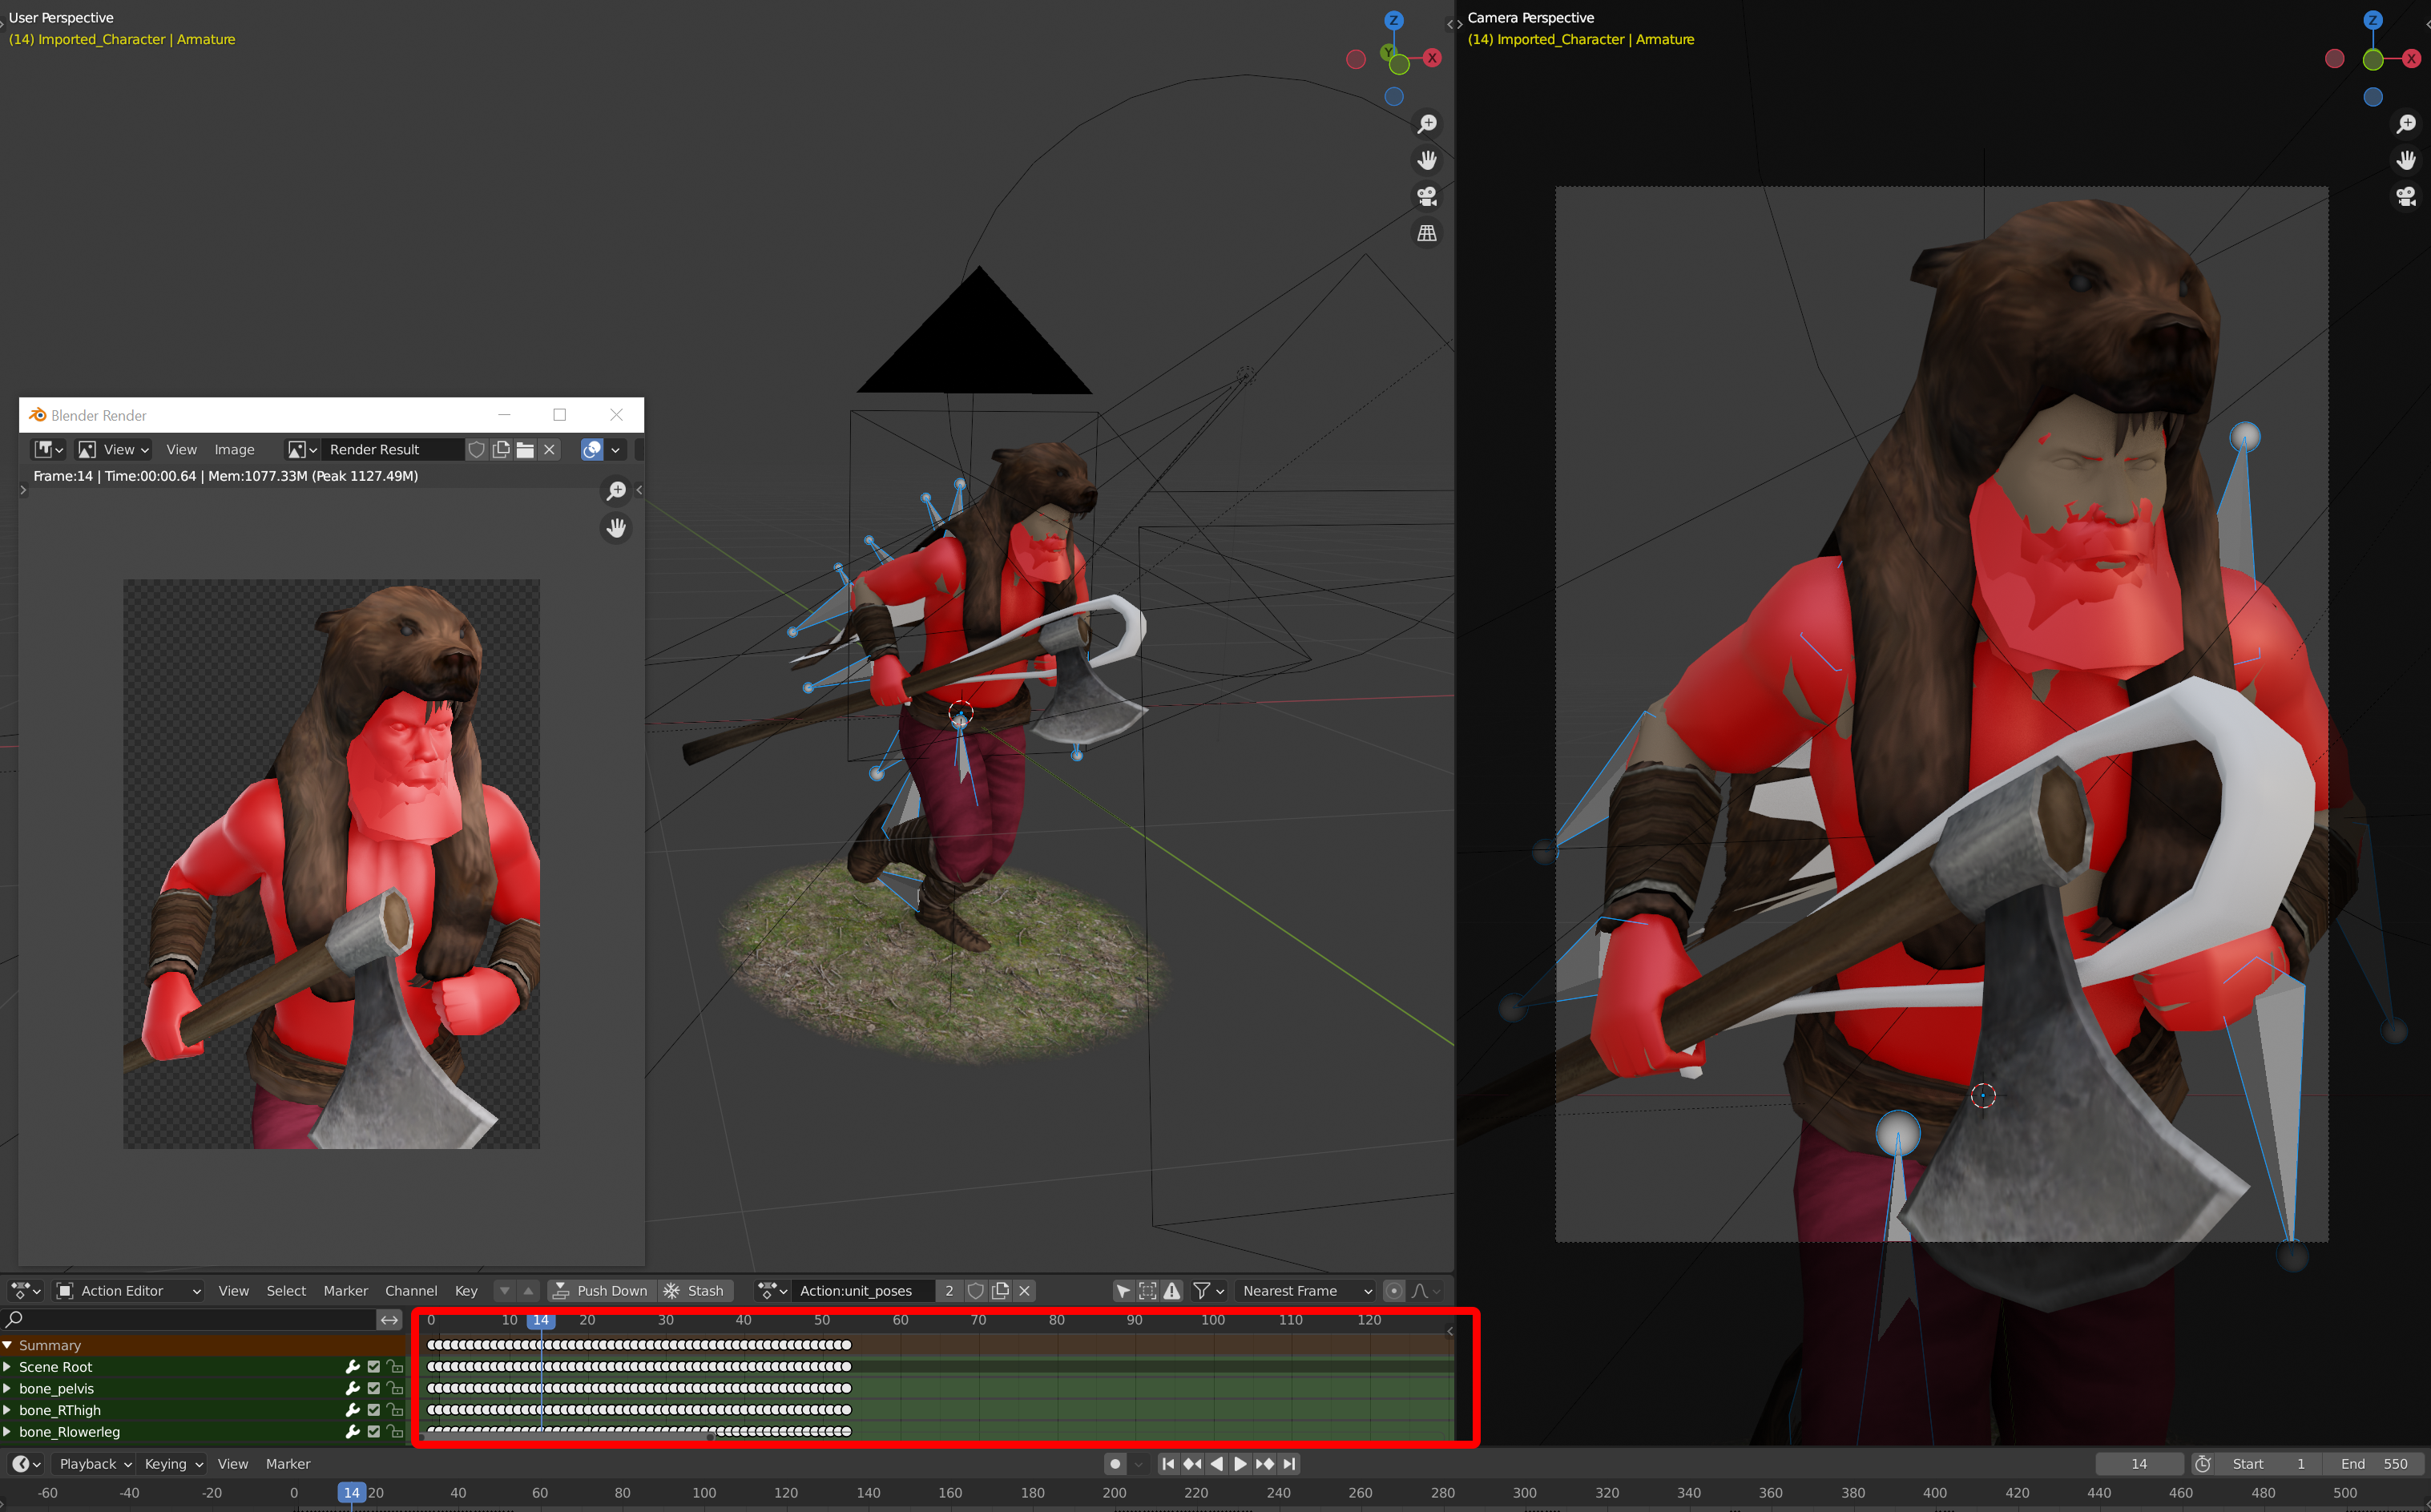
- Select the imported character's skeleton.
- Navigate to the Action Editor / Browse Action to be linked (icon)
- Select Action:unit_poses
The imported skeleton will now pose the same way as the proxy unit.
Each pose is on a keyframe on the timeline, scrub through the timeline until you find a pose you like and render (F11). Don't worry about the proxy character, the collection is not set to render. You can also edit the pose if you wish or add your own. (Just remember to keyframe the bones you pose)
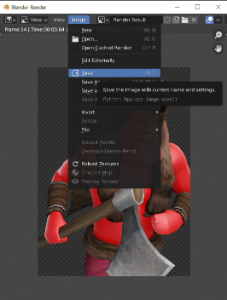
The render will appear, then save it as a TGA (as that is the expected format in the game). Make sure the image is named the same as the portrait you want to update.
(For this example we will update the roman Julii archer main portrait only #roman_archer.tga NOT including the info version)
NOTE: The resolution by default is set pretty high, we suggest you lower it for in-game (164x224)
Simply update the file in-game and that should work. Navigate to the game data files and you can find the portrait directories here:
Portrait game directories
- Game Directories
- BASE -
...\Contents\Resources\Data\data\ui - BI -
...\Contents\Resources\Data\bi\data\ui - ALEX -
...\Contents\Resources\Data\alexander\data\ui
- BASE -
- Subdirectories:
...\unit_info...\unit_info_classic...\units...\units_classic
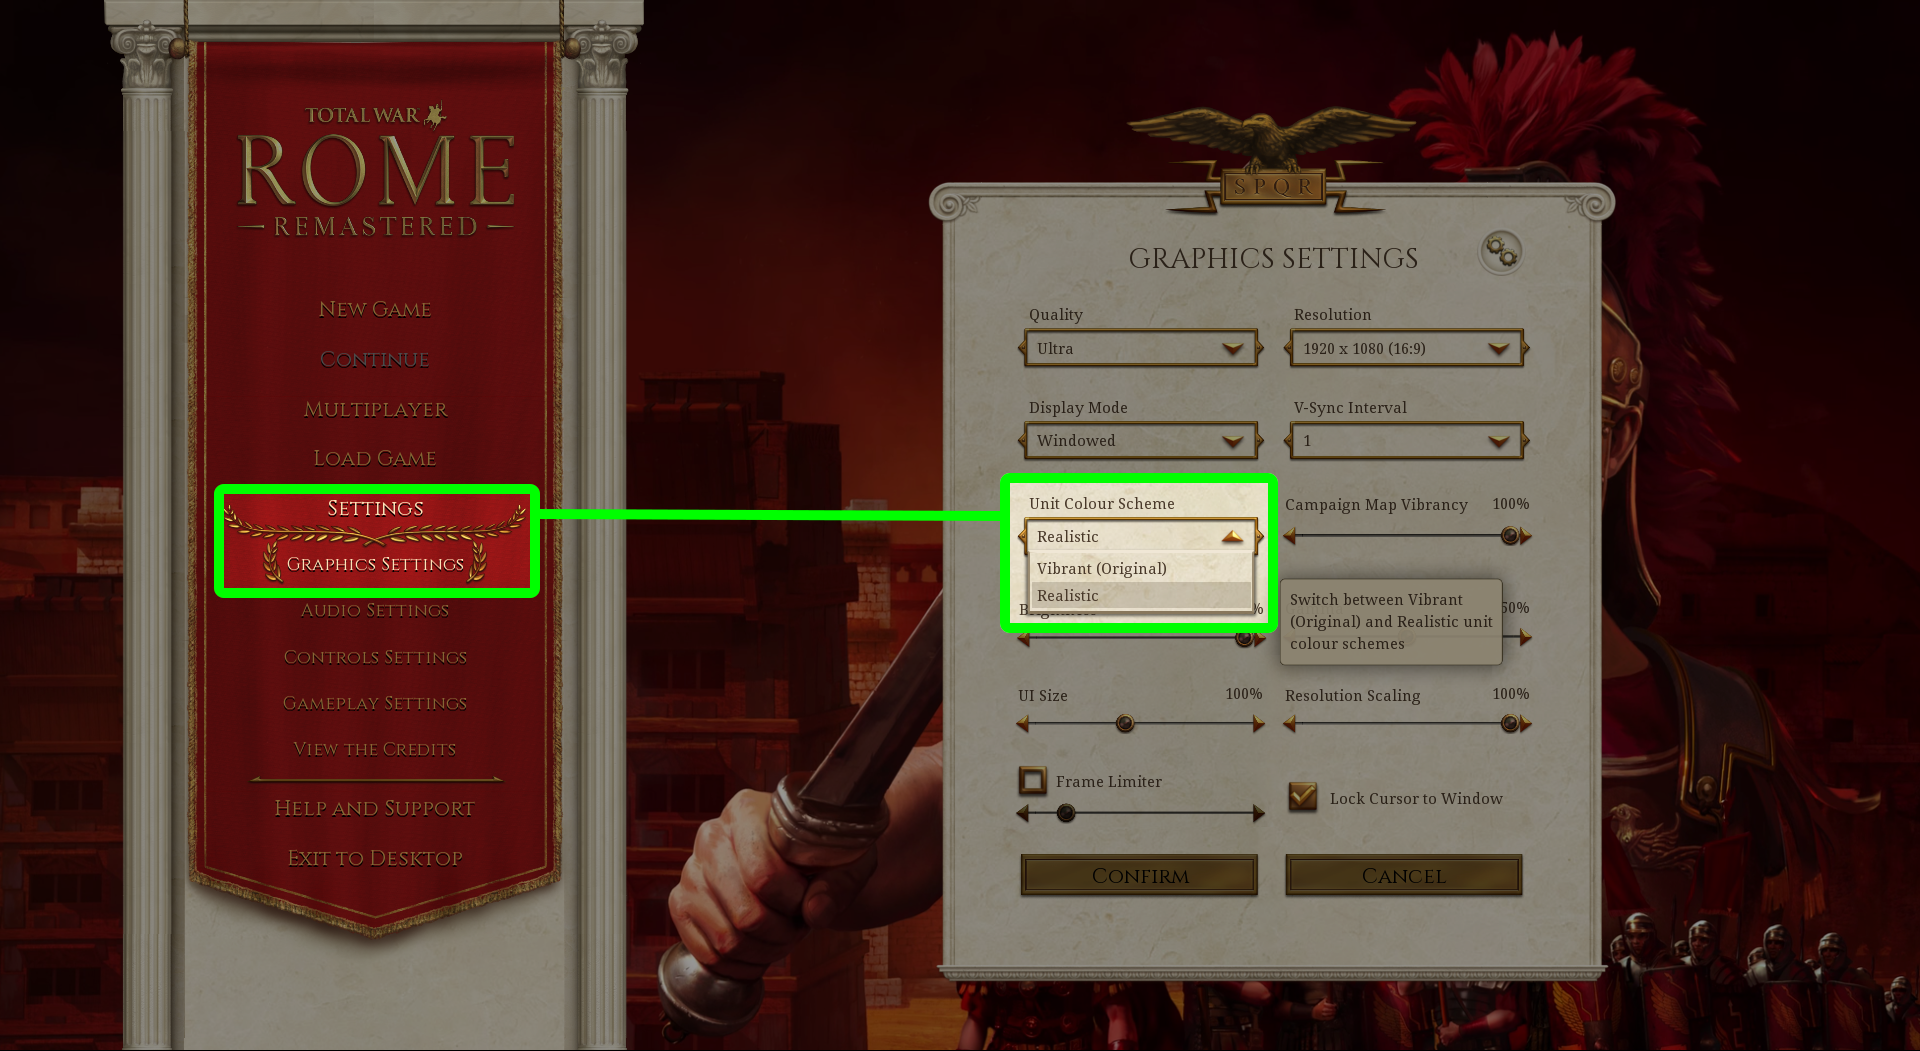
There are a total of 4 types of portraits you can update, 2 for Modern colours and 2 for Classic colours. The visible portrait will change depending on this setting Settings / Graphics Settings / Unit Colour Scheme.
These settings change which directories are referenced to load in the images.
| Vibrant (original) | Realistic | |
|---|---|---|
| Directories | unit_info_classic | |
| units_classic | unit_info | |
| units |
Difference between unit_info & units:
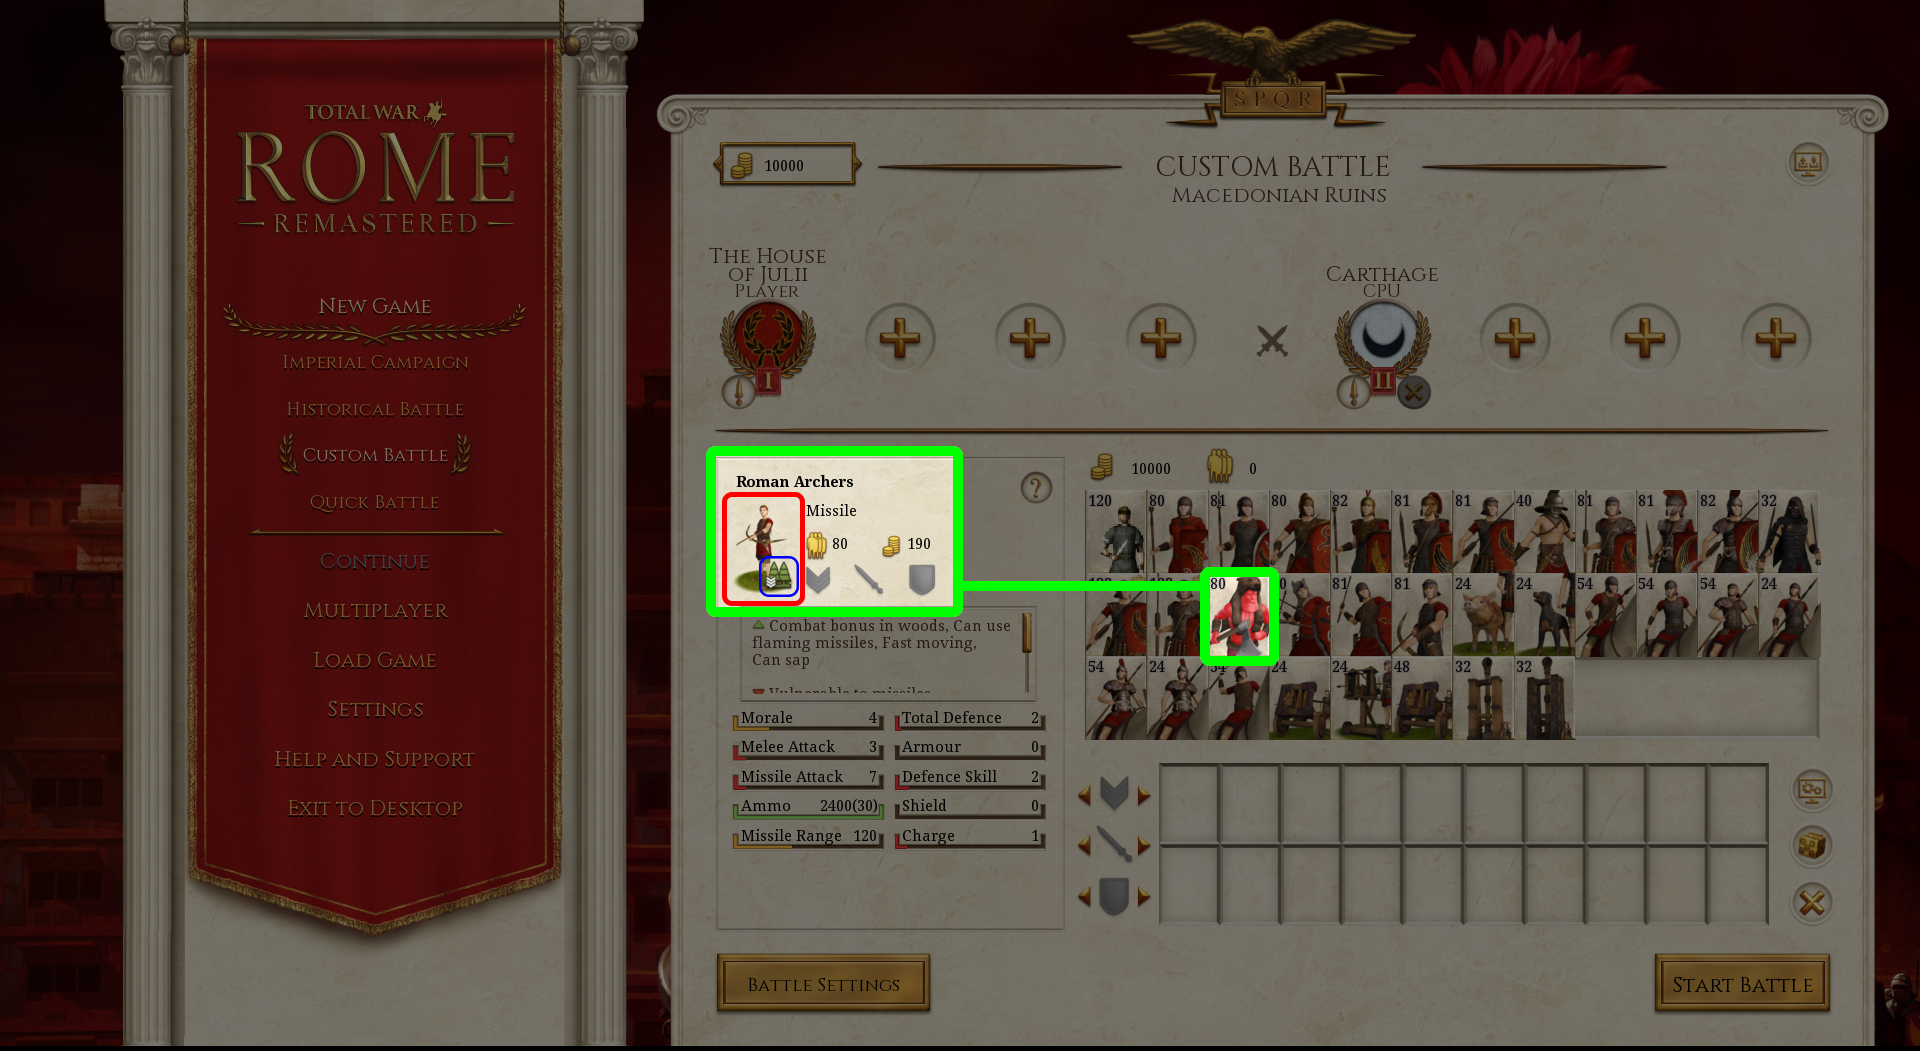
As you can see, the main portrait has been updated and as the info portrait has not been updated it is still using the roman archer info. Note: The icons located in the blue outline are not part of the portrait system and are placed on top in-game.
There are default tabs in the blender file accordingly, feel free to customize/add your own.
General scene setup.
2 Shading editors are open in this (bottom/middle).
- Left - Object
- Right - World
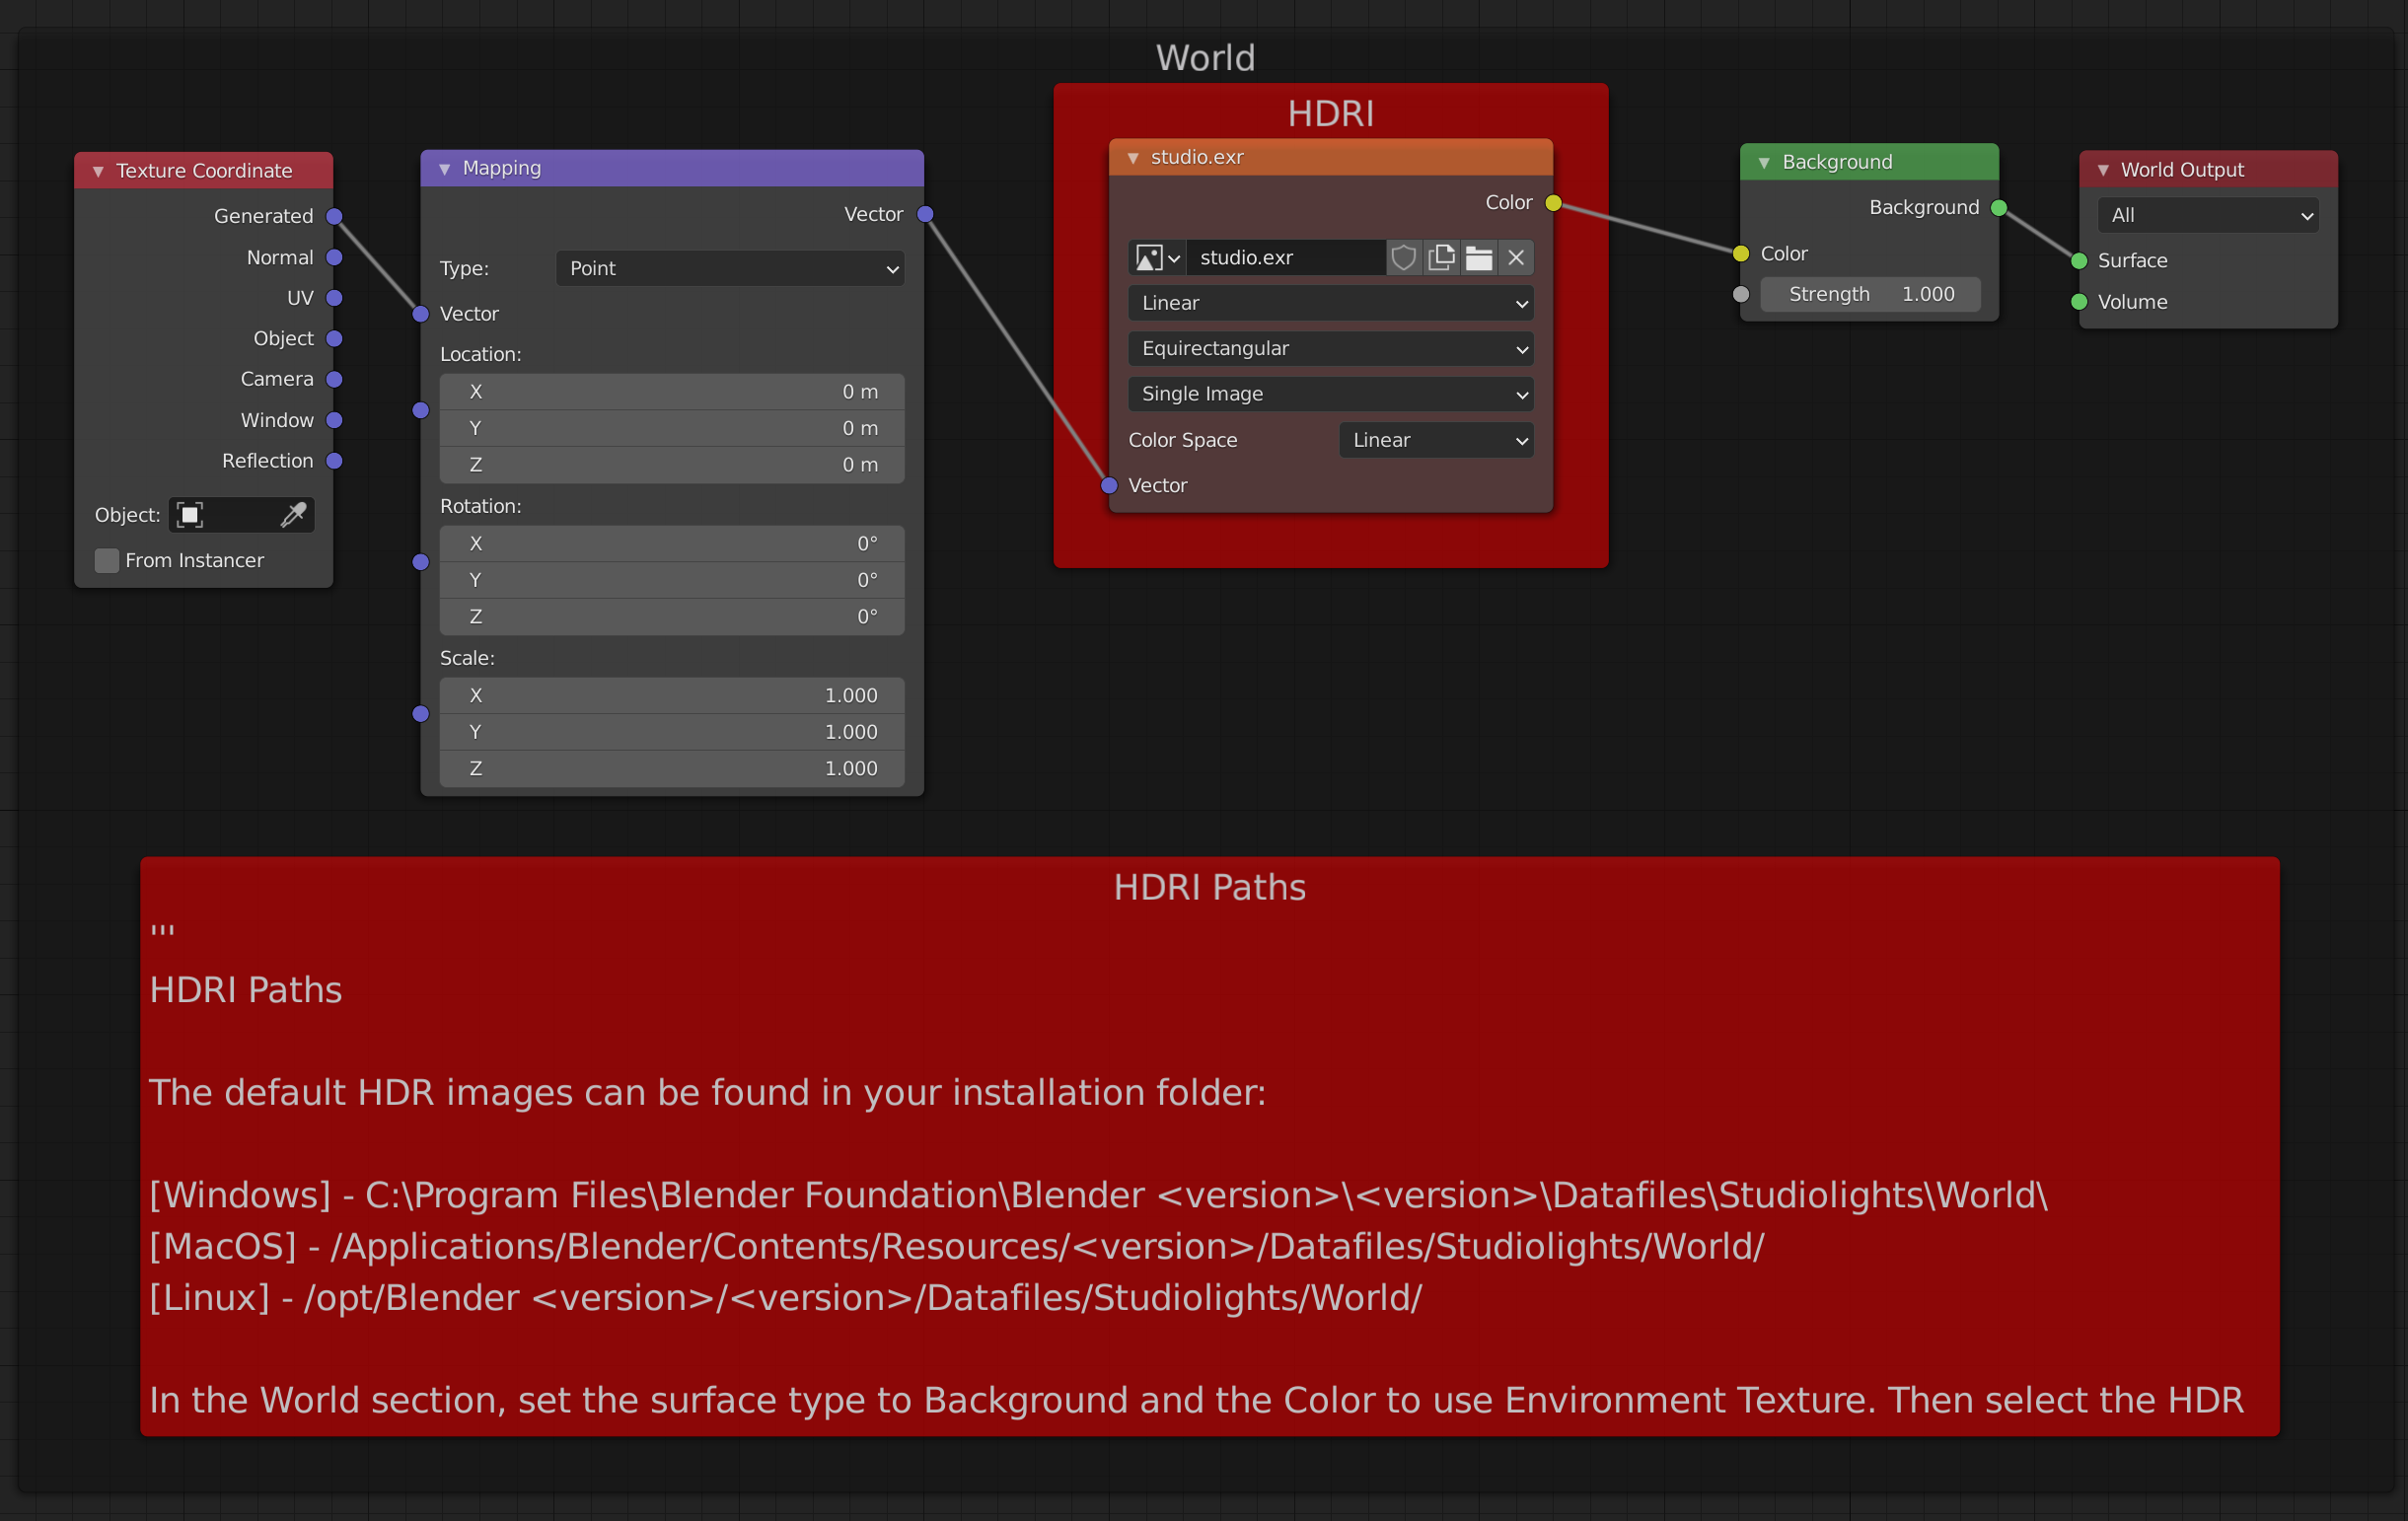
The world shader is using an image file as an HDRI. it is set up to use the studio.exr which comes with Blender and can be changed if desired.
NOTE: If the render comes out "pink like", double-check the path to this image is valid.
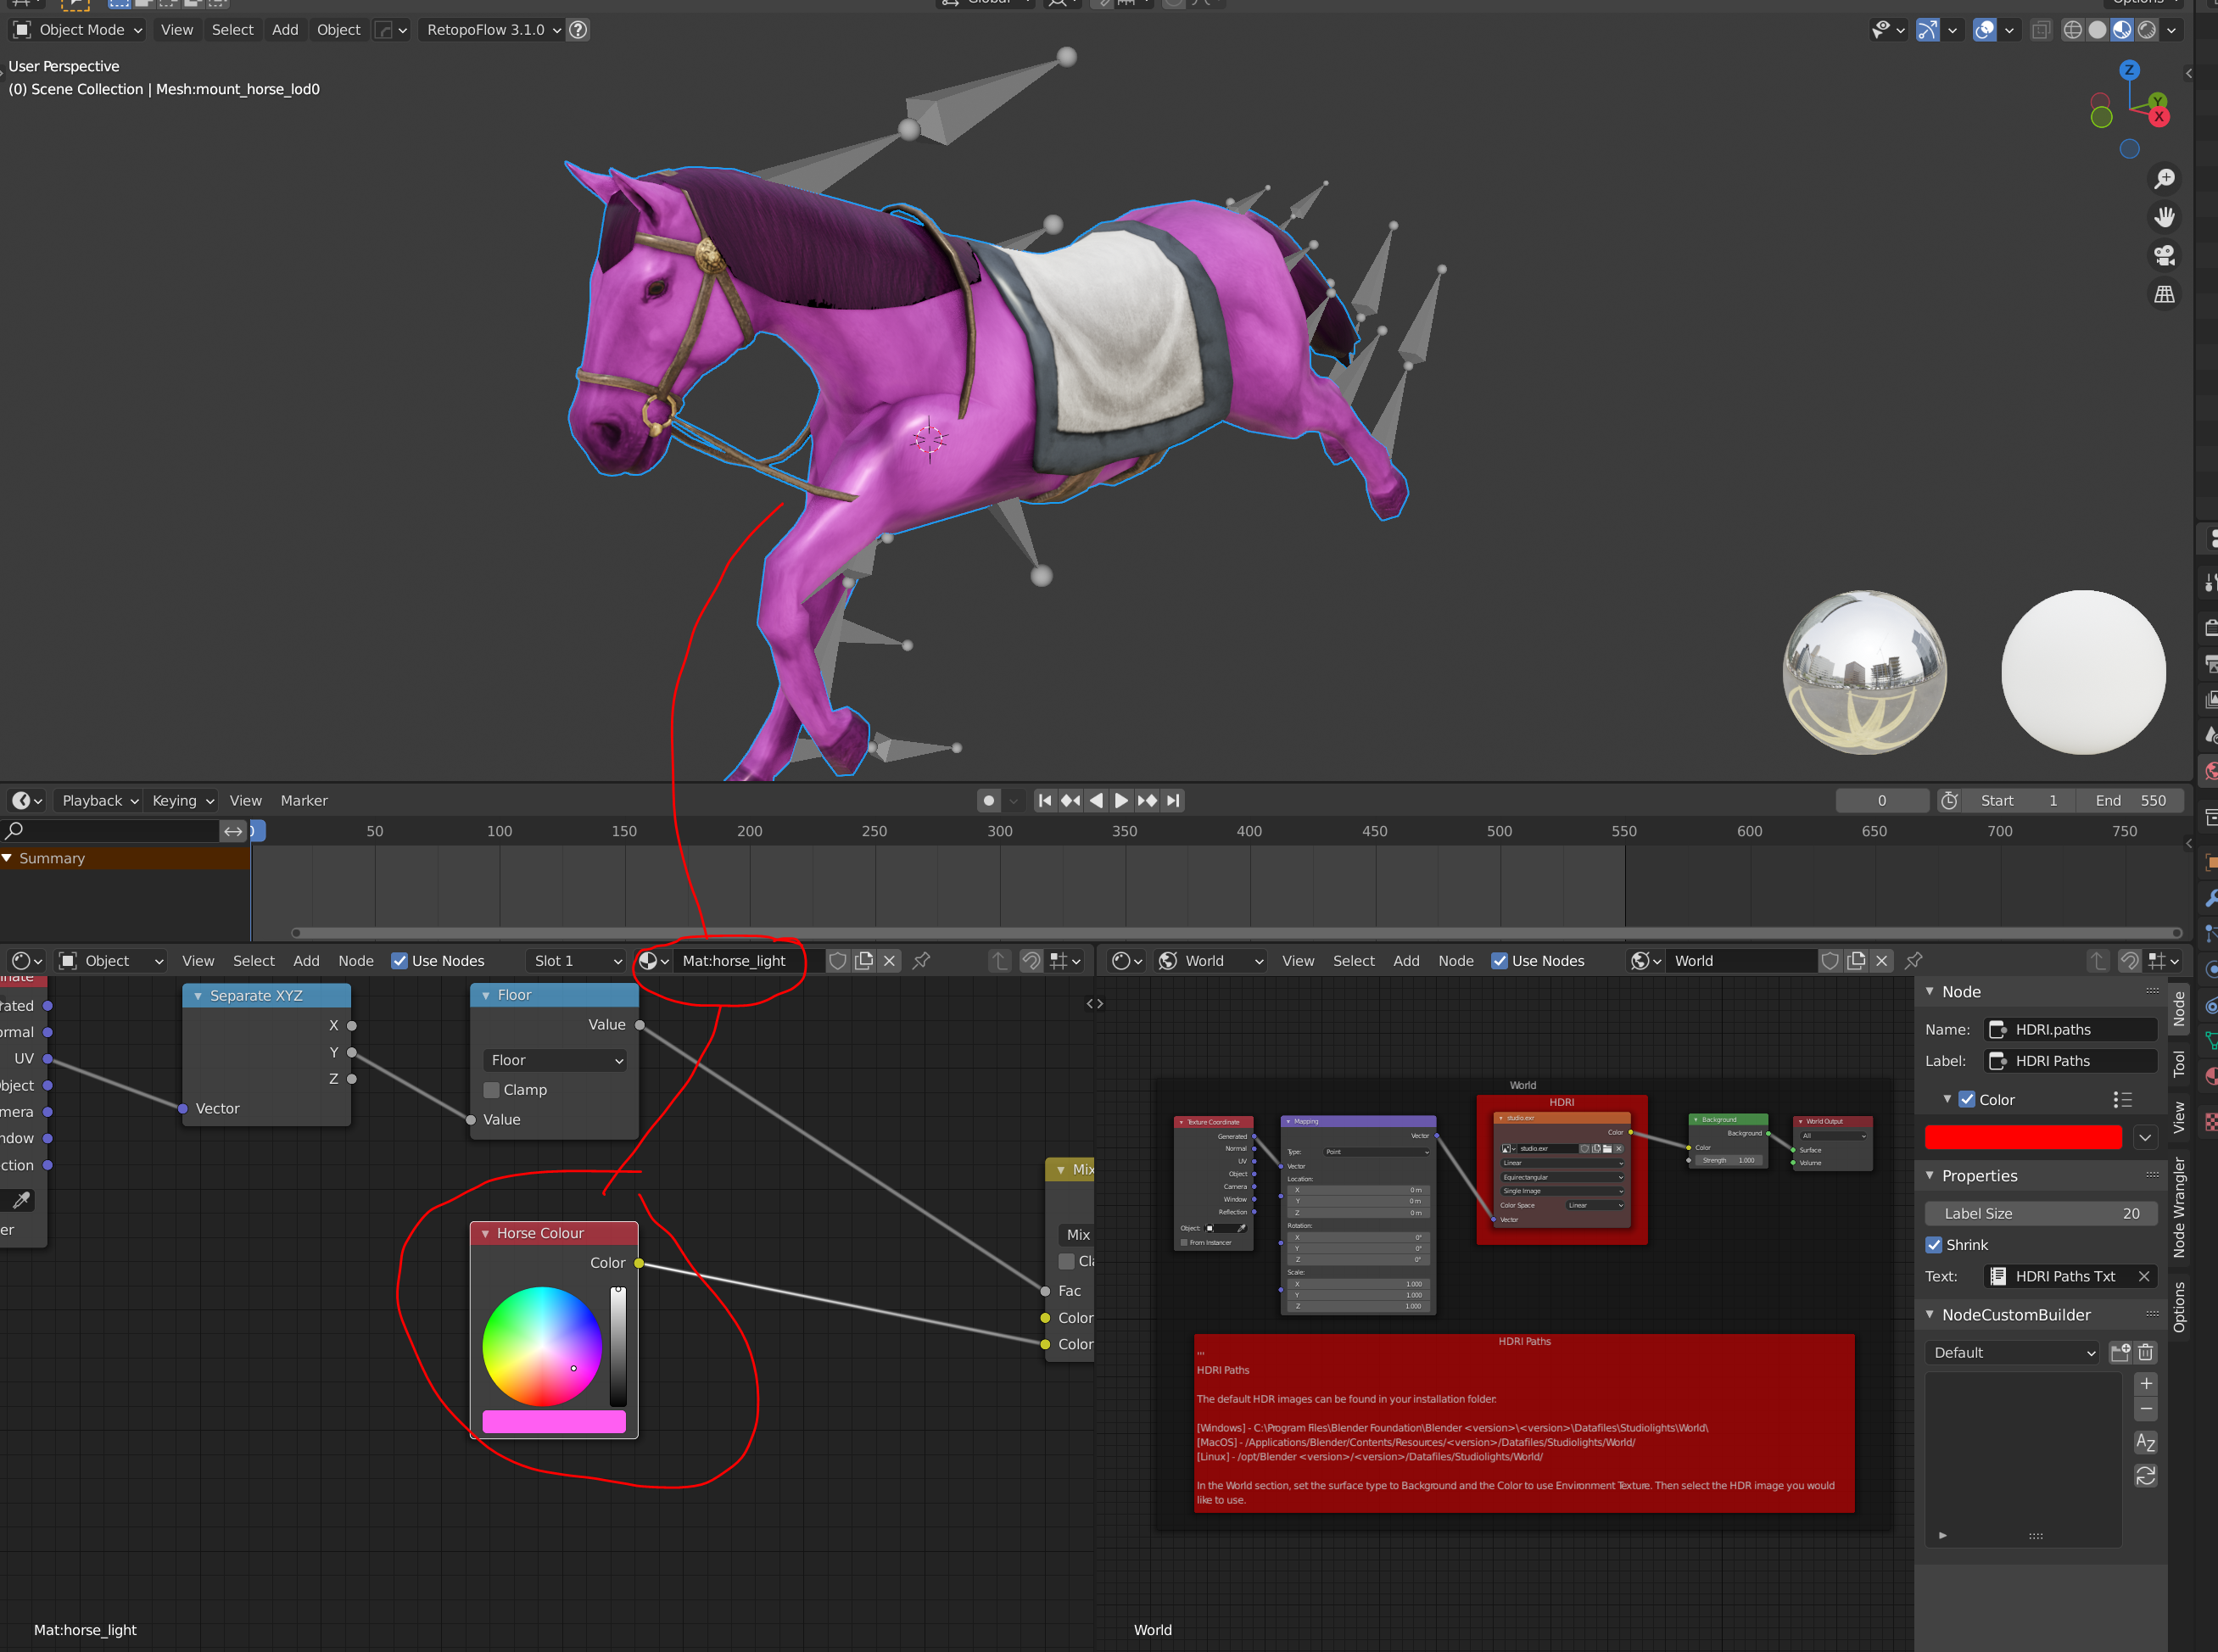
The node set up in the shader editor for horses also includes a quick colour override. If the uvs are +1 Y the colour will be mixed.
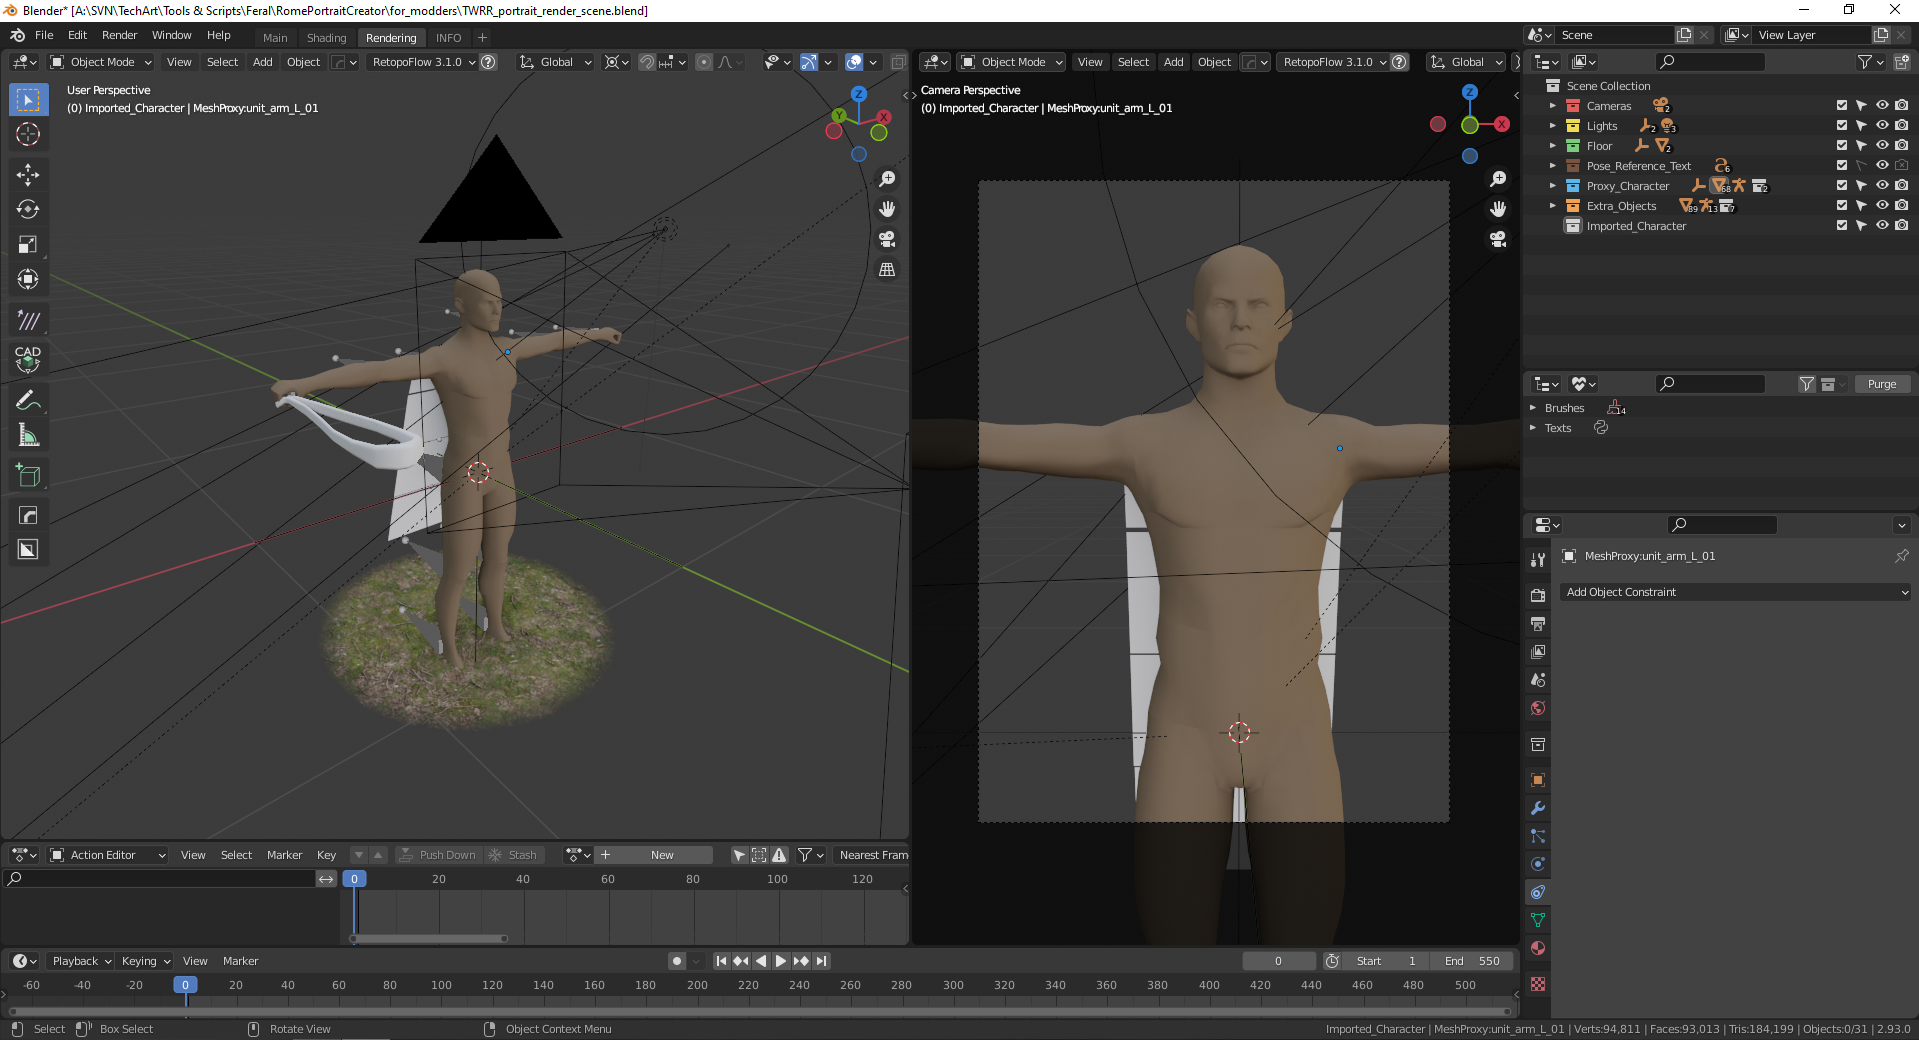
Portrait render preview here, you can change the camera by selecting the camera node you want in the outliner (Top right).
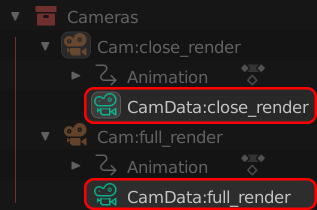 ** NOTE:** The camera node is the child of the transform with the green icon
This section is broken down based on the collections used in the file.
...Action?
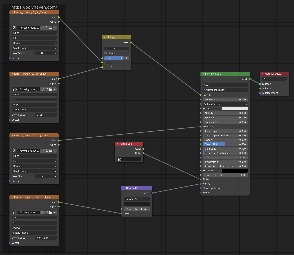
The grass texture provided is free from polyhaven and is set up as a preset example for modders. The exact texture can be found here.
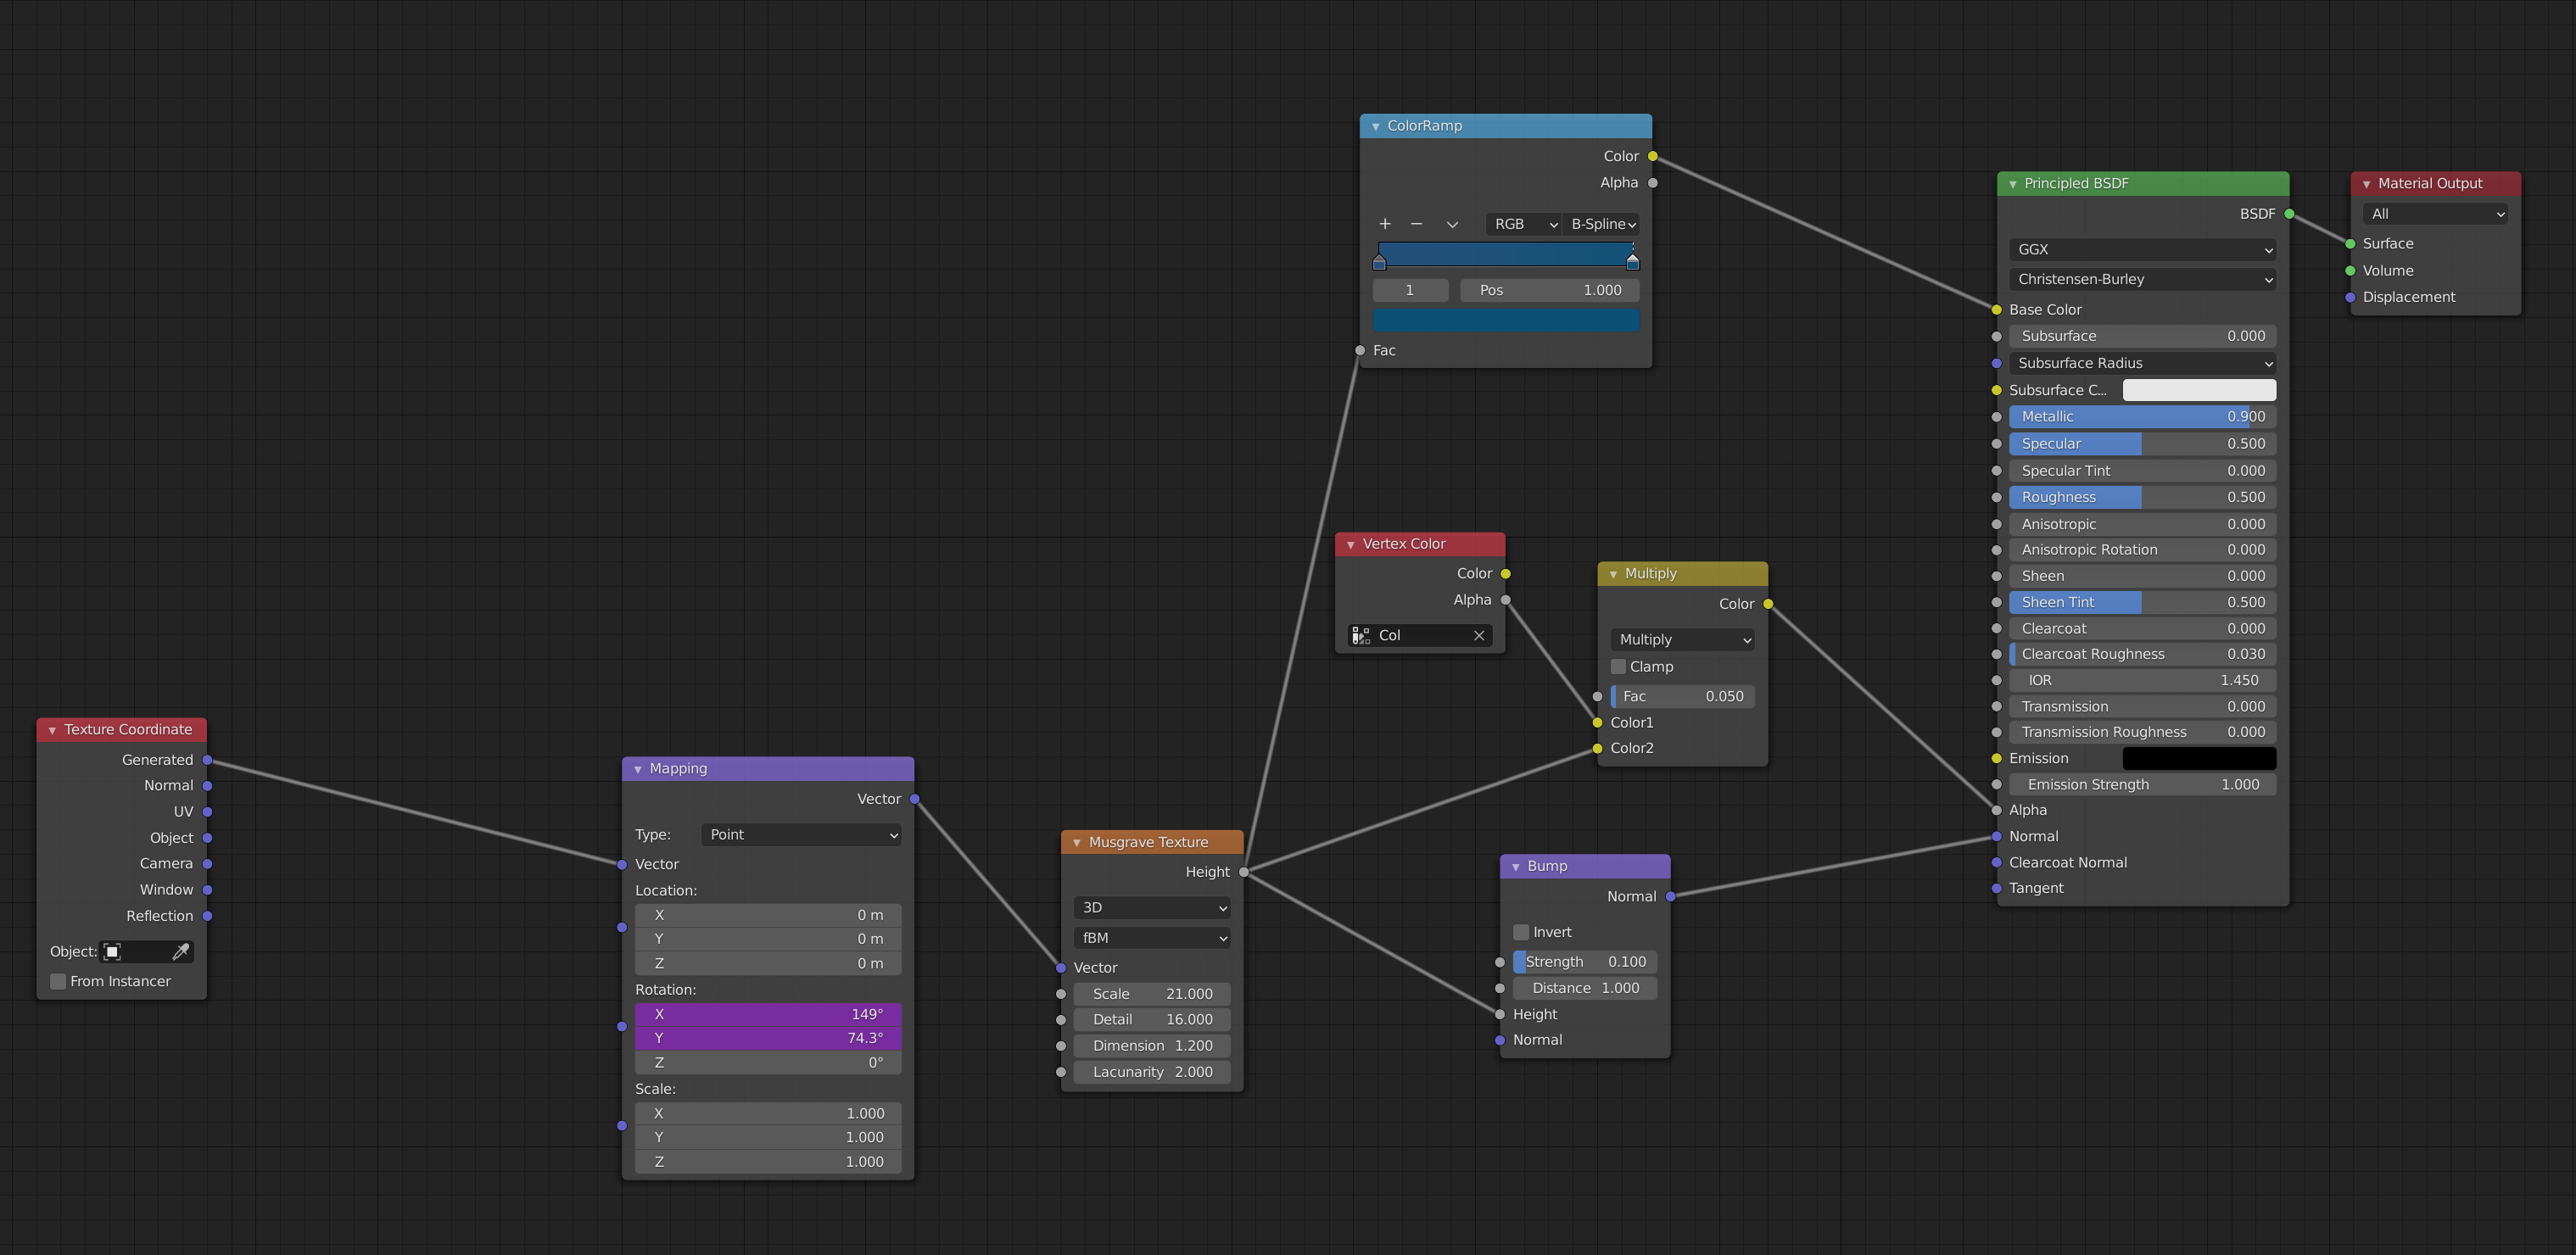
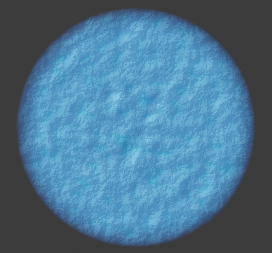
Is procedural material using the shader editor and will animate over frames (giving variation for each portrait)
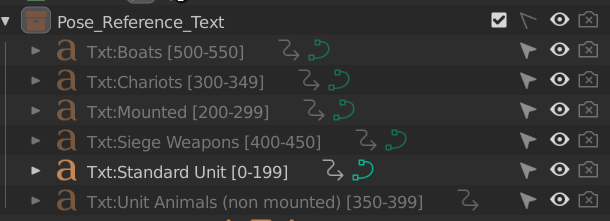
Simply a reminder of pose id groups.
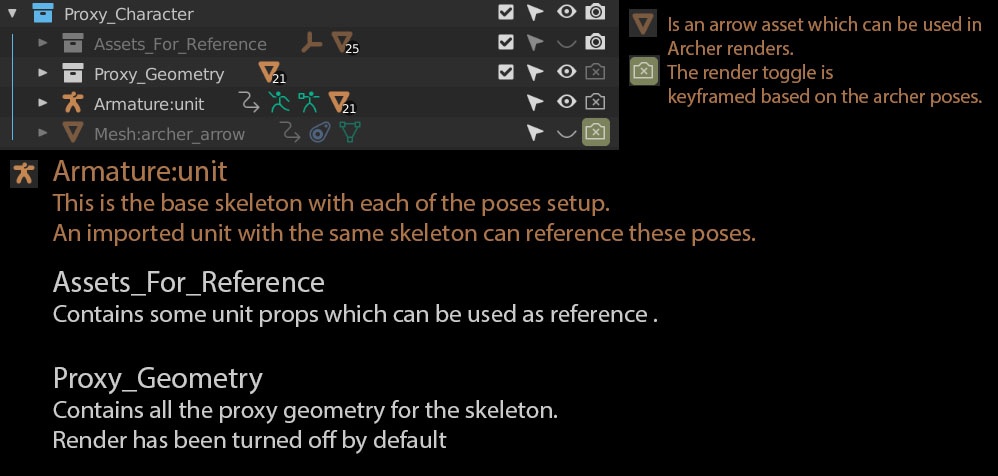
NOTE: If the object is a skeleton mesh, the geometry is under the armature node
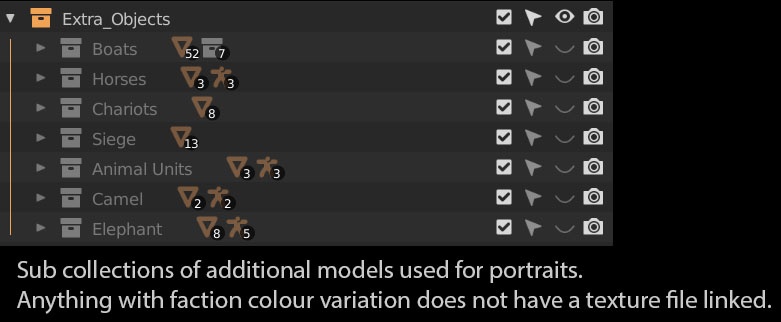
In the sub-collection boat_extras you will find various extras which can be used.
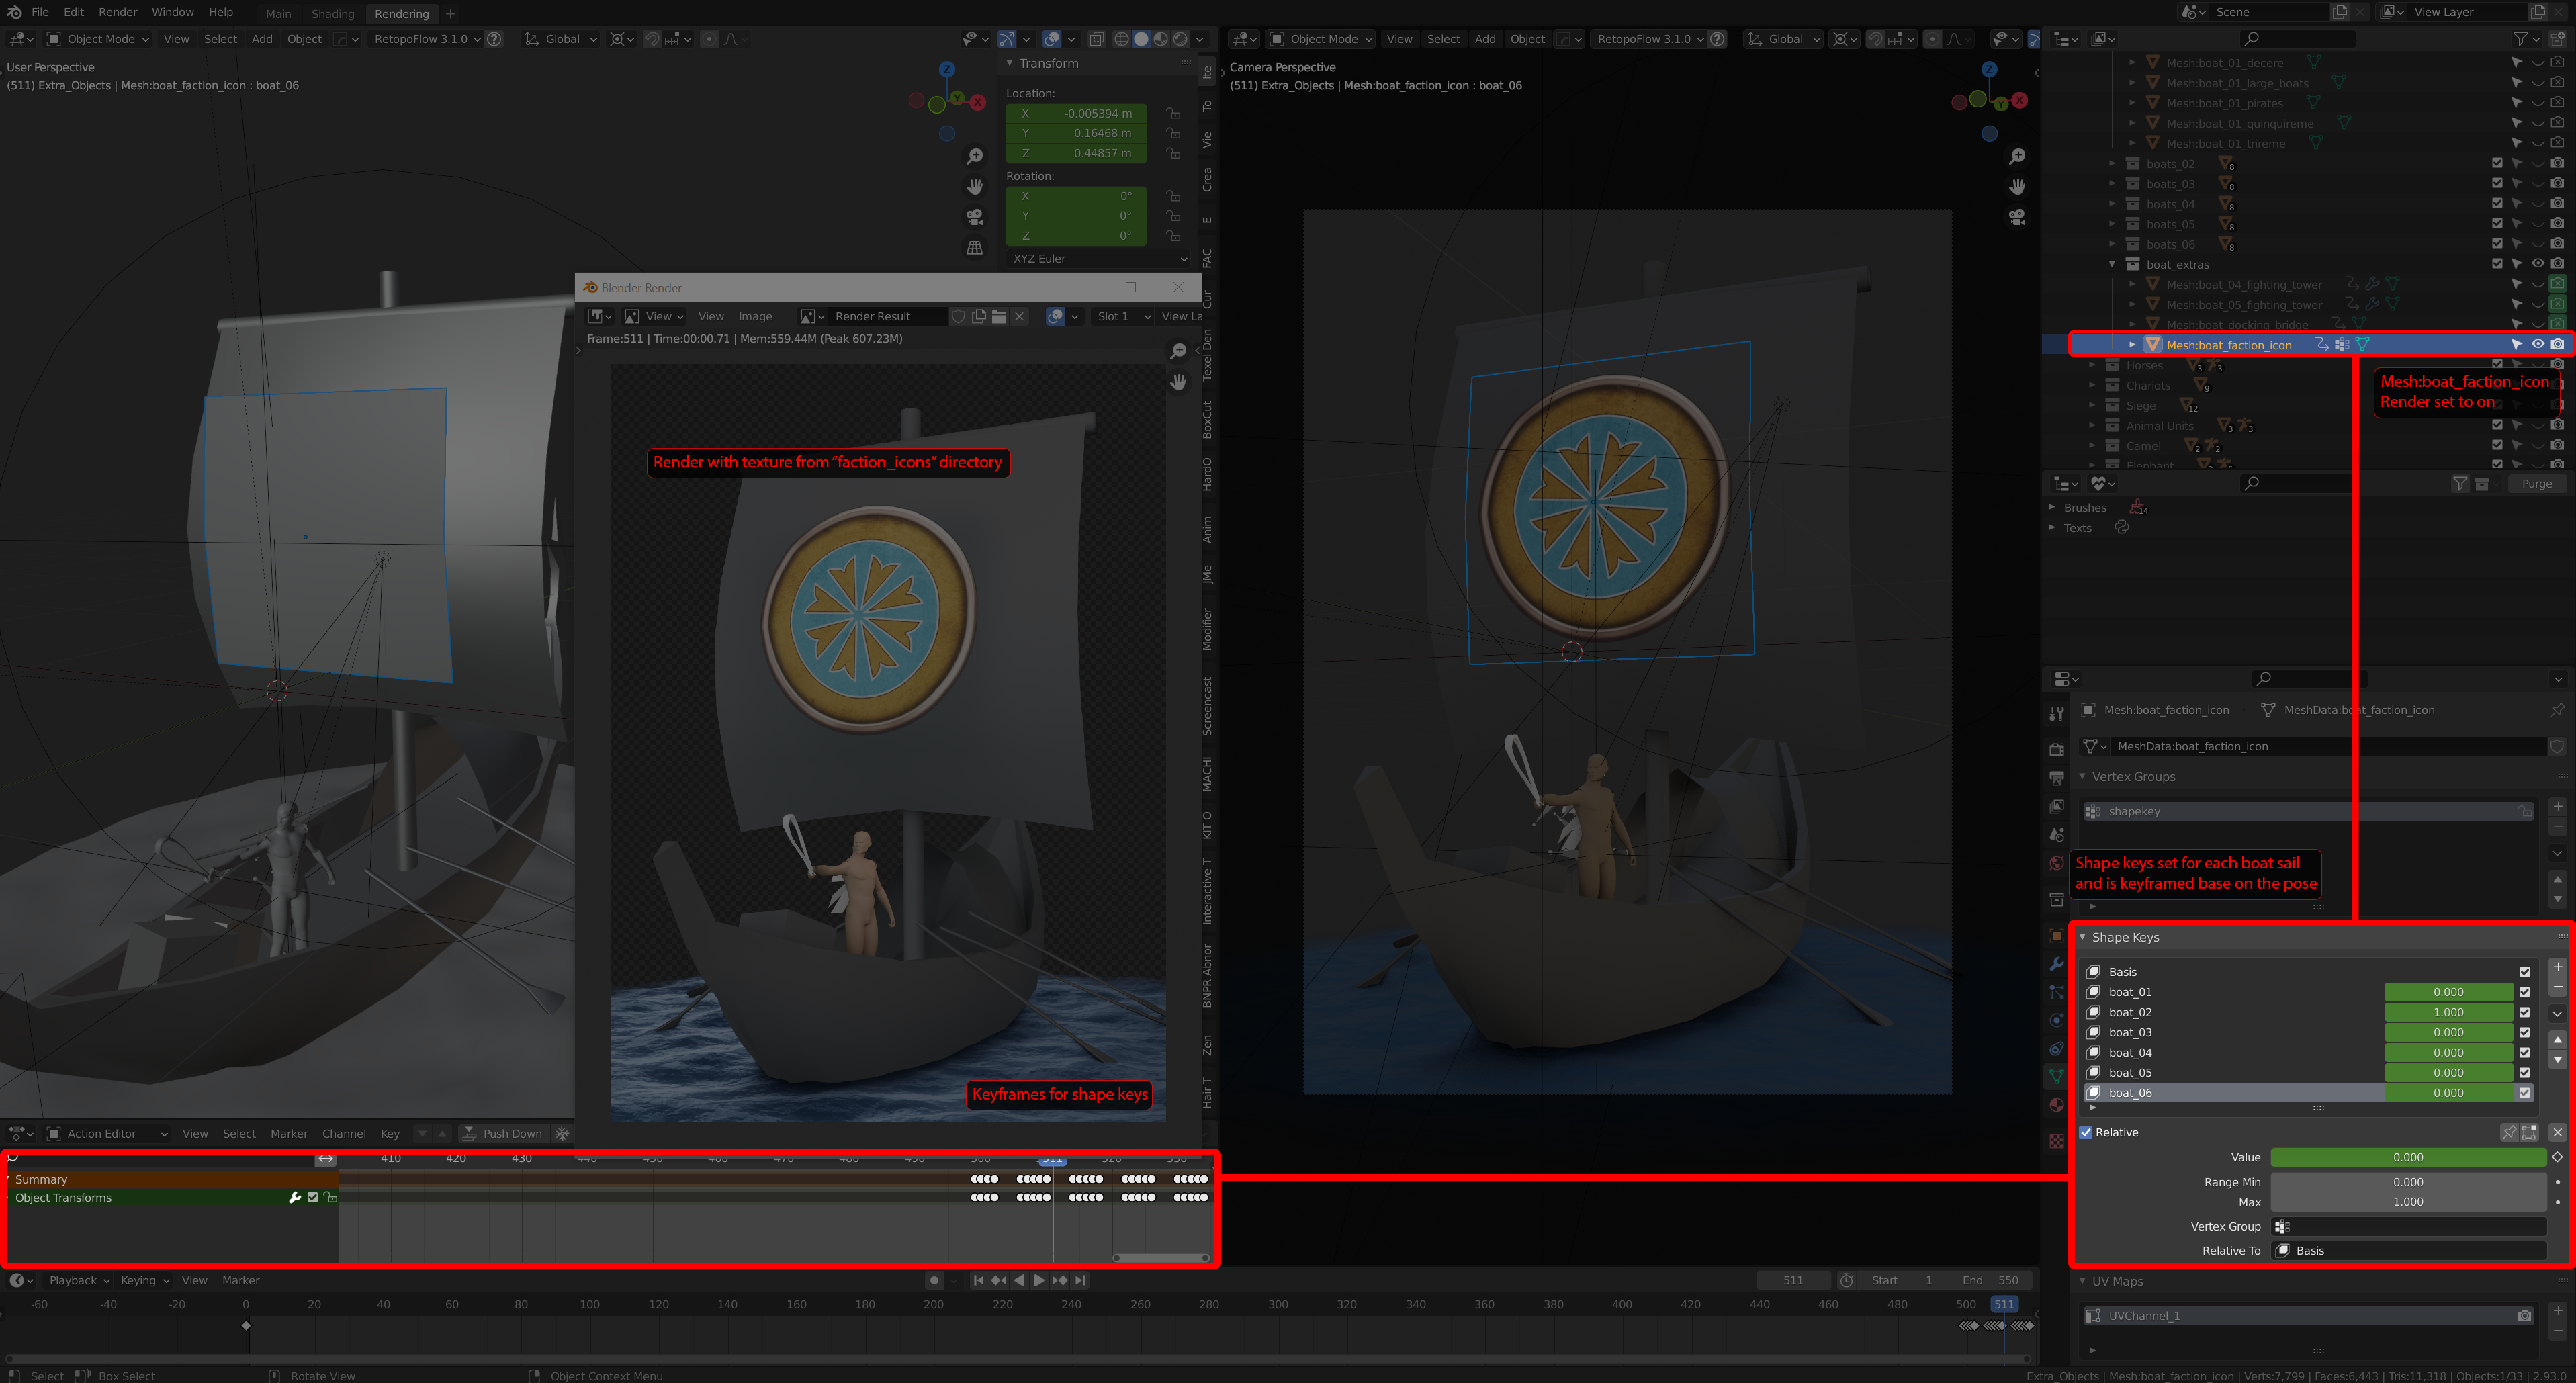
The model Mesh:boat_faction_icon is a plane that contains shape keys to fit onto a specific boat sail (the shape keys are fit to the pose and model listed on the TWRR: Units card info - Modders spreadsheet).
You can use the files in faction_icons folder to use on this plane.
This is an empty group that is active by default. Simply a place to import your characters to.
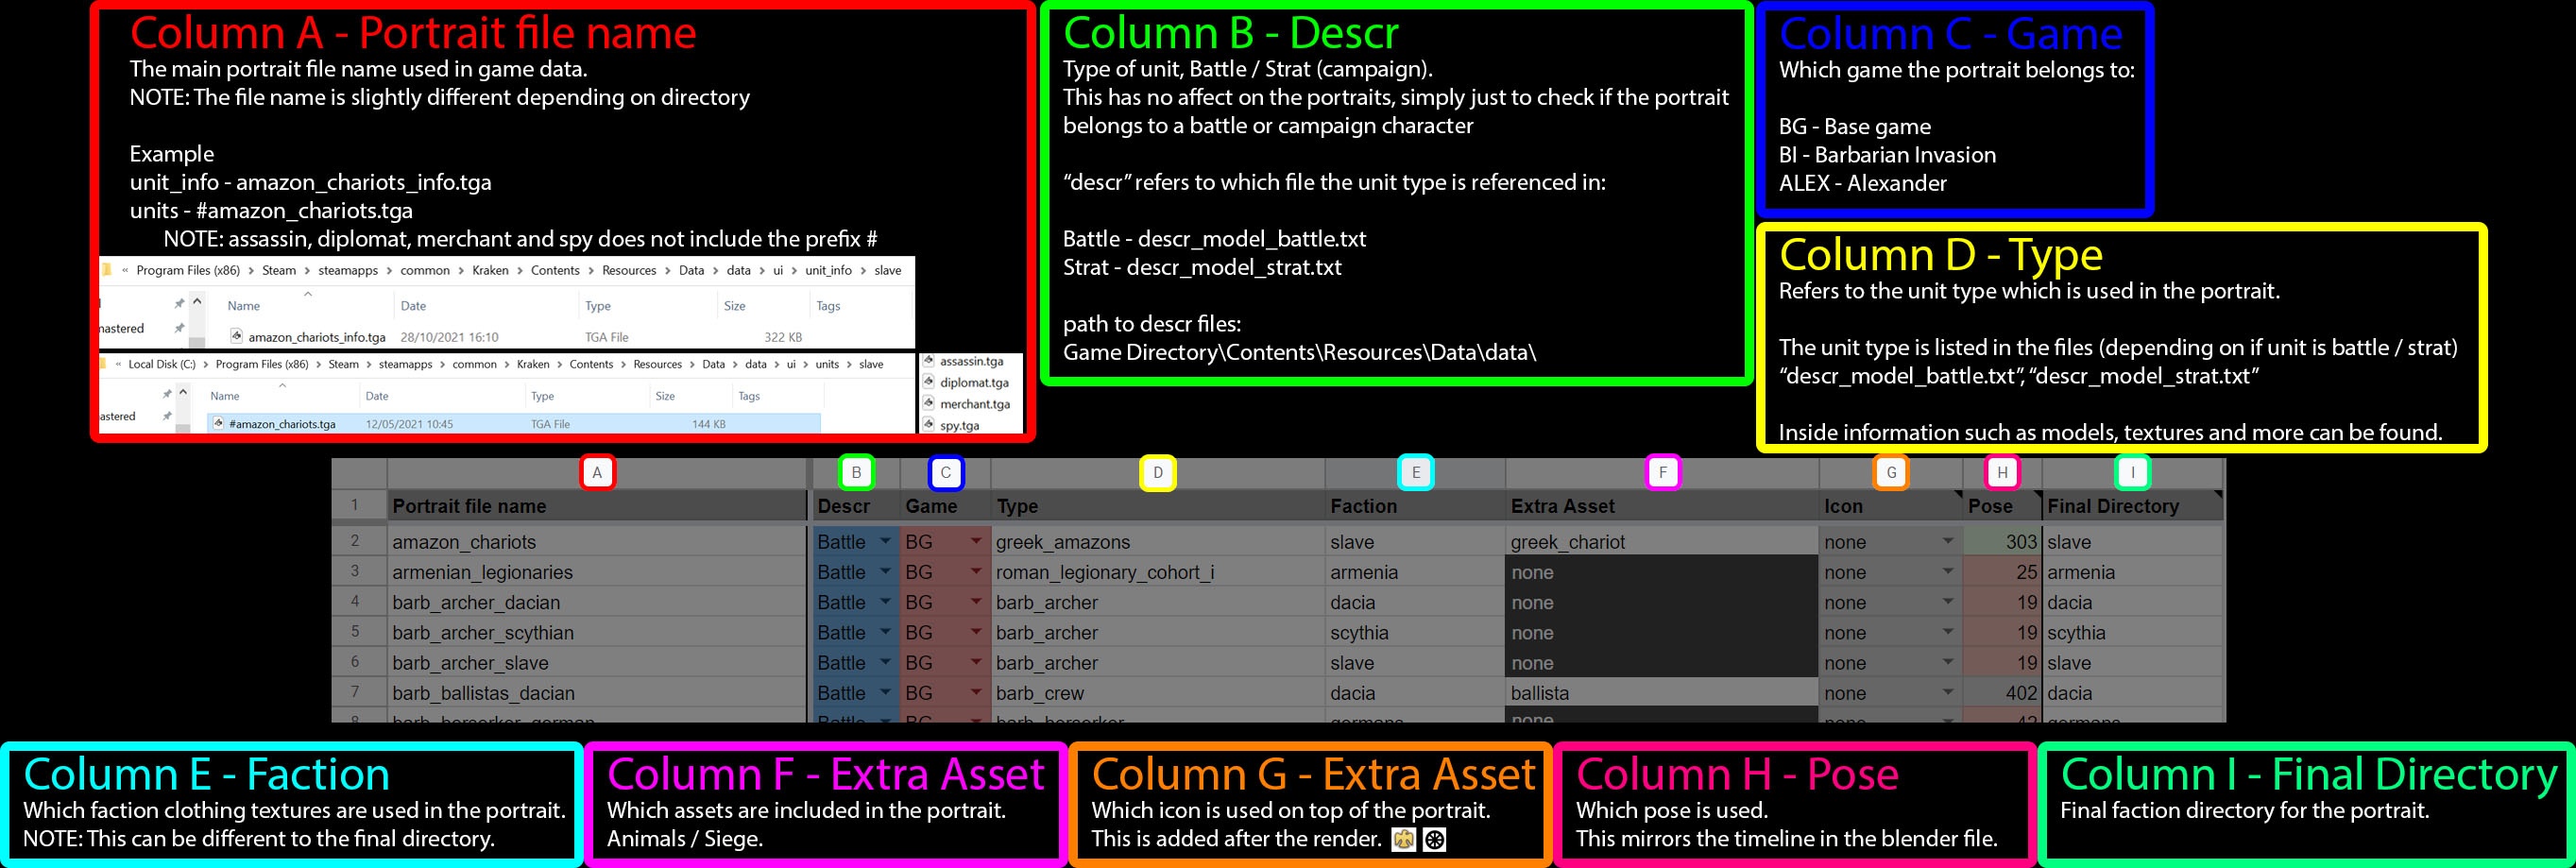
This sheet contains information for each unit portrait which can be useful for finding out which portrait uses which unit, pose, colours and where the final file should go. Here is a breakdown of each tab.

